|
This is my latest project... It is a 1967 Mustang Coupe I want to build into a Terlingua tribute. The previous owners already started the body work but there is still a long way to go. A few pictures of the car in it current and previous states and the way it should end up. |
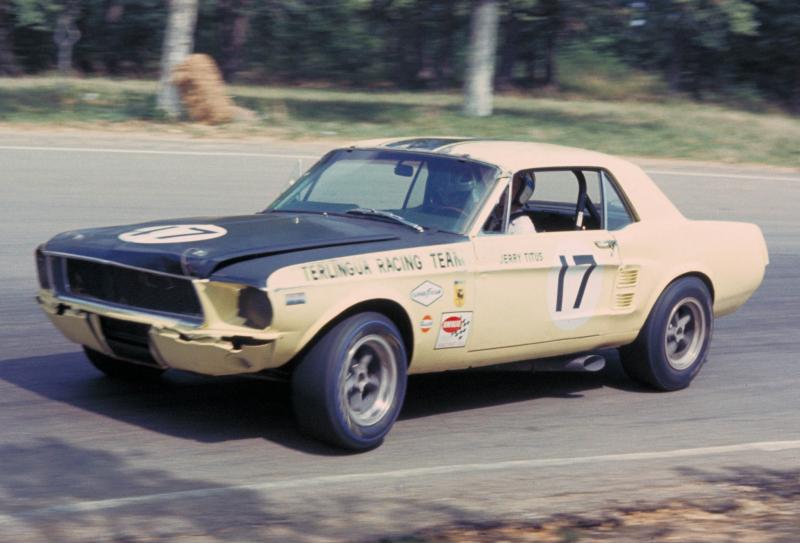 the car this will be a tribute to 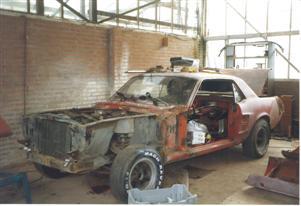 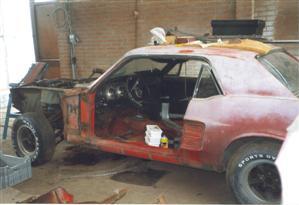 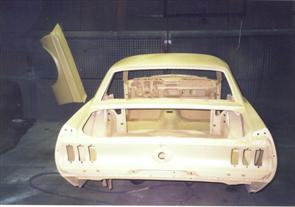 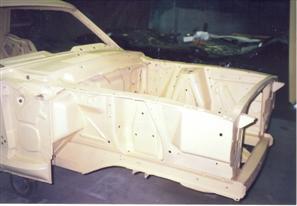 Work done by the previous owner 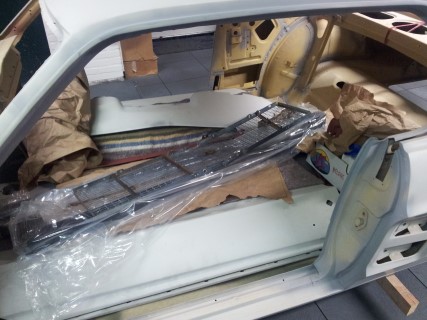 parts ready to go to the body shop 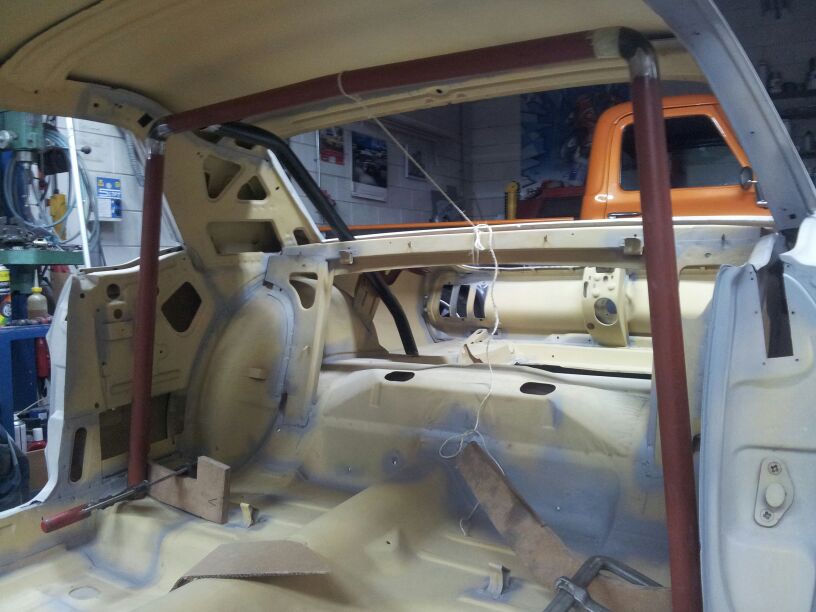 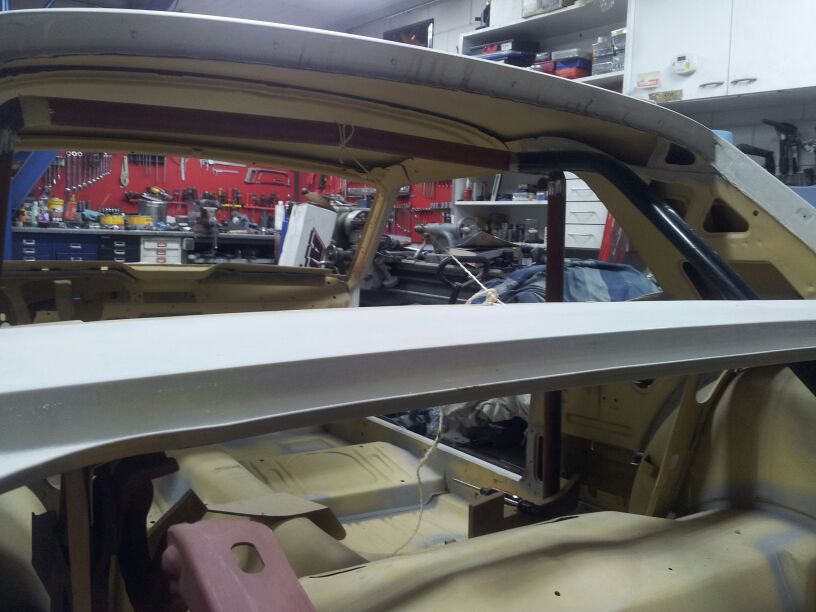 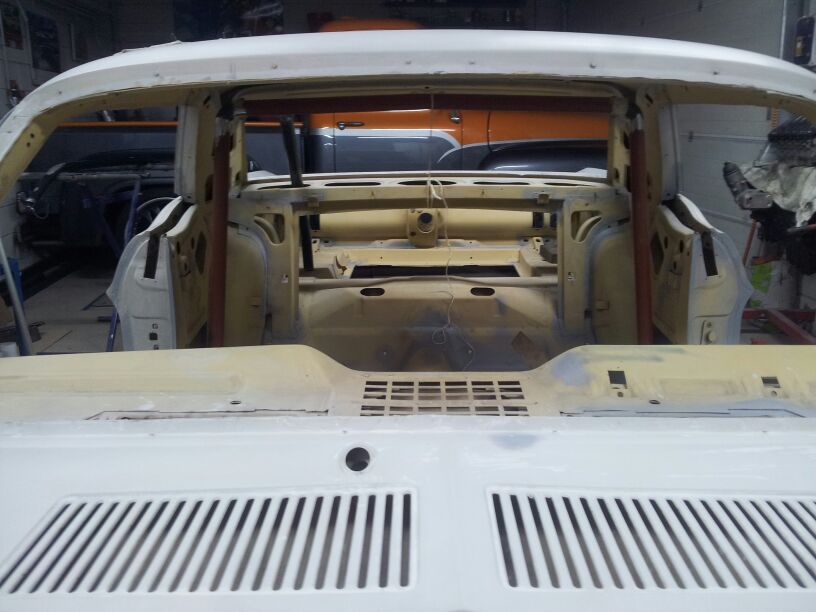 roll bar being constructed  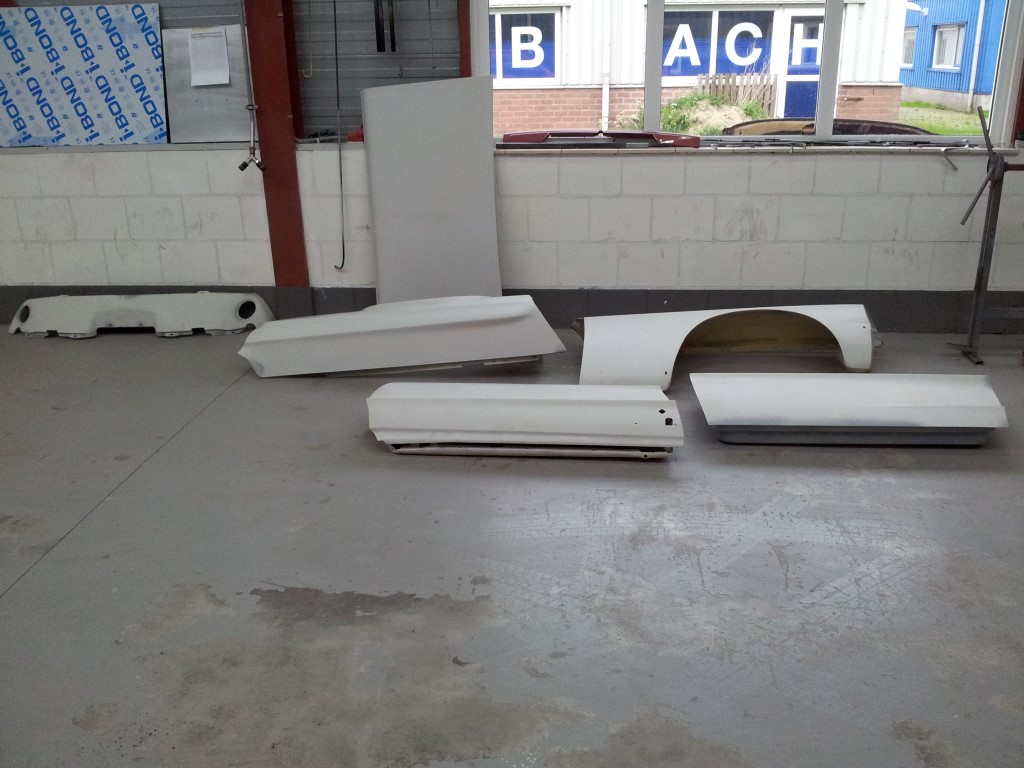 parts at the body shop ready to be sanded 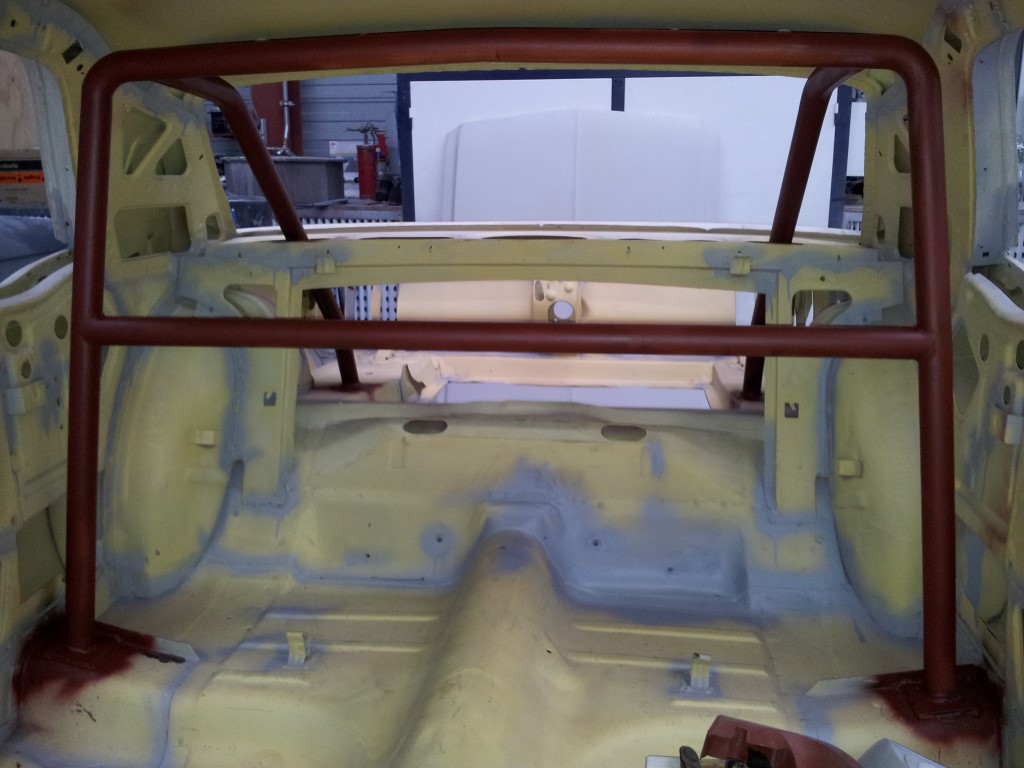 rol bar installed.Remy did a great job. it will be painted black 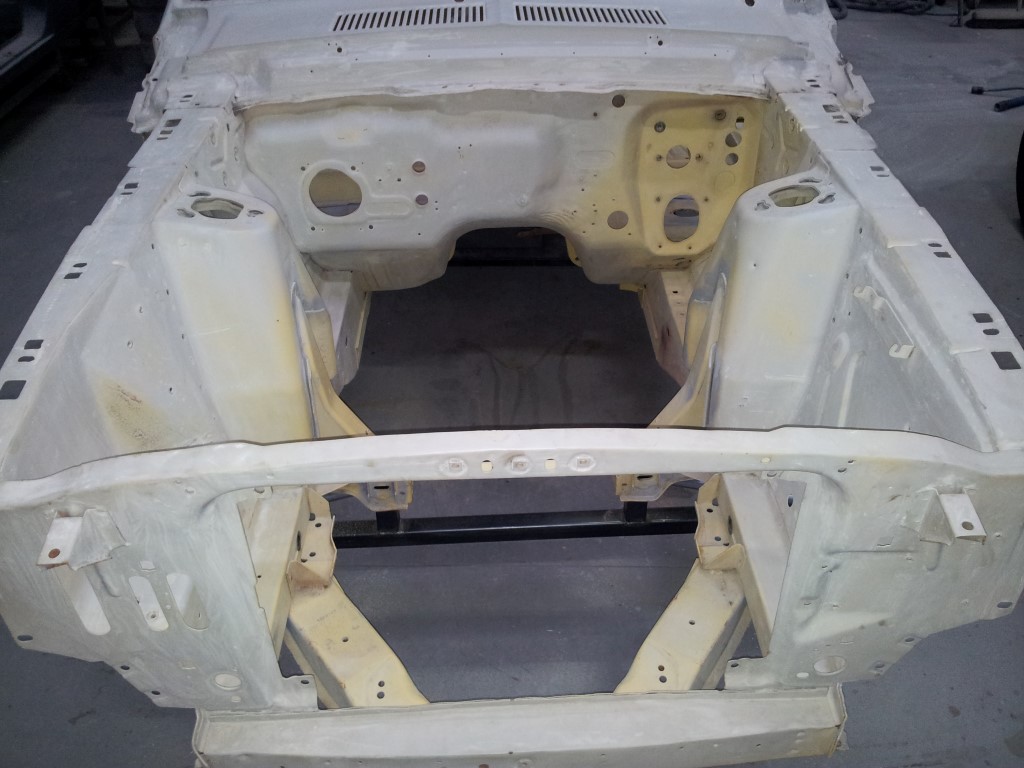 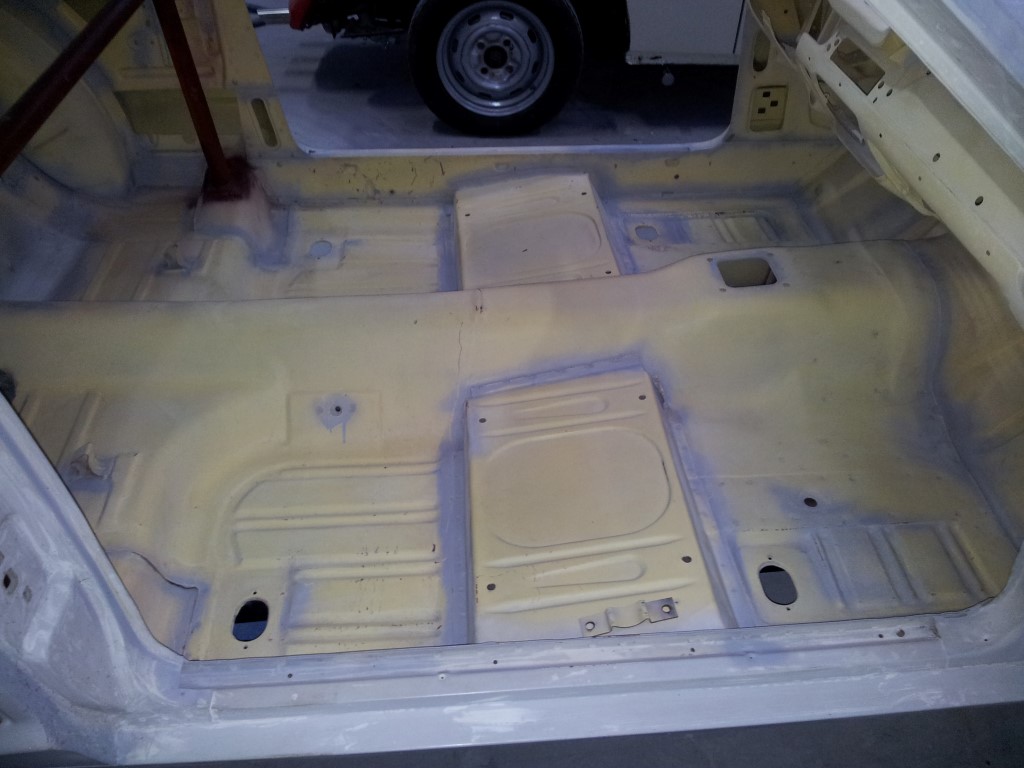 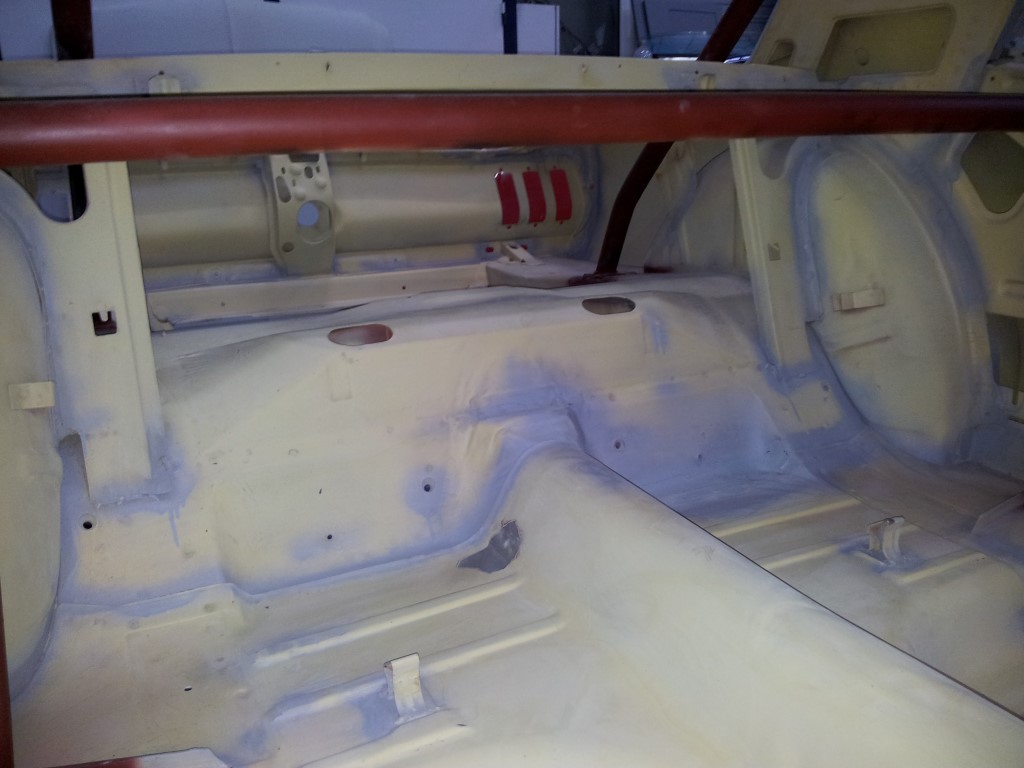 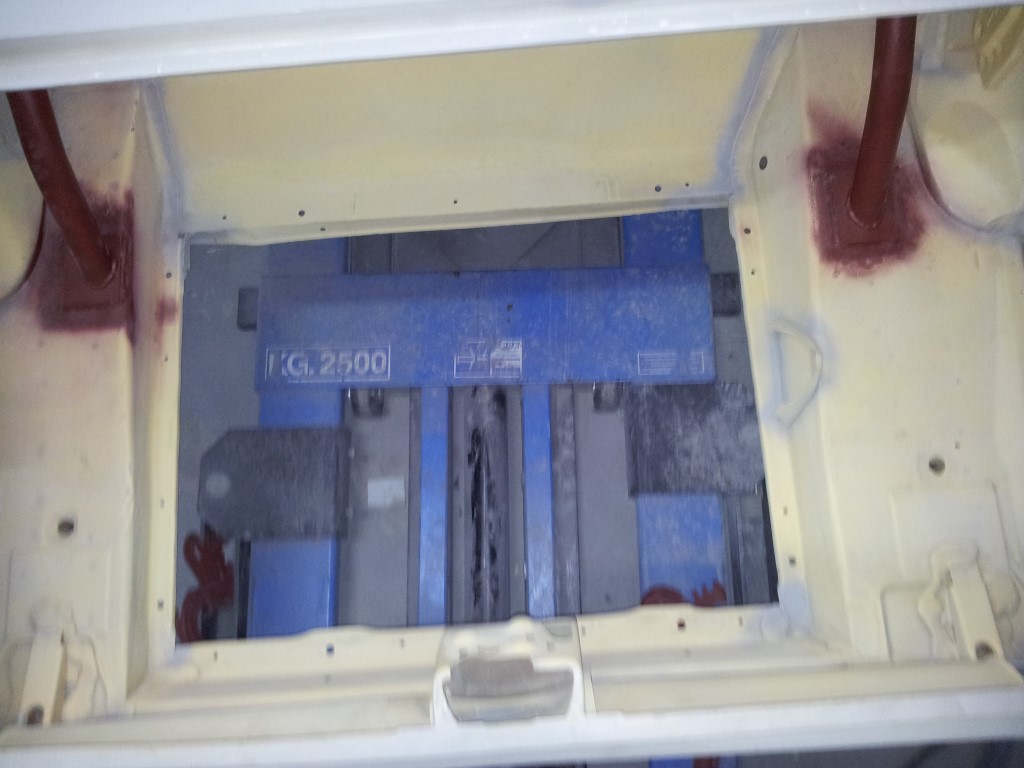 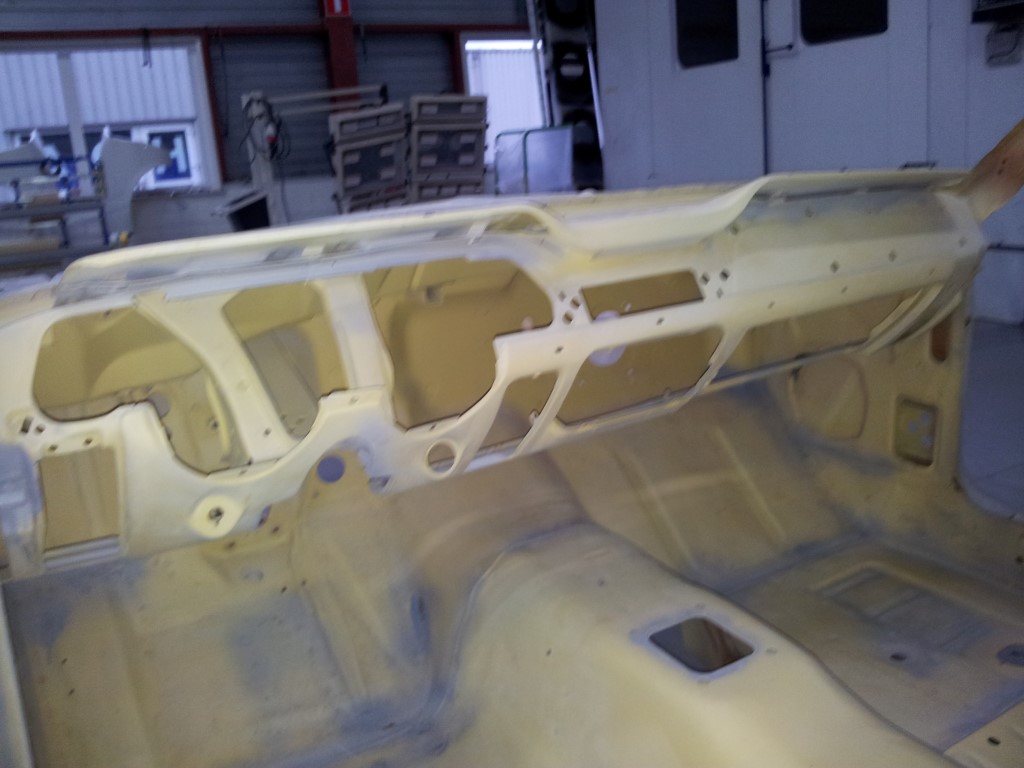 engine compartement, interior, rear, trunk and dash all sanded smooth (very difficult to see) 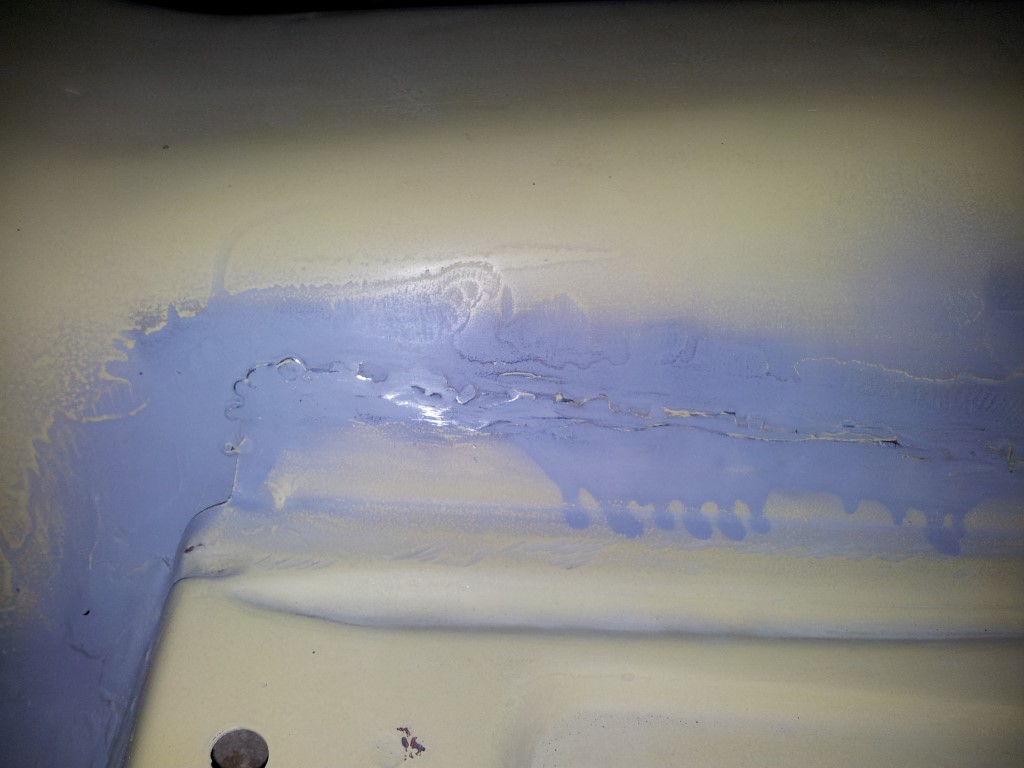 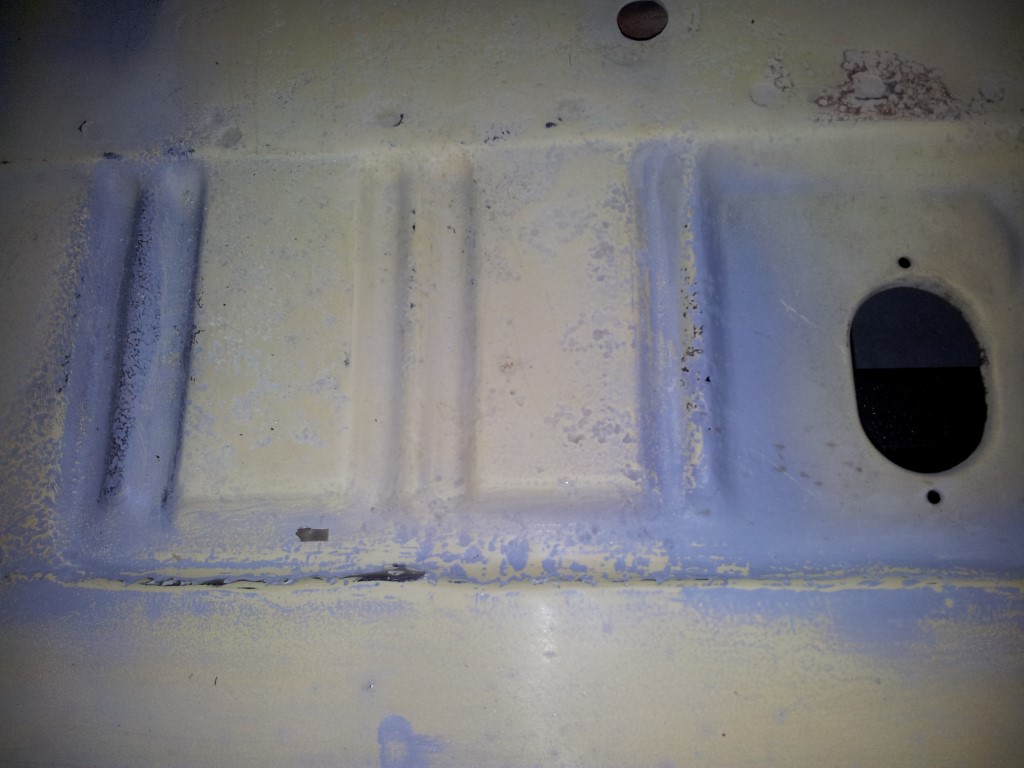 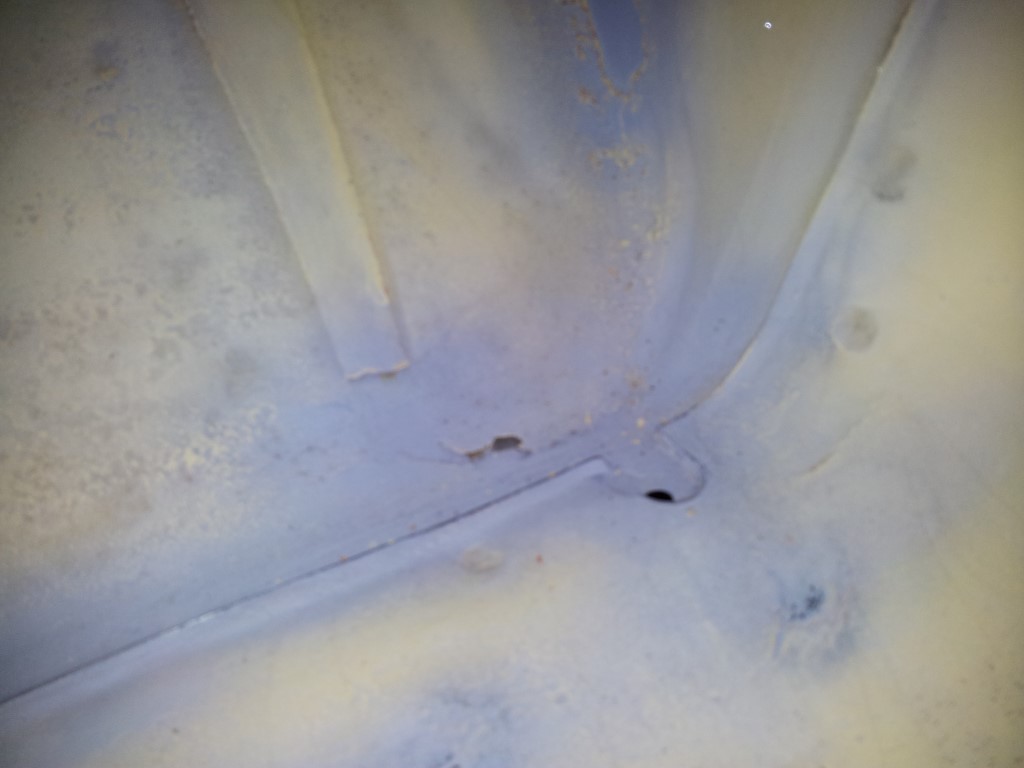  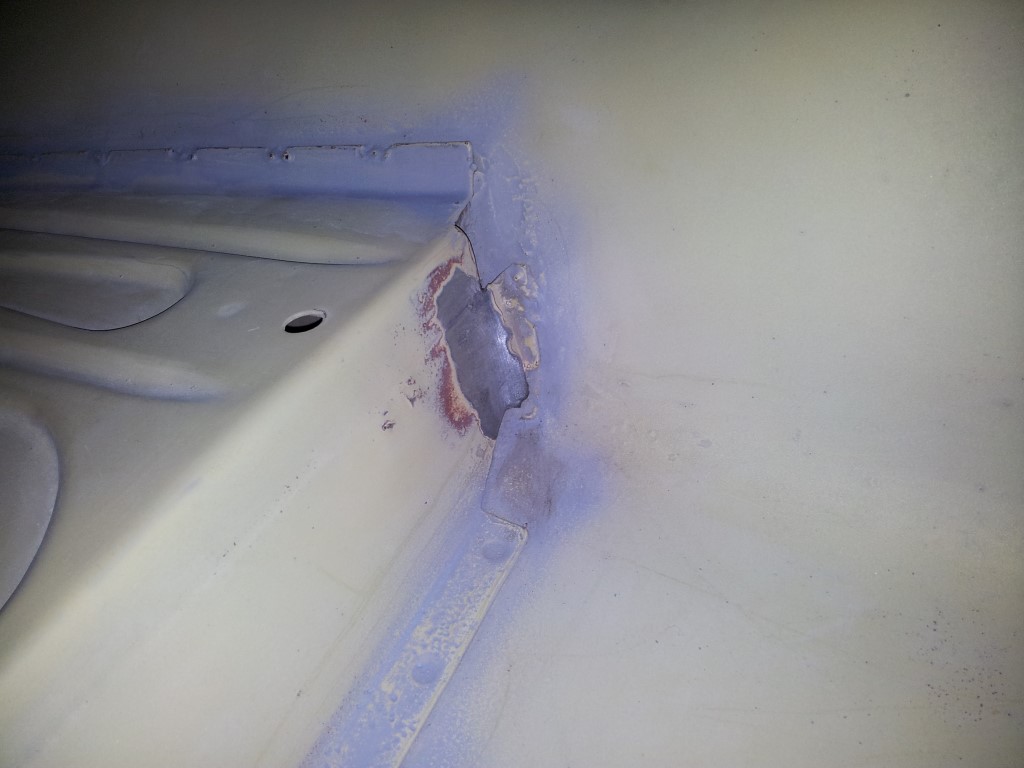 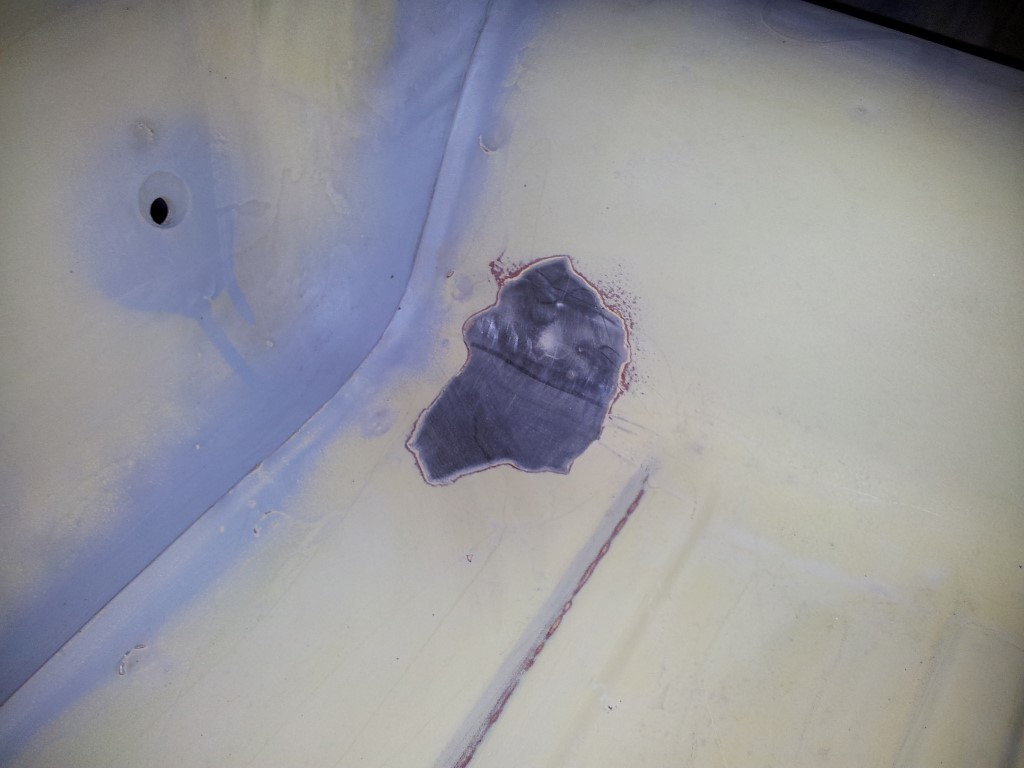 several points of attention  my fingers after 2 days of sanding 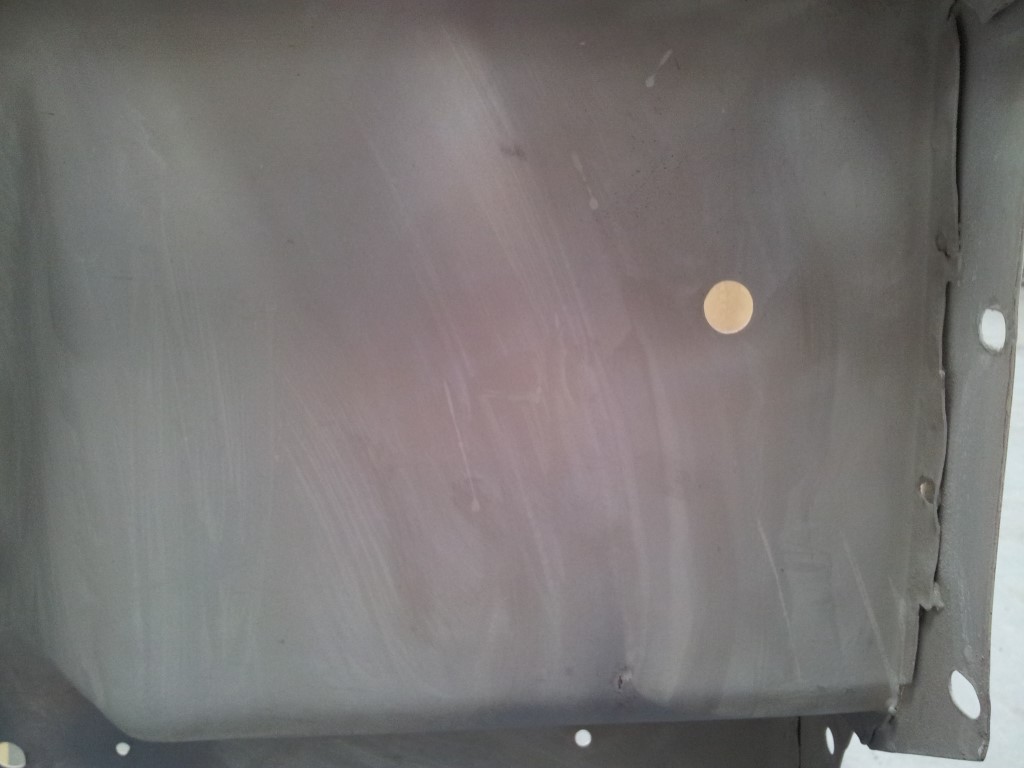 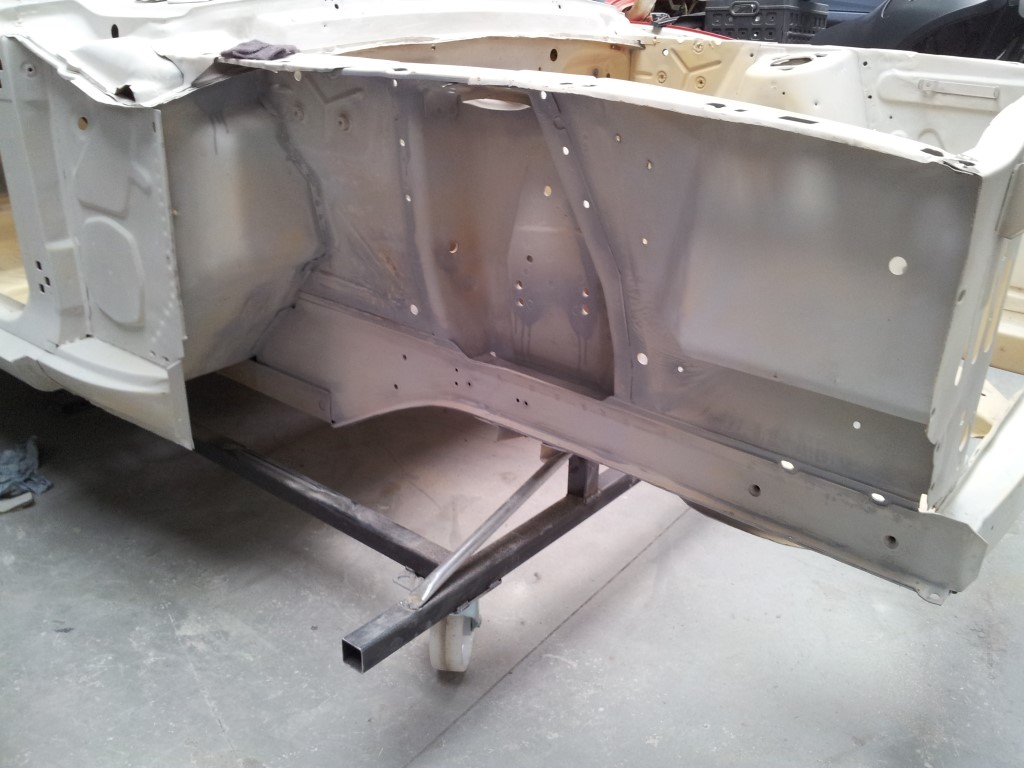 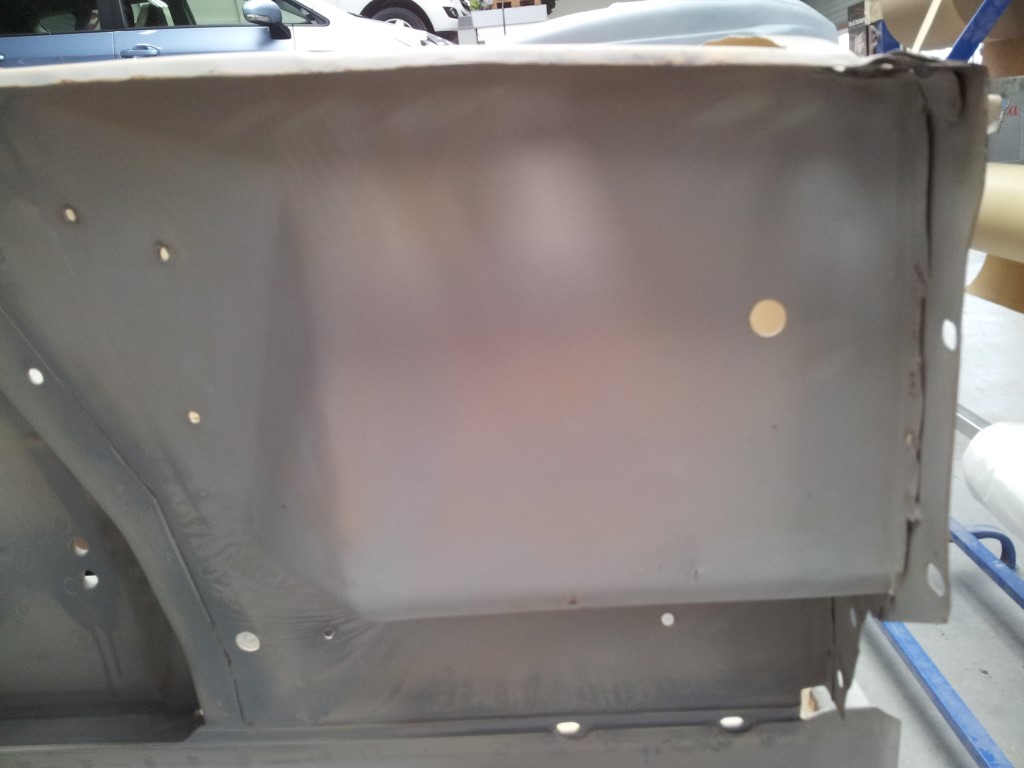 passenger side before and after sanding 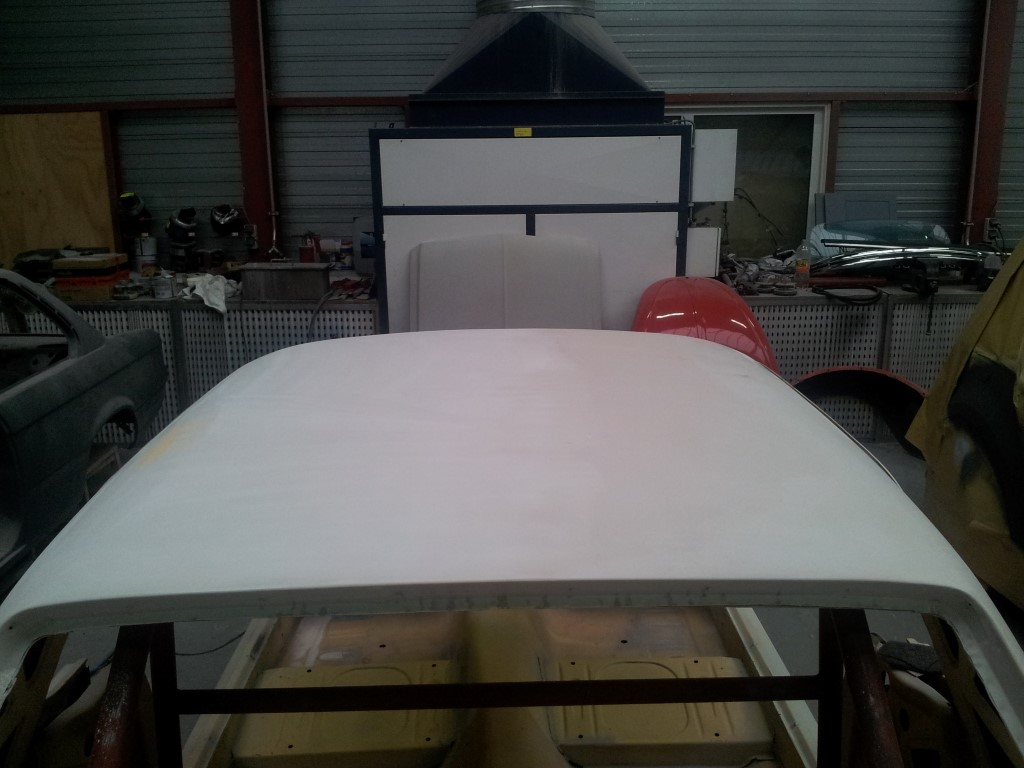 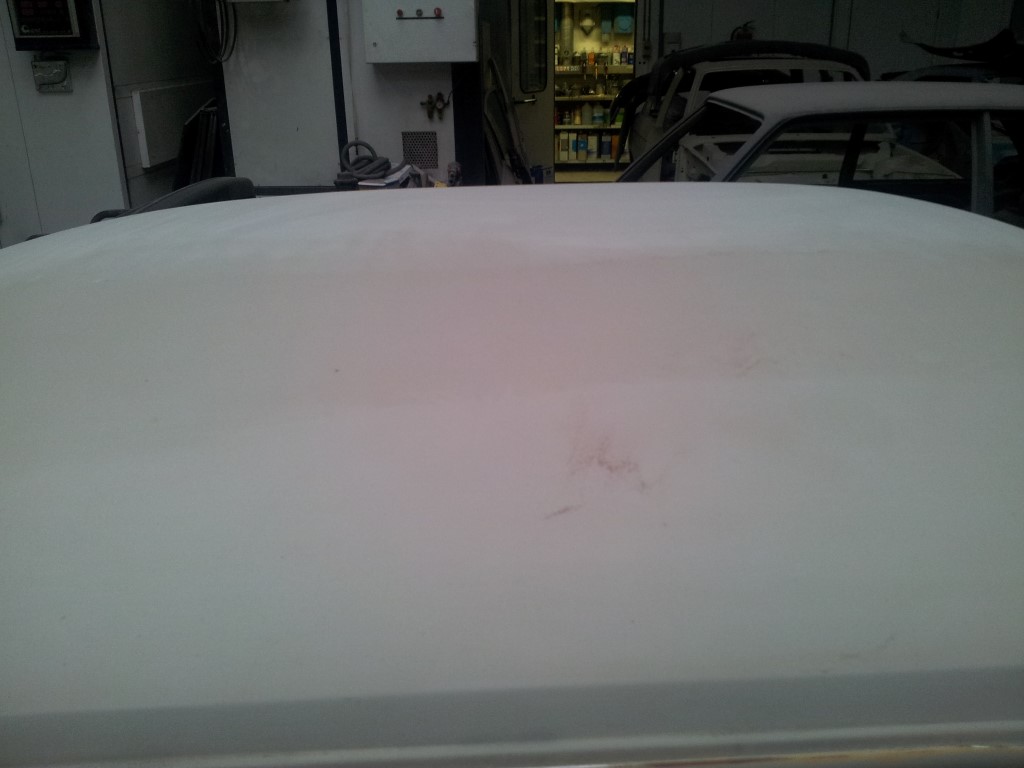 roof, left side sanded, rigth side not sanded 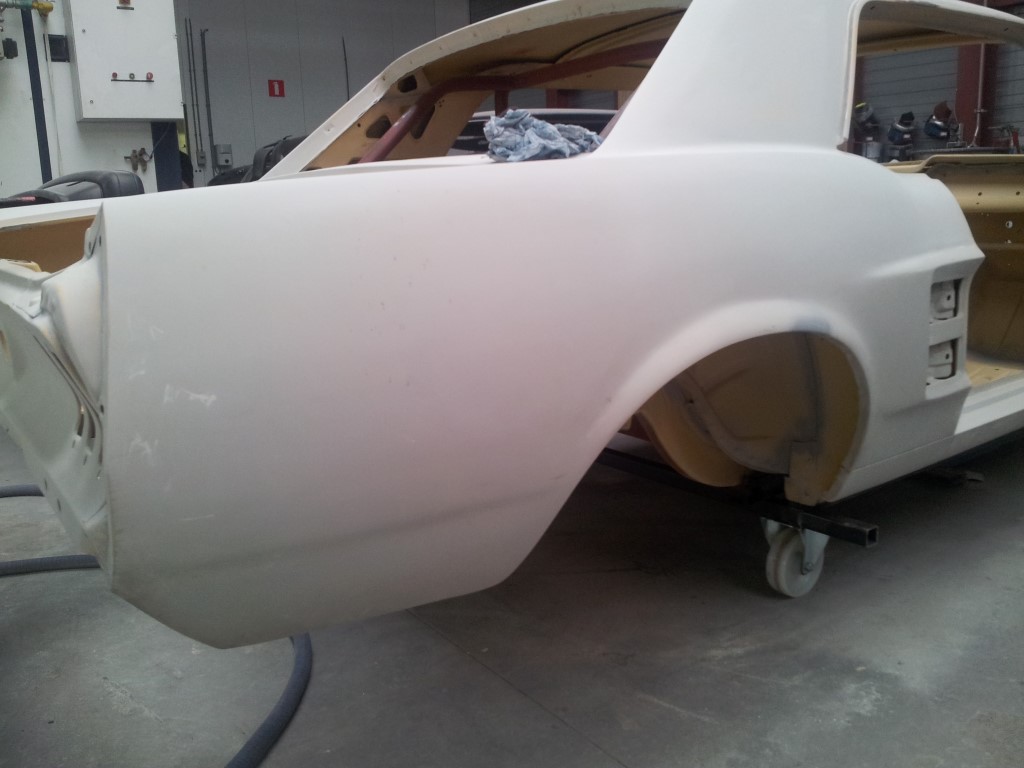 passenger side rear fender 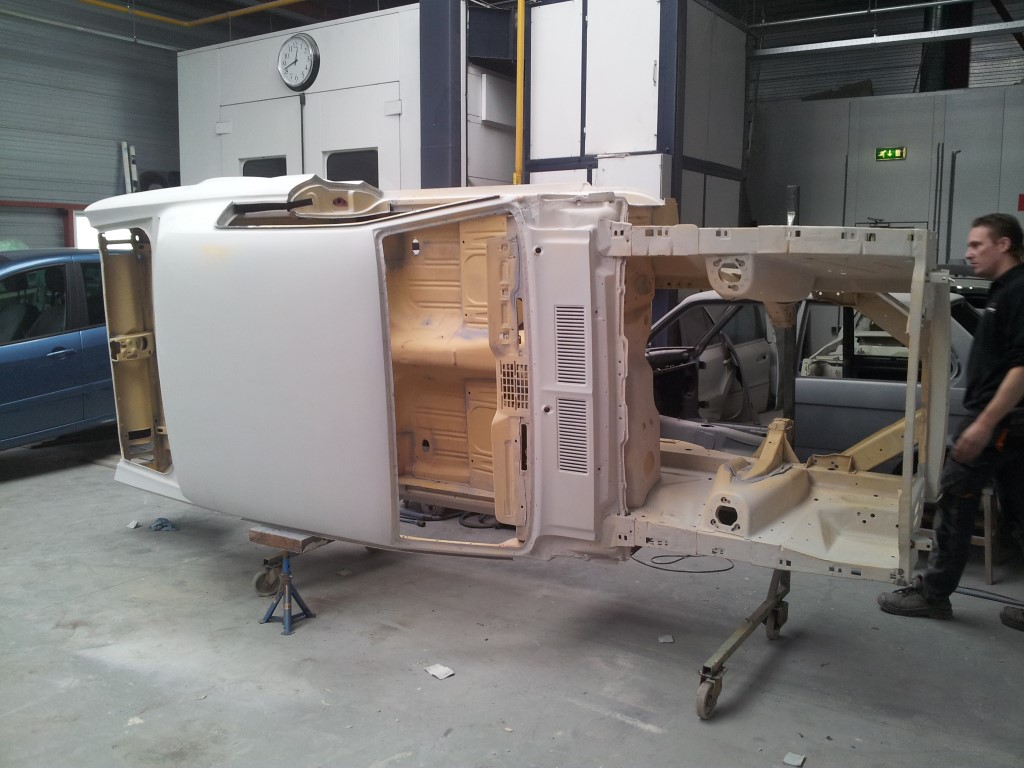 car put unto it's side so the underside is easier accisible 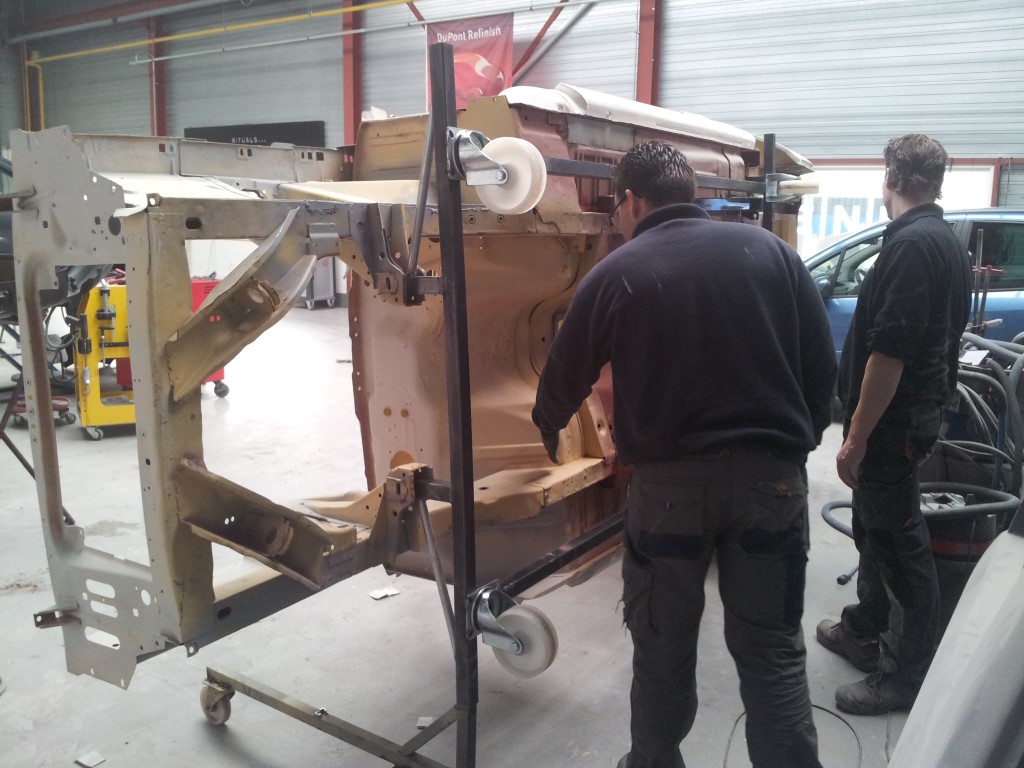 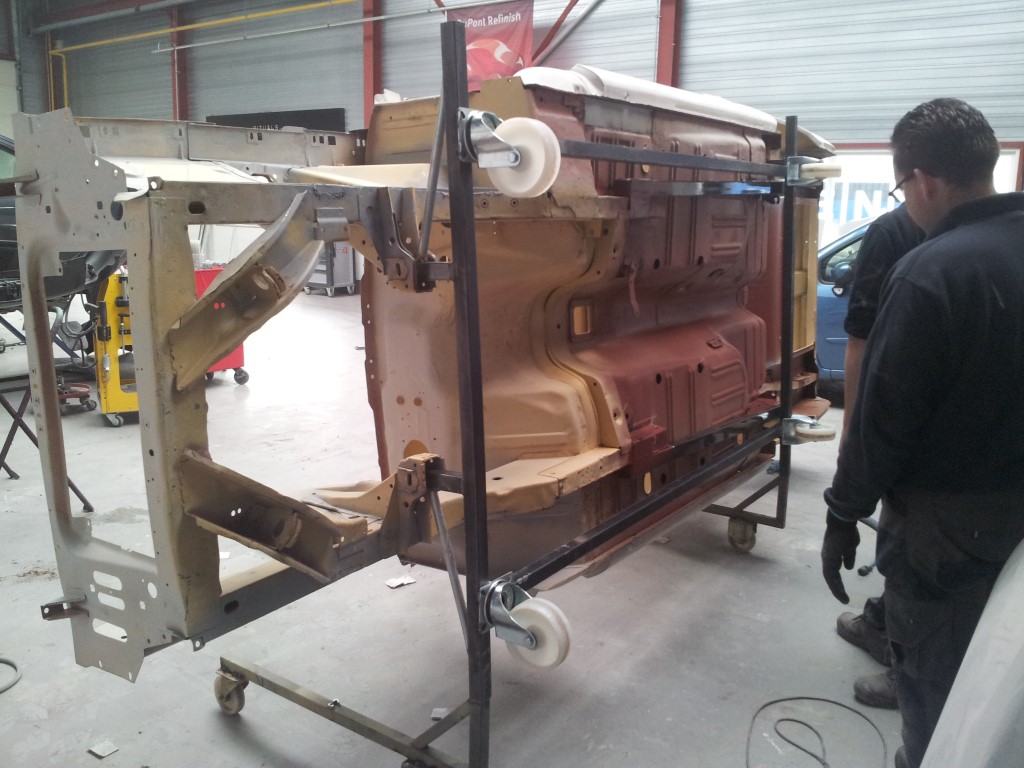 the guys from Vos & Partners Autoherstel (car repair) discussing progress 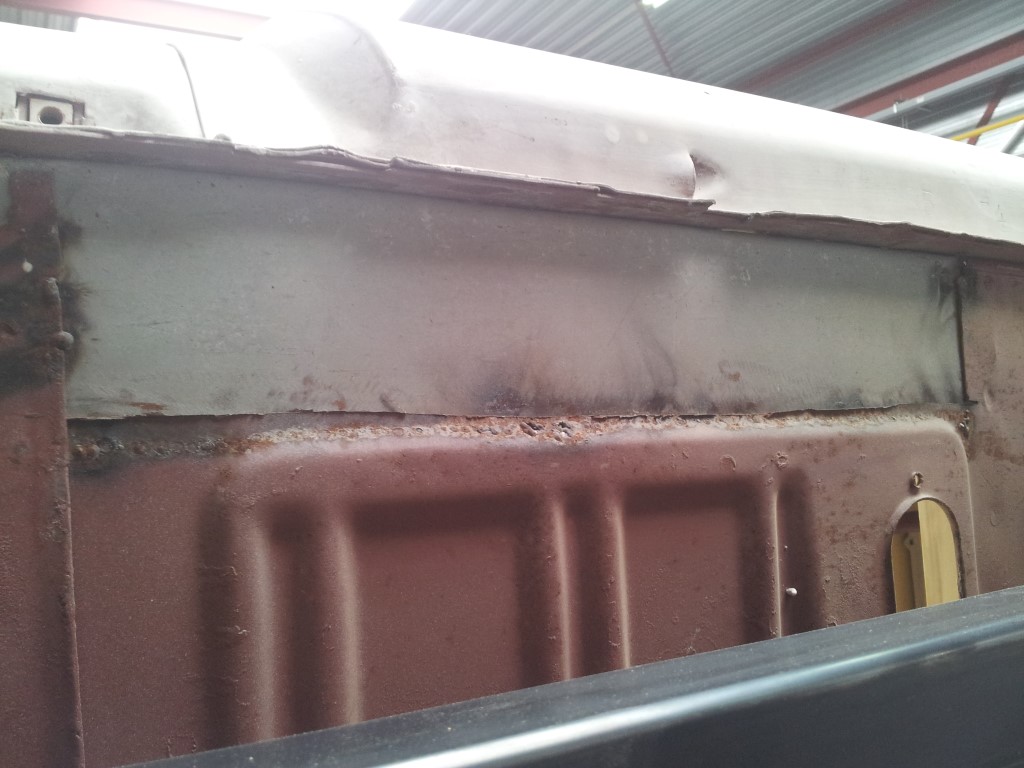 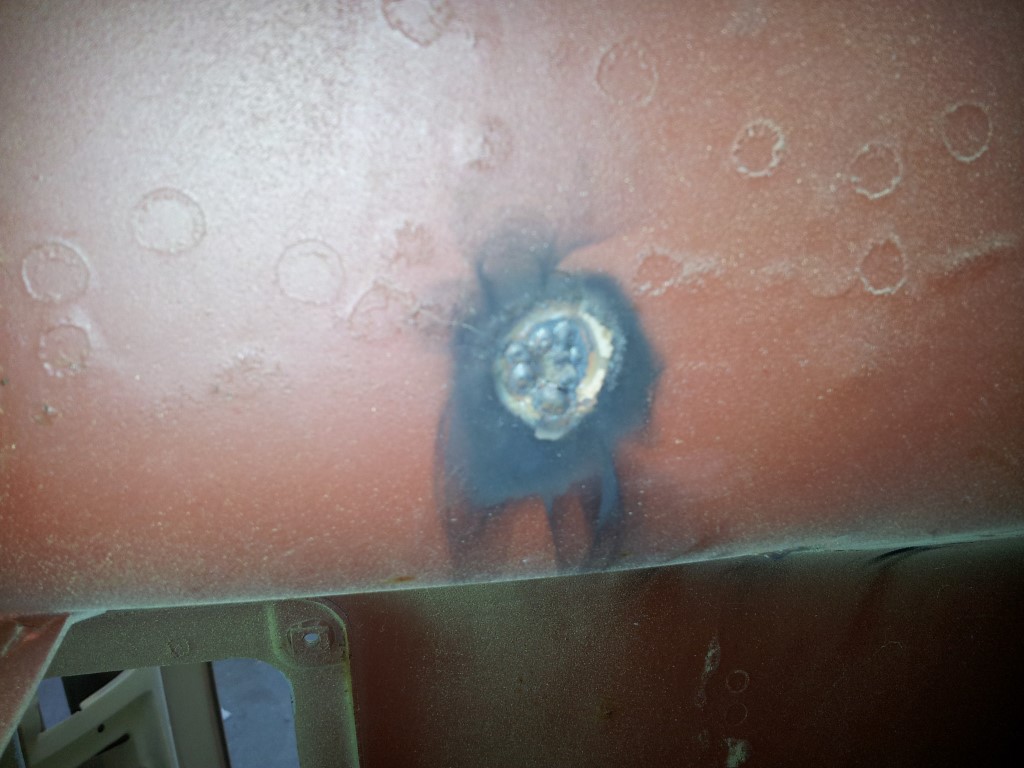 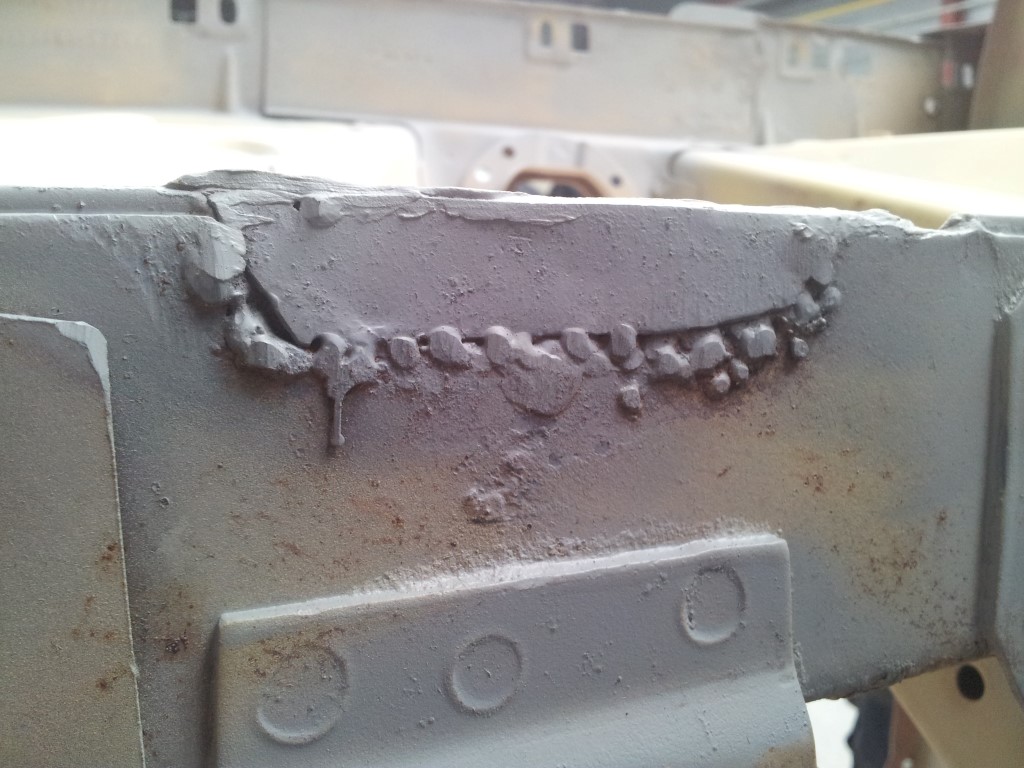 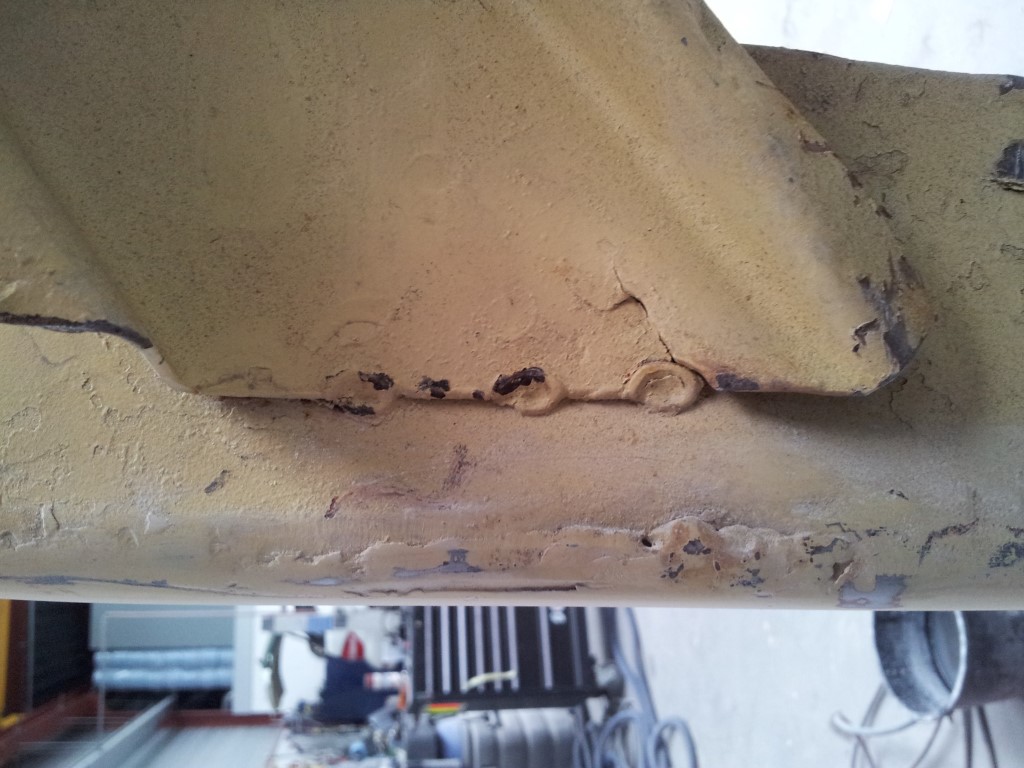 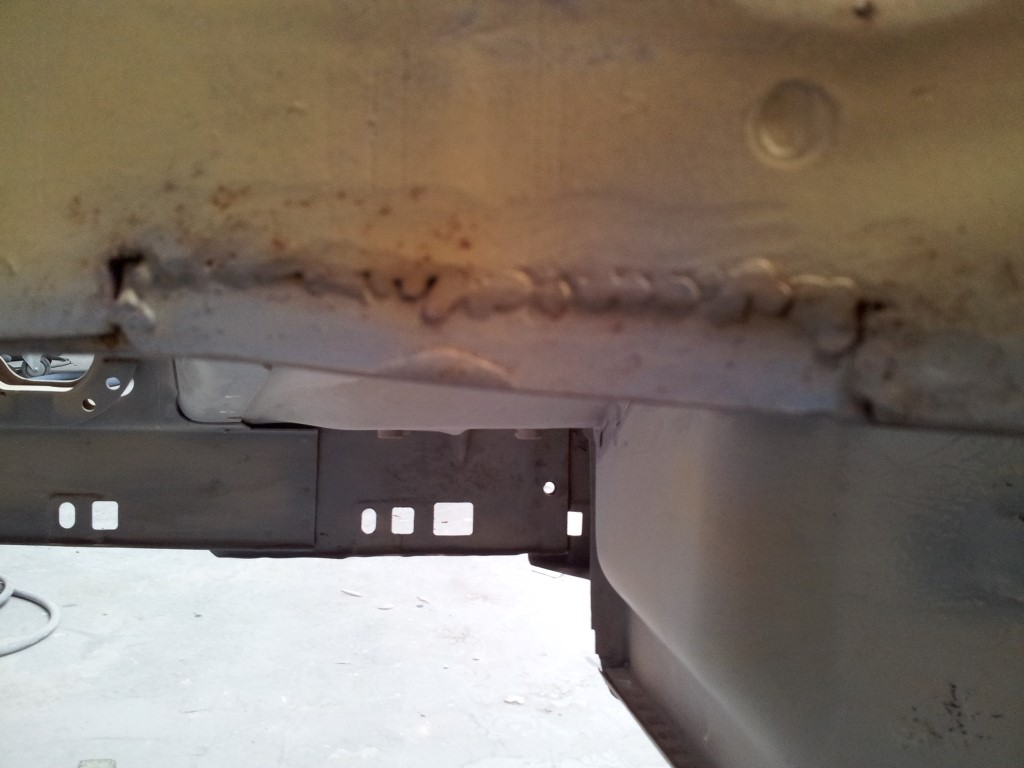 previous owners did some repairs... badly!! this all will be fixed 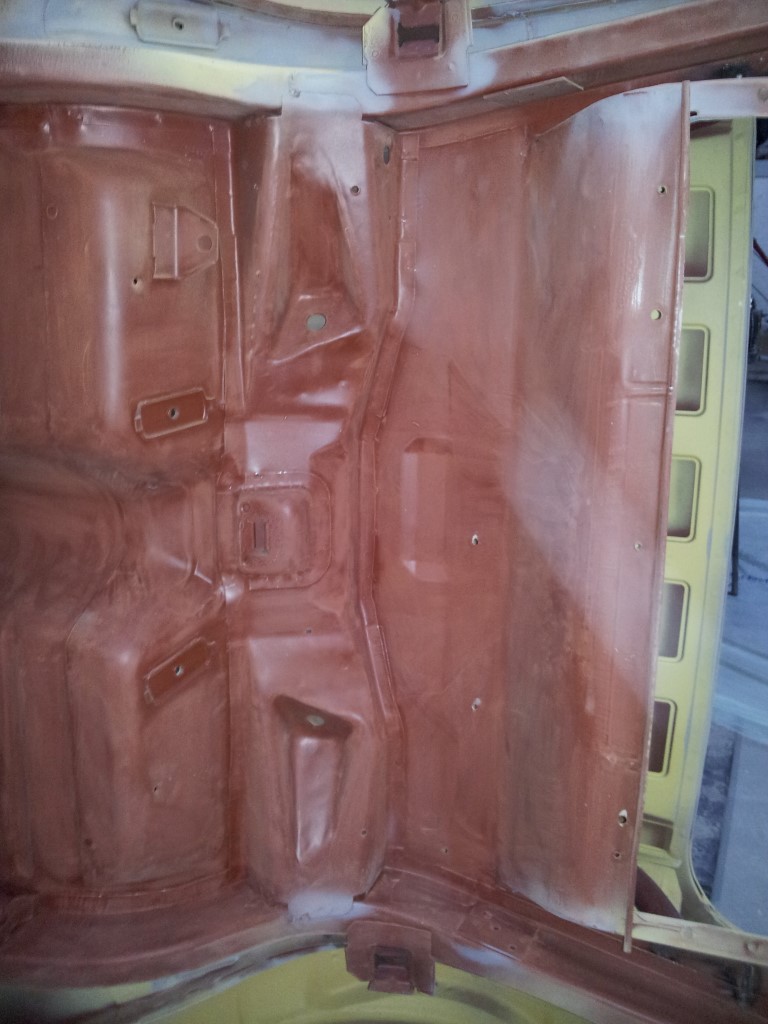 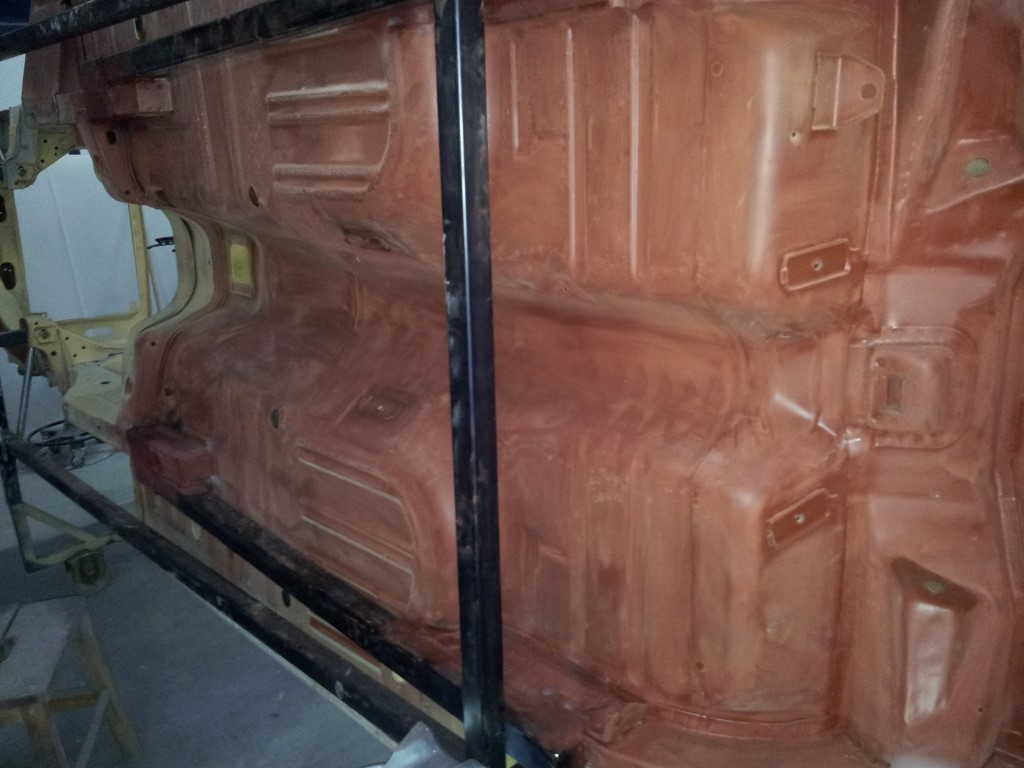 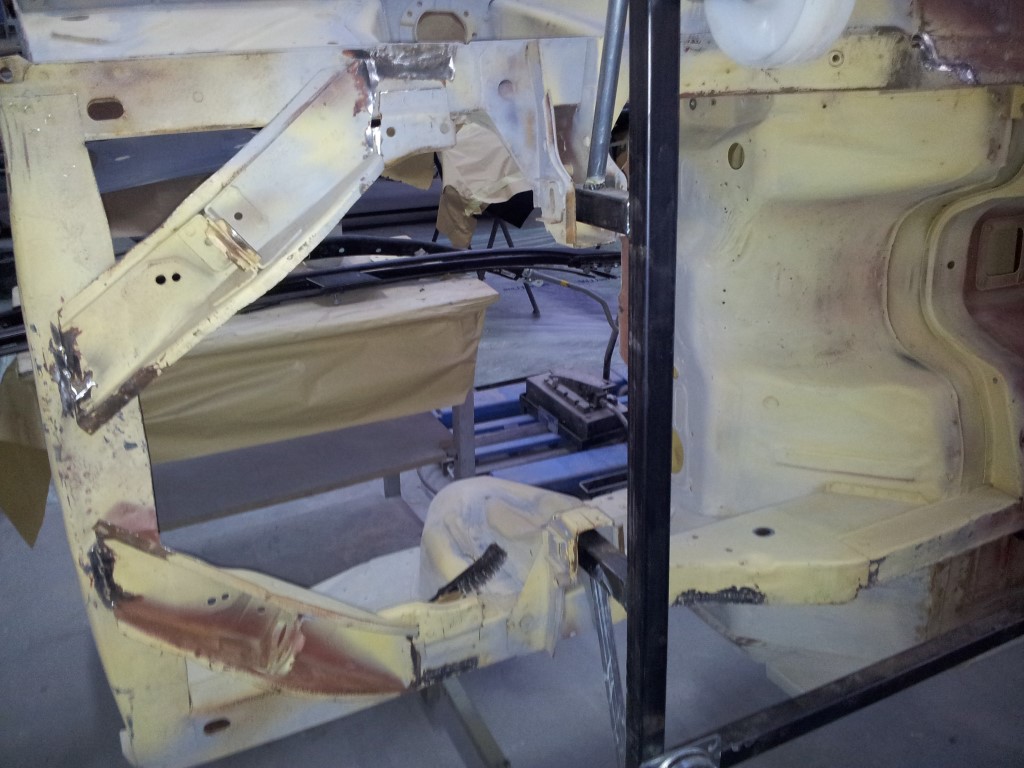 underside sanded. still need to scuff it all to get it ready for bodysuite 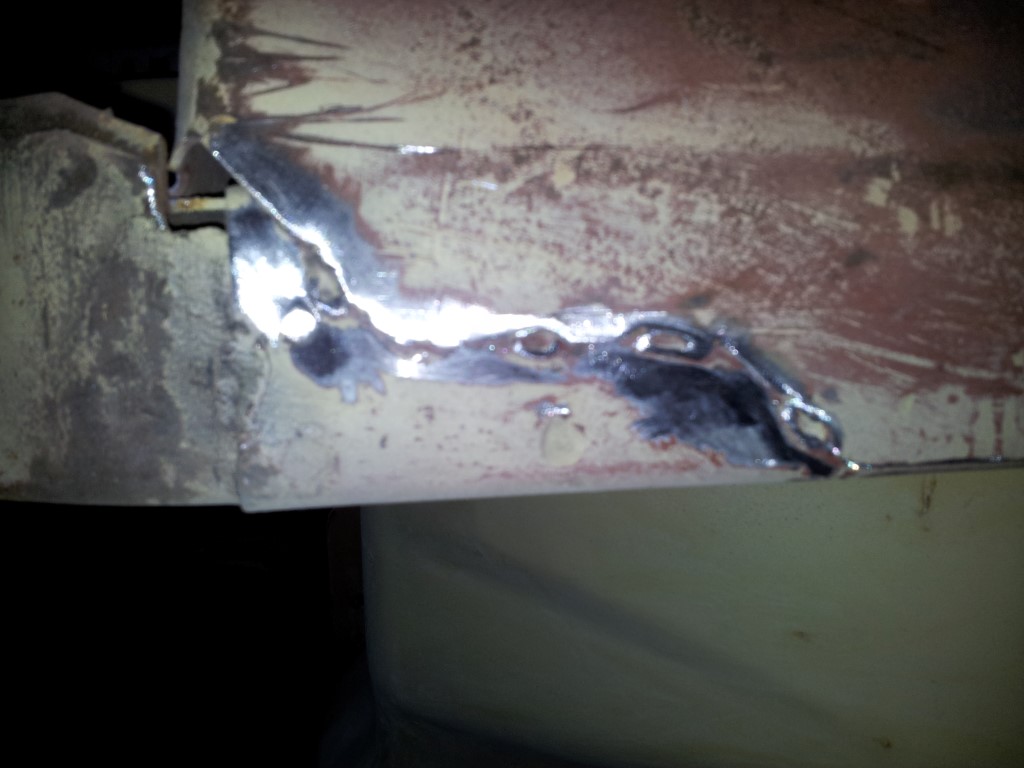 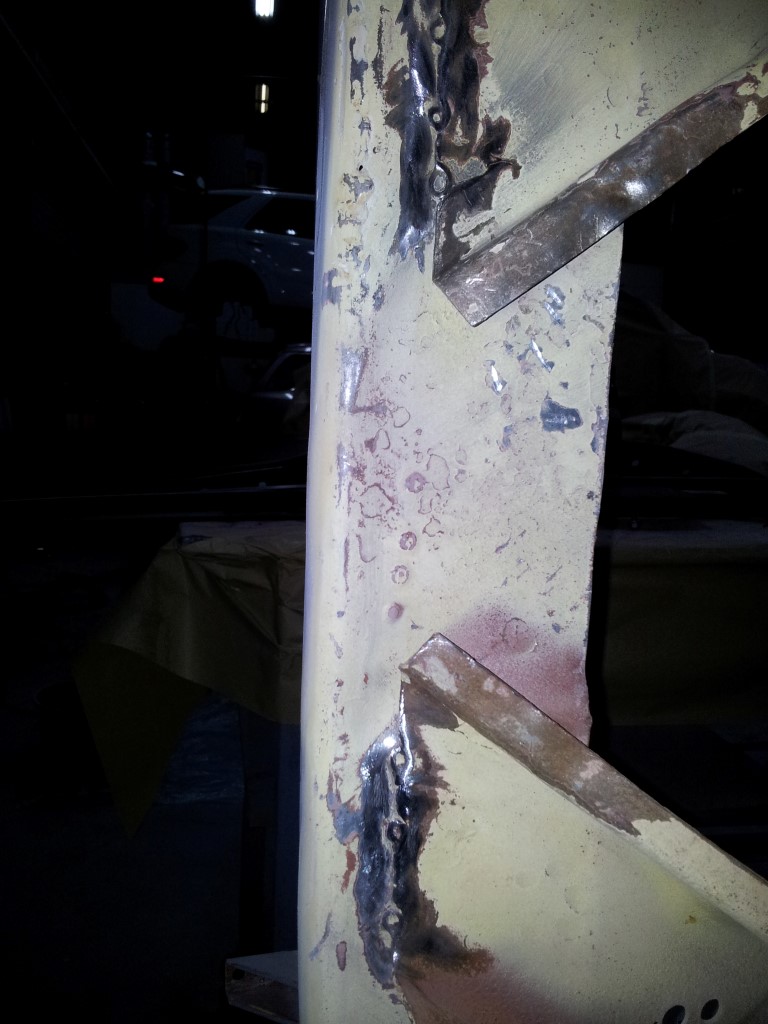 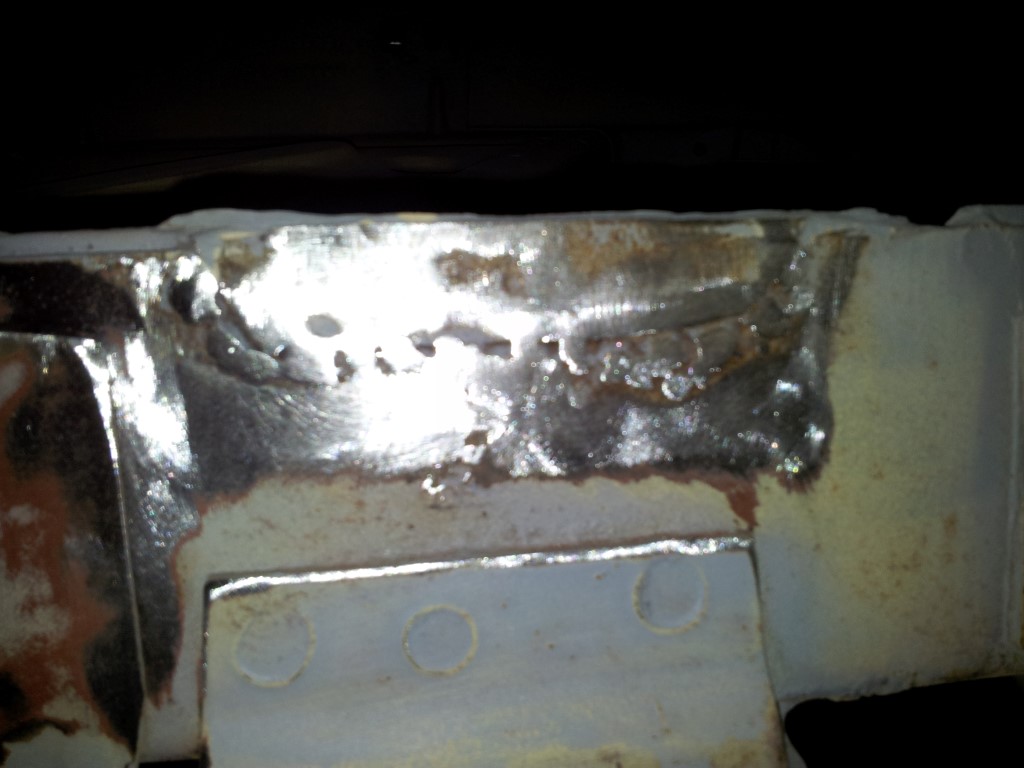 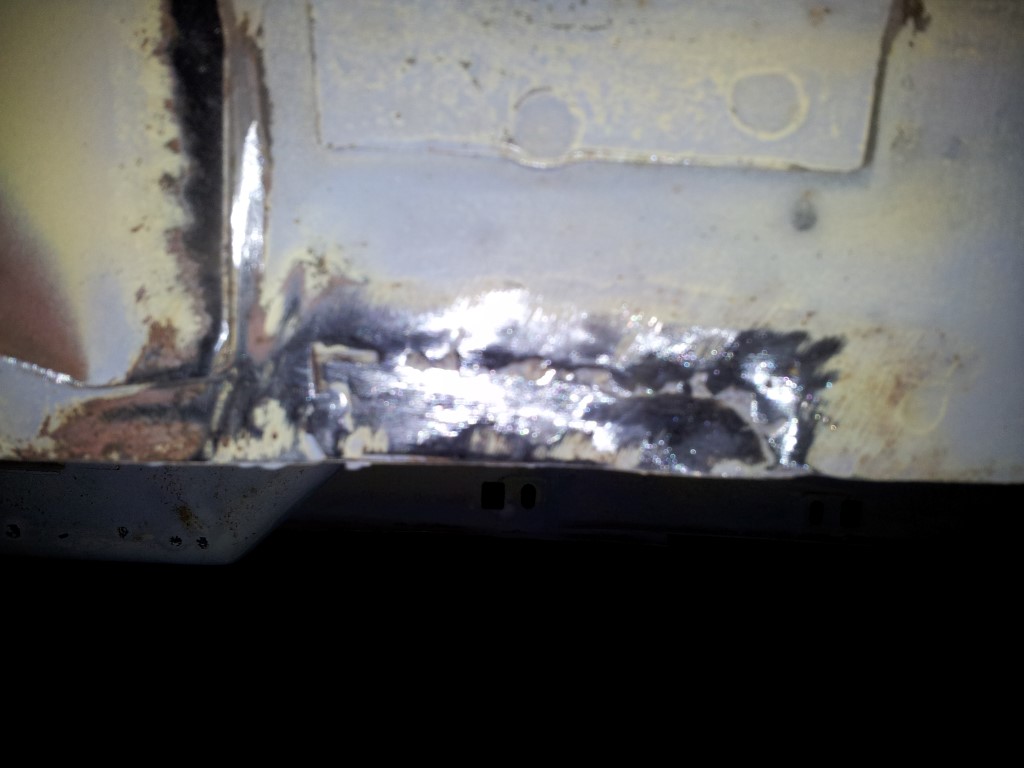 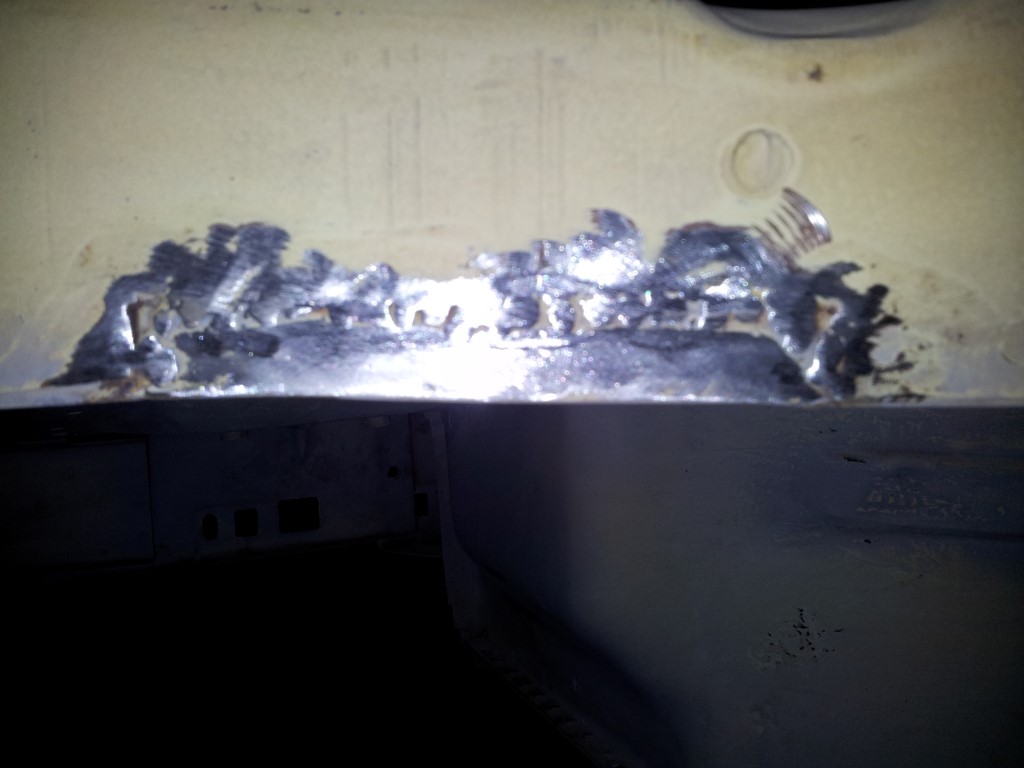 more bad repairs and welding that need to be repaired 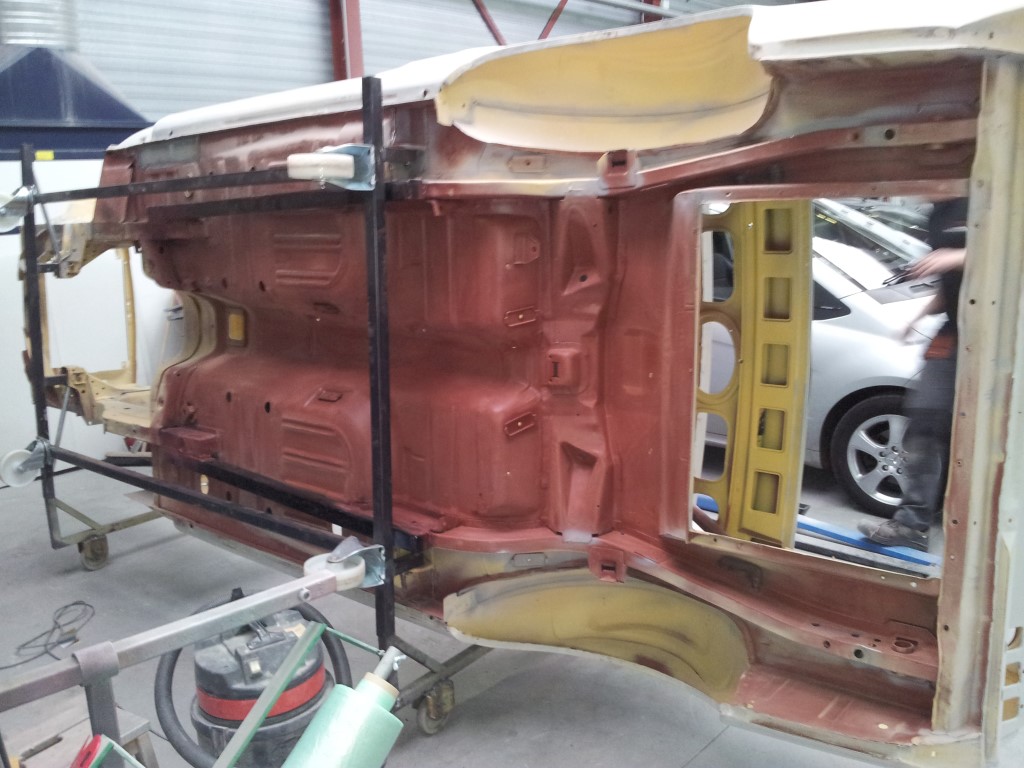 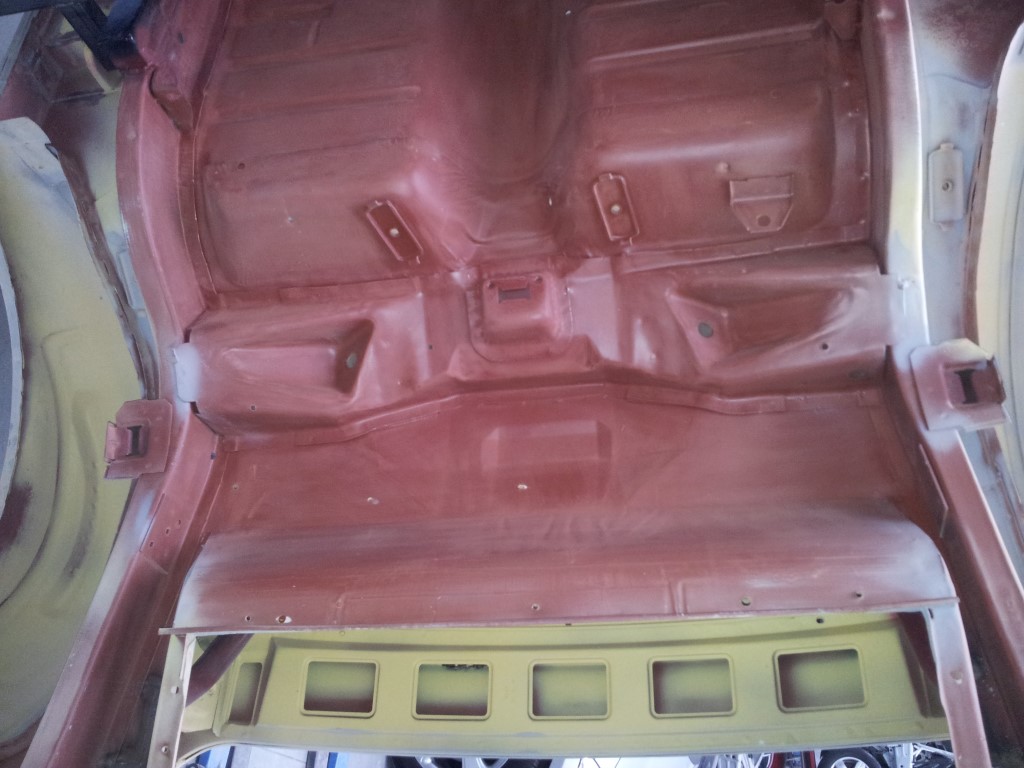 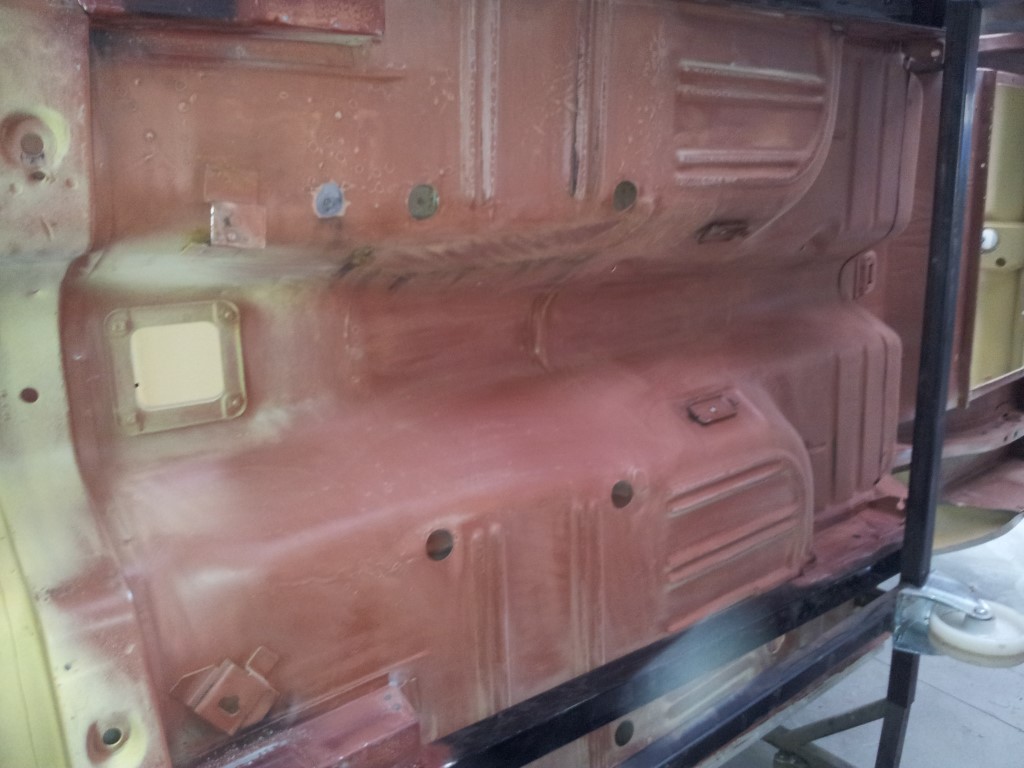 underside of the car sanded and scuffed ready for body suite 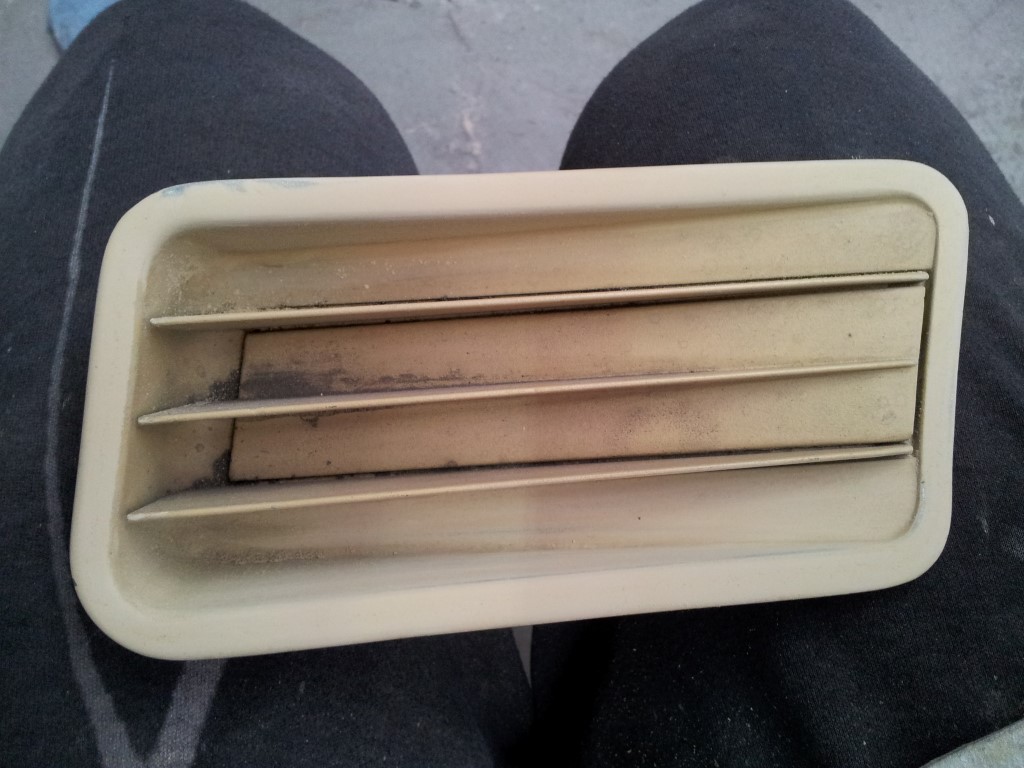 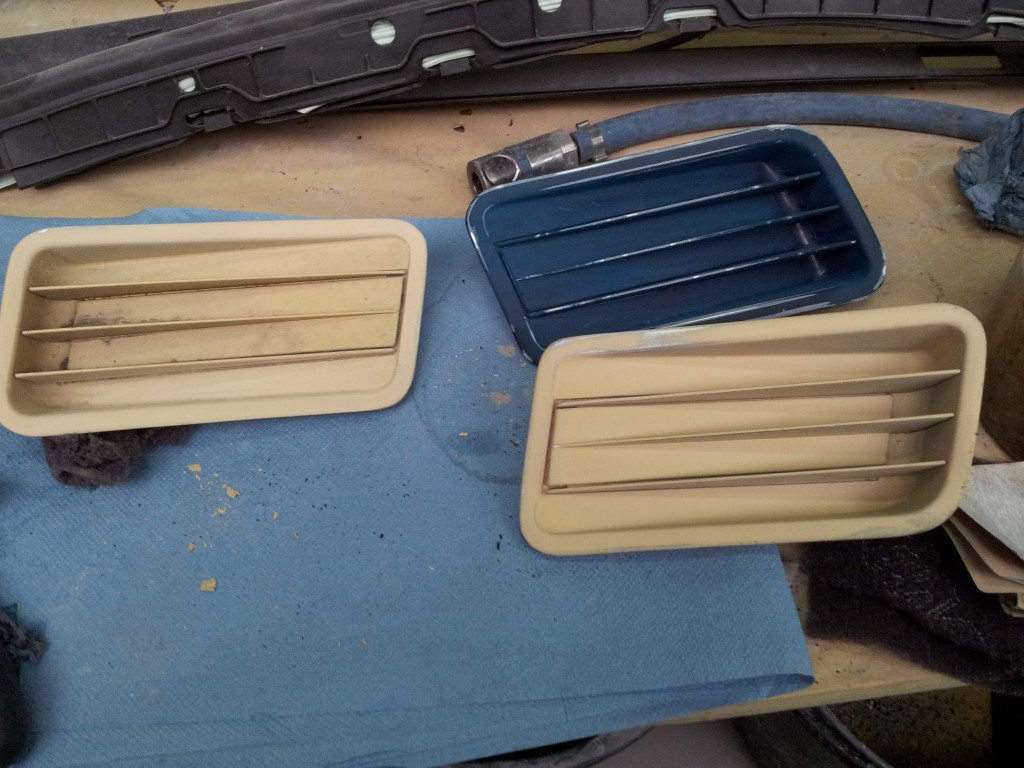 side scoop inserts, damn hard to clean and sand the small ereas 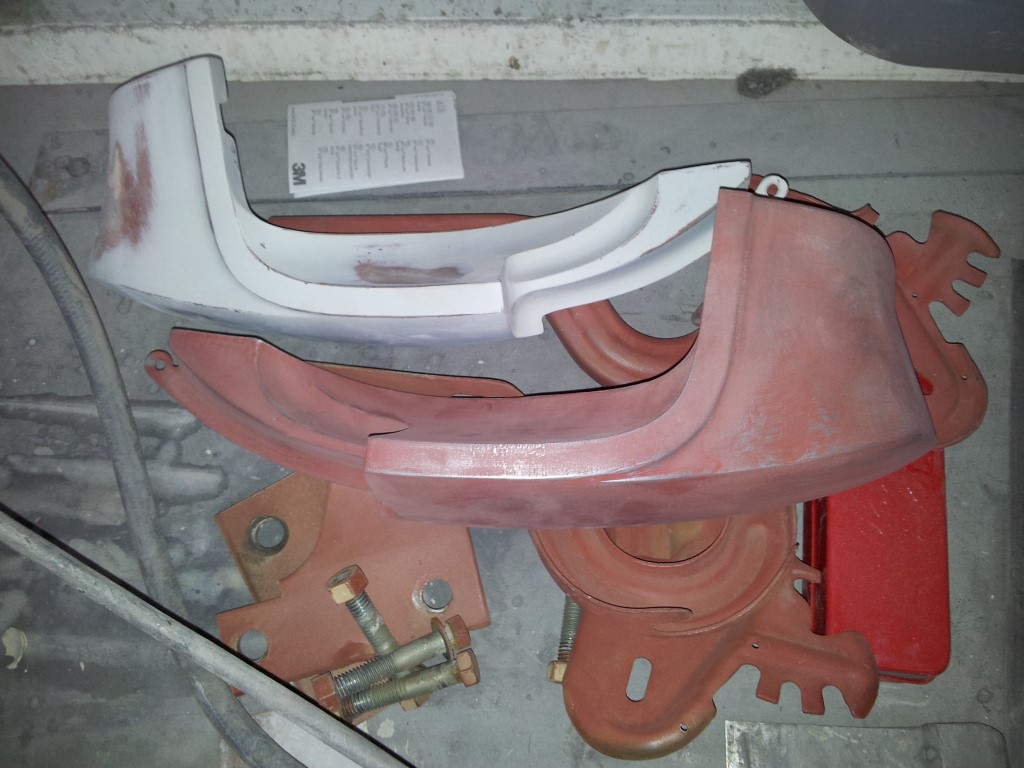 trunk hinges, quarter panel extensions and tie down hooks sanded and scuffed 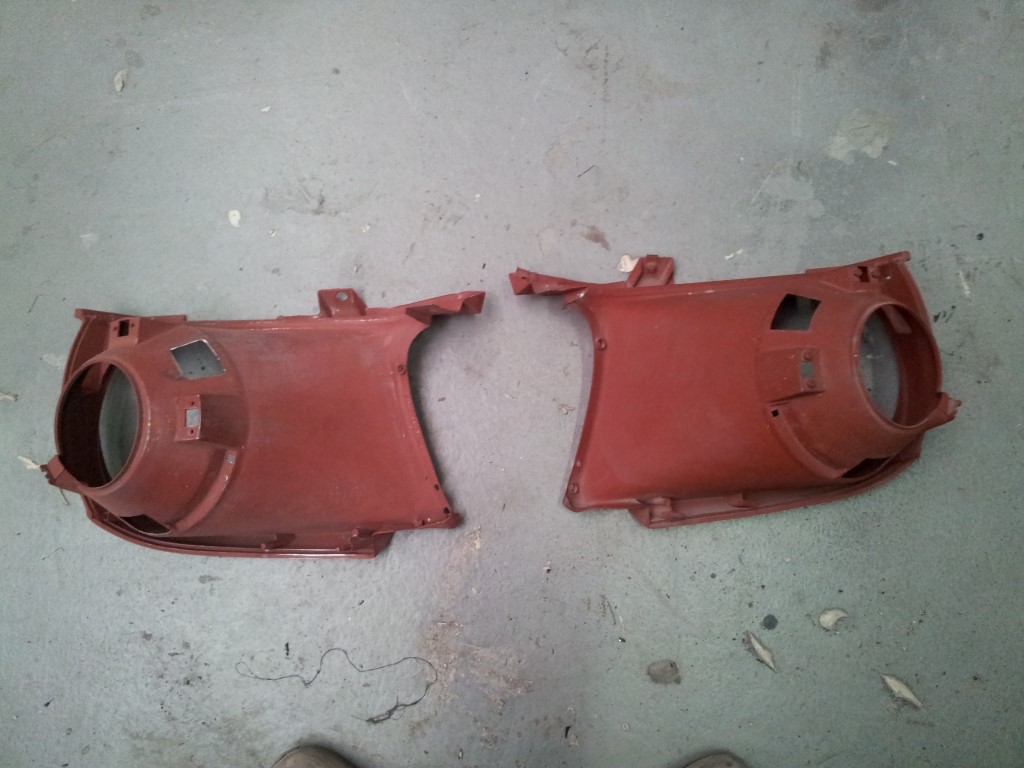 headlight buckets. left side is sanded and scaffed, right side not yet 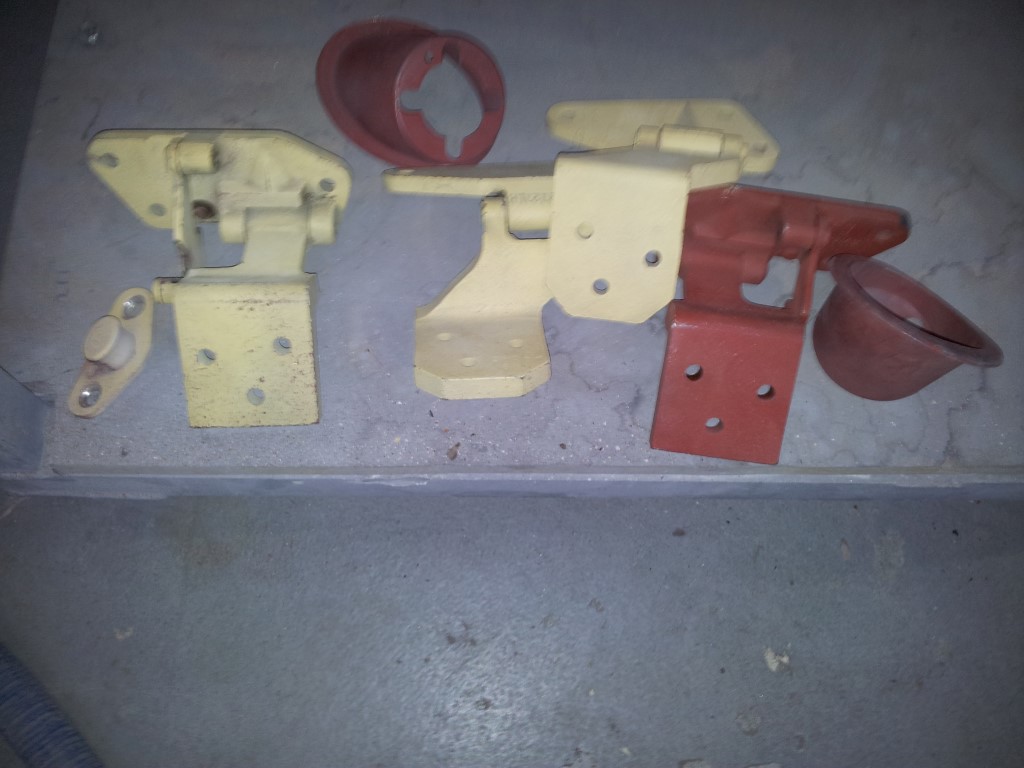 door hinges and single light buckets sanded and scuffed 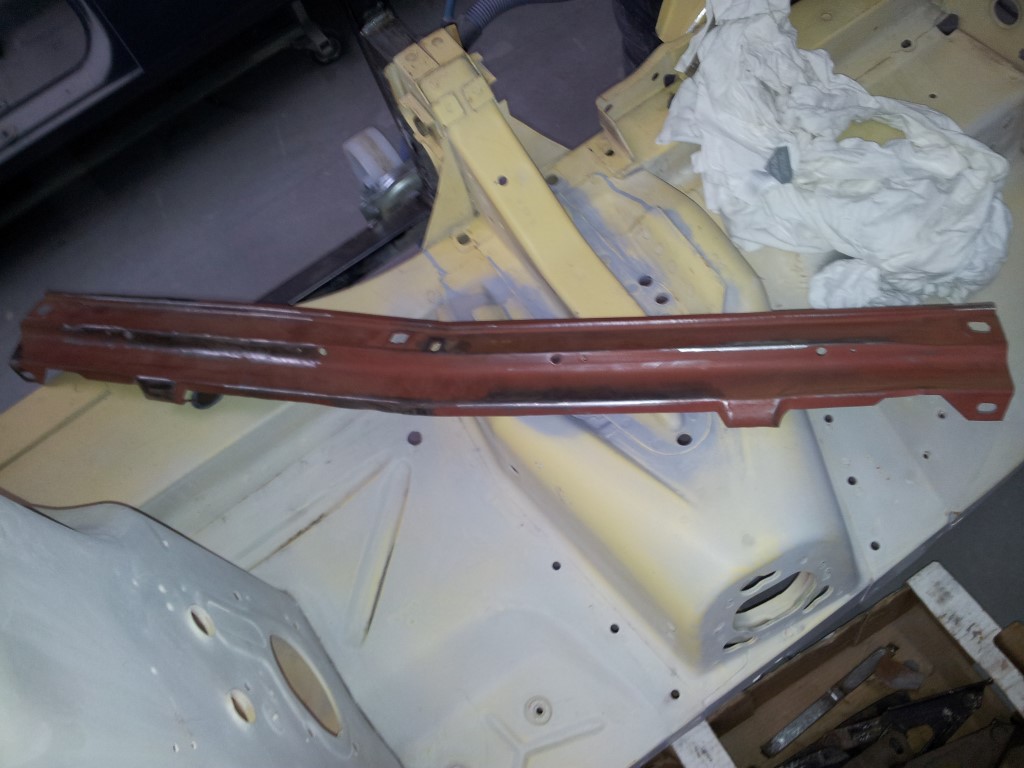 stone deflector ready for ground 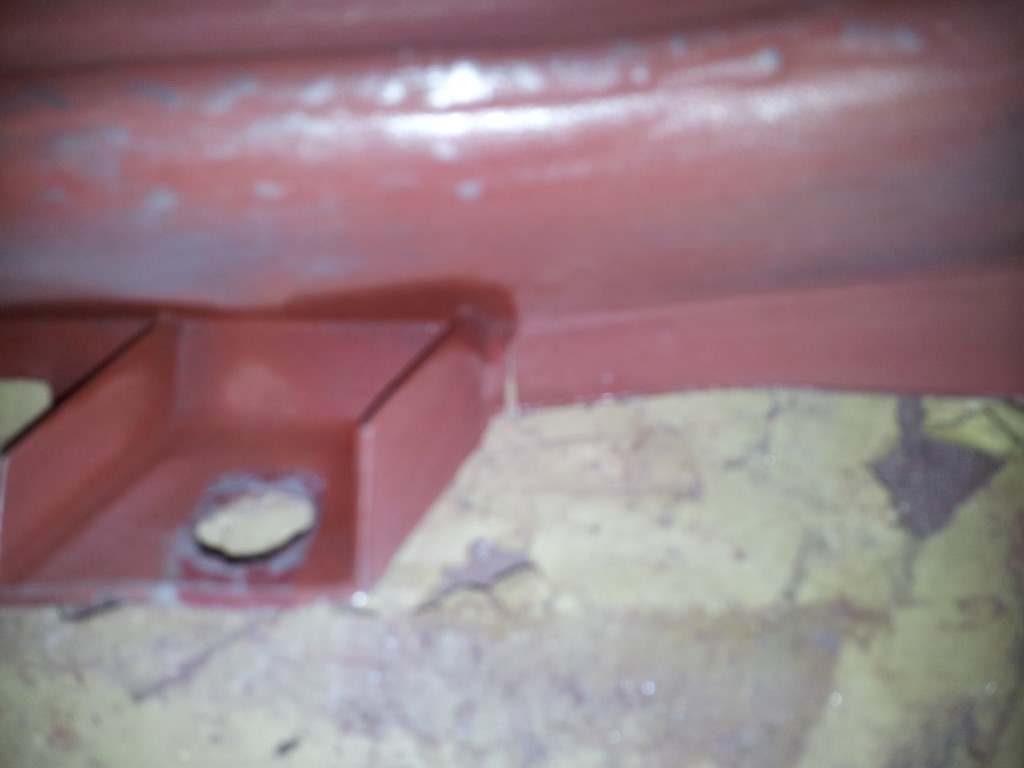 very hard to see but there is a small break in the headlight bucket that needs to be welded 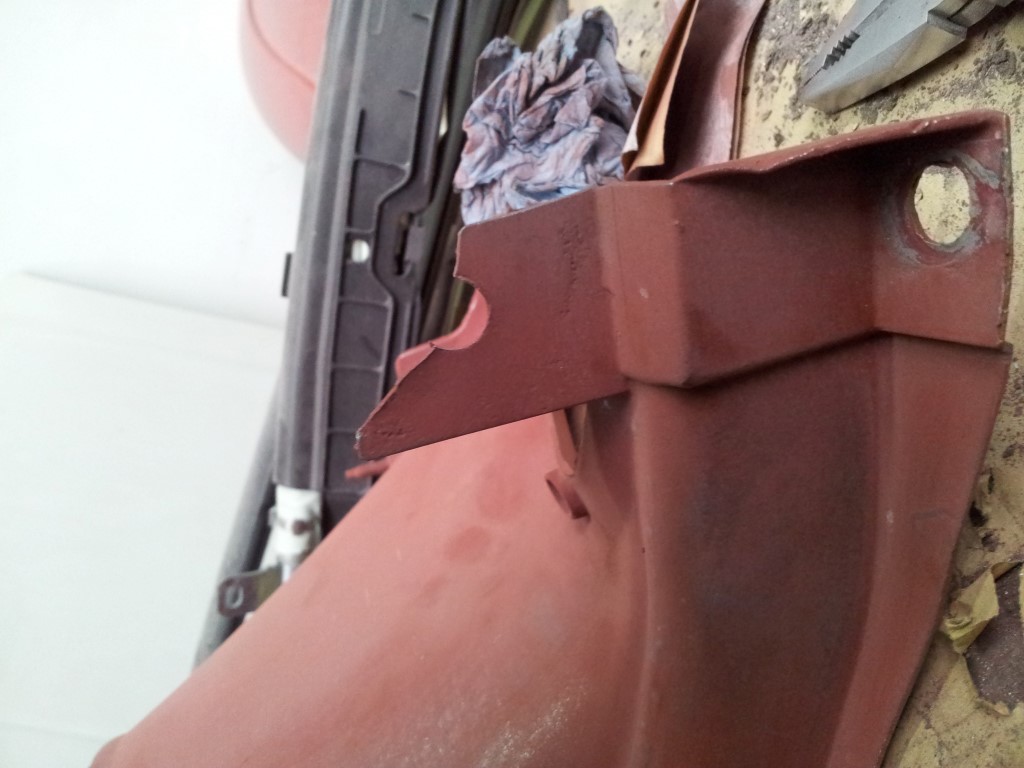 the mounting bracket of the headlight bucket needs a new piece 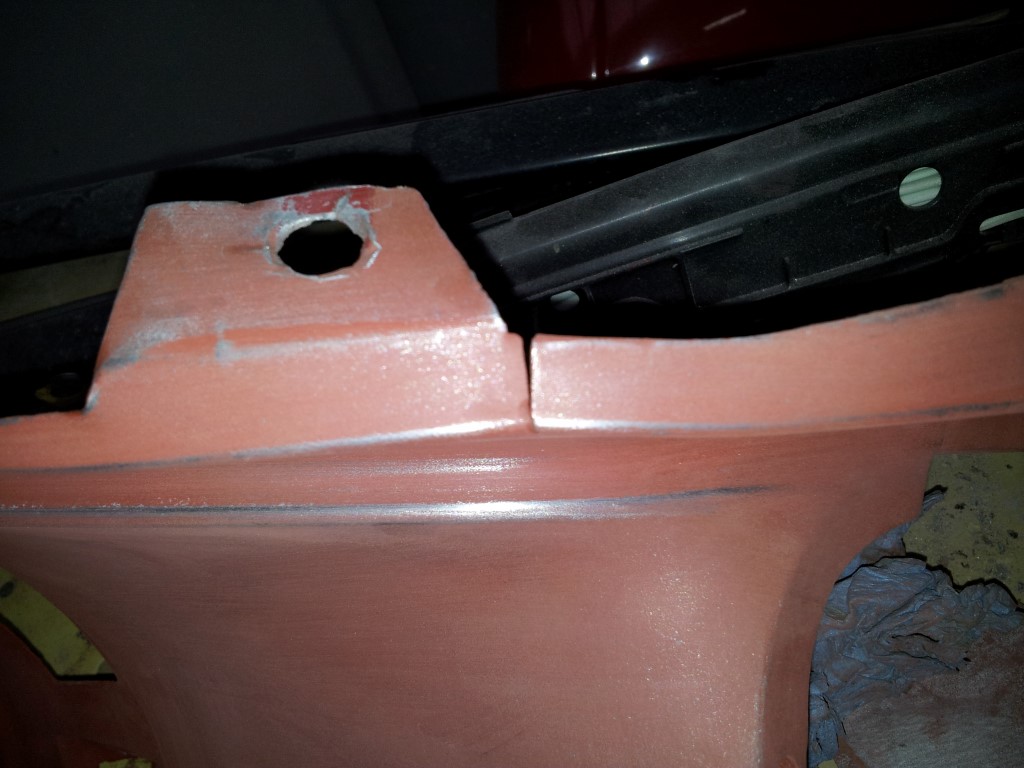 here is the break in the headlight bucket again 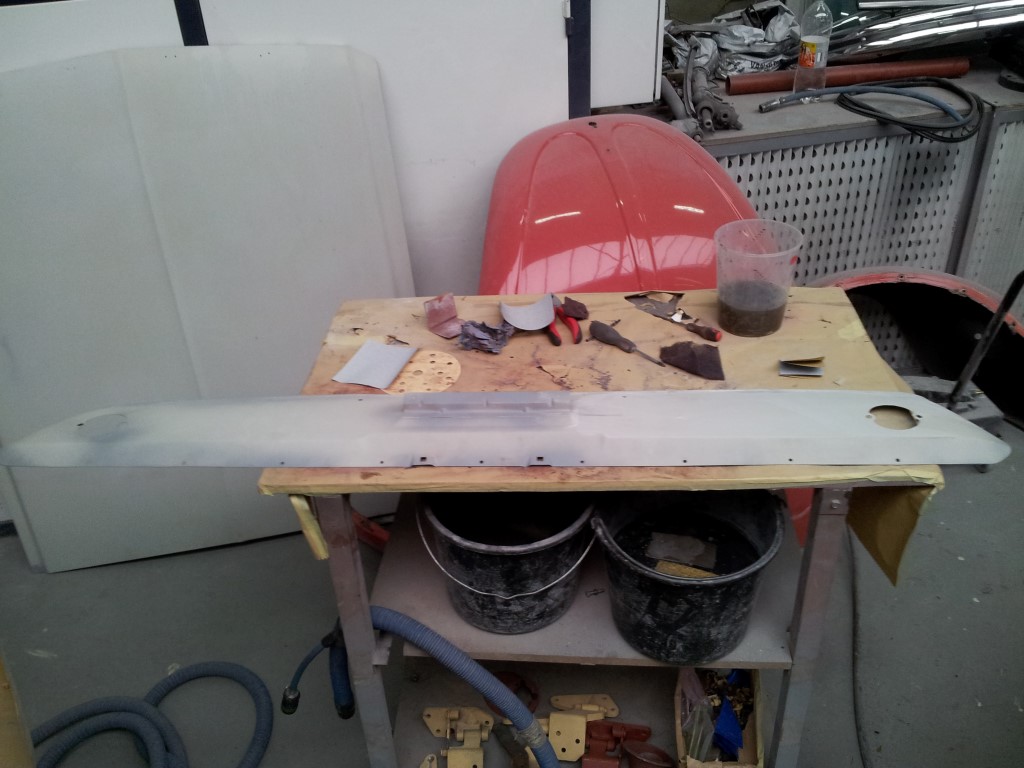 back plate completely sanded and scuffed ready for ground 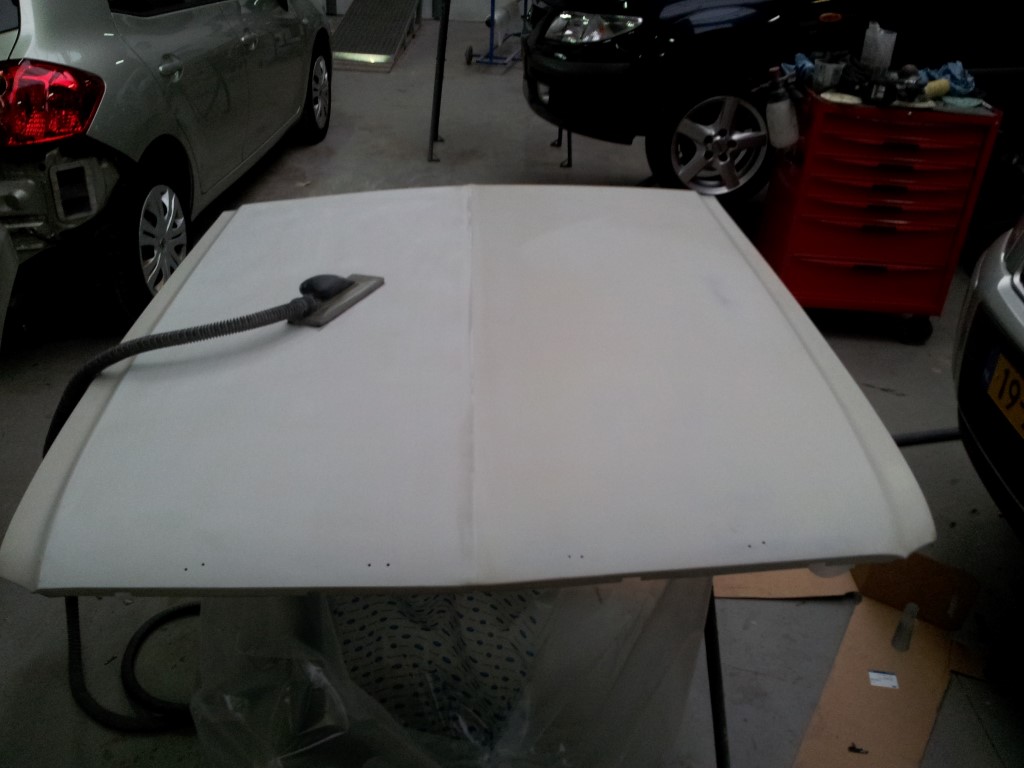 here is the hood, left side sanded and the right not yet 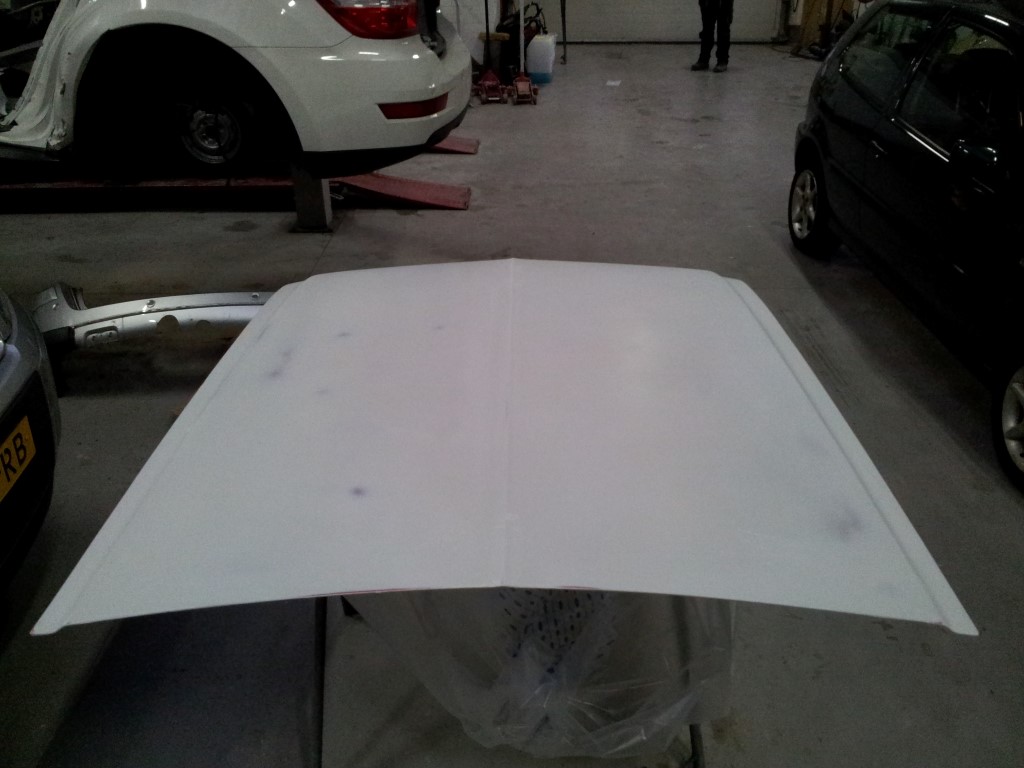 the hood completely sanded and scuffed. it will be put in ground paint and then sanded again 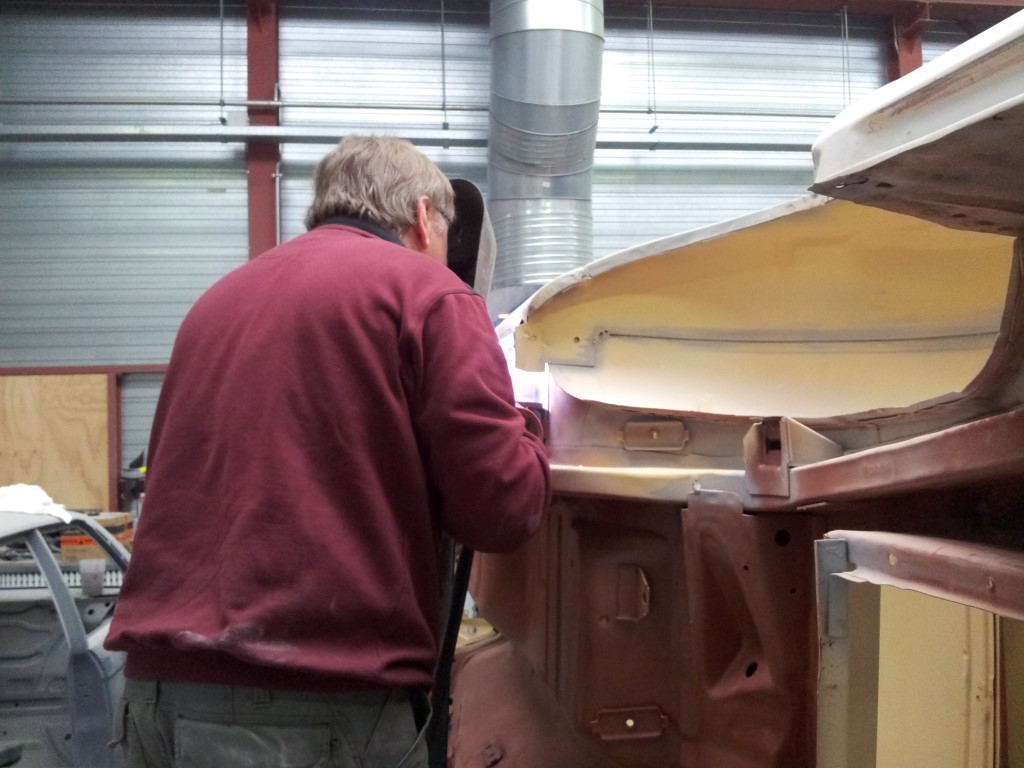 some welding being done  front valance sanded and scuffed 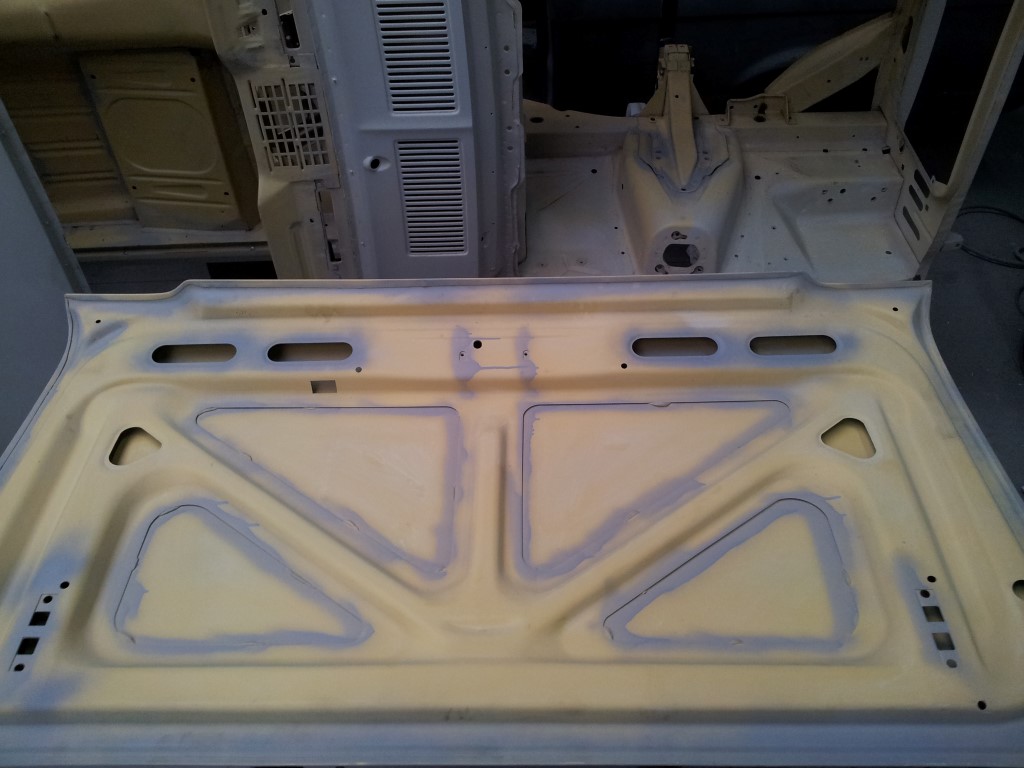 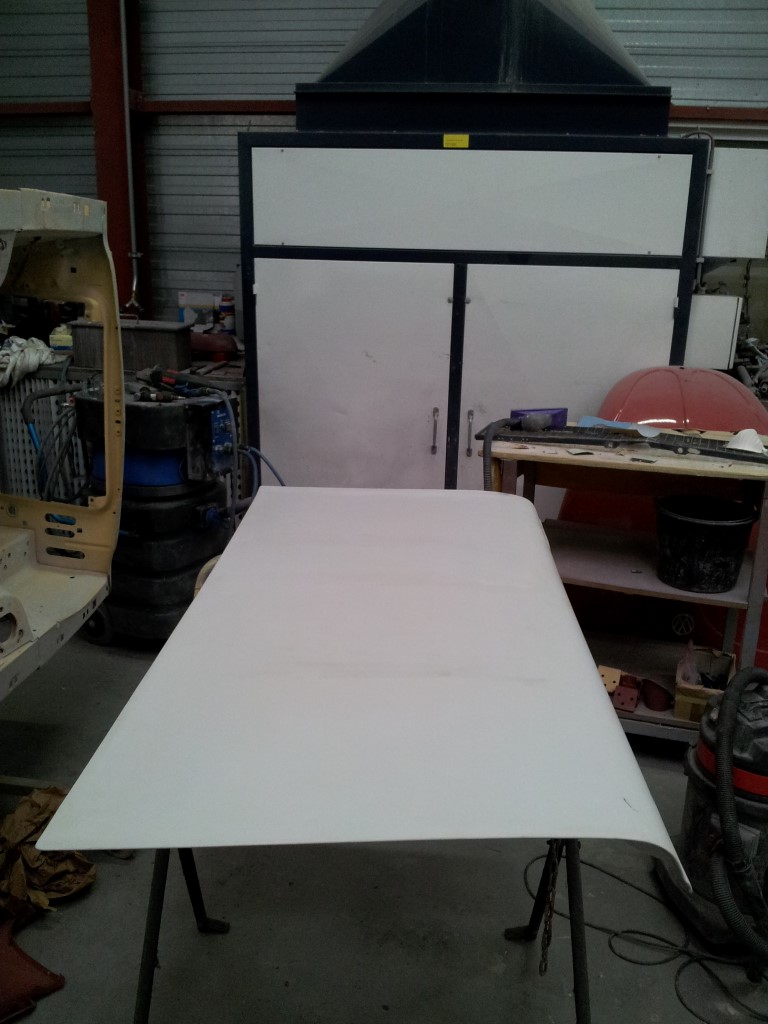 trunk lid front and back 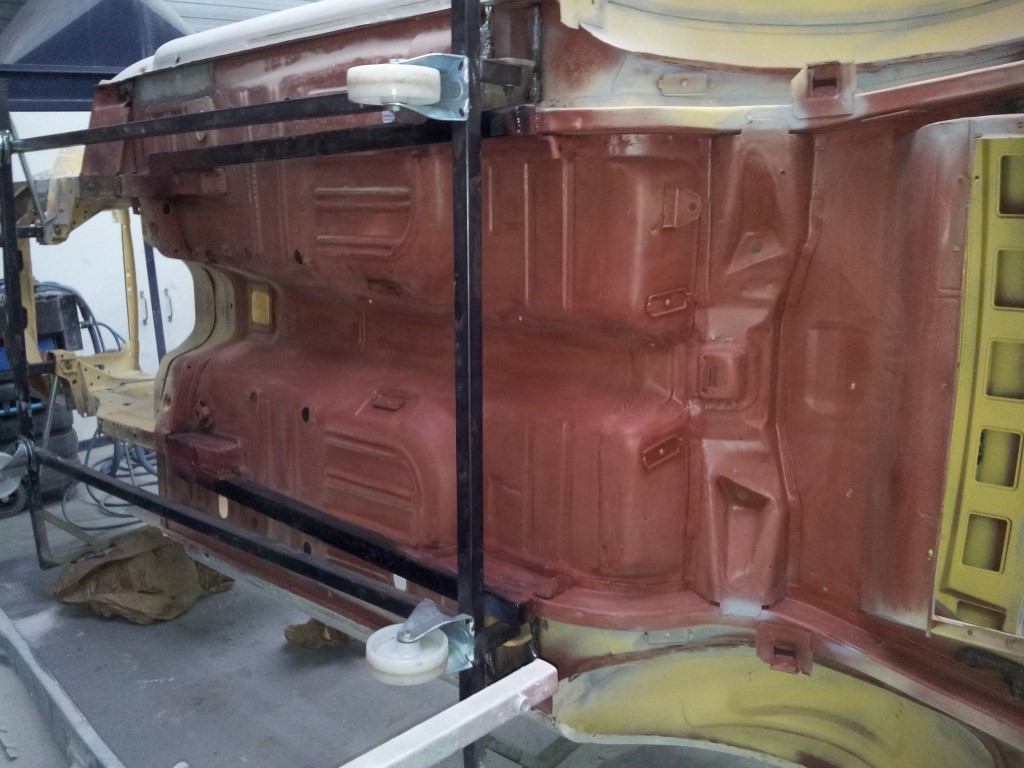  underside cleaned and degreased 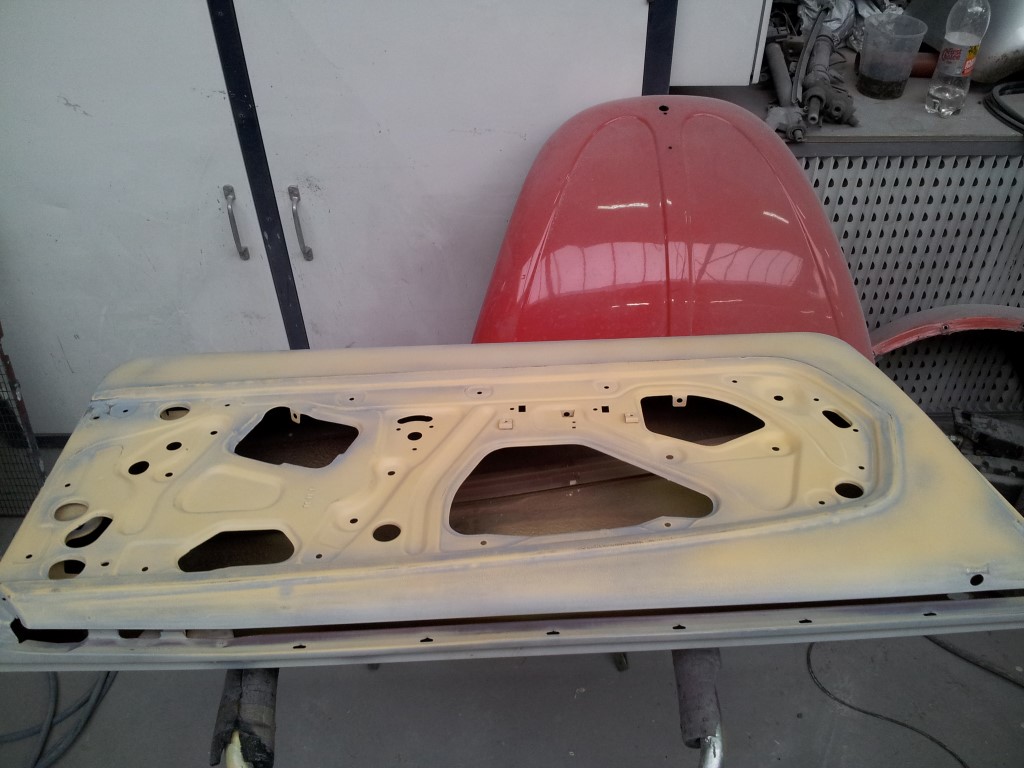 inside drivers door sander and scuffed 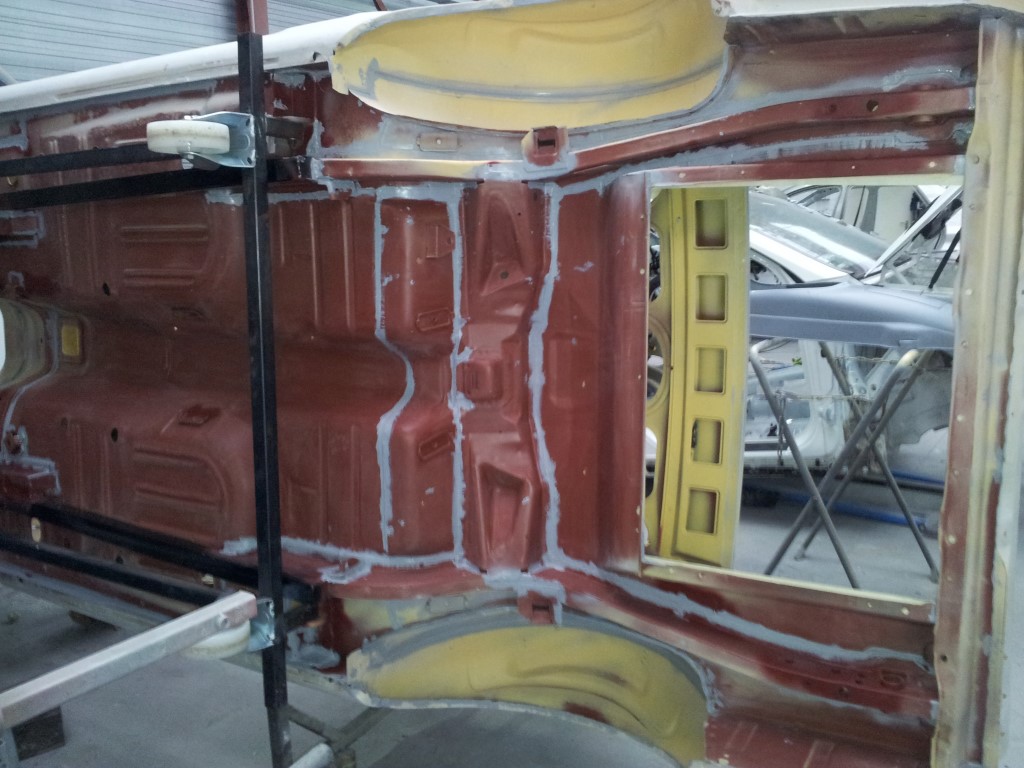 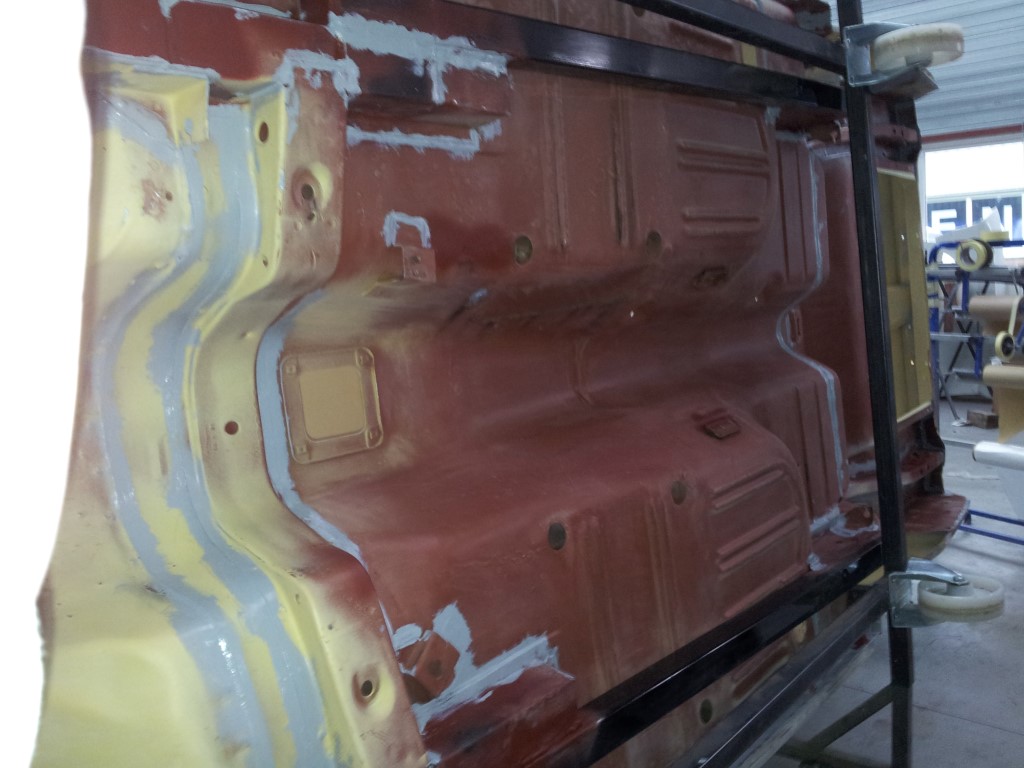 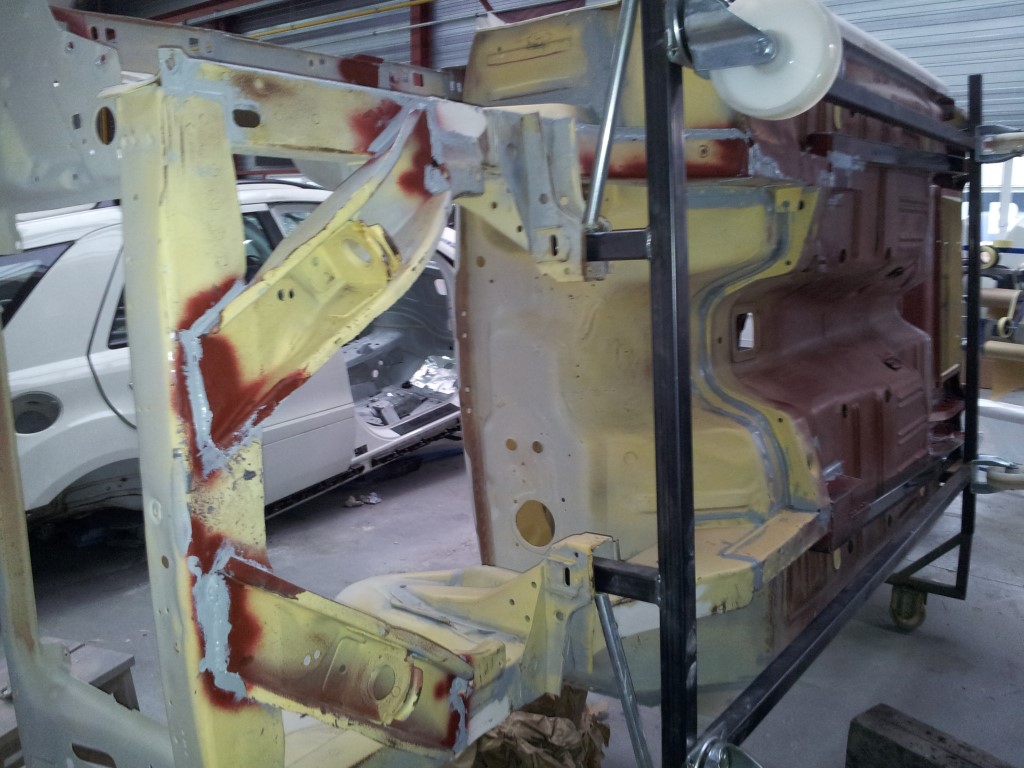 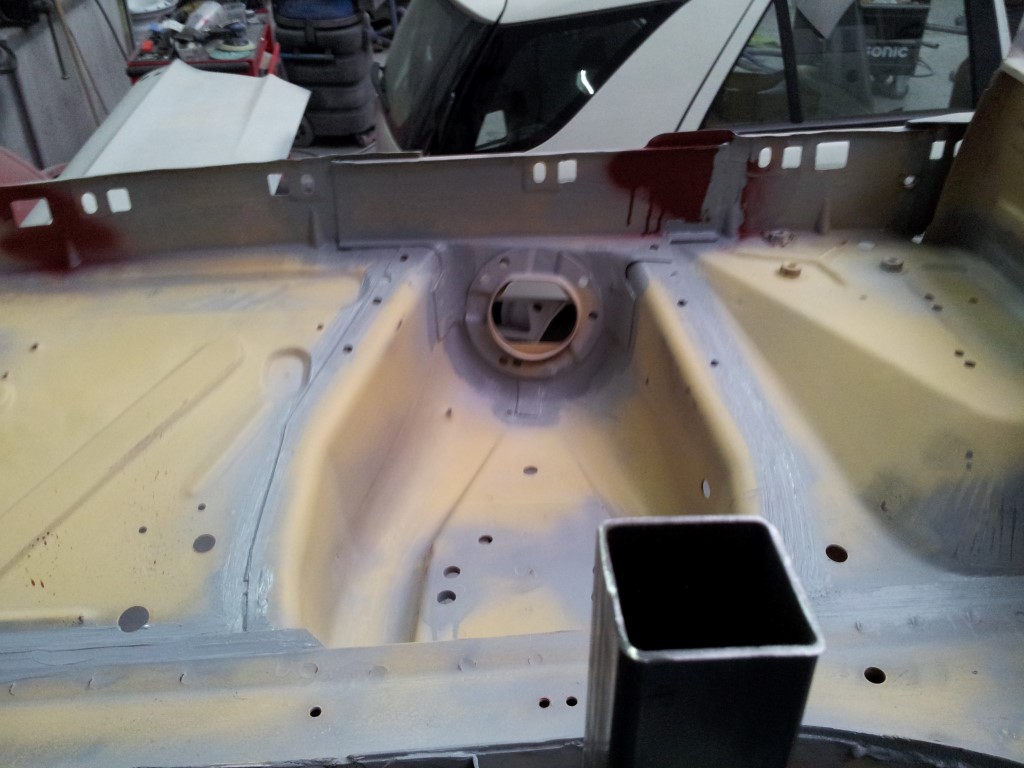 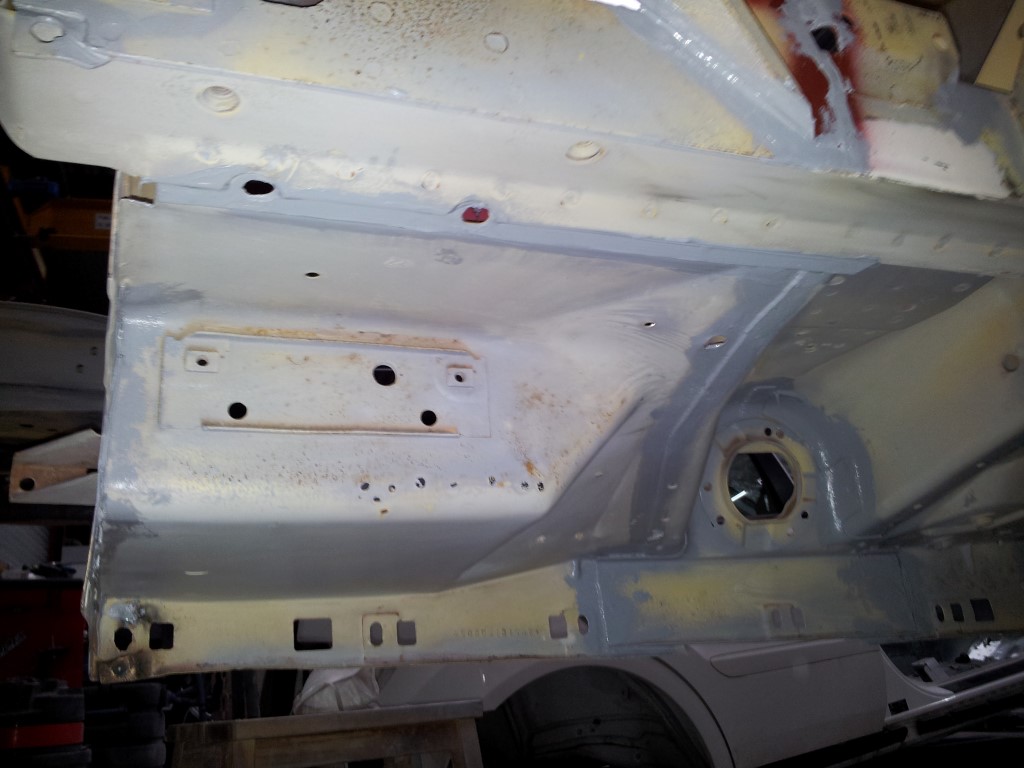 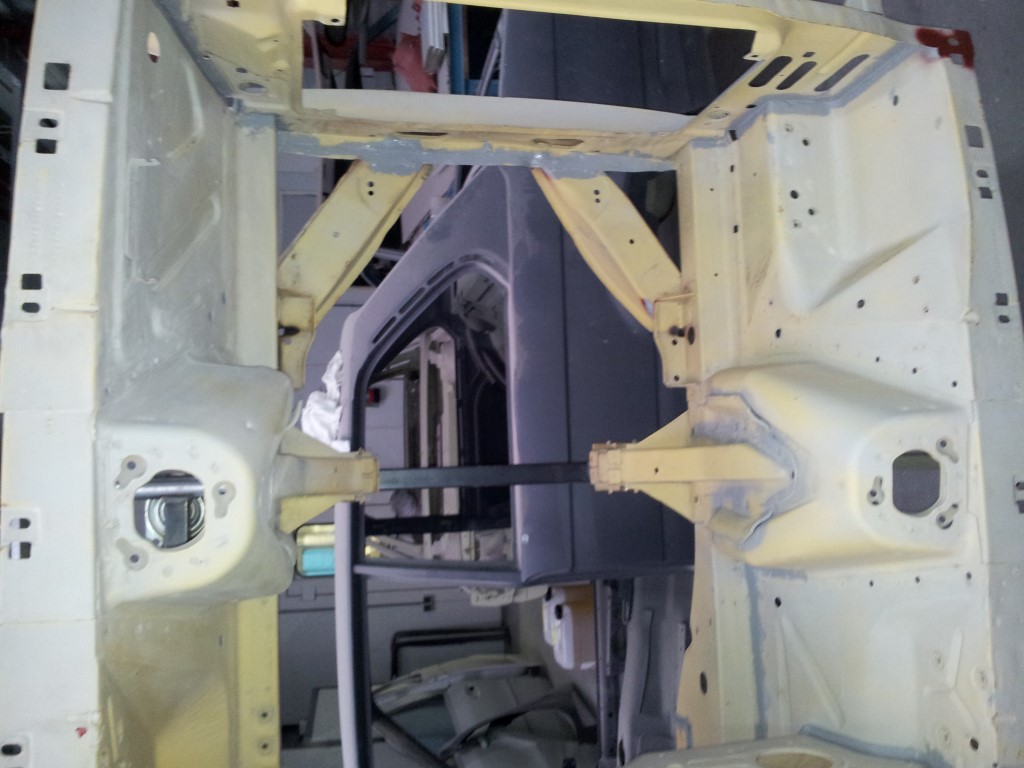 all the seams and more treated with body sealer 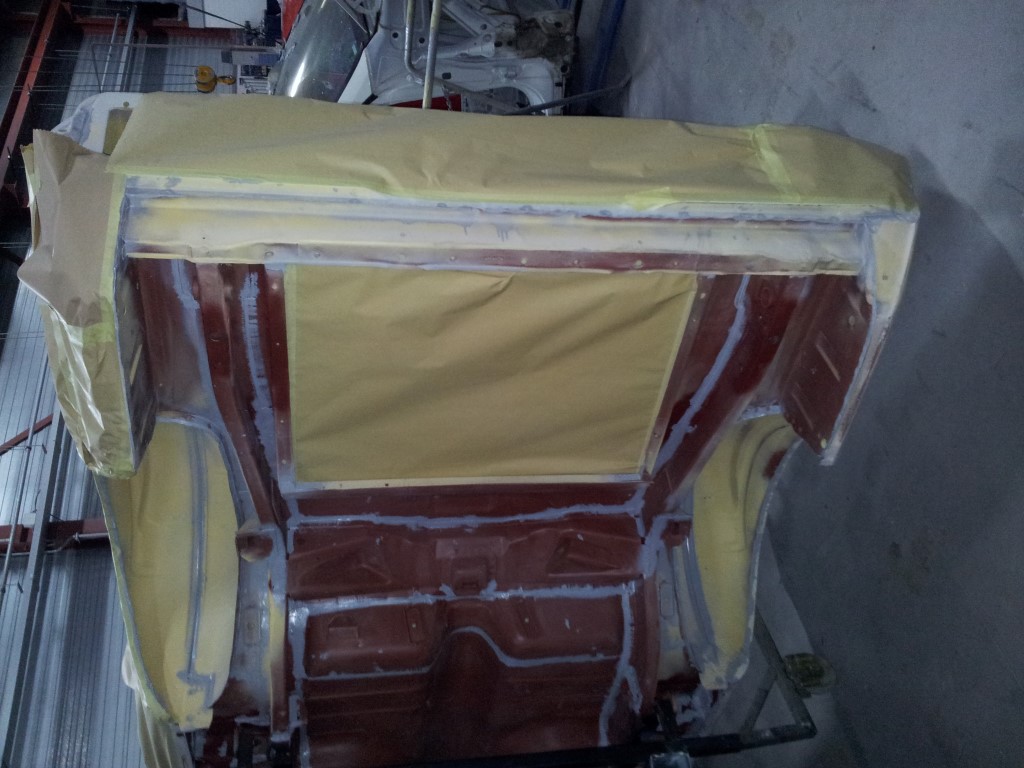 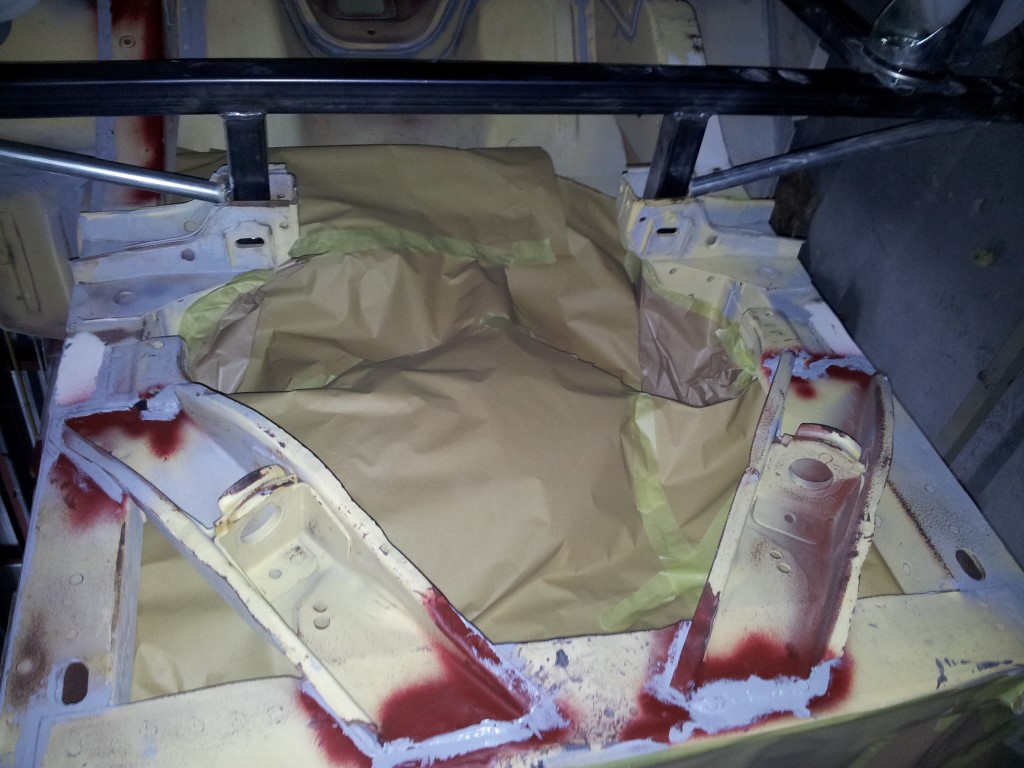 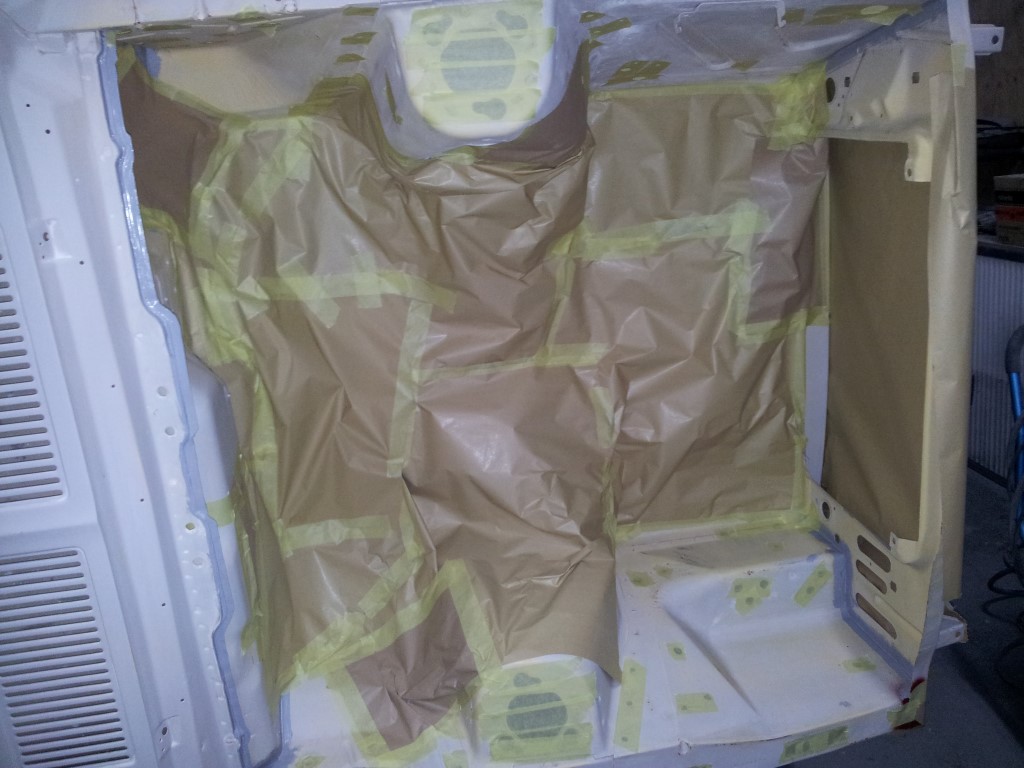 Wrapping the car so the underside can be painted in body suite 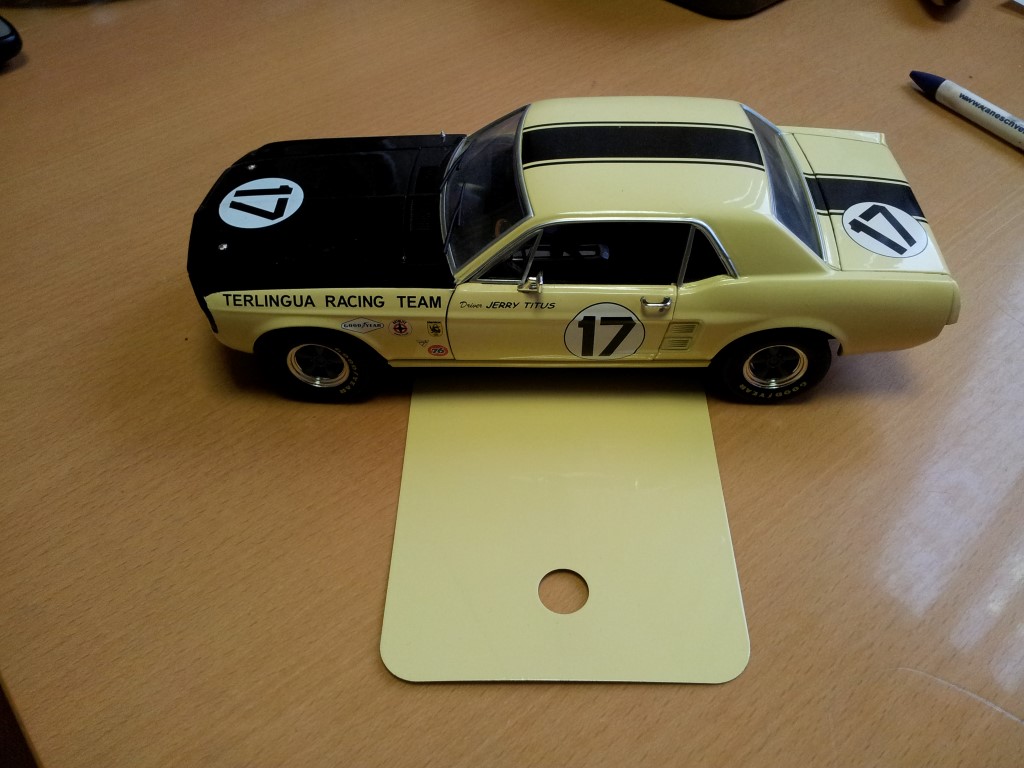 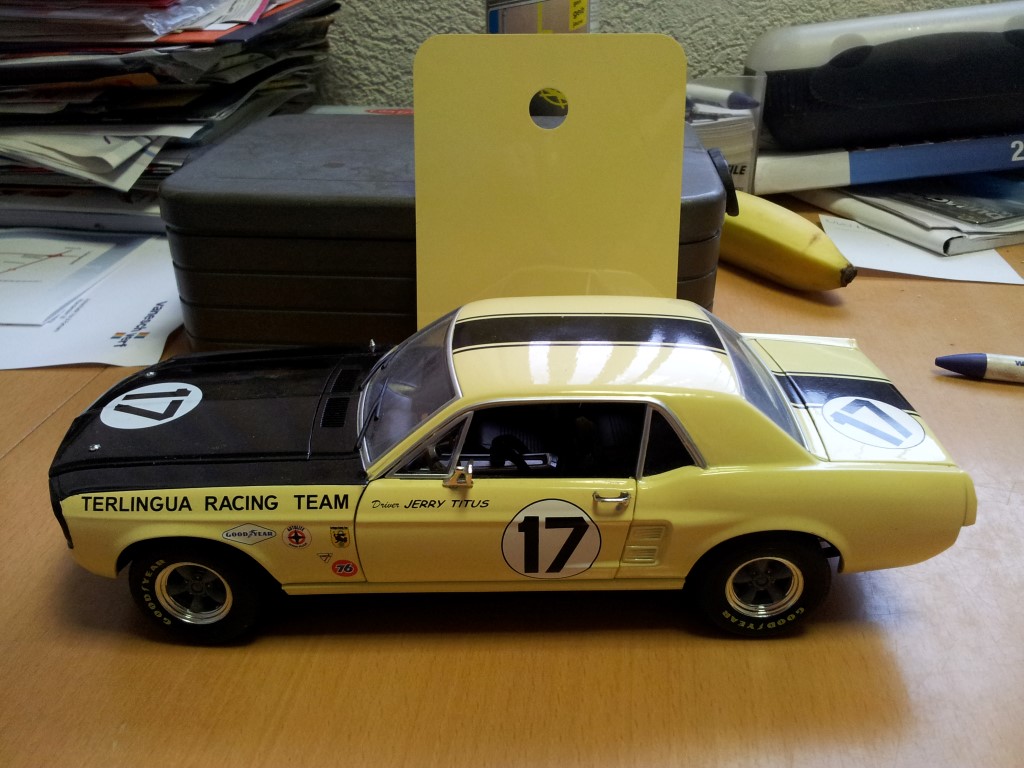 a model of the Terlingua Mustang and a color sample 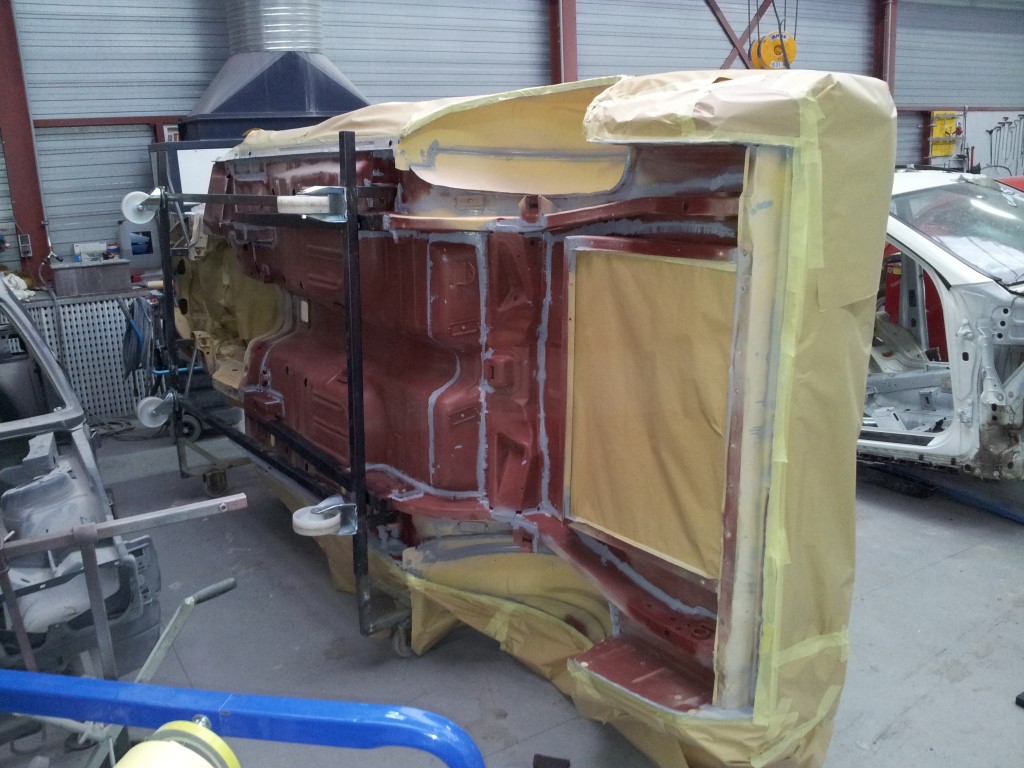 all wrapped up for body suite, ground and color  door being sanded, right side done, left still to go  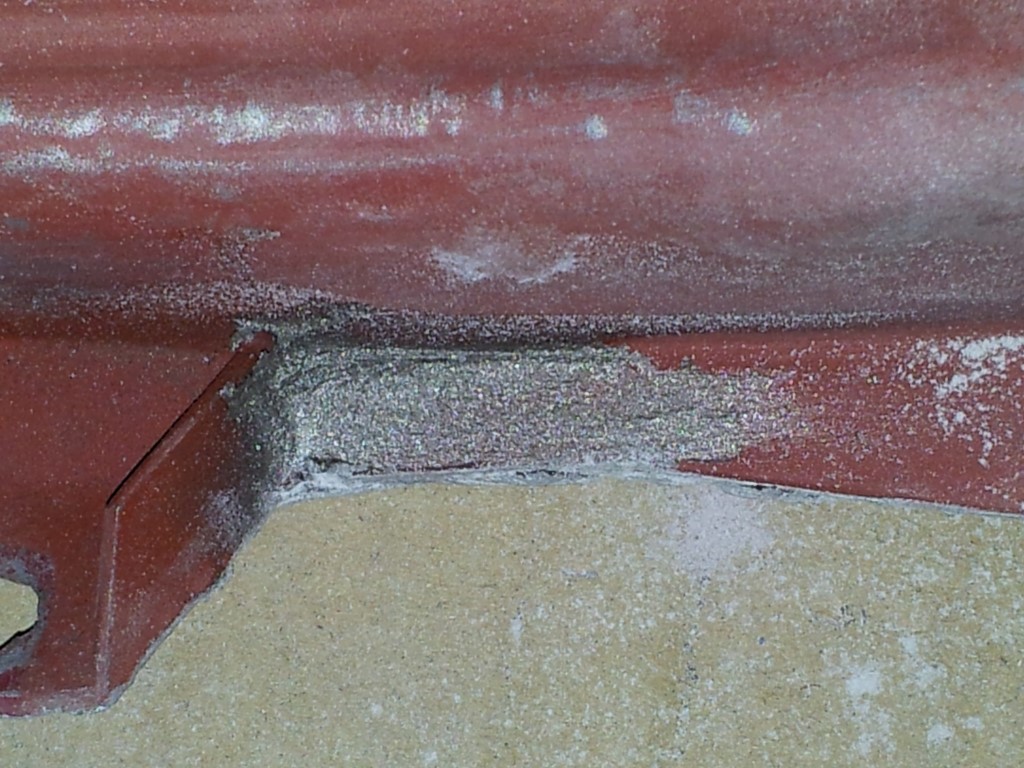 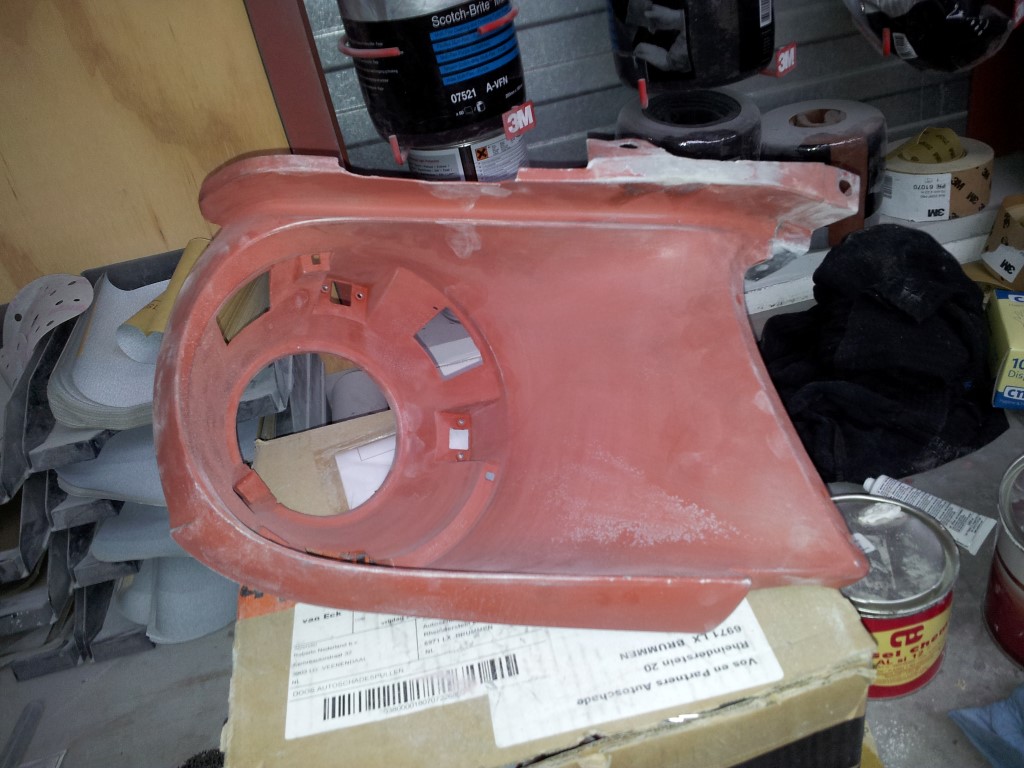 repairs to the drivers side head ligth bucket 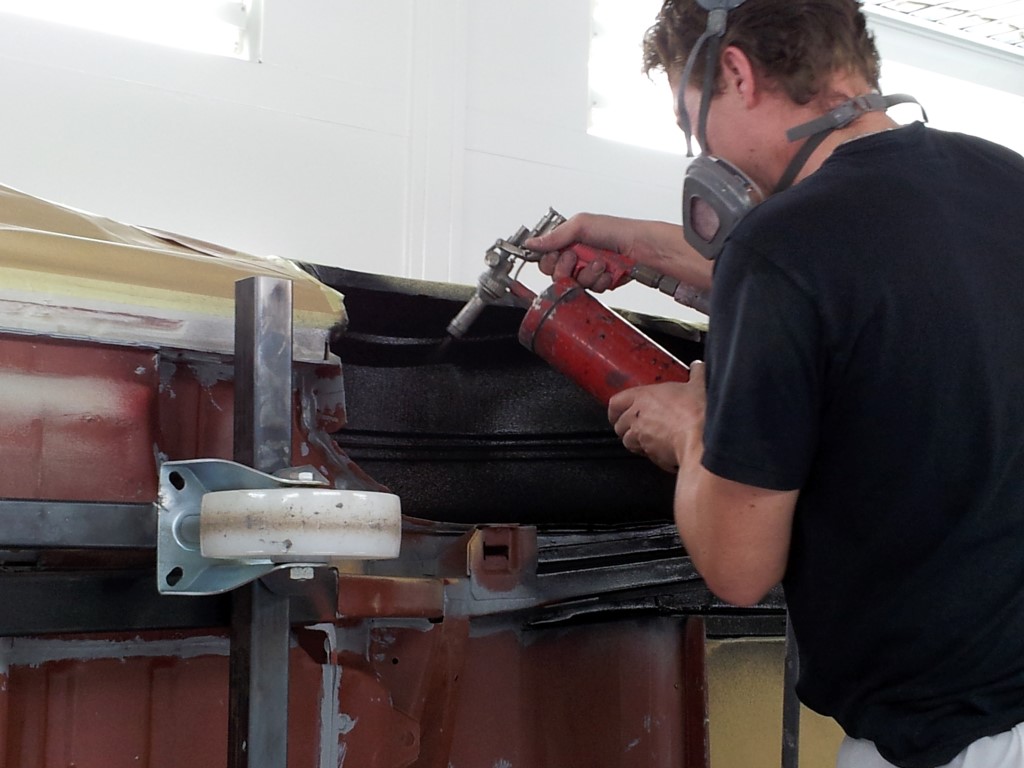 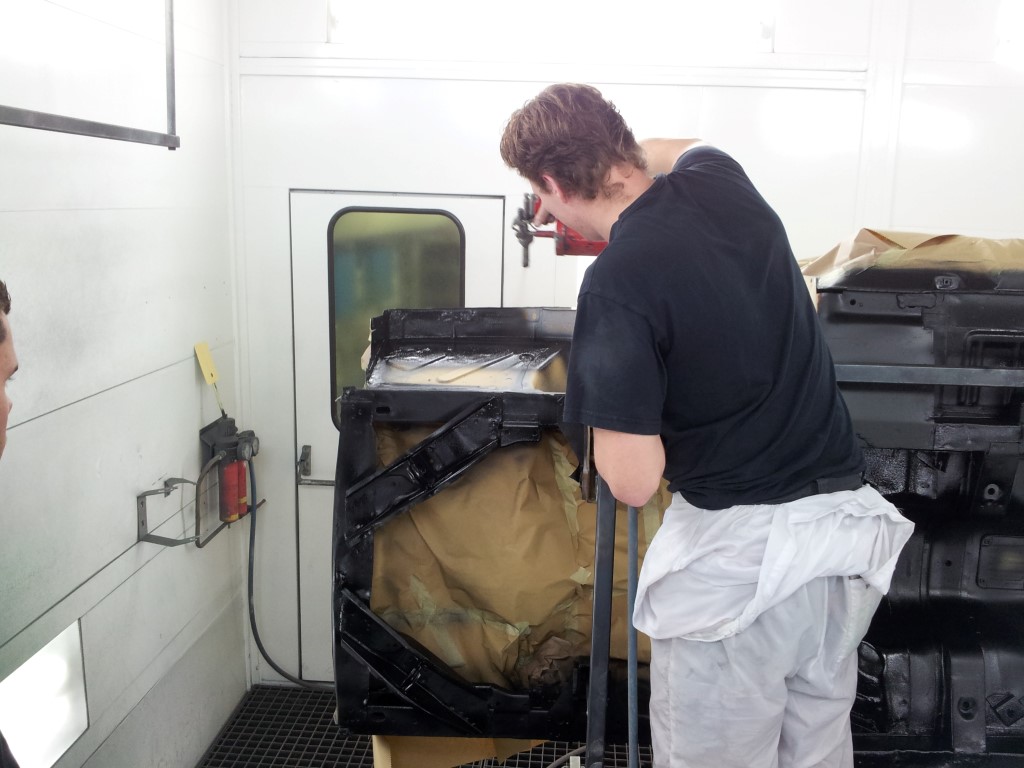 Martin putting the body suite down 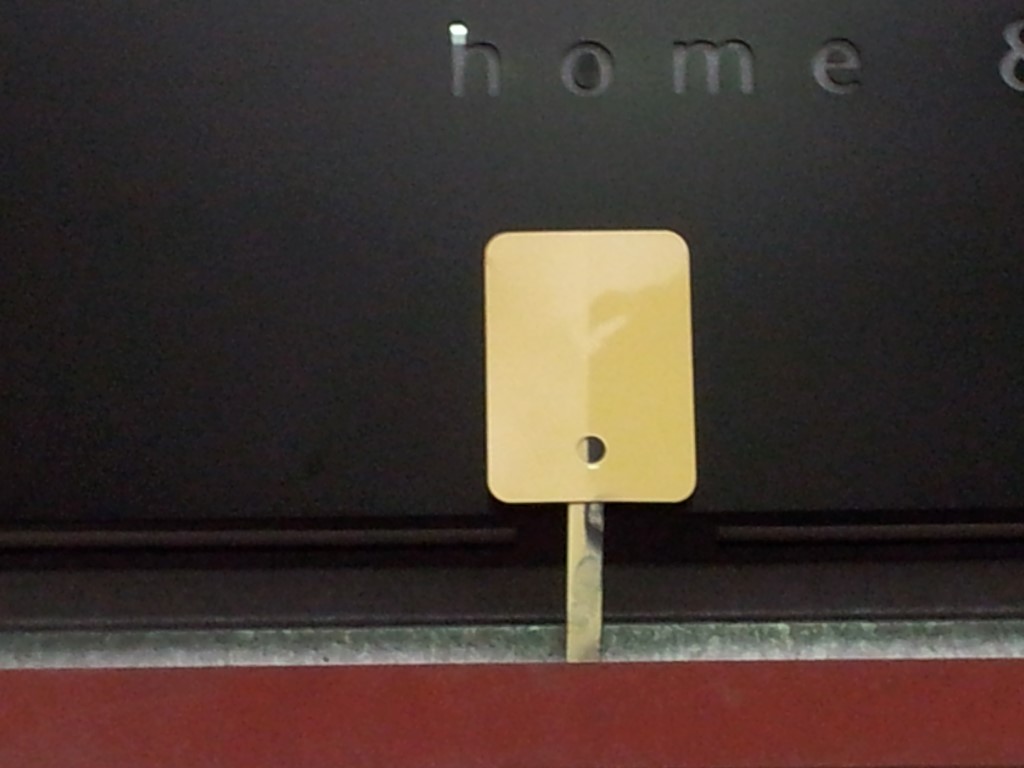 color sample against the black to be used. right is more glossy then the left. I will go with the right 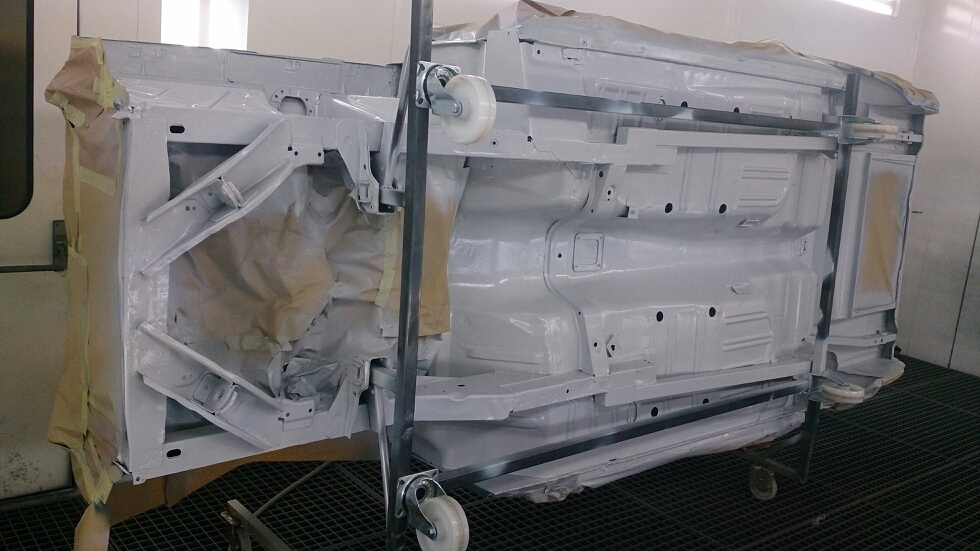 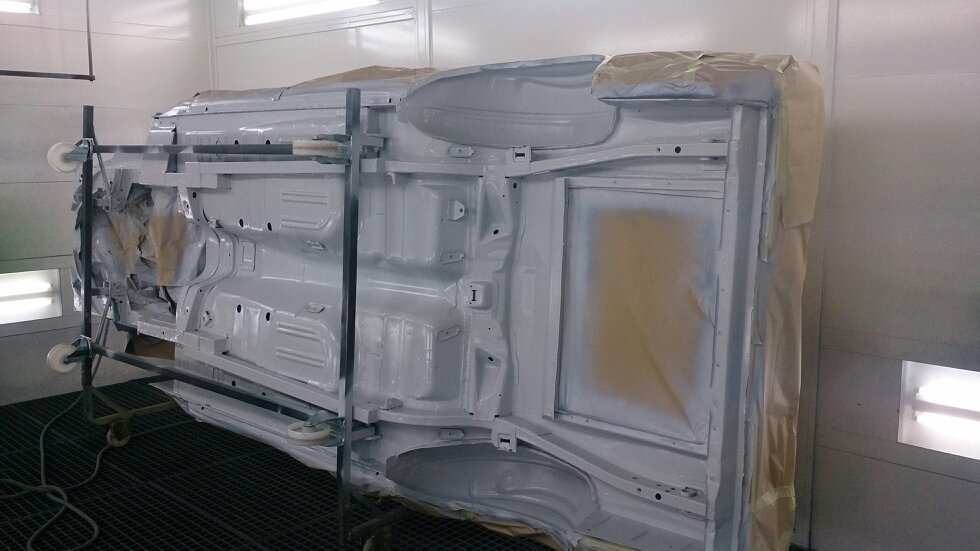 car shot in ground ready for color   shot thru the paint booth window of the bottom of the car getting color 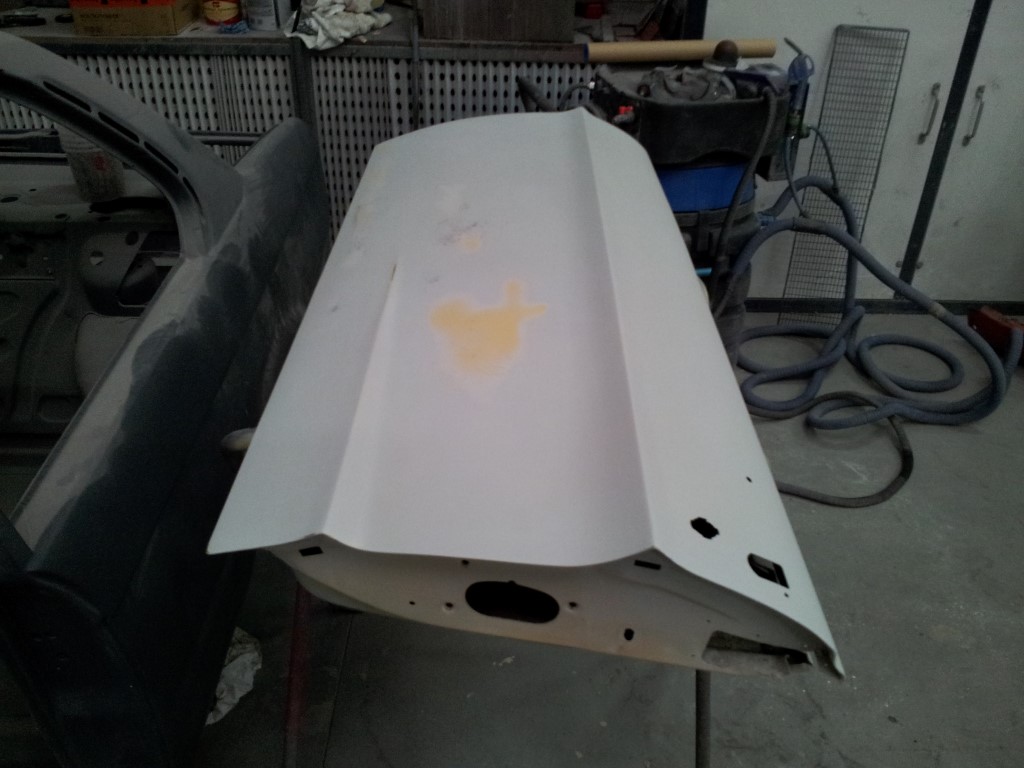 drivers door sanded. the yellow spot needs filler 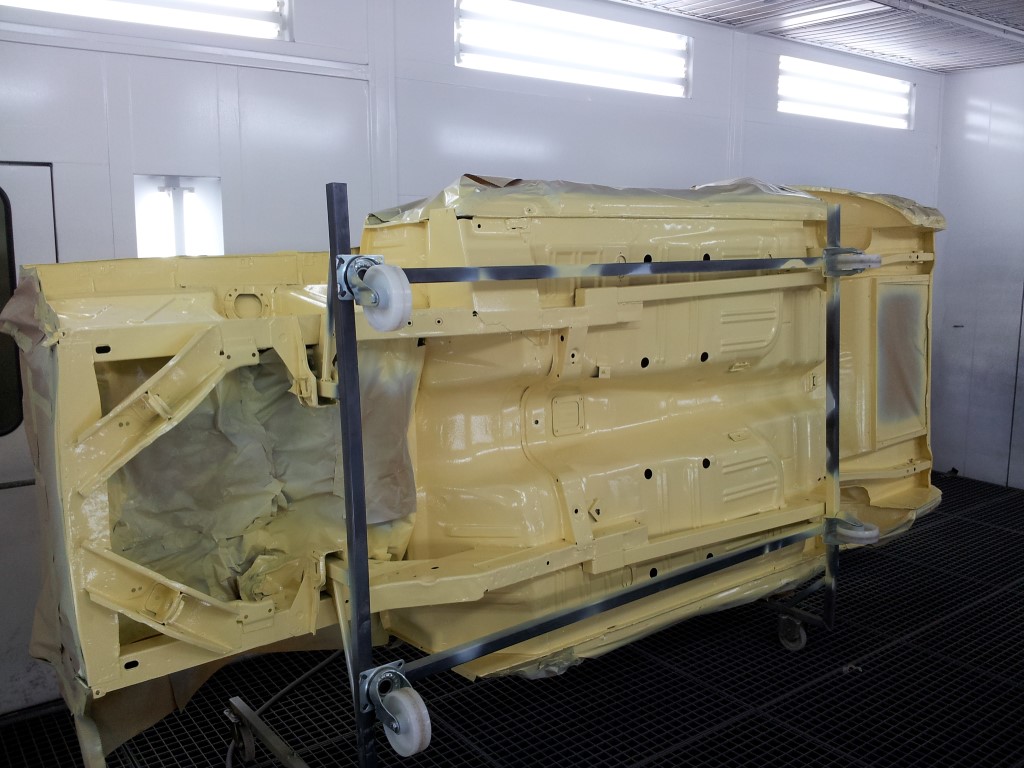 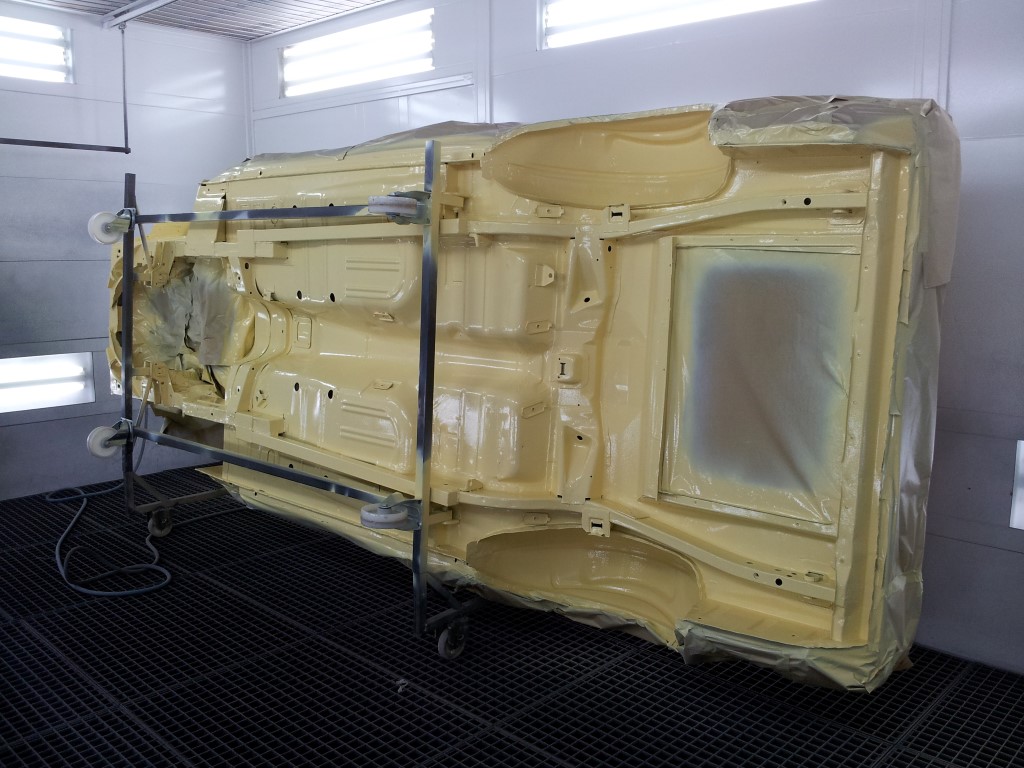 car drying in the paint booth with bottom in color 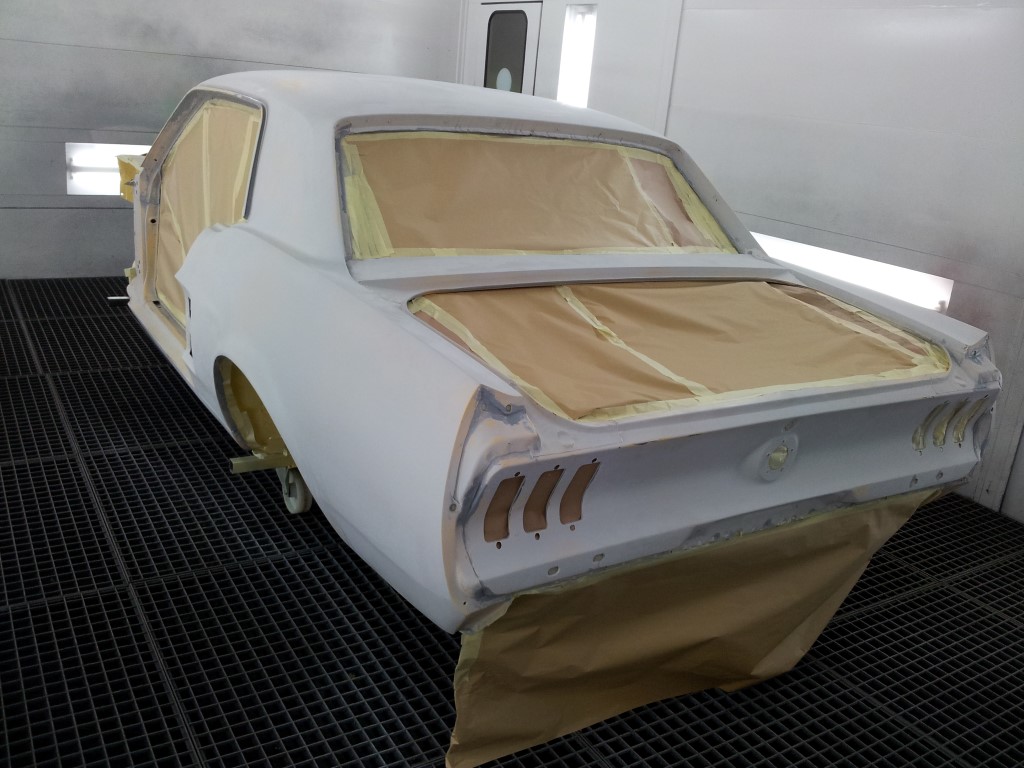 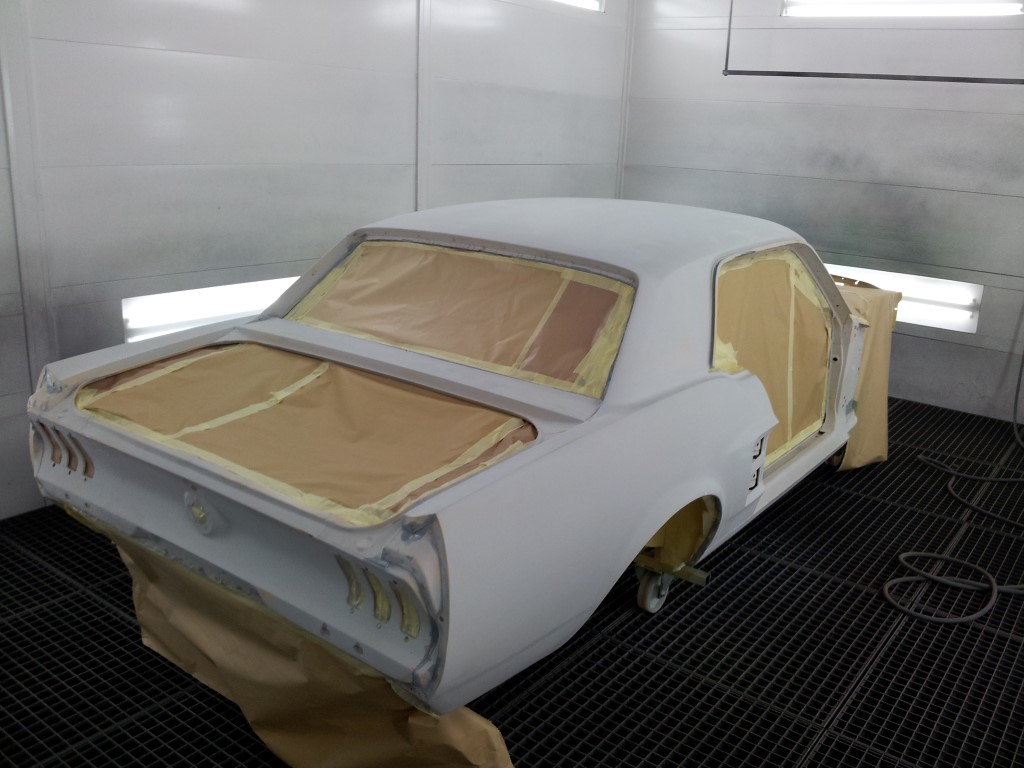 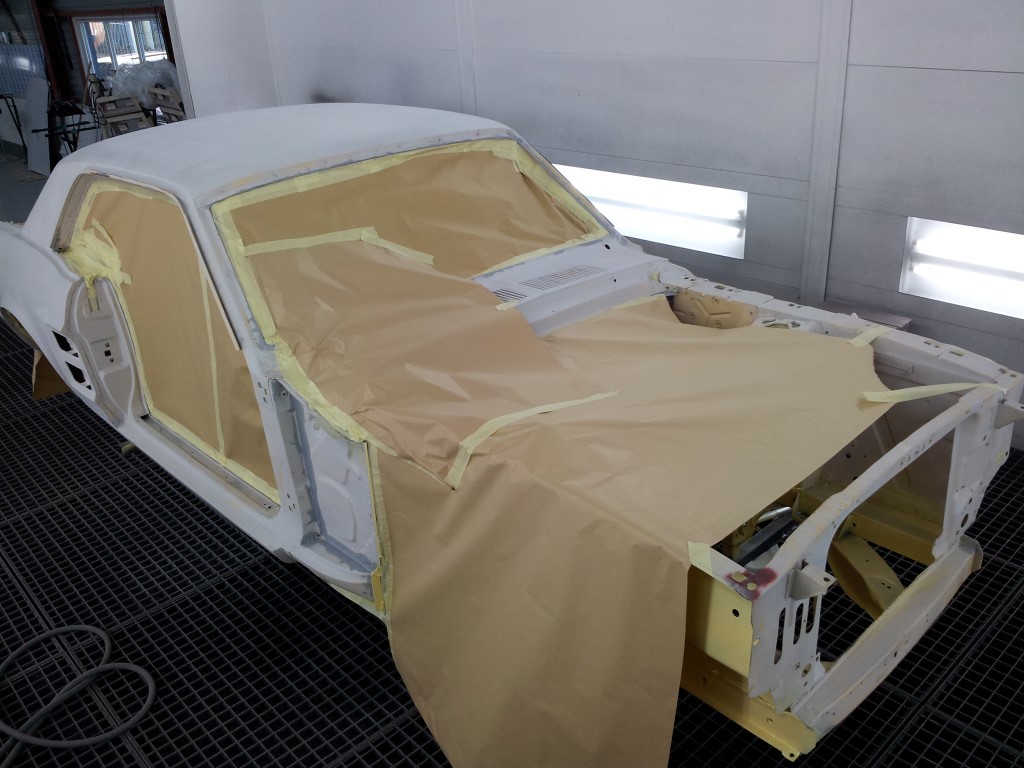 car getting wrapped before putting down ground paint 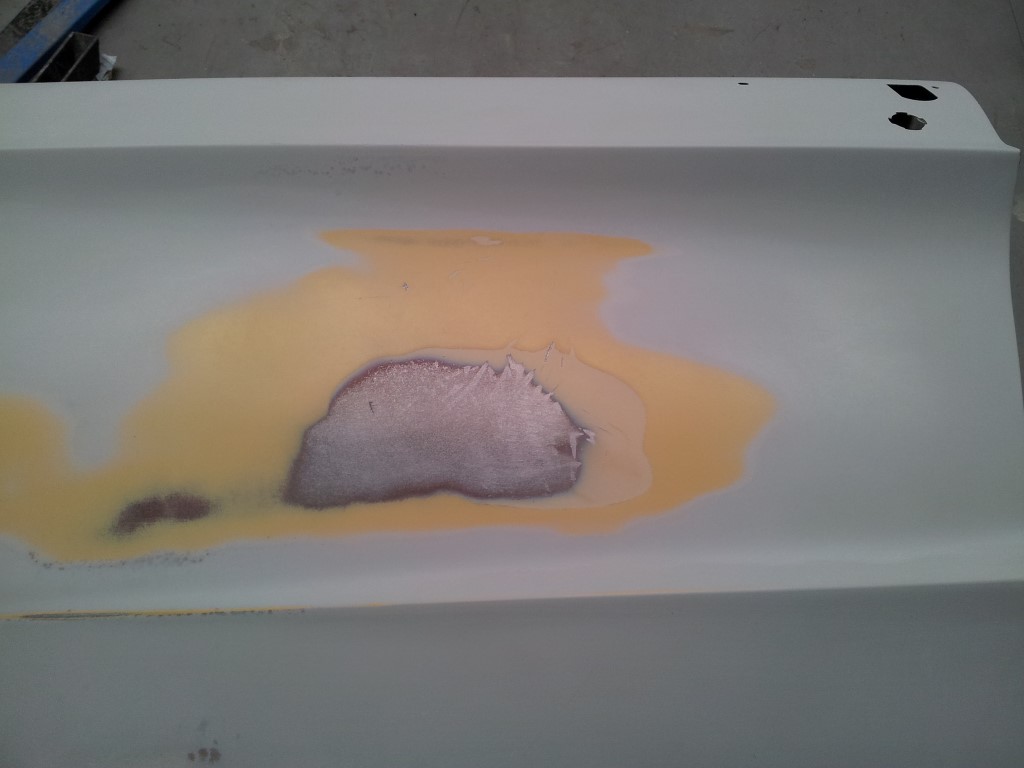 this door had some badly mixed filler on it so it had to be sanded down to metal 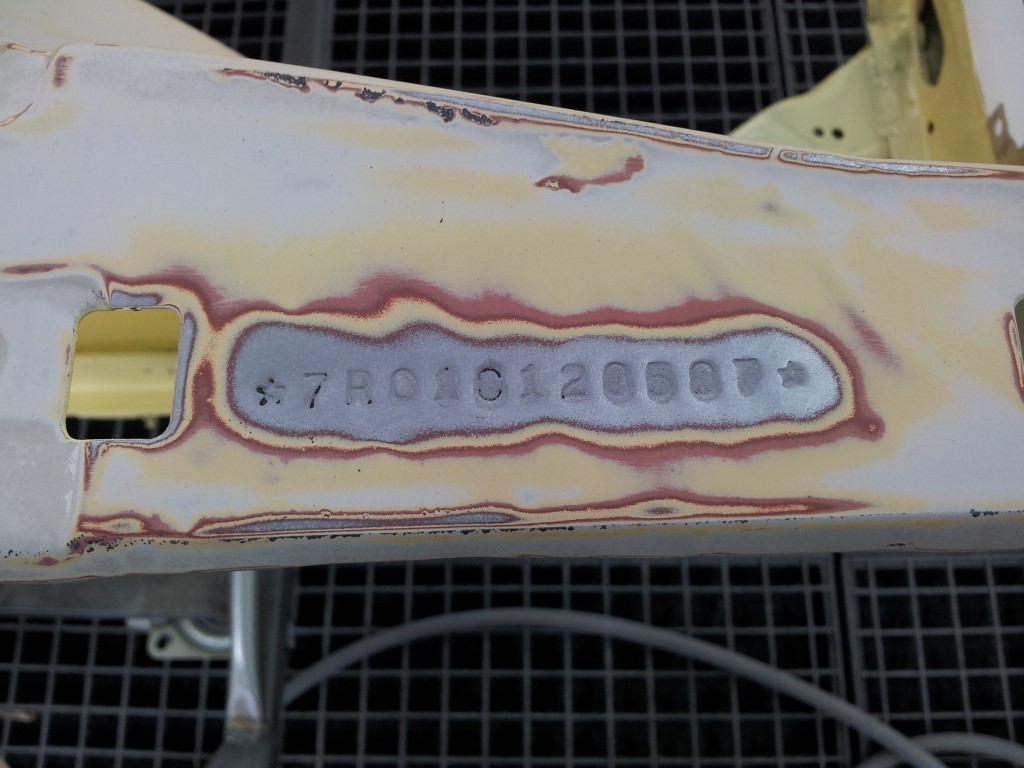 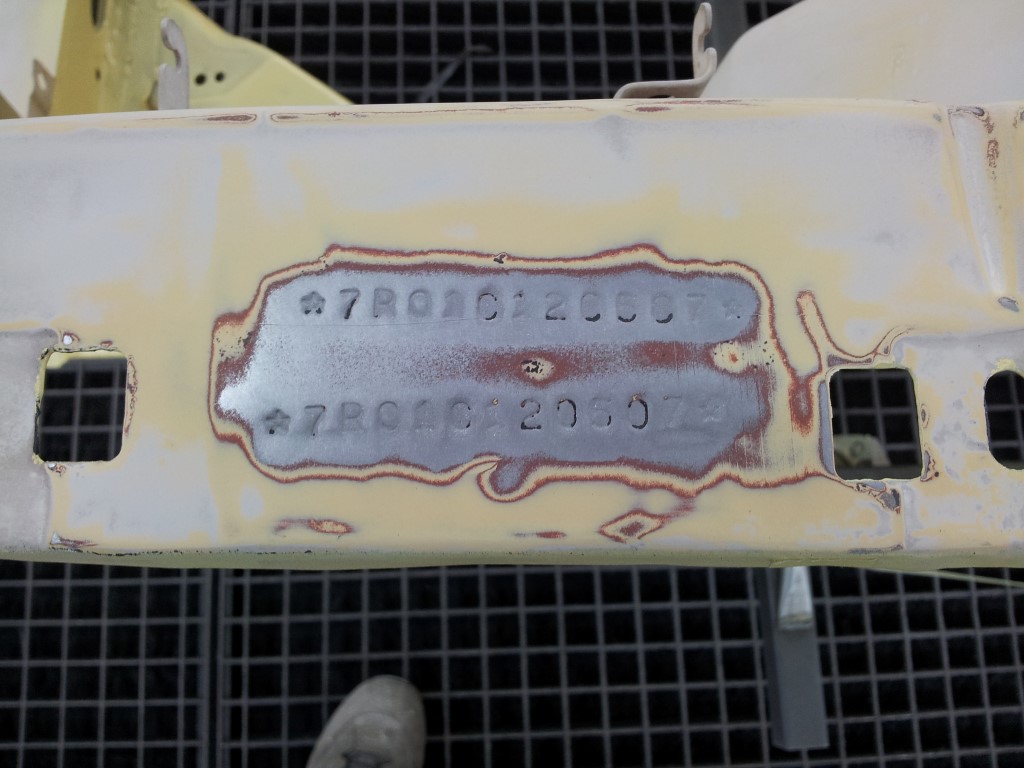 VIN numbers on the right and left side 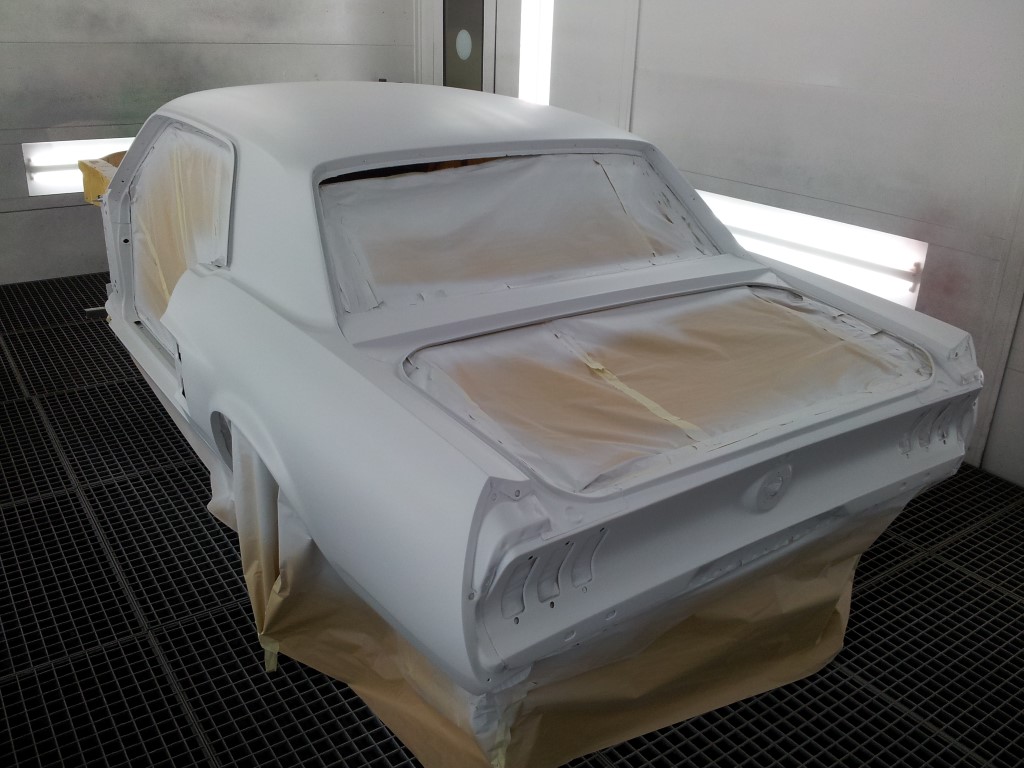 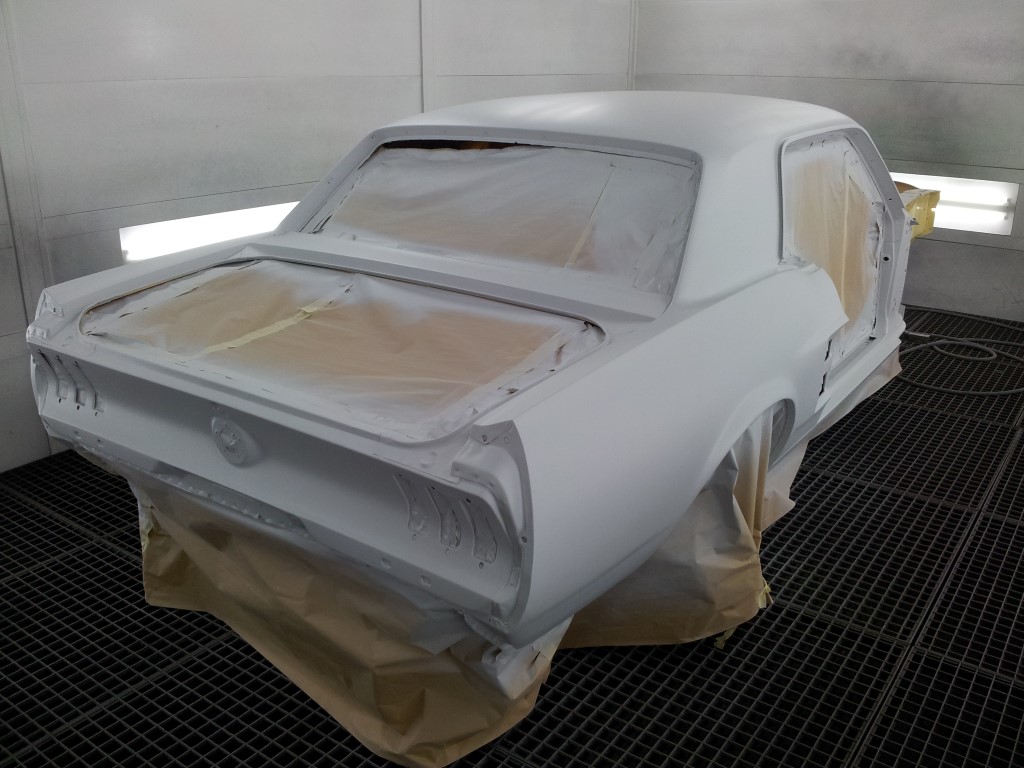 car painted in ground 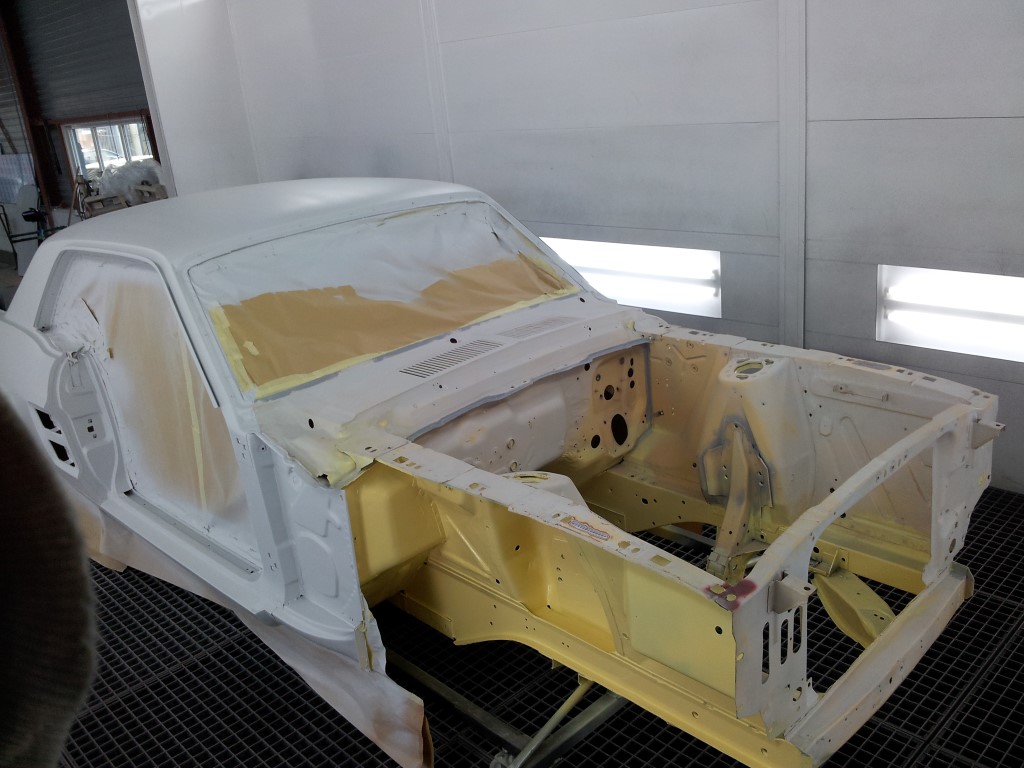 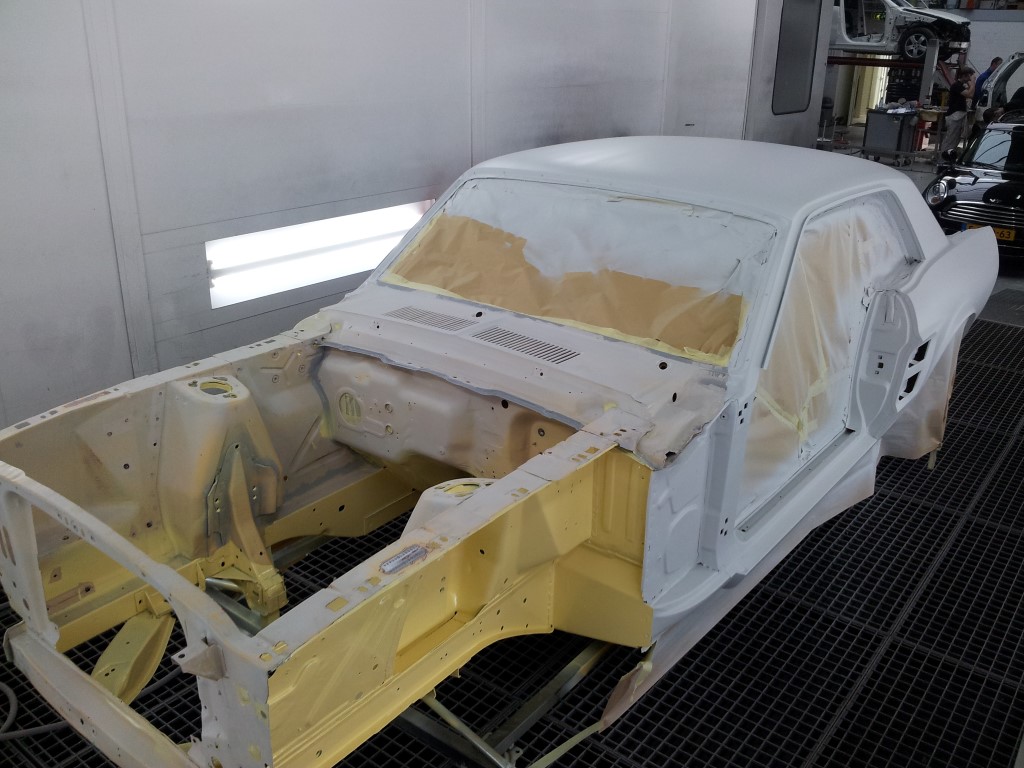 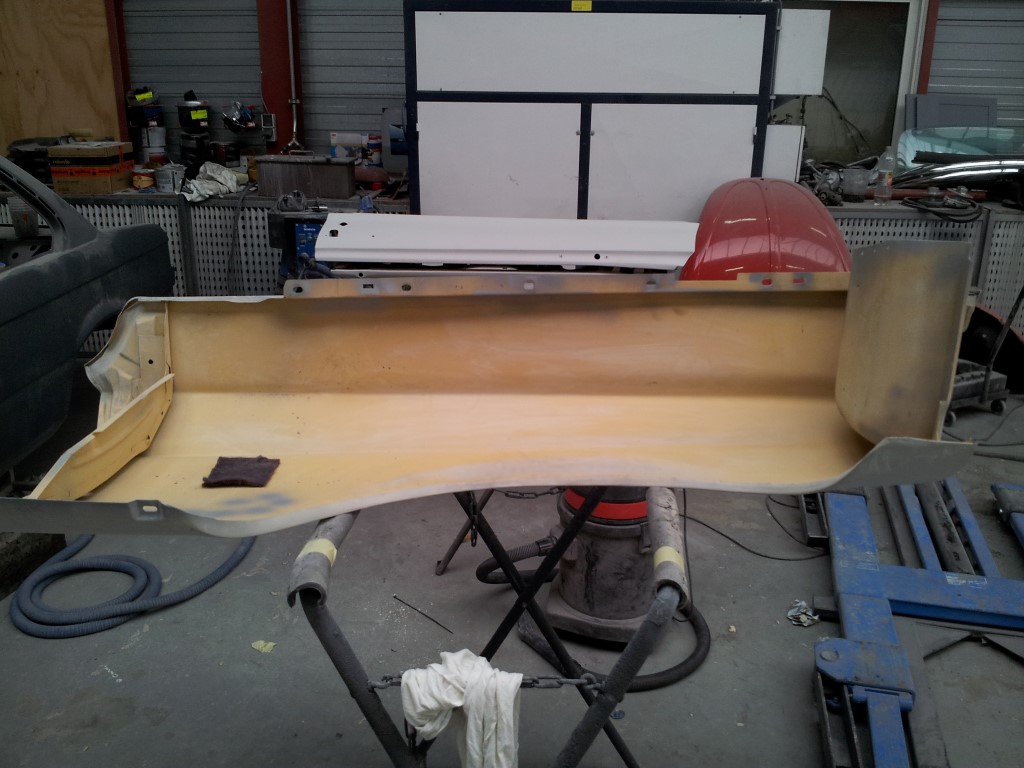 Driver side fender being sanded  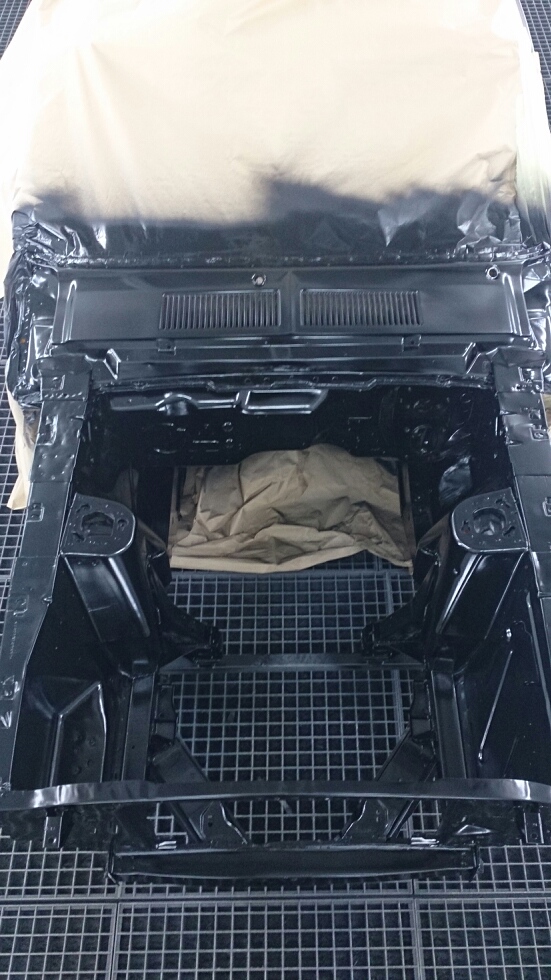 front of the car painted in black 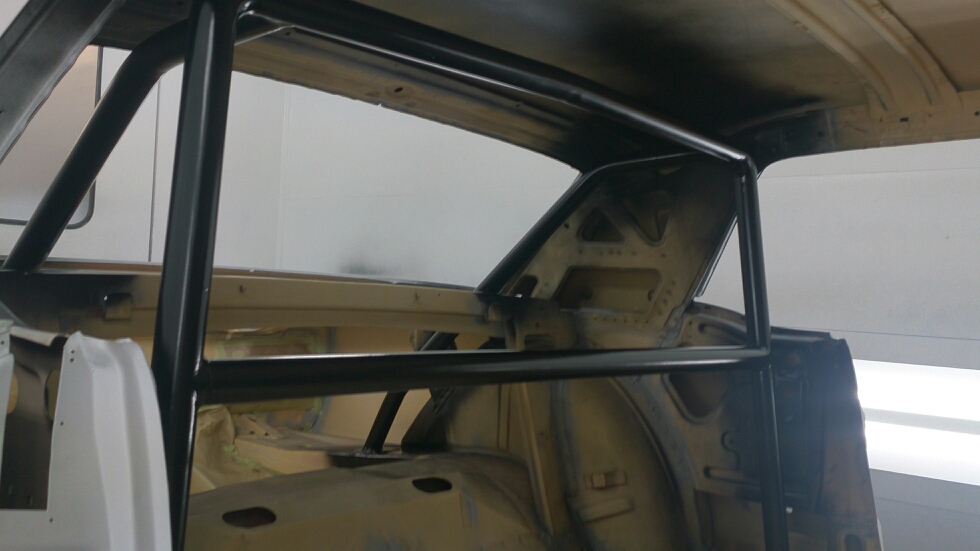 roll bar painted black 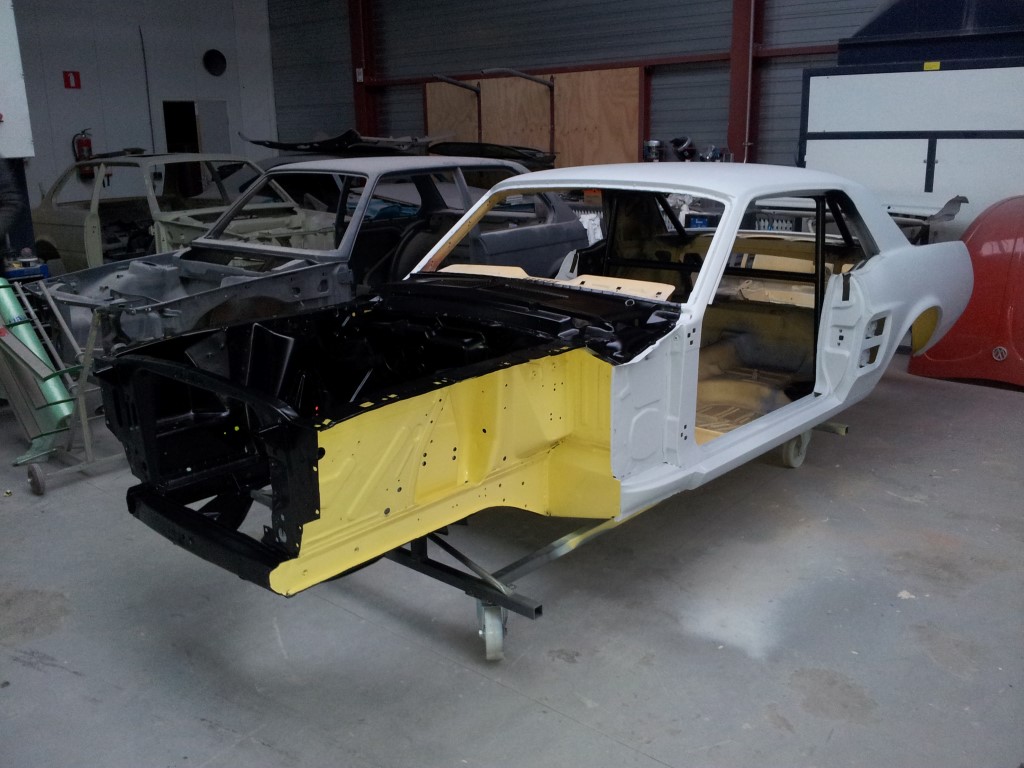 car painted in ground and the front in black.... great contrast 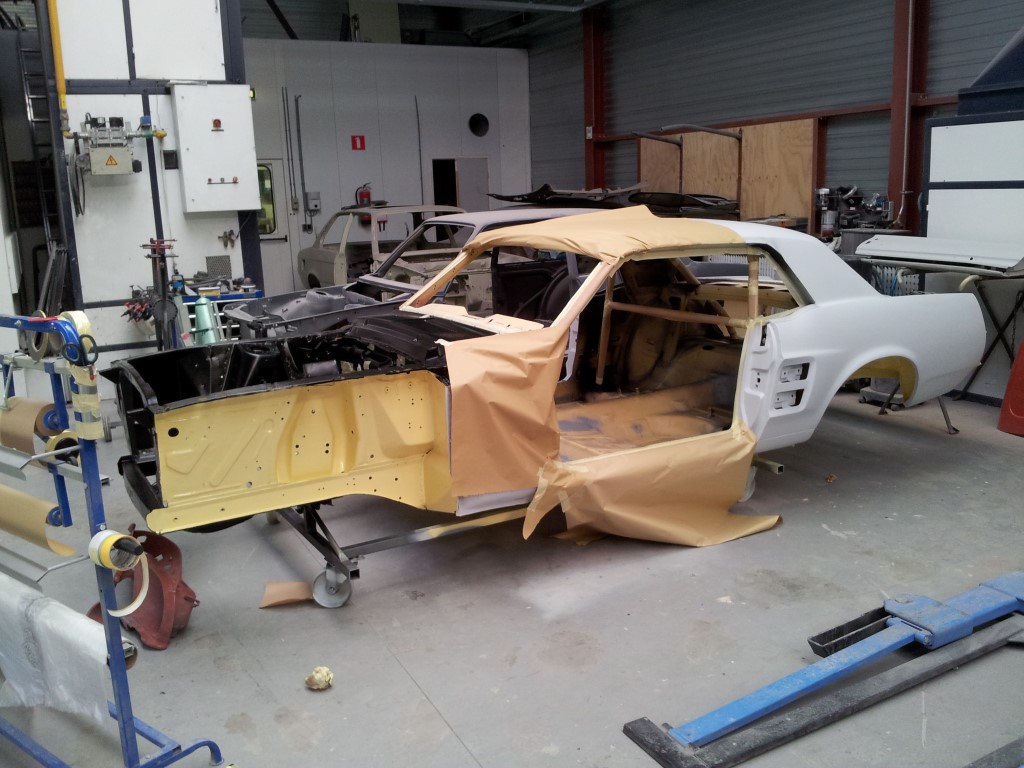 warapping the car so the inside can be painted 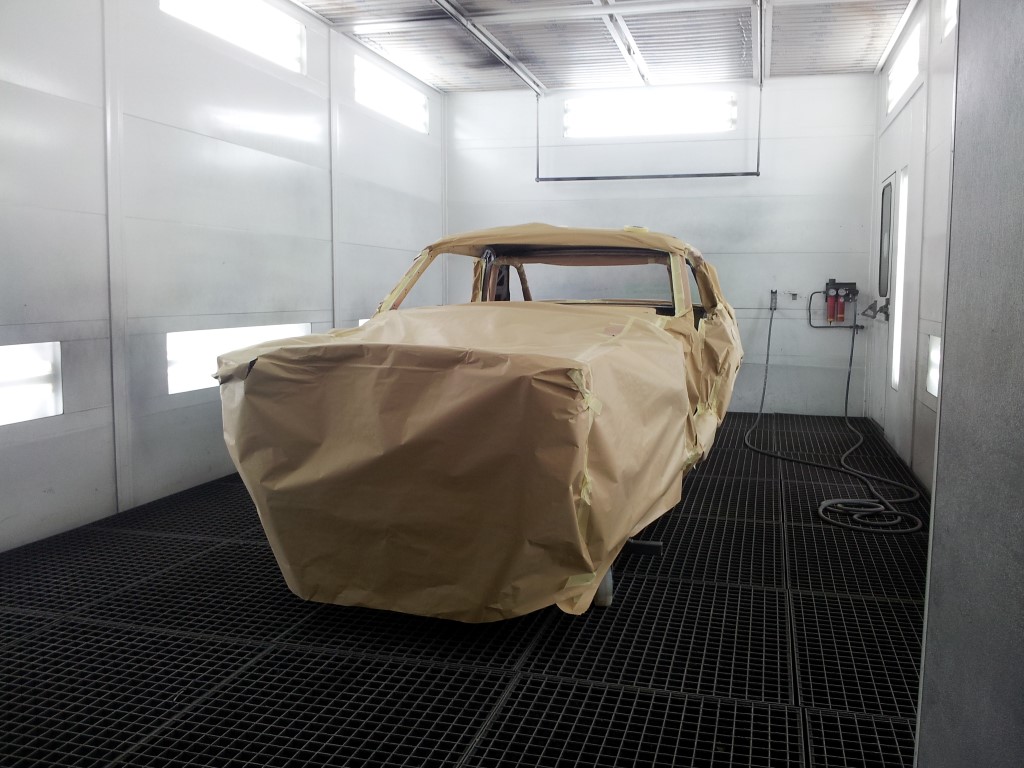 car all wrapped in the paint booth  car in the paint booth 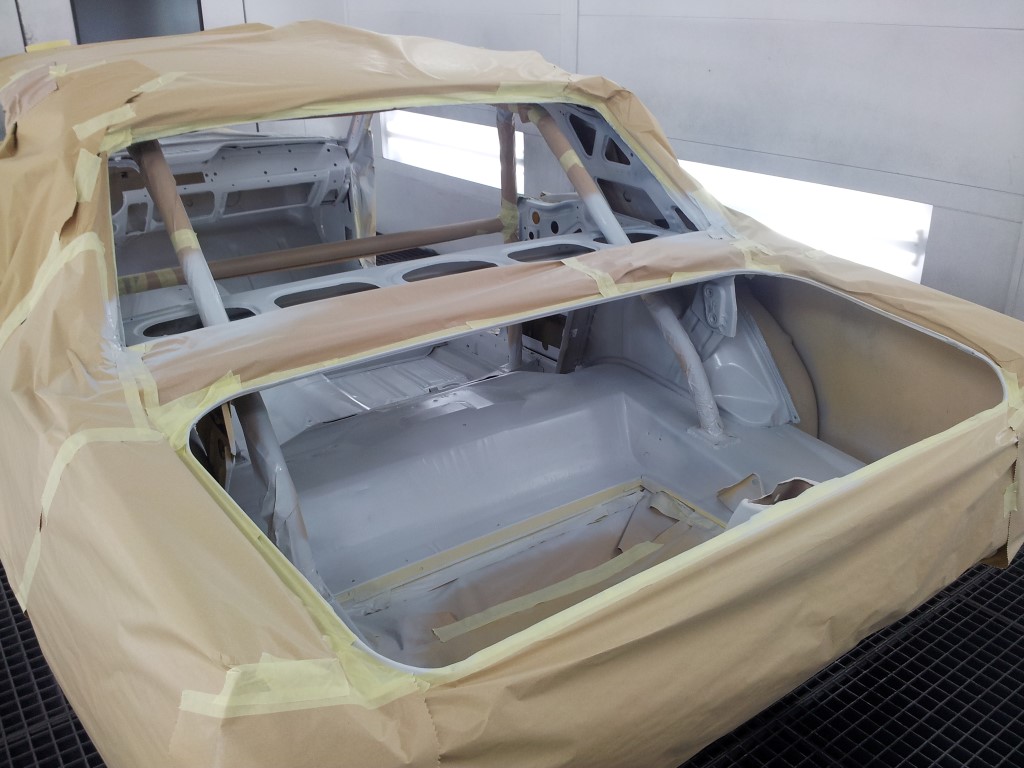 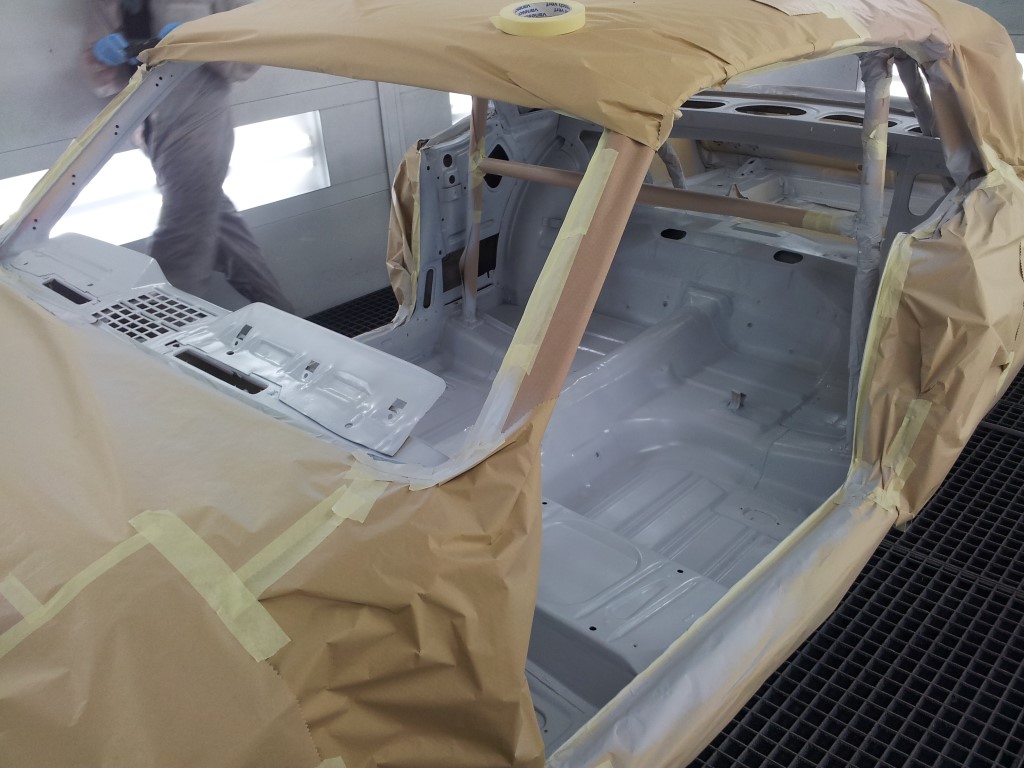 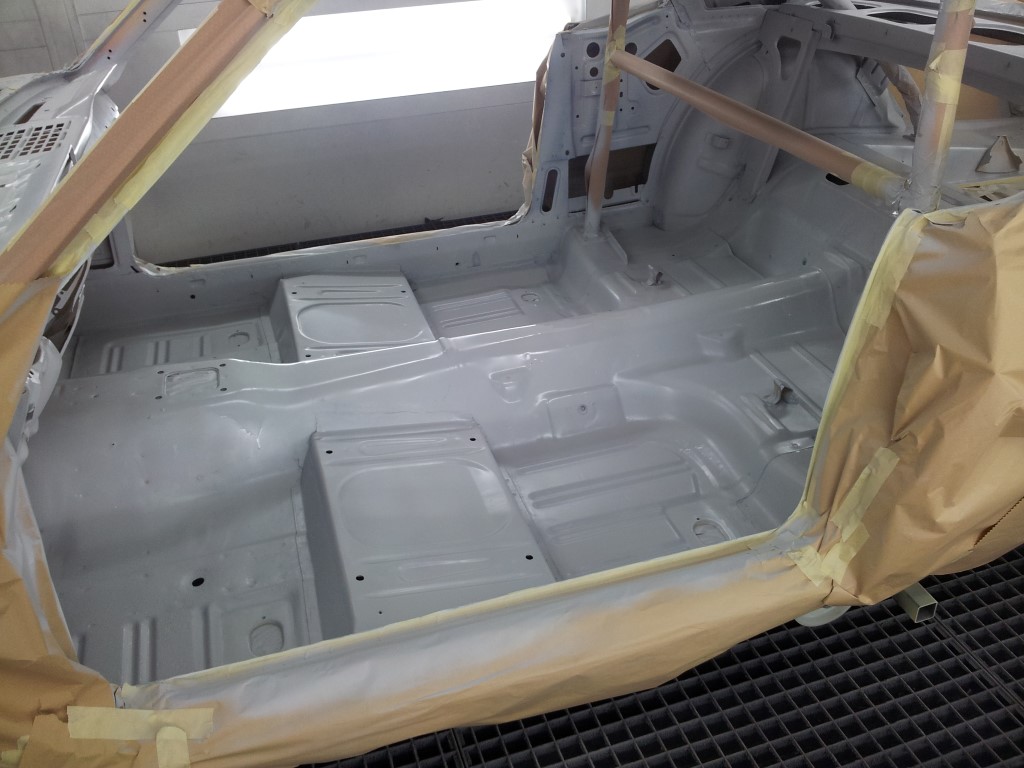 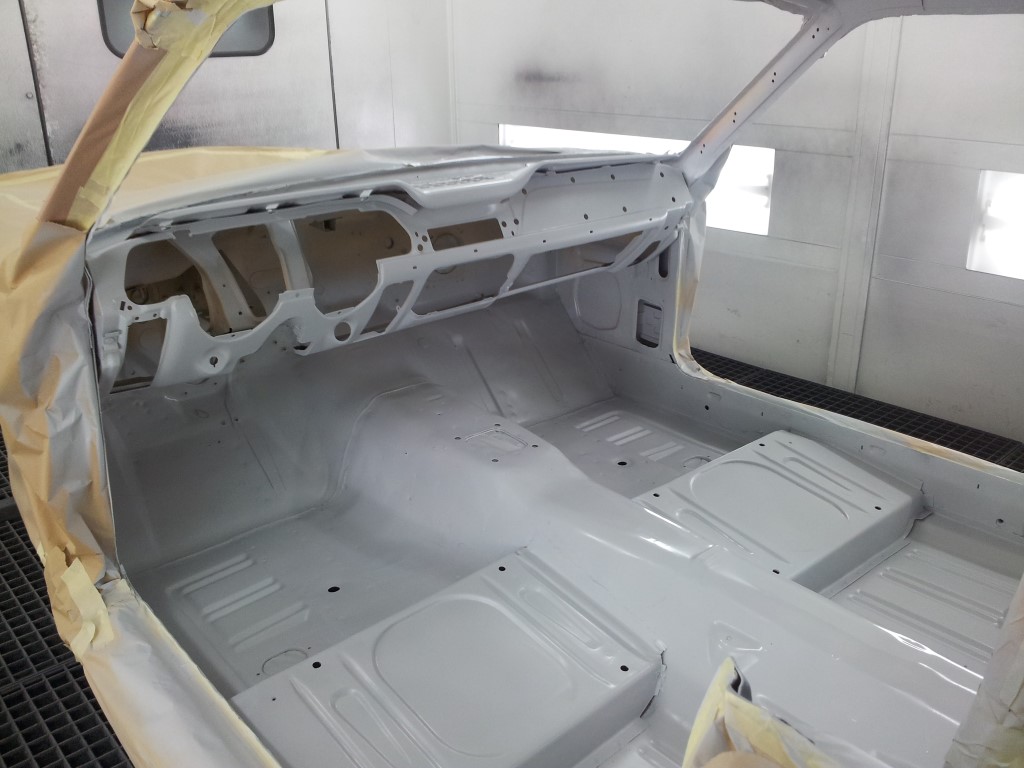 inside painted in ground before the color is put on   shots thru the paint booth window. You can see Martin putting on the color  driver side door with some extra filler. will be sanded smooth  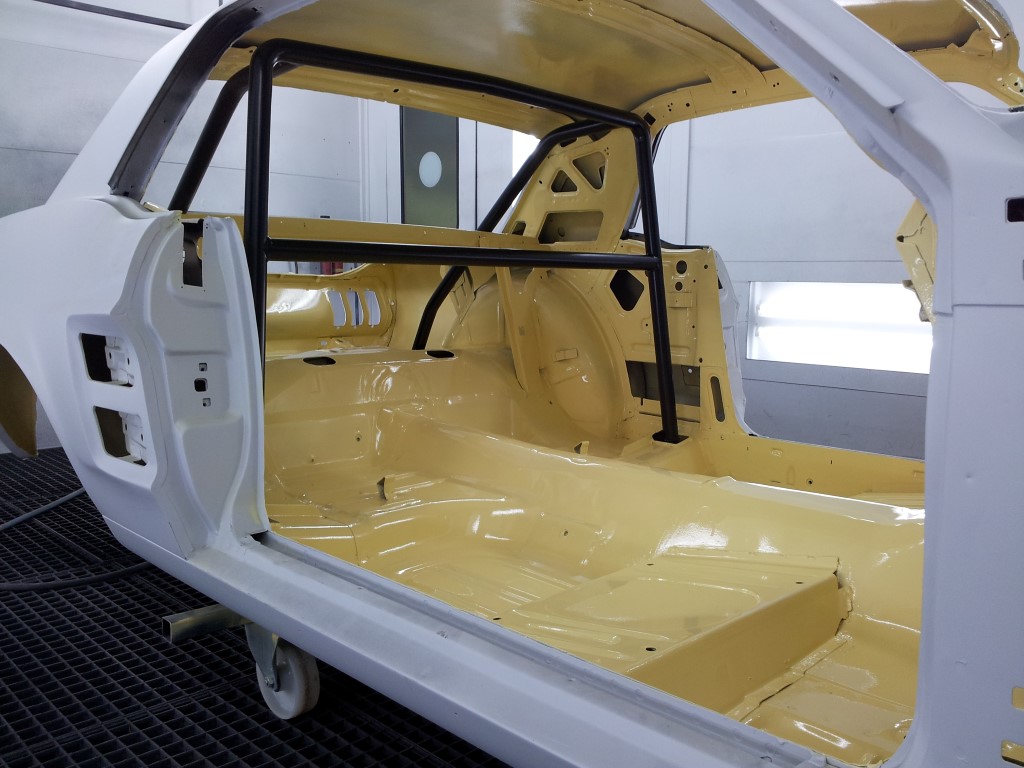 inside in yellow.... Damn what a great contrast with the black 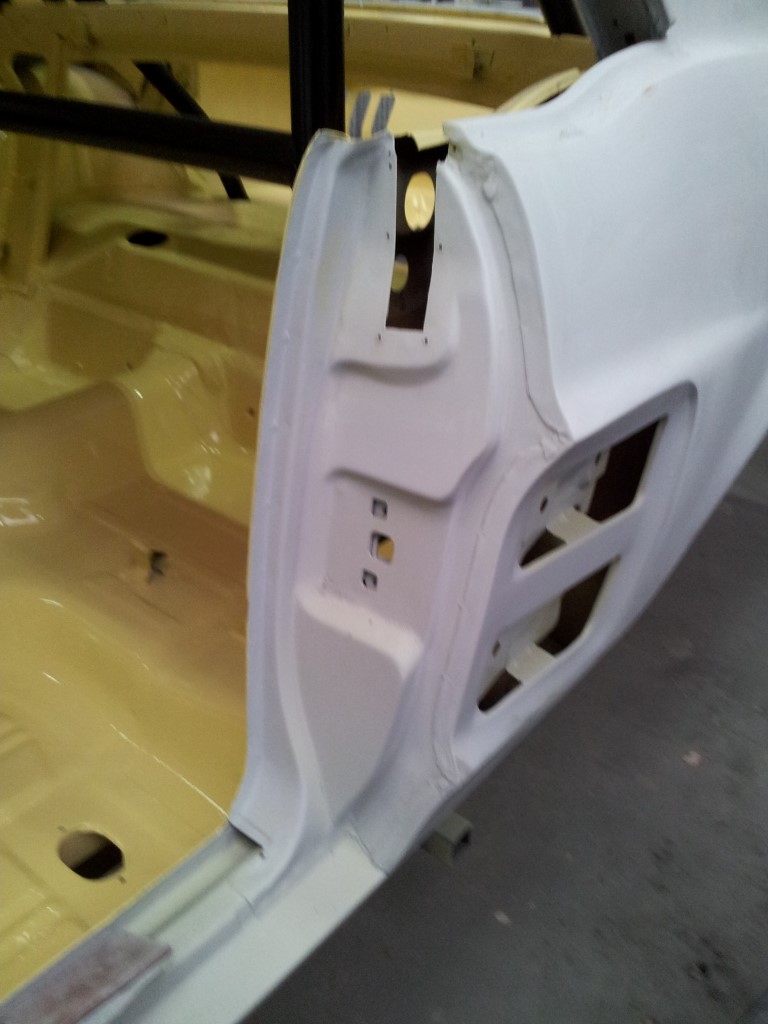 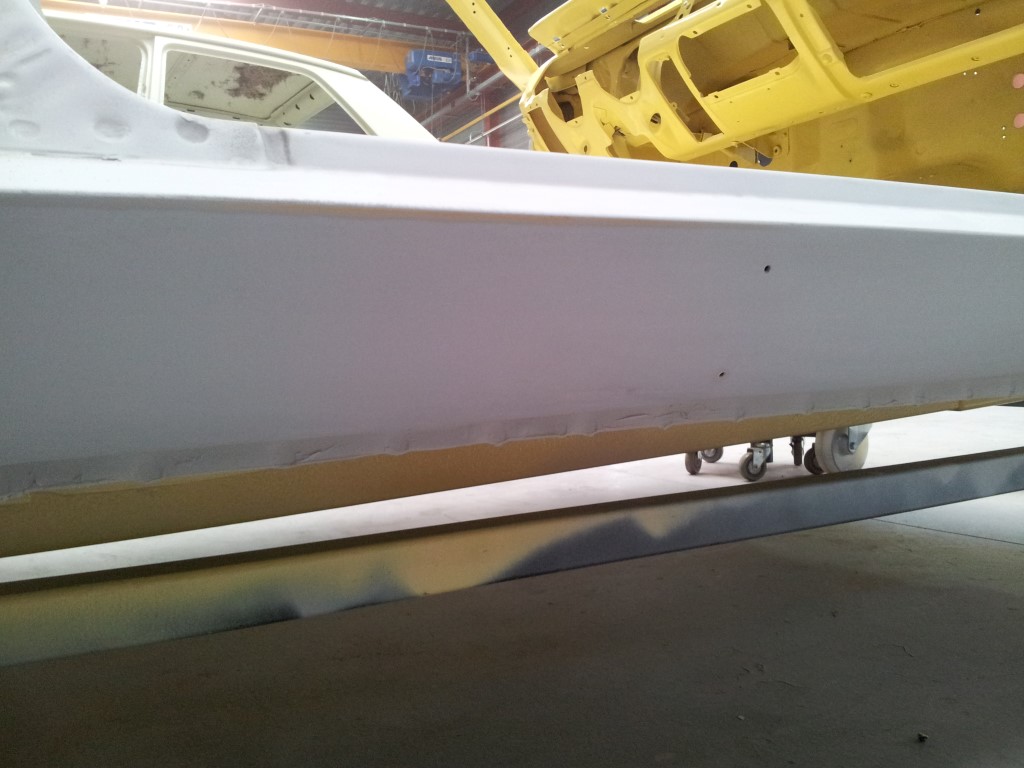 sanding with 400 grit... not much to see but it makes a HUGE difference 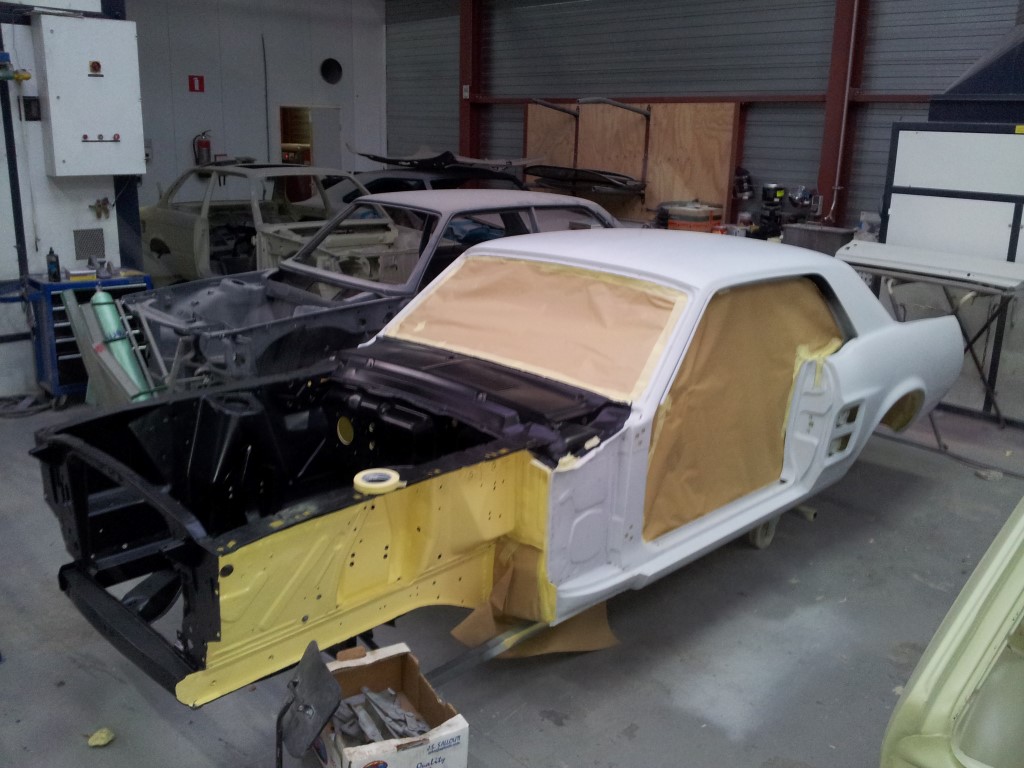 wrapping the car for final paint..... I rather be sanding than rapping... it SUCKS 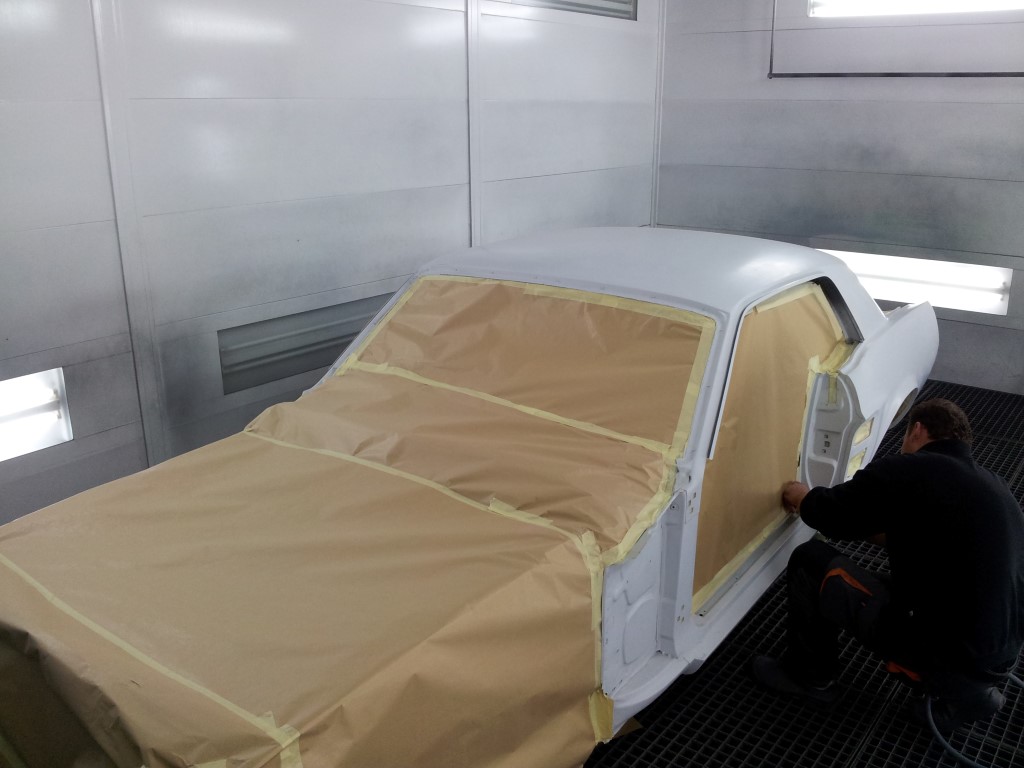  car all wrapped up for final paint.... Mark checking if all is closed up 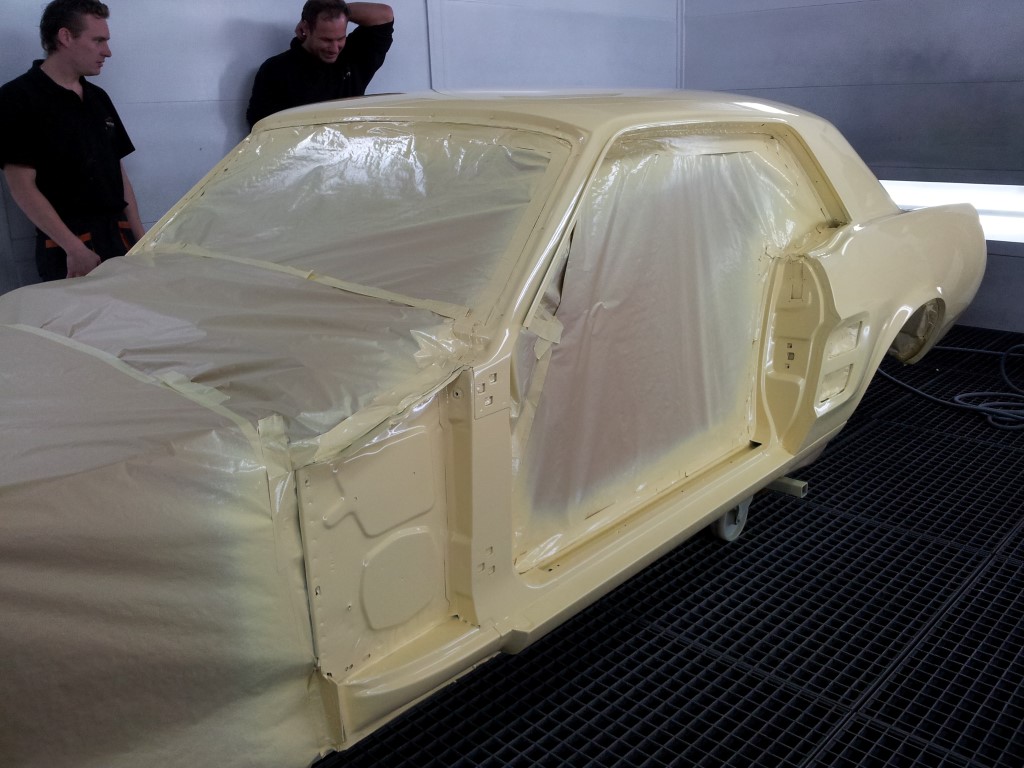 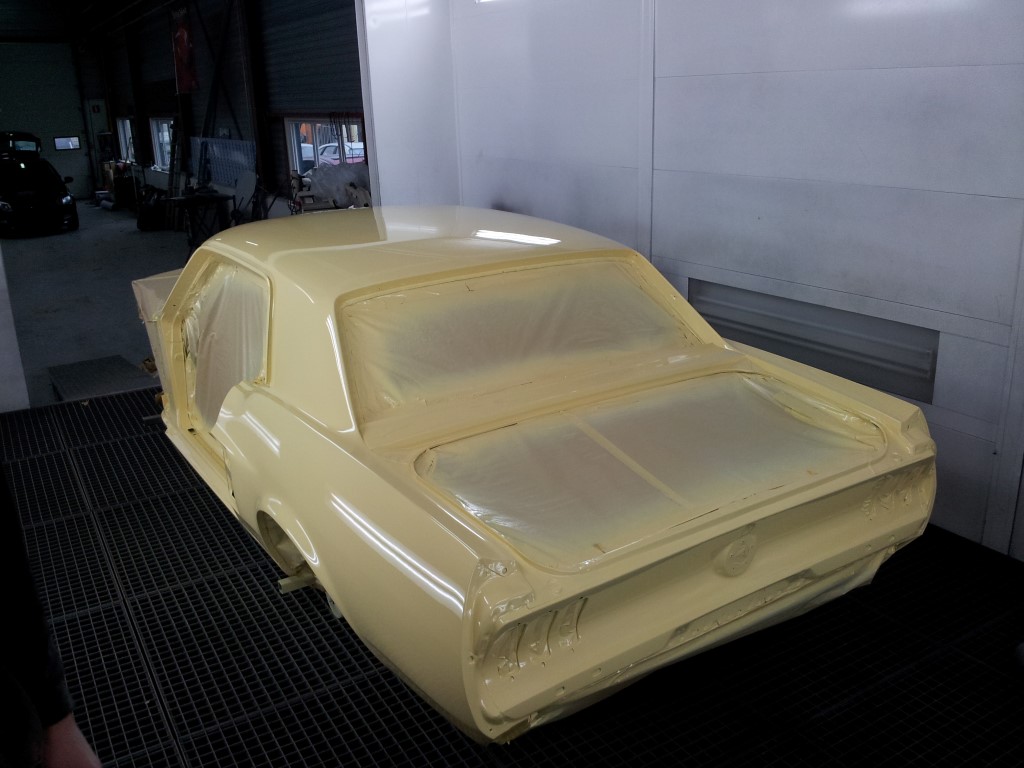 Martin and Mark of Vos en Partnes Autoschade admiring the paintjob 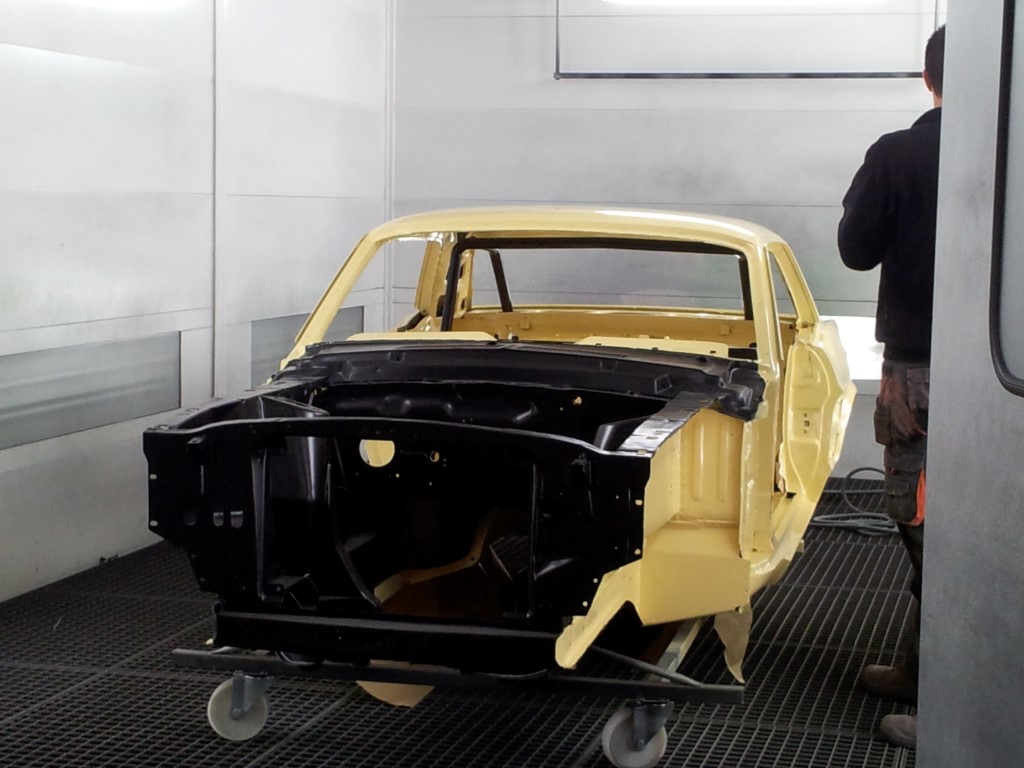 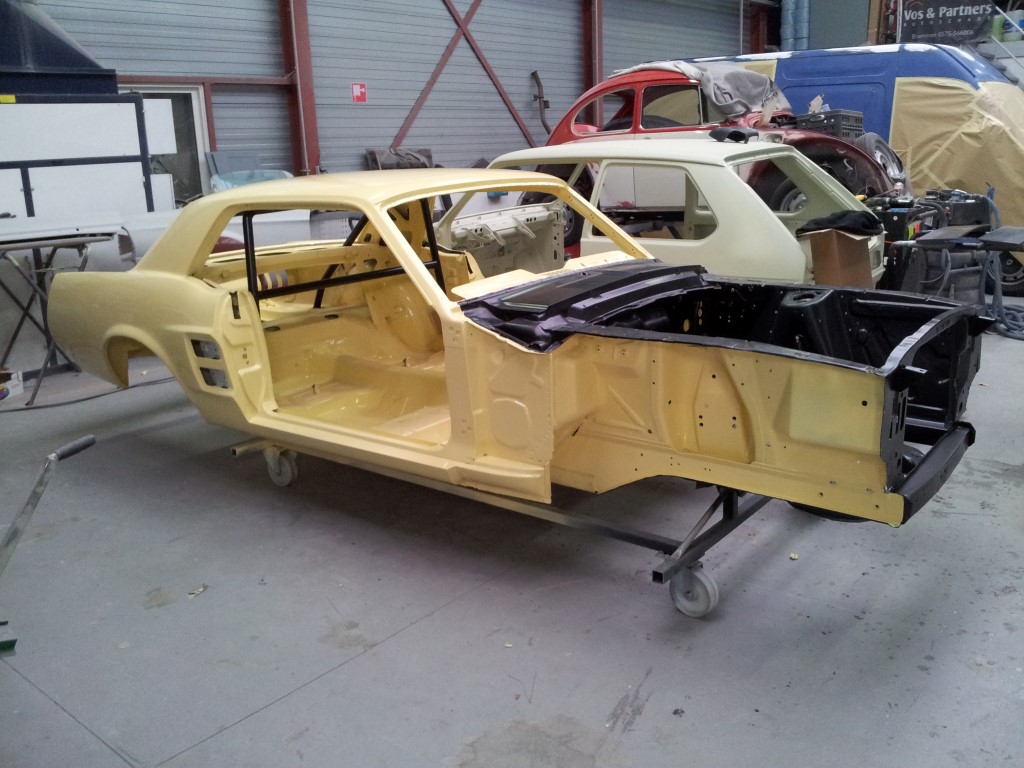 this yellow and black really is great 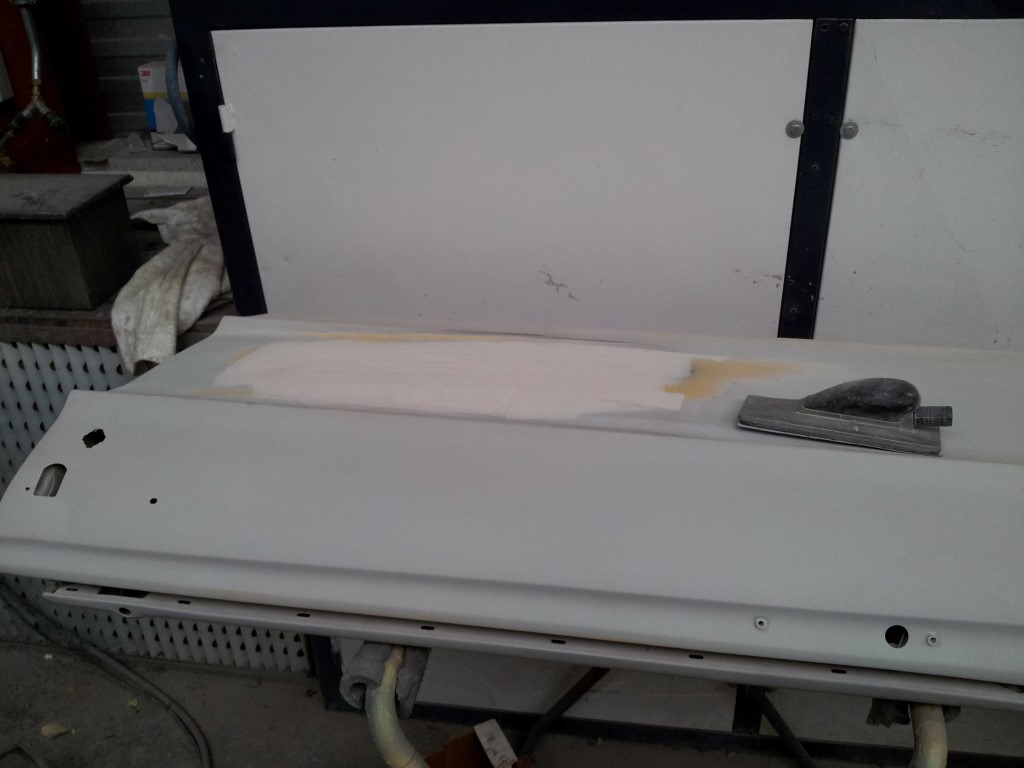 sanding down the primer on a low spot in the door 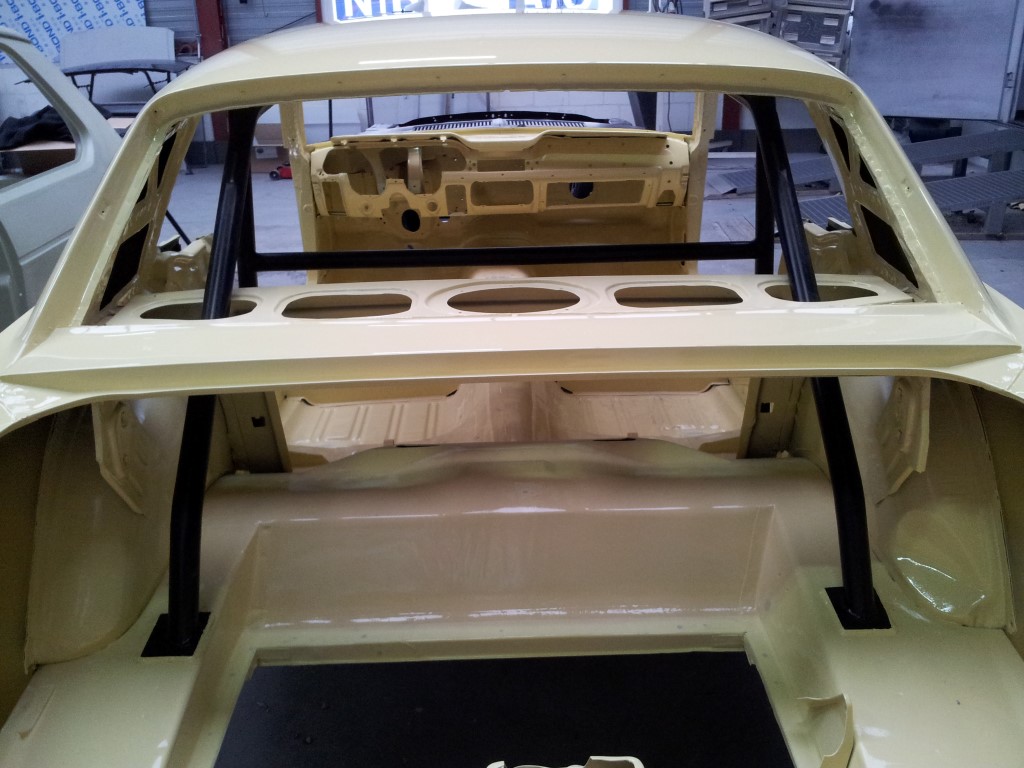 a shot of the car from the back 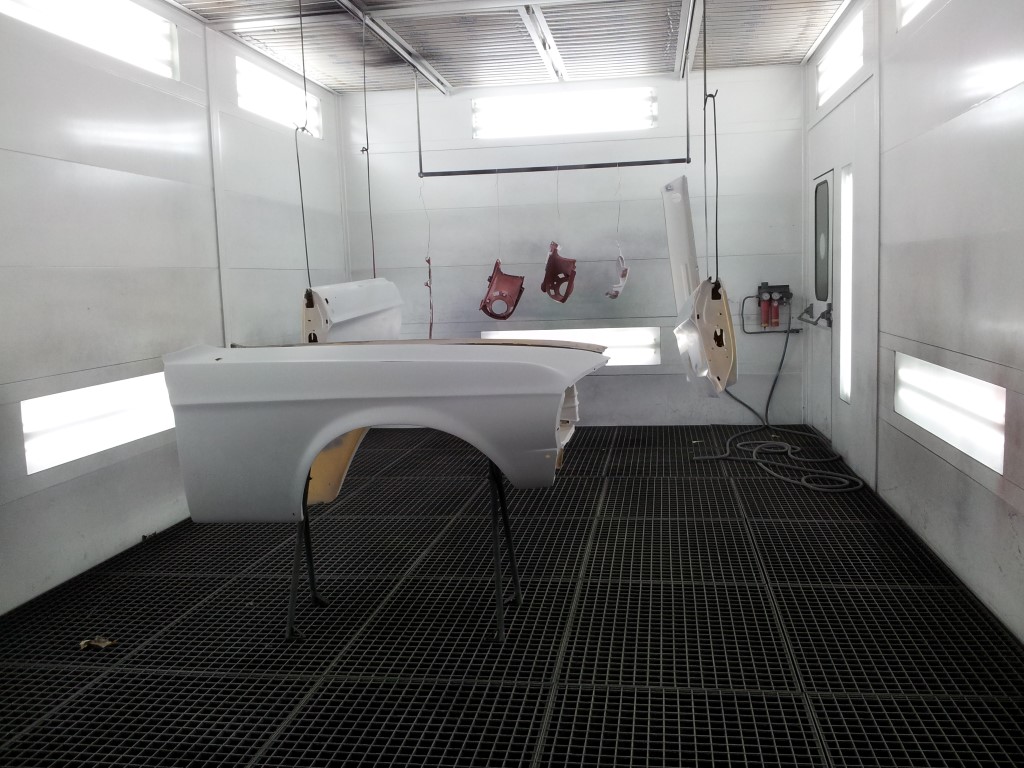 doors, fenders and some smalls in the paint booth for ground paint 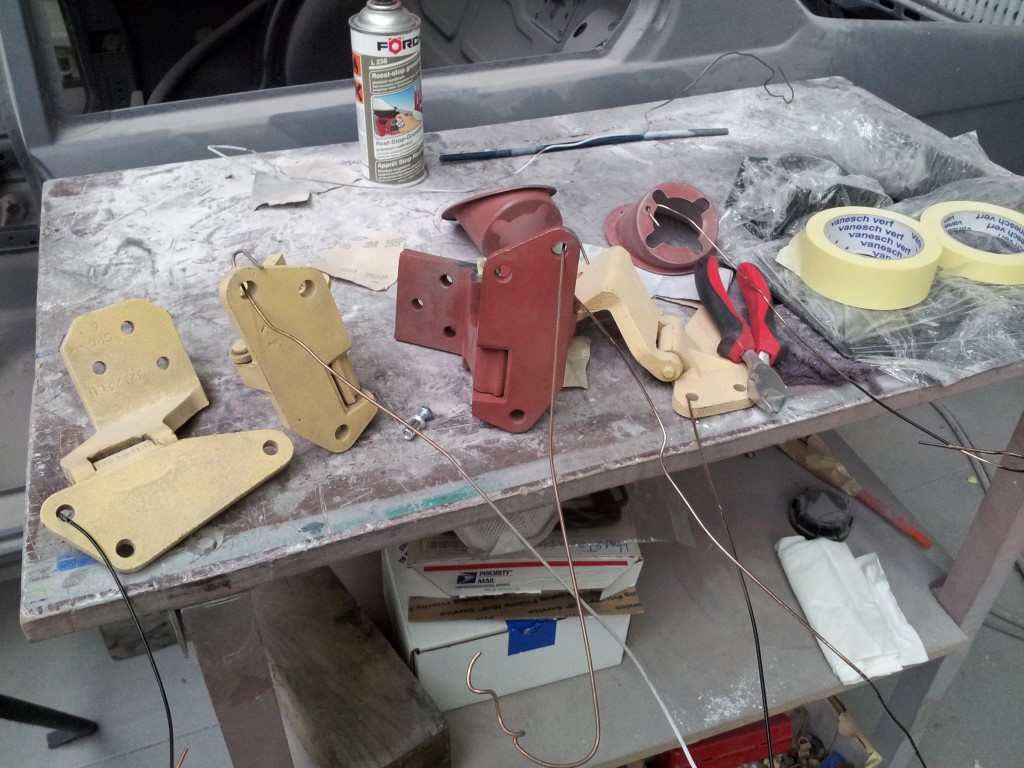 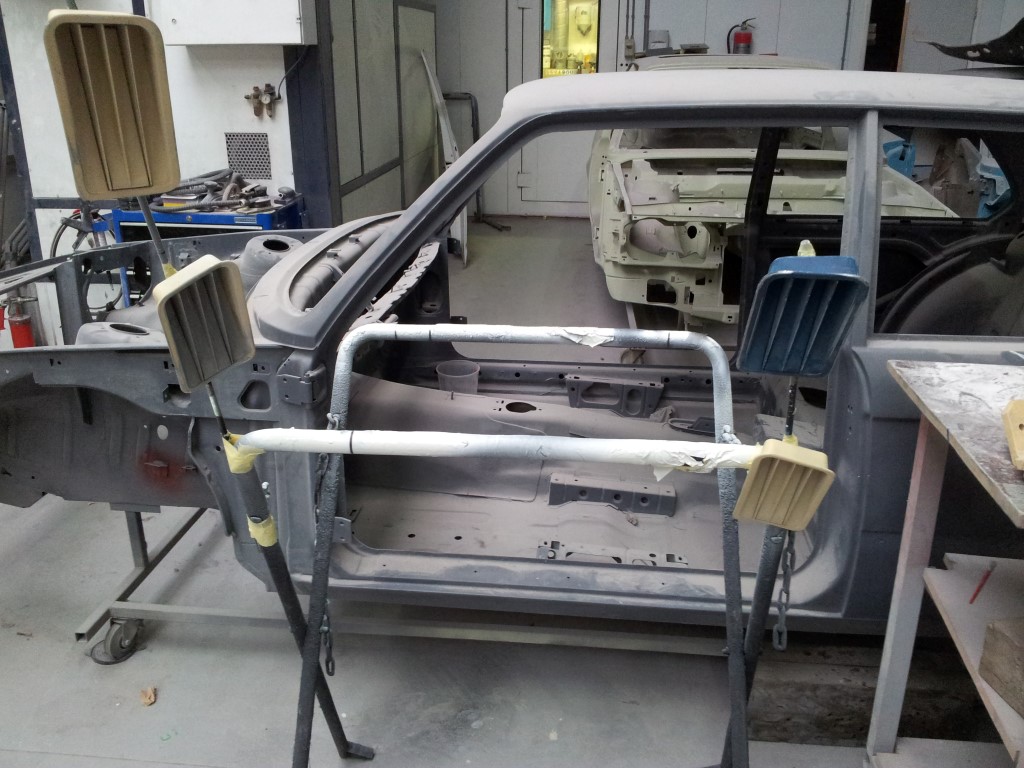 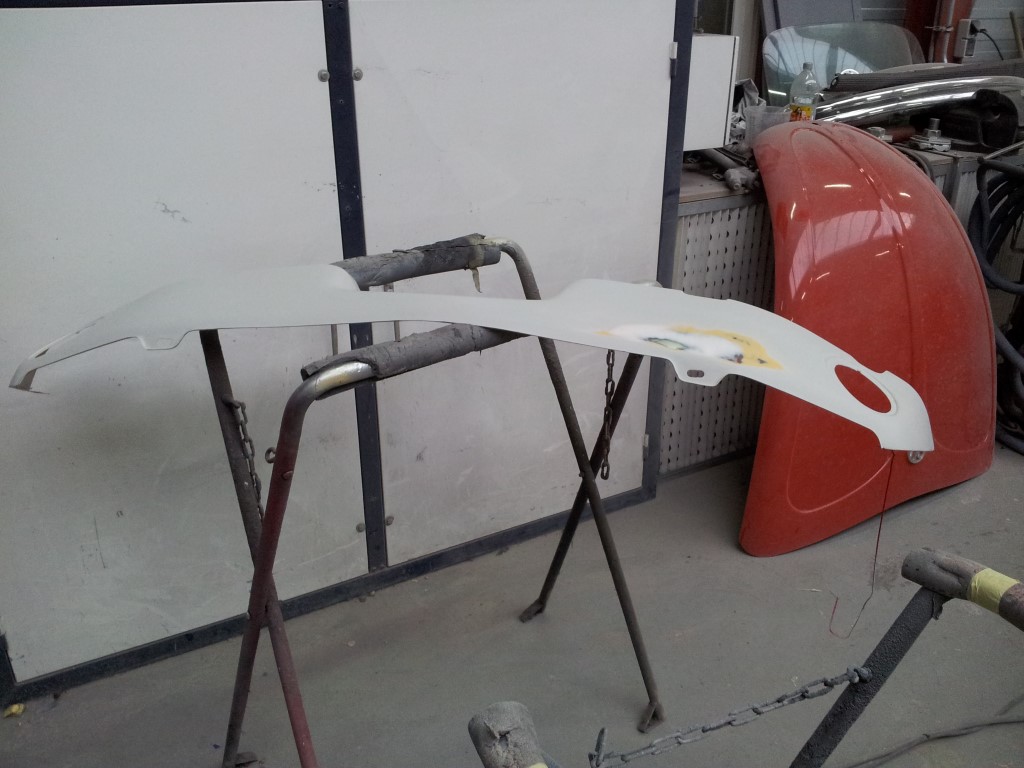 several parts ready for ground paint 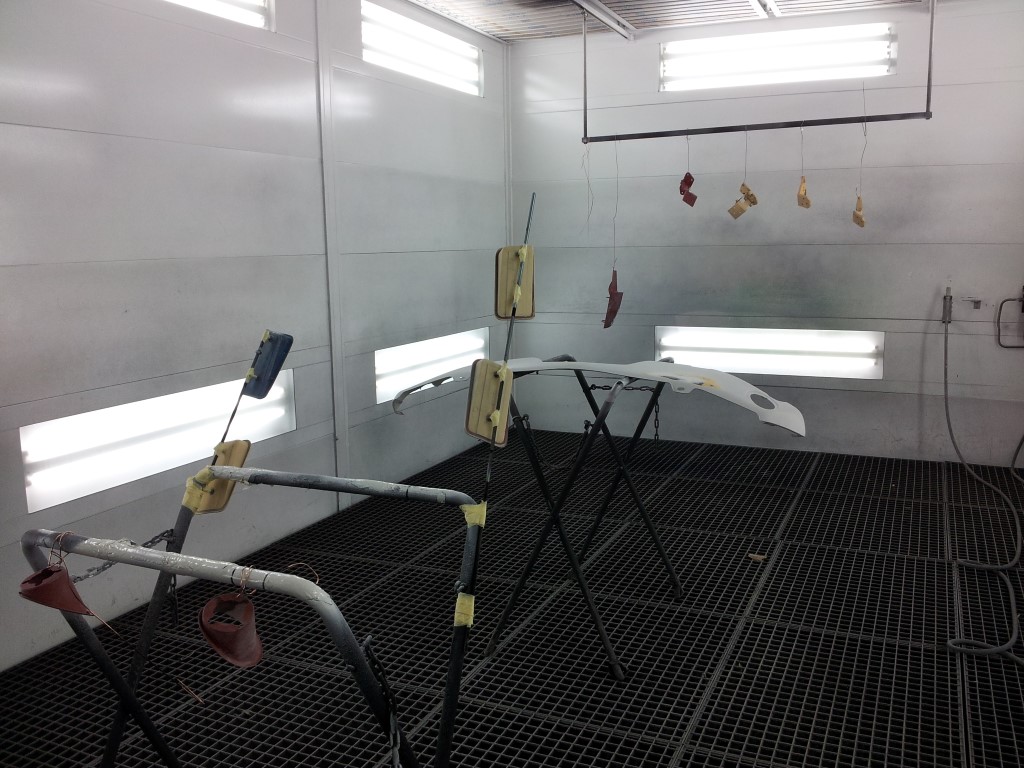 parts in the paint booth ready for ground paint 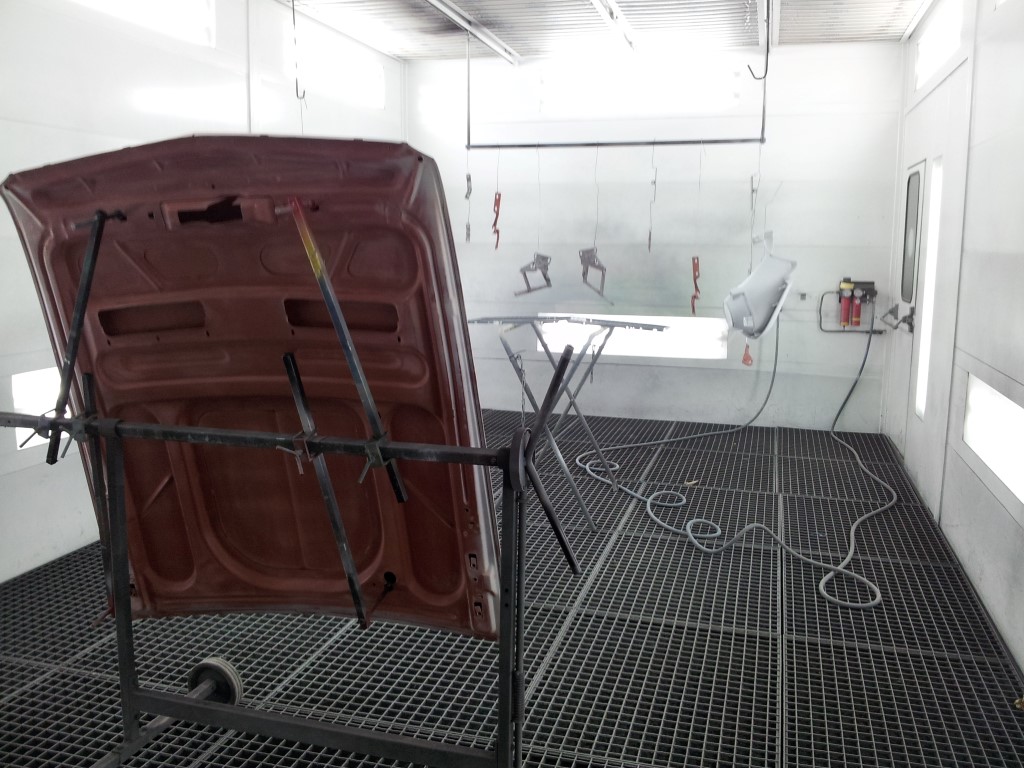 several parts ready for black paint 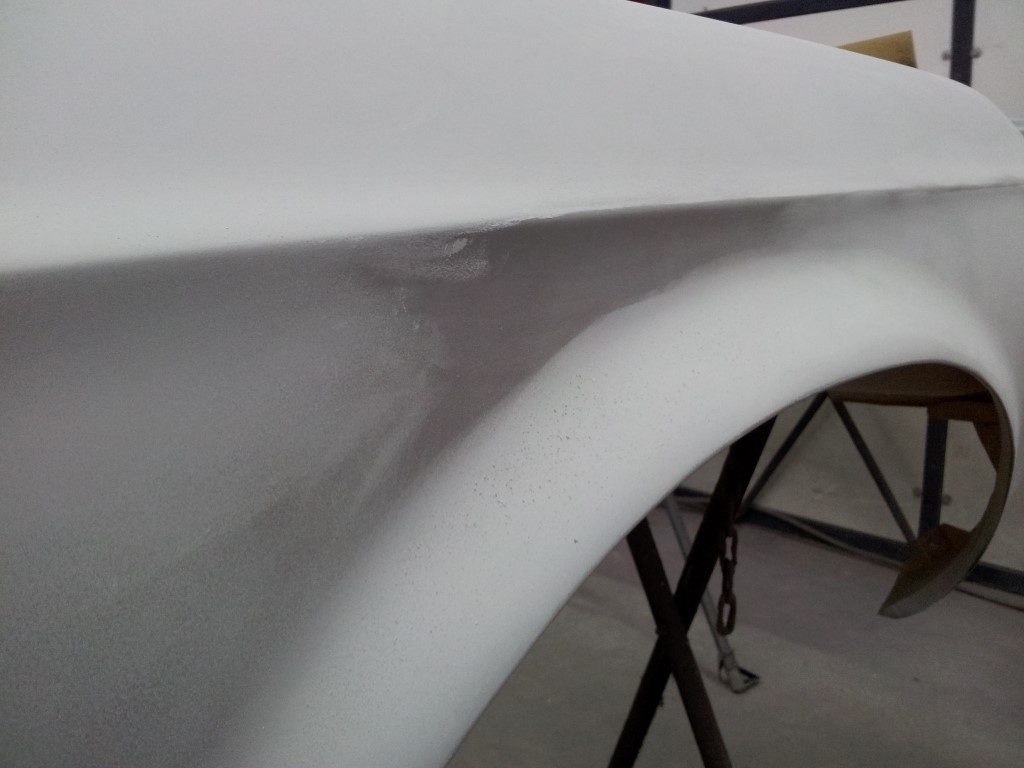 sanding with 400 grid to get all the small black spots out for a great finish 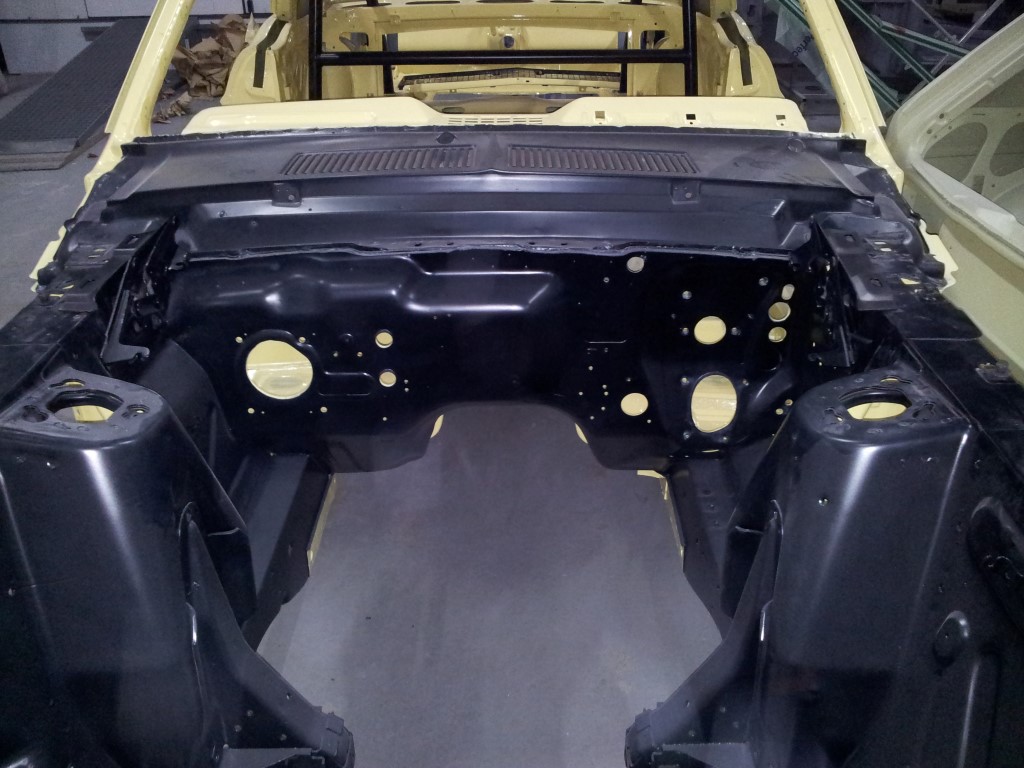 installed the hood hinges so the hood can be installed later in order to install the hood pins 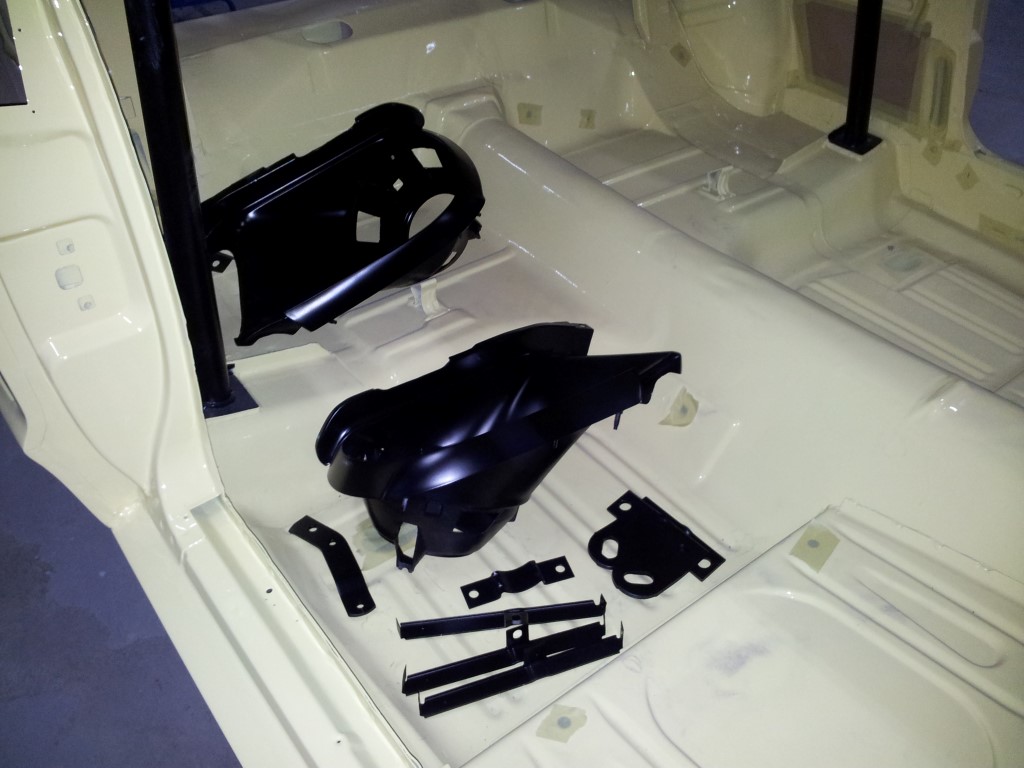 head light buckets and some small parts in black 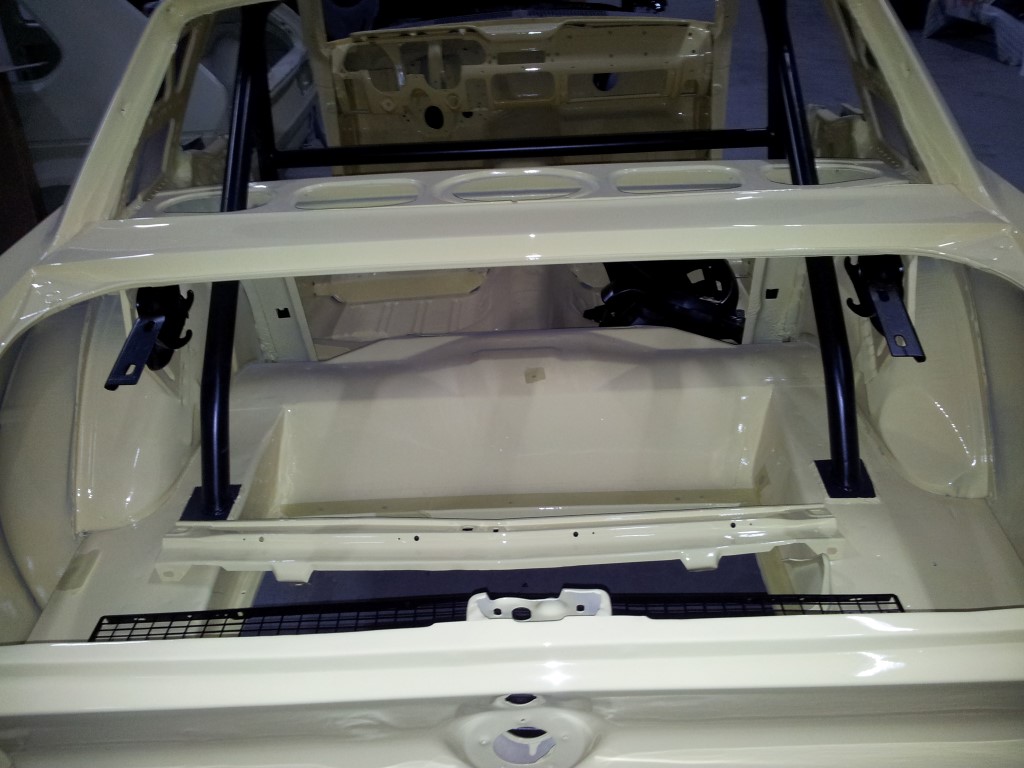 trunk lid hinges installed 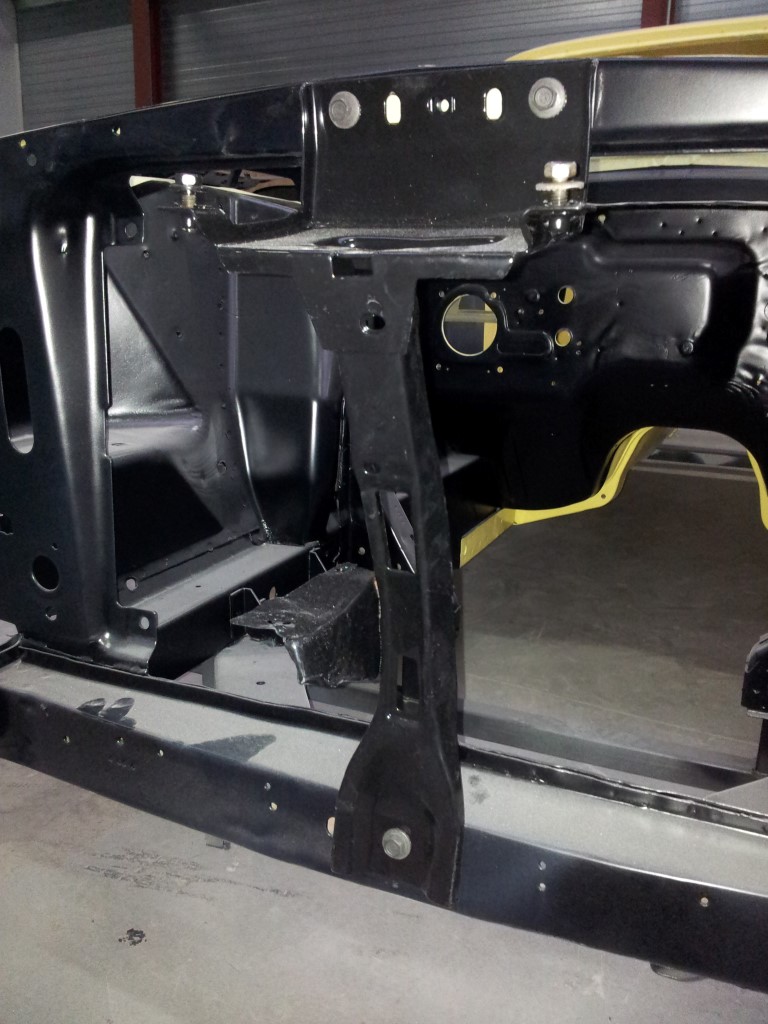 hood catch installed 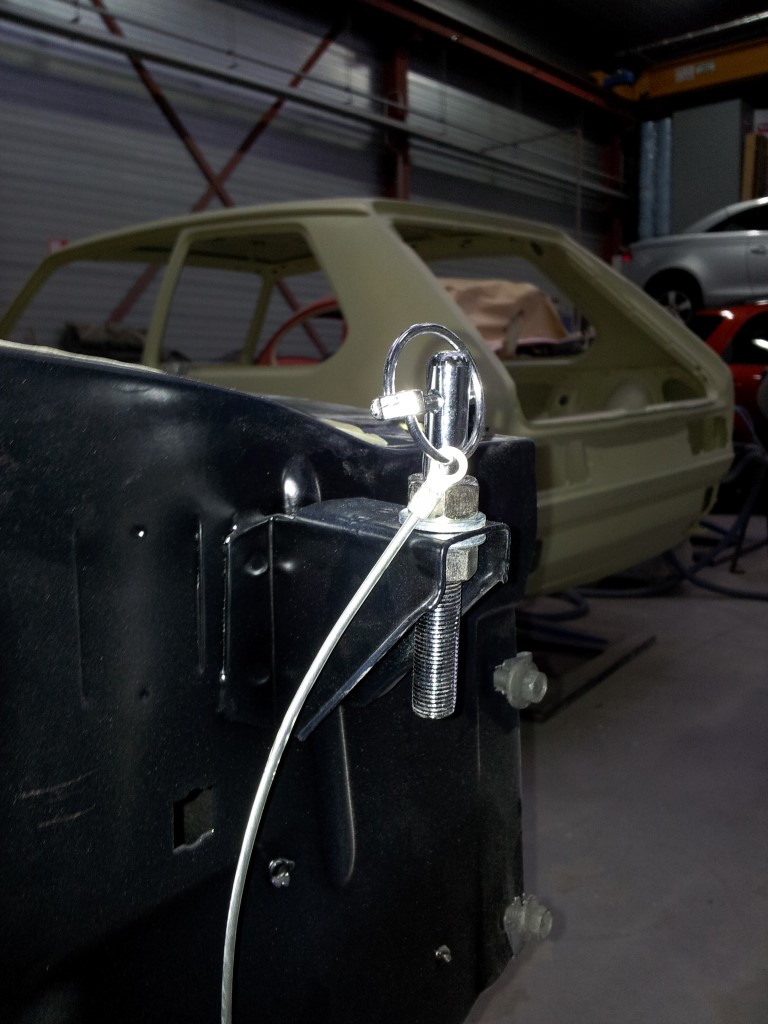 hood pins installed. still needs to be set correctly 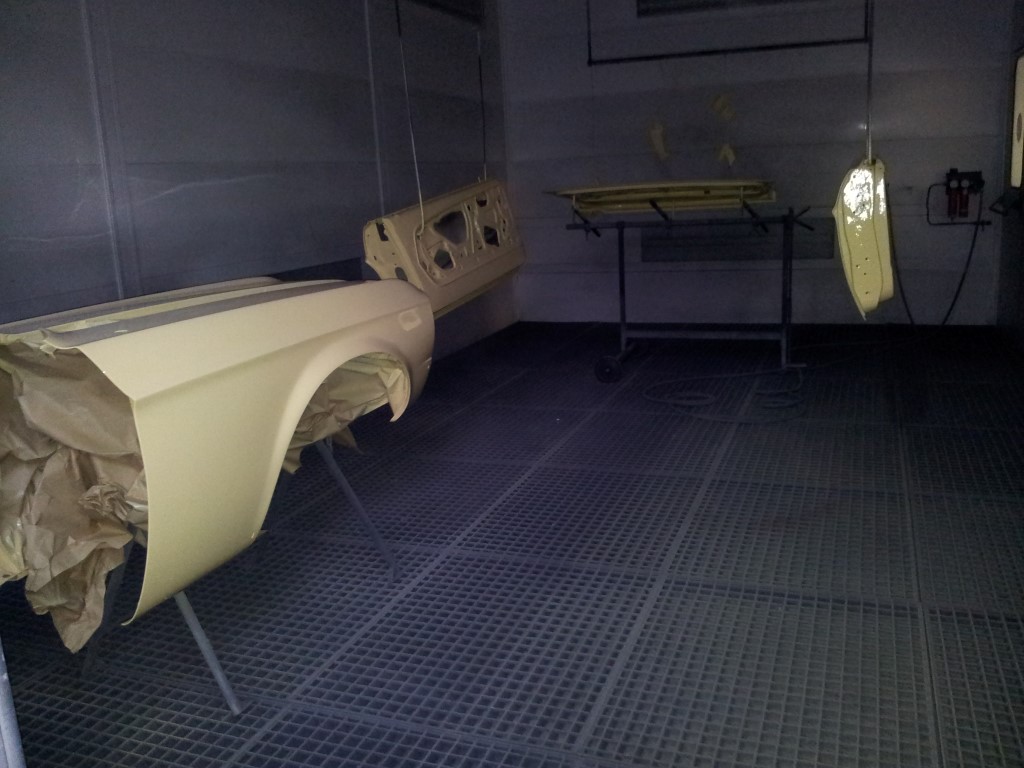 parts freshly painted still in the paint booth  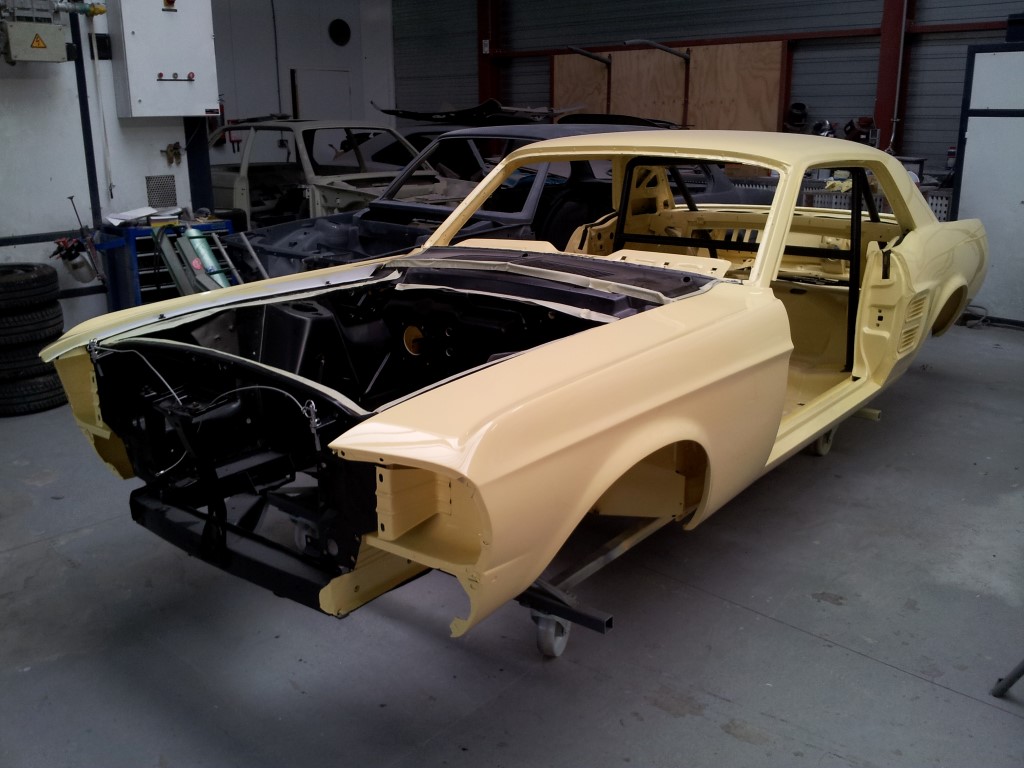 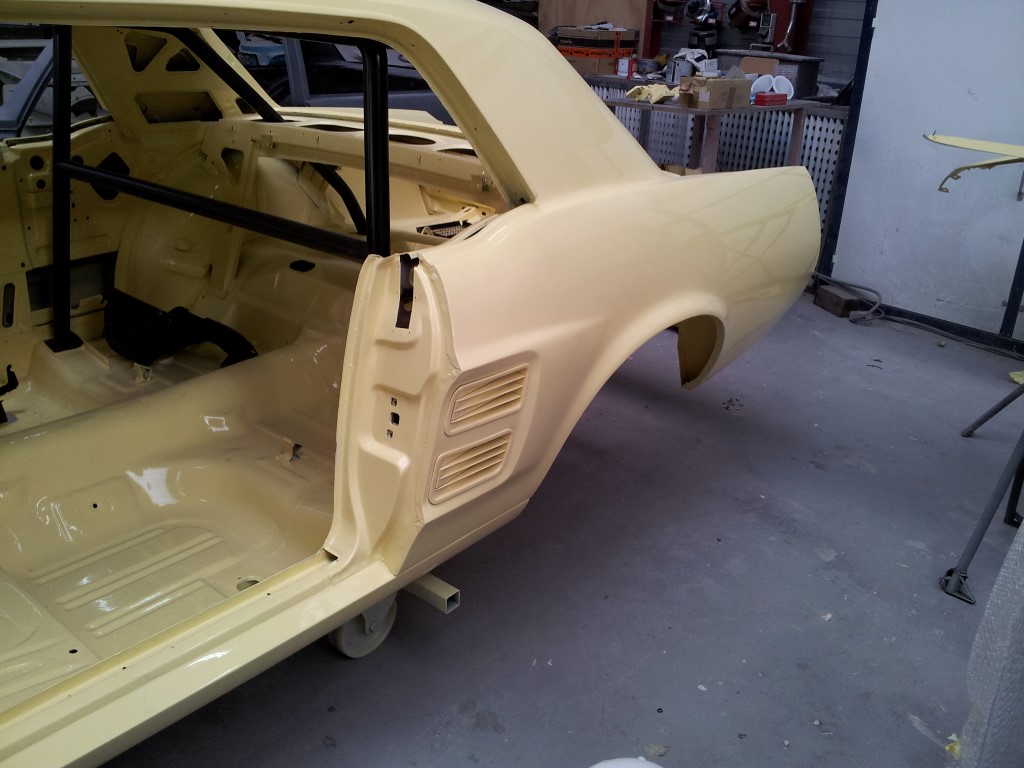 side inserts installed 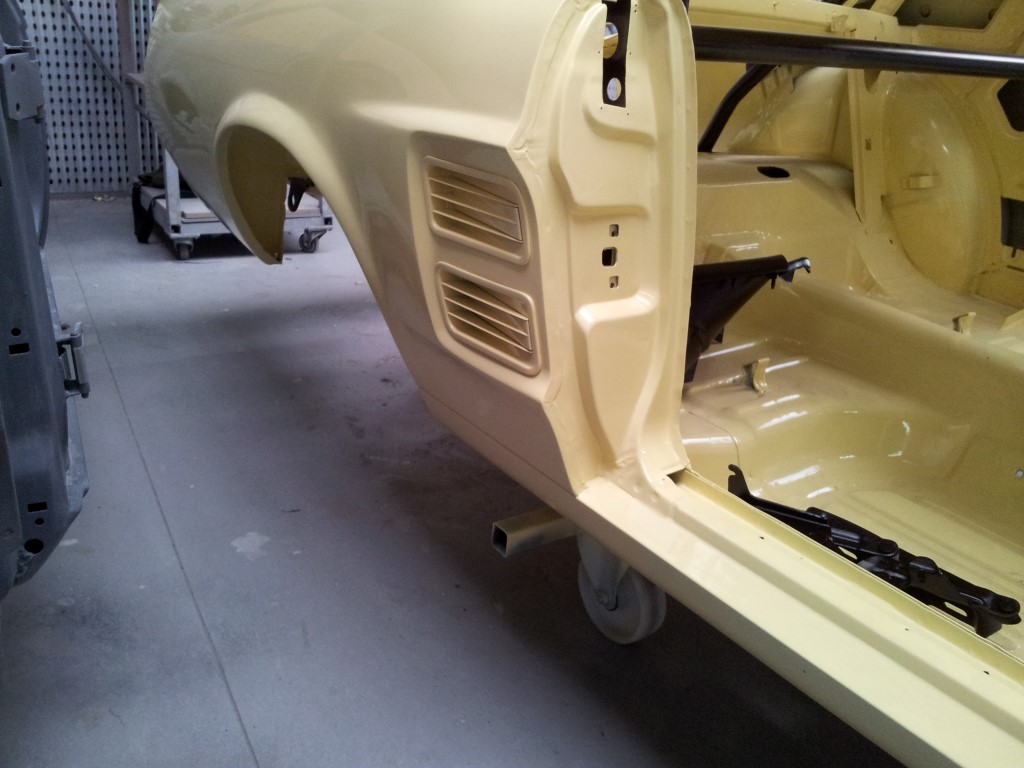 fenders installed for fitting hood en doors 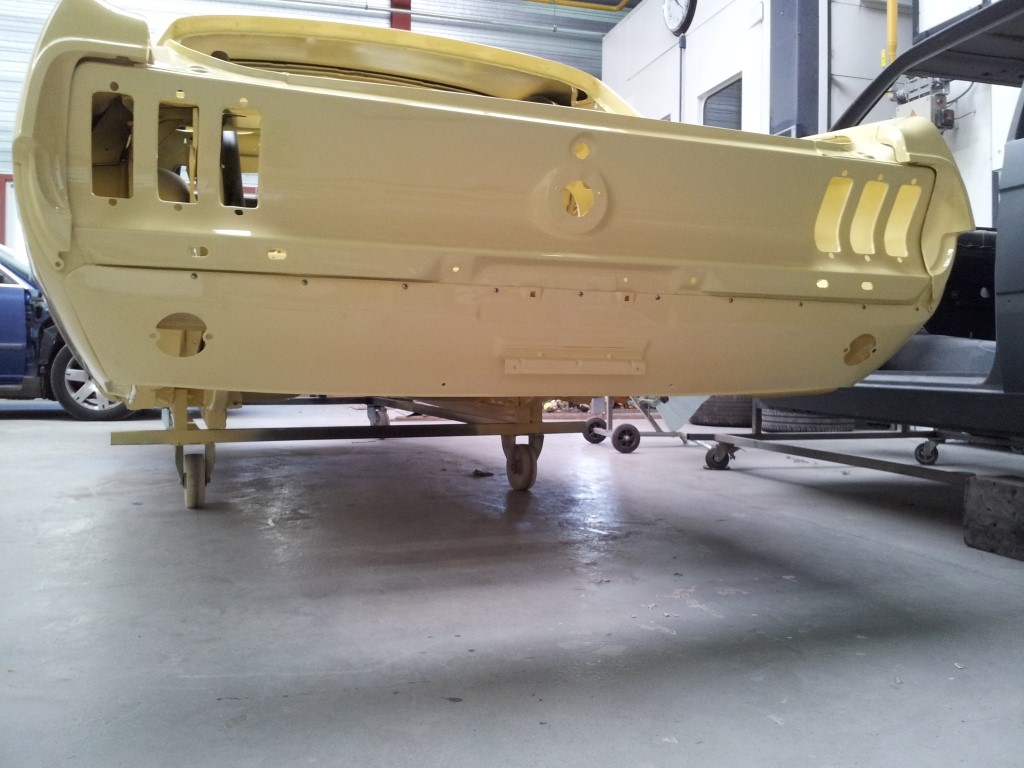 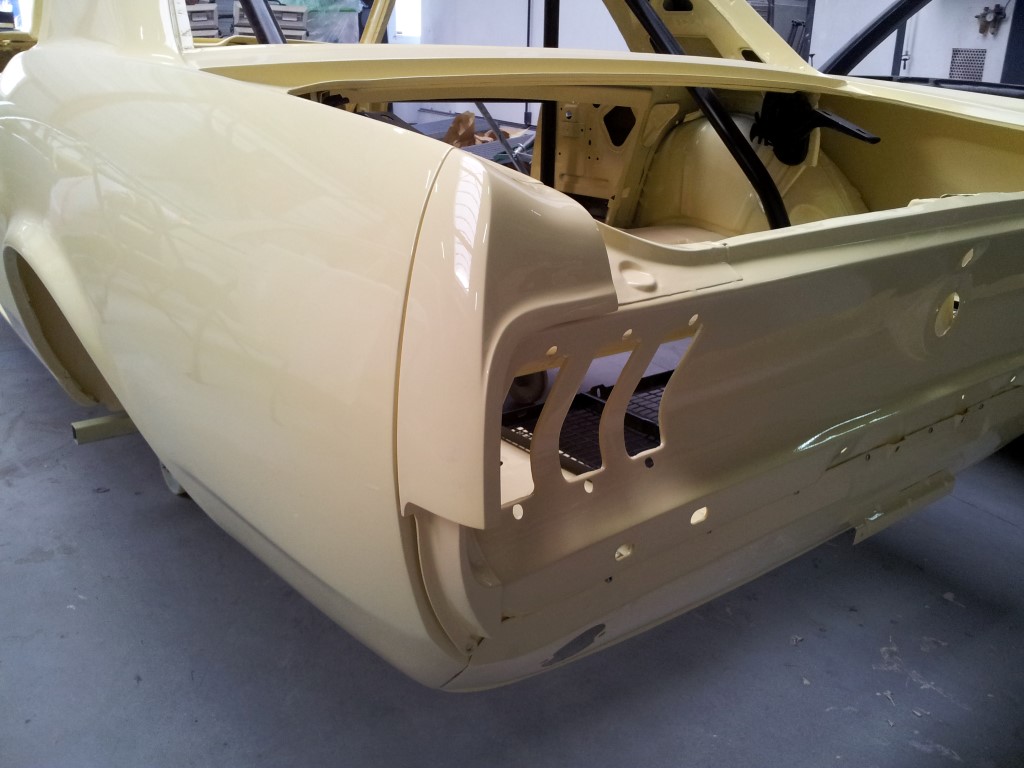 rear valance and extentions (without seals) installed 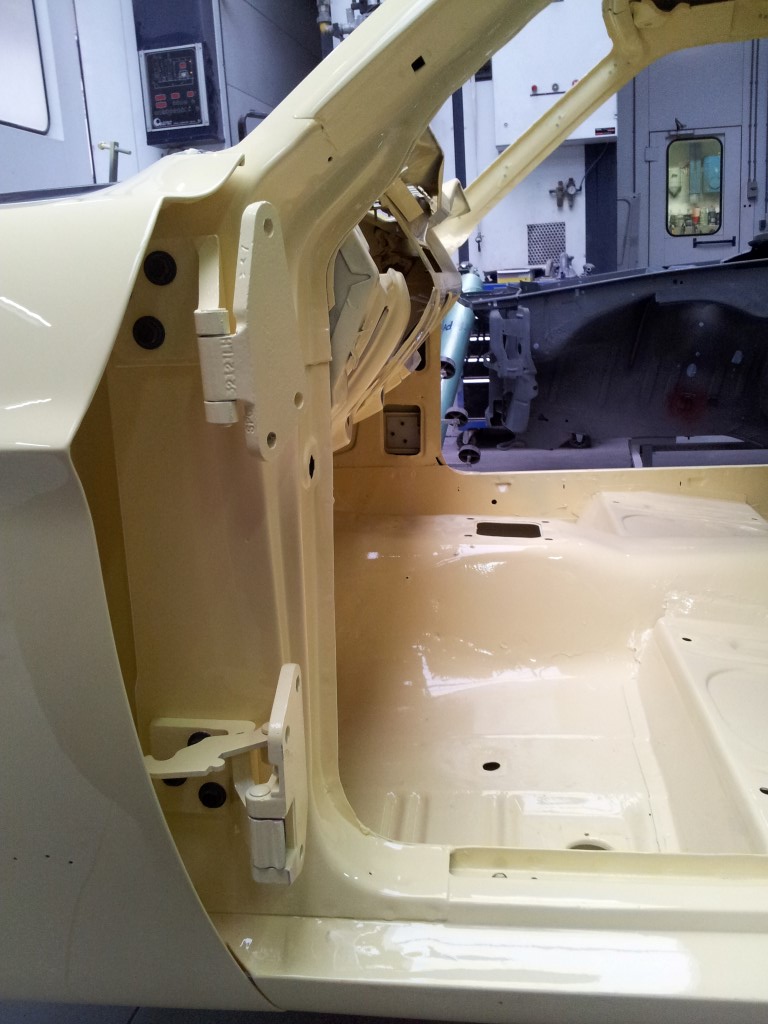 door hinges installed 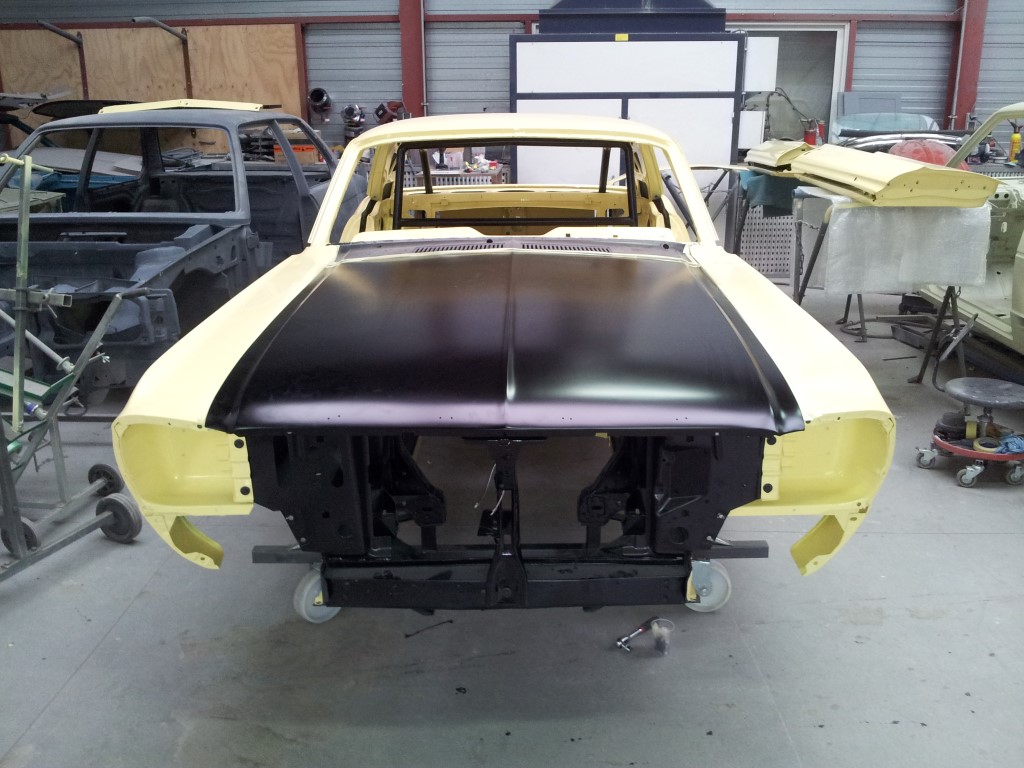 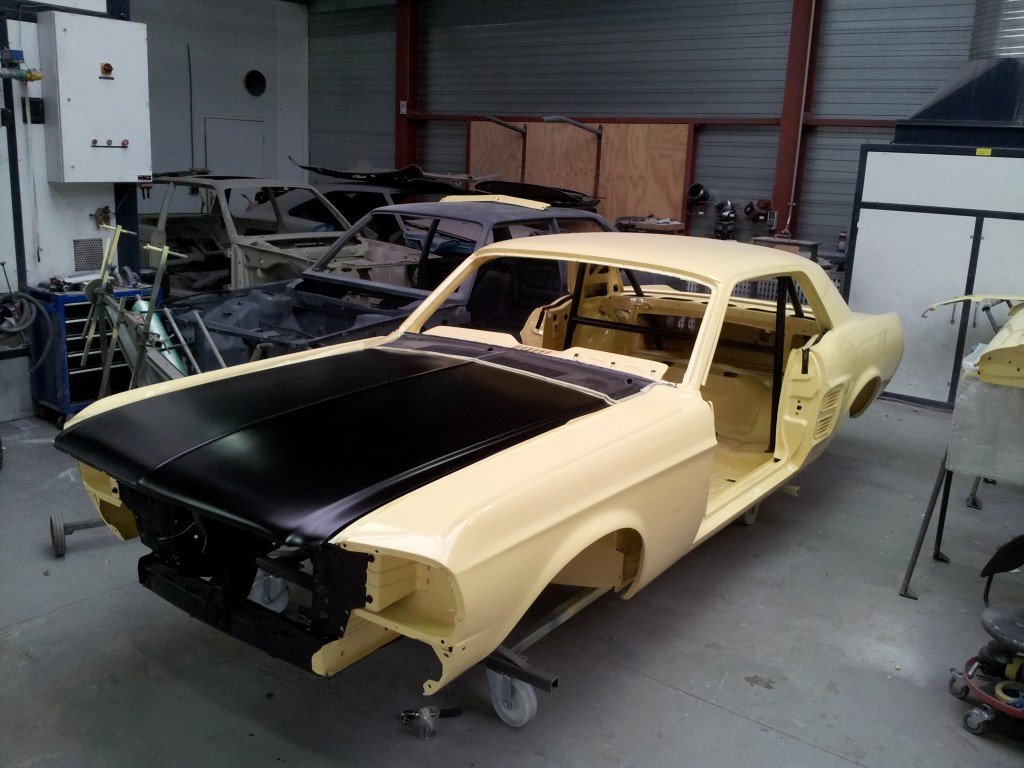 with hood and fenders installed. hood needs to be aligned and the top of the fenders painted black 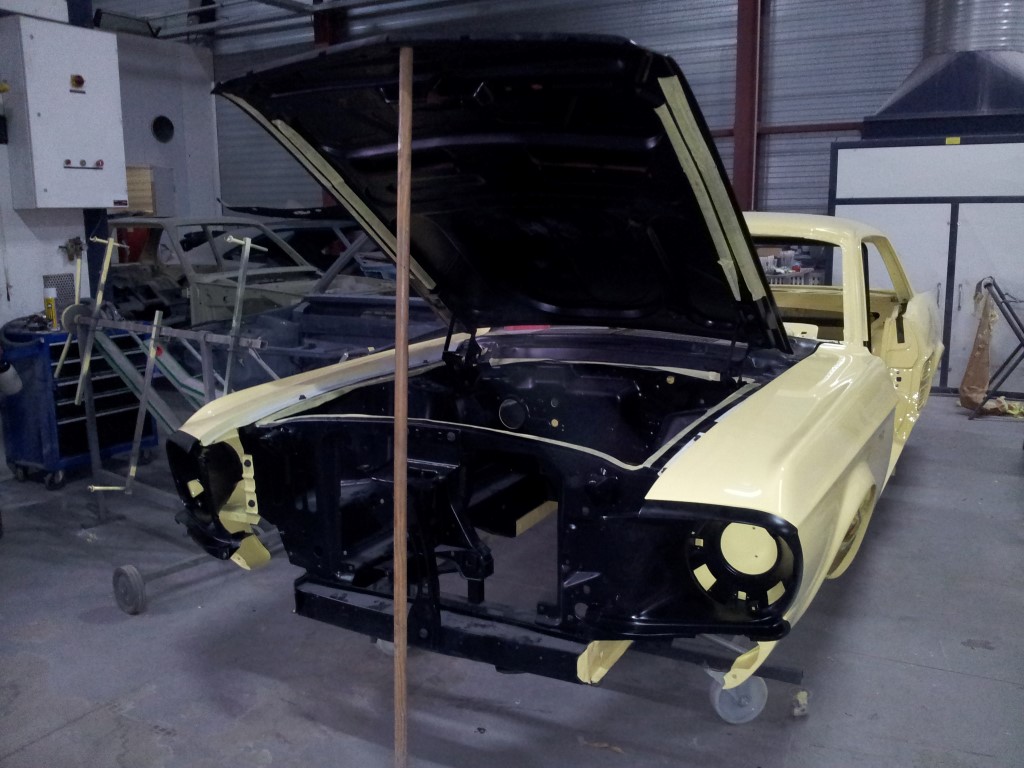 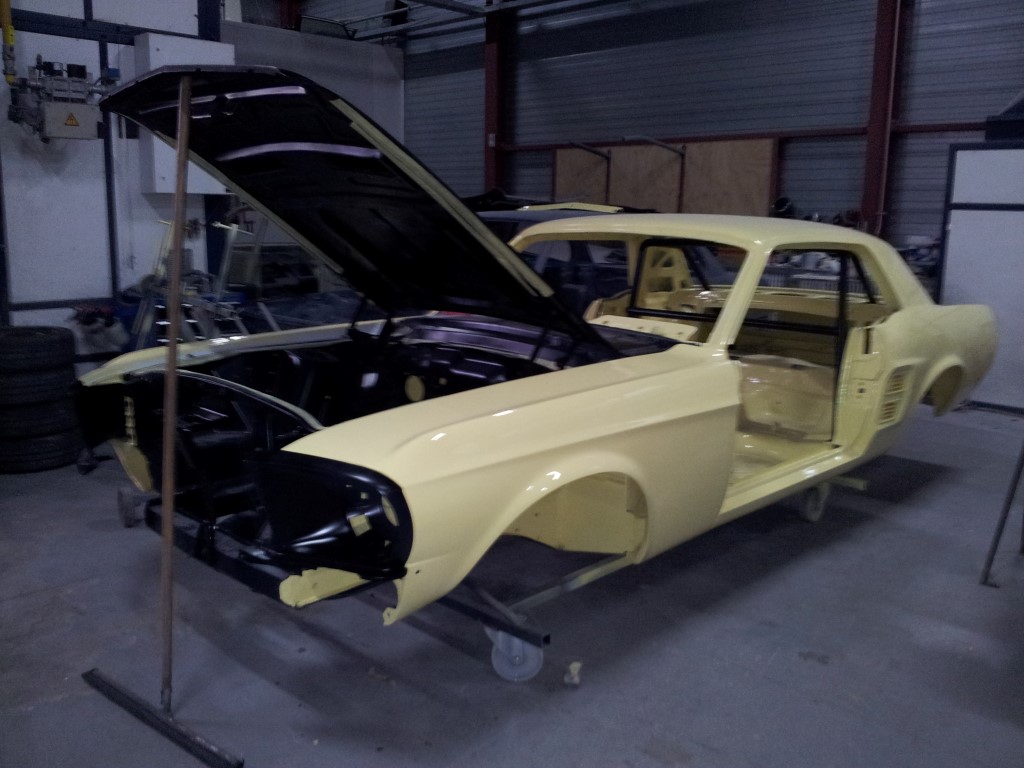 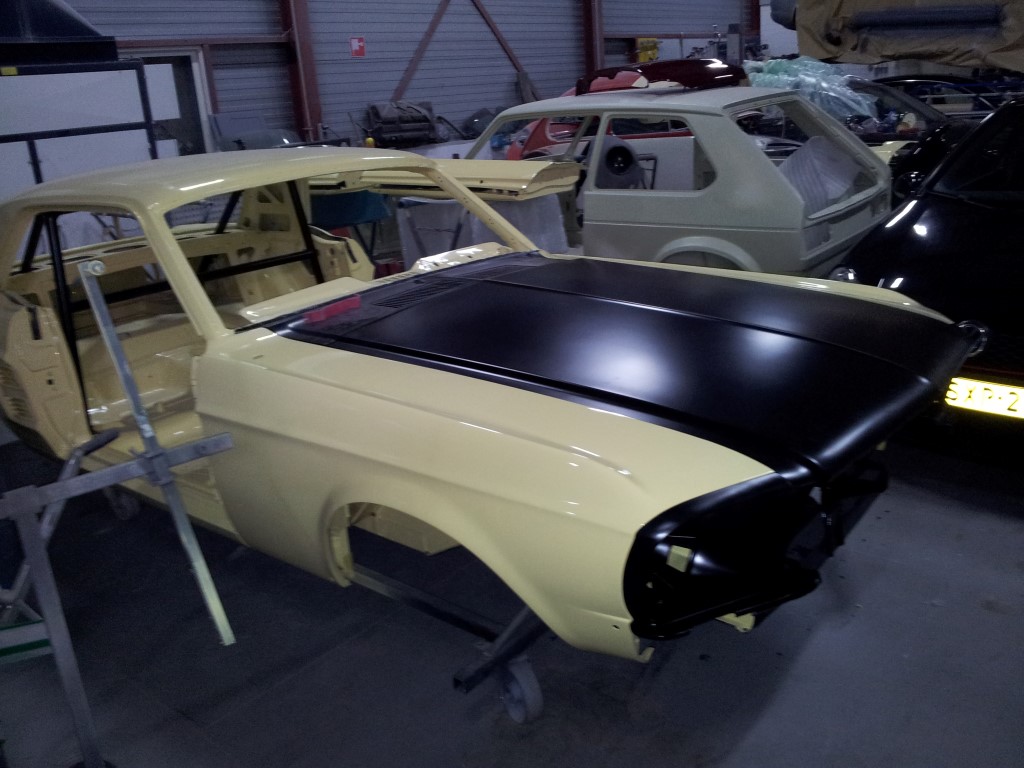  head light buckets installed, looks more and more like a car again 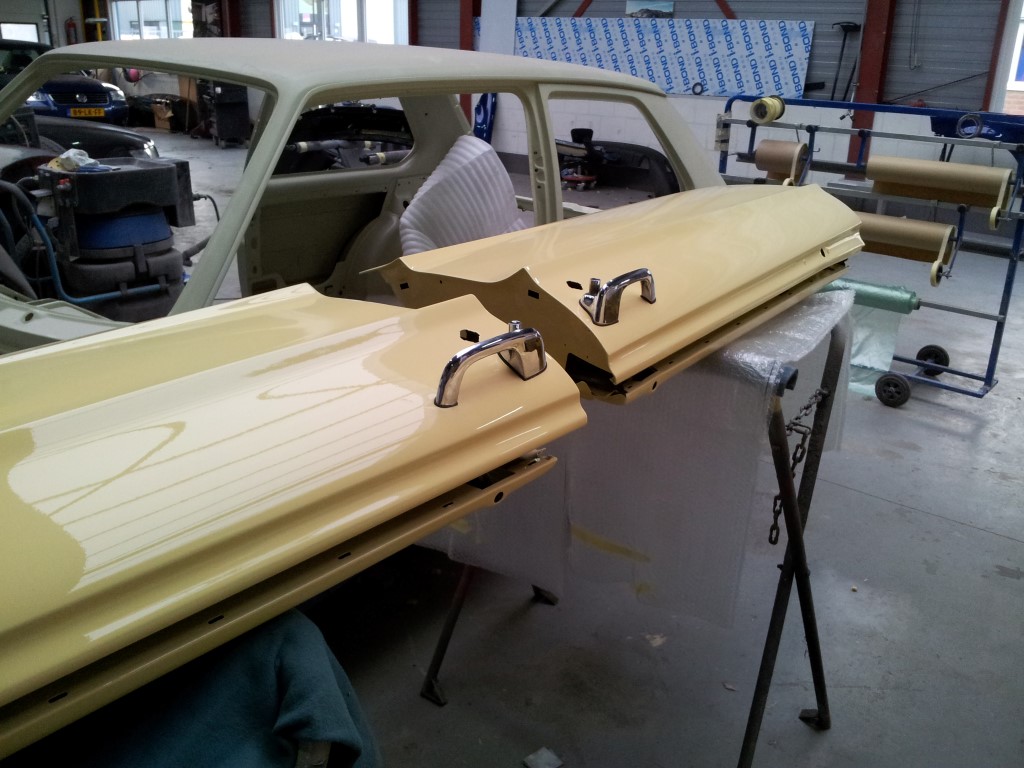 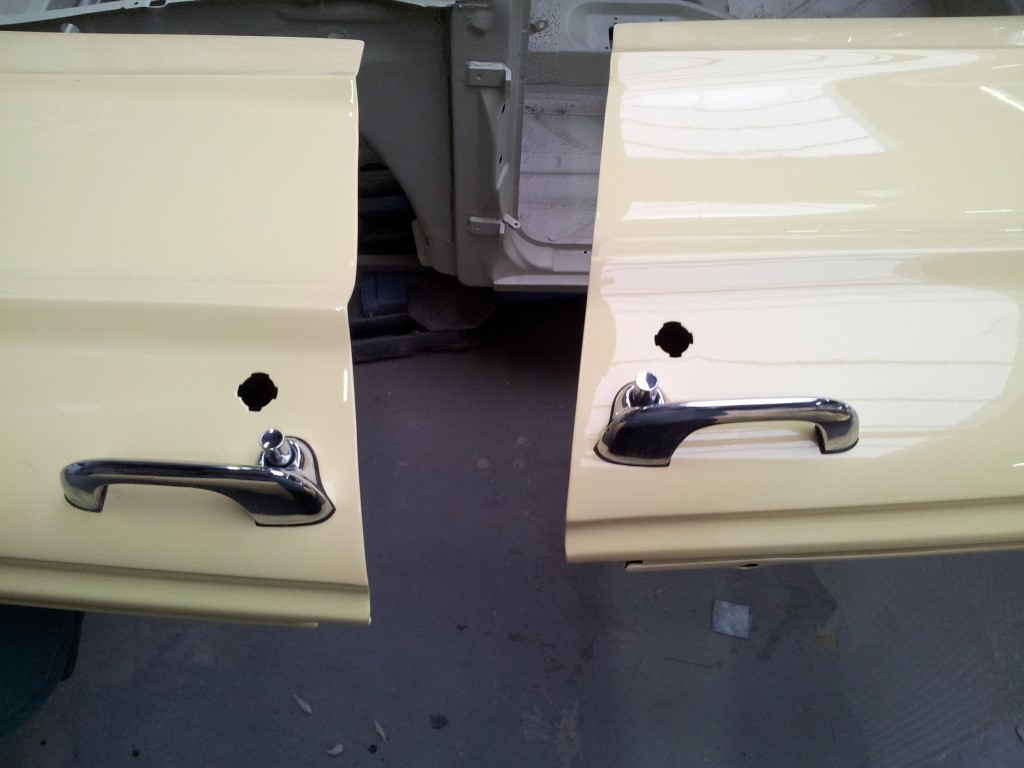 installed the door handles 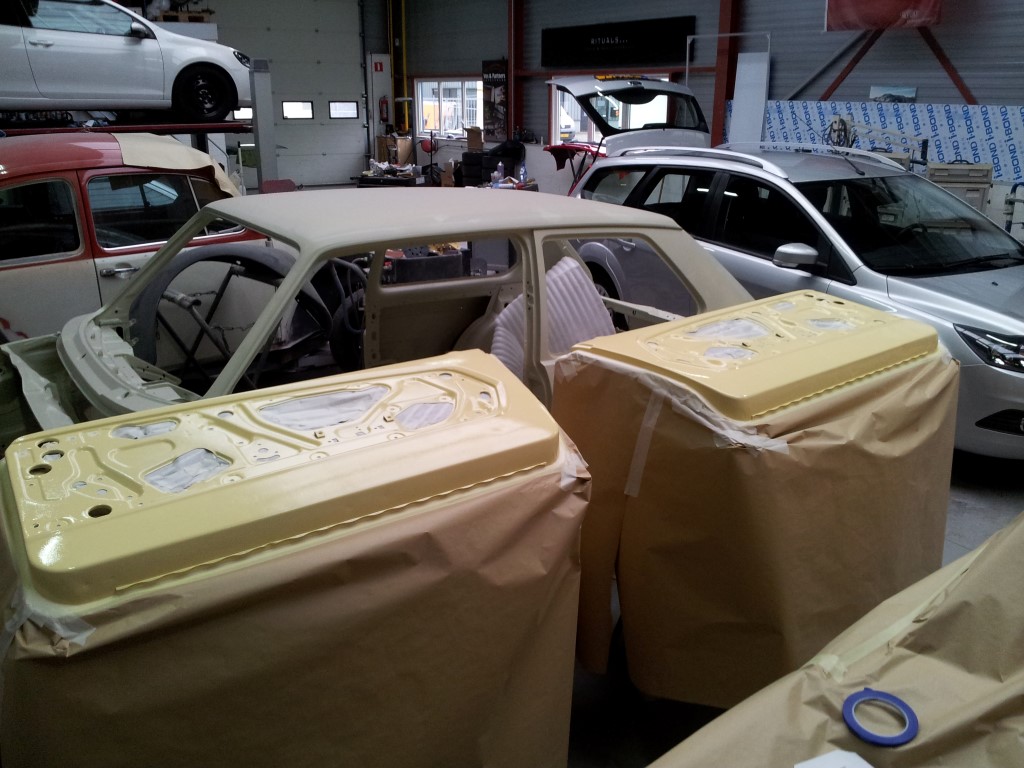 wrapping up the doors for black paint on the inside 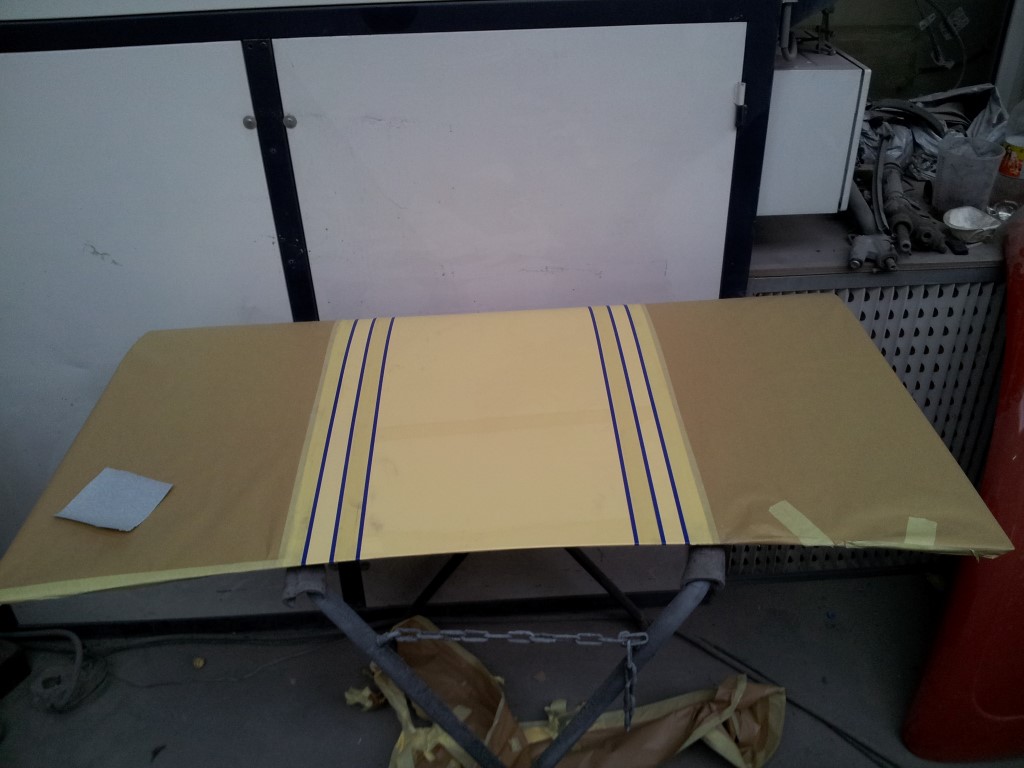 trunk lid wrapped up and striping laid down.... hope this works 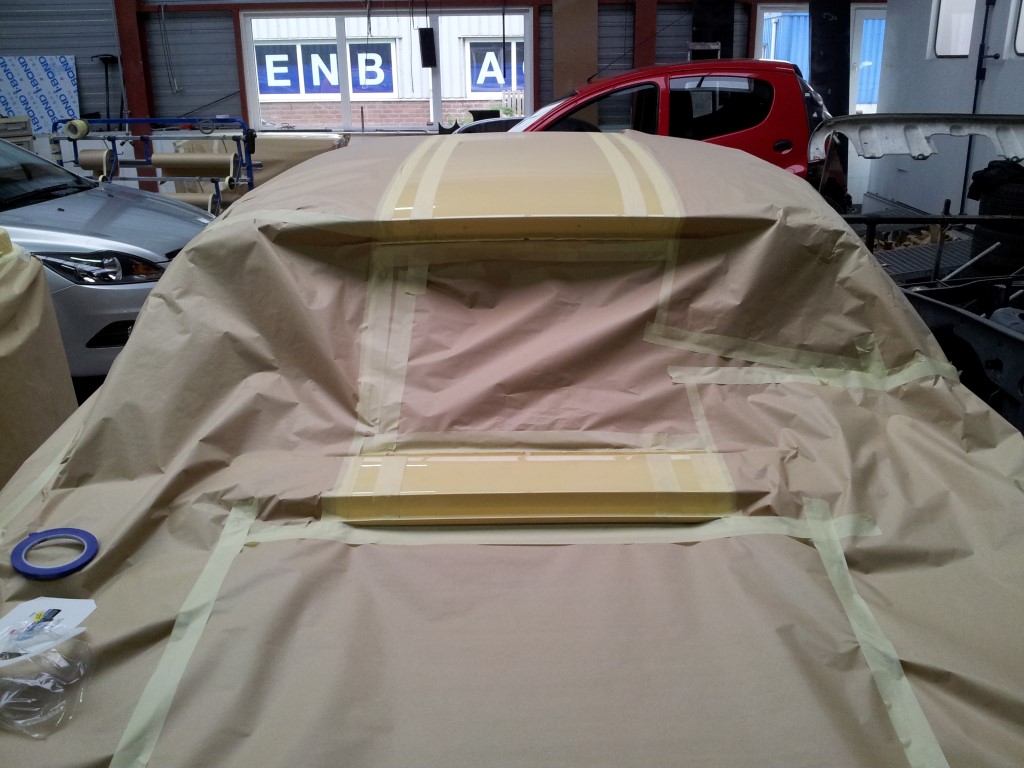 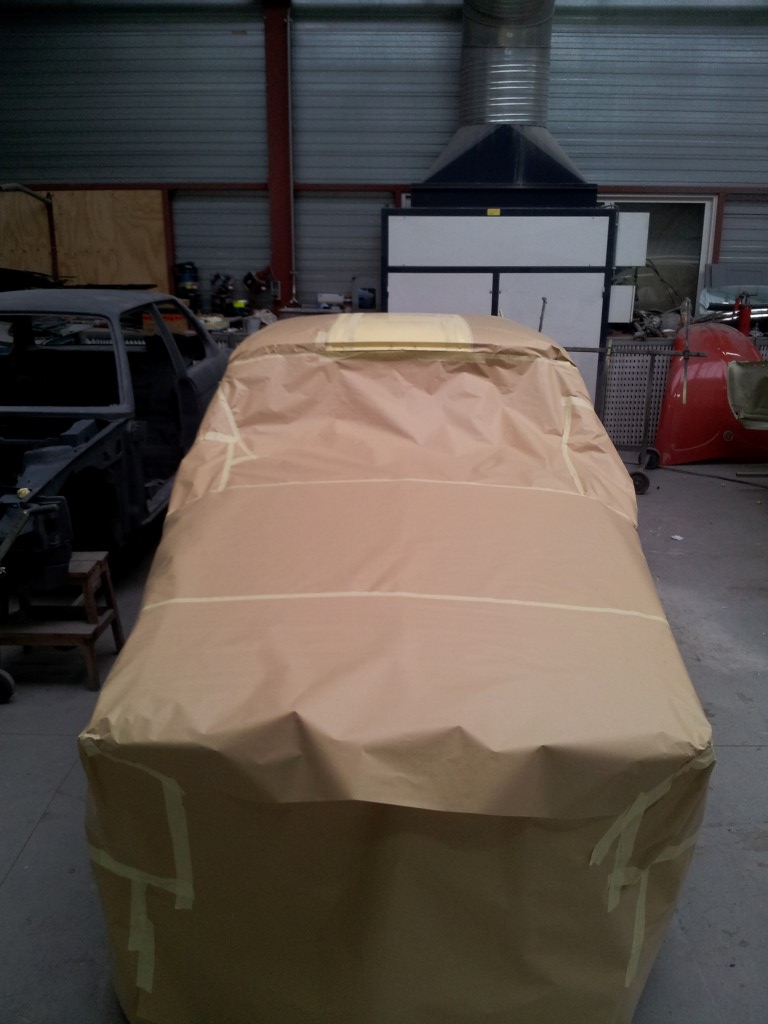 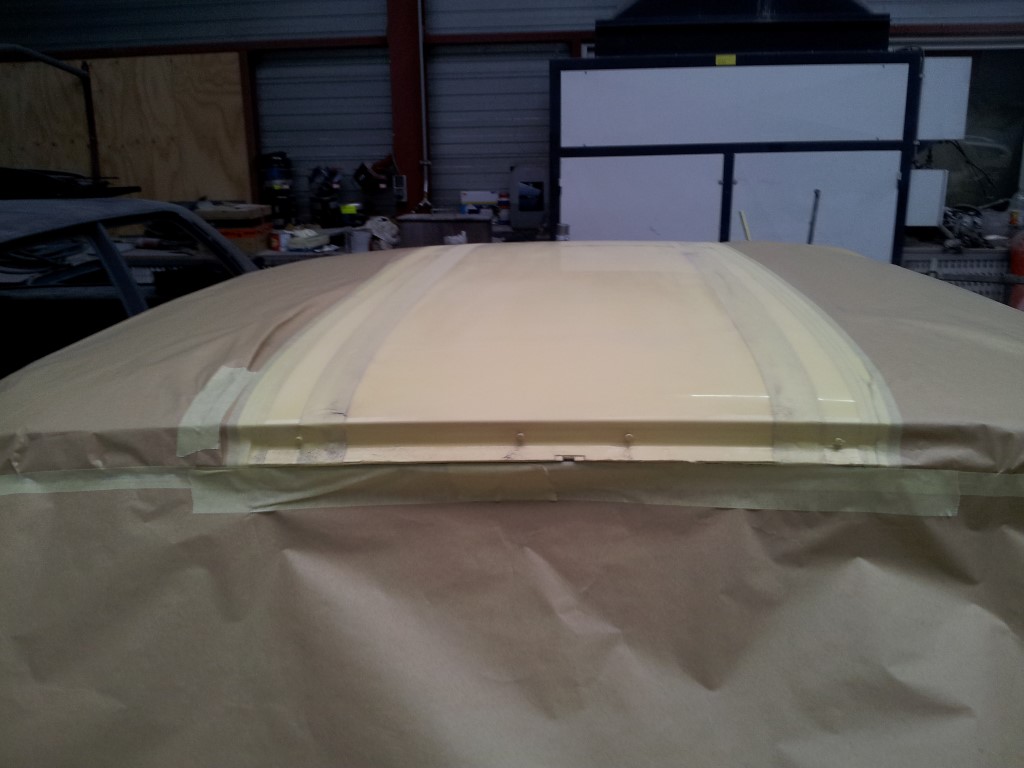  car wrapped with striping  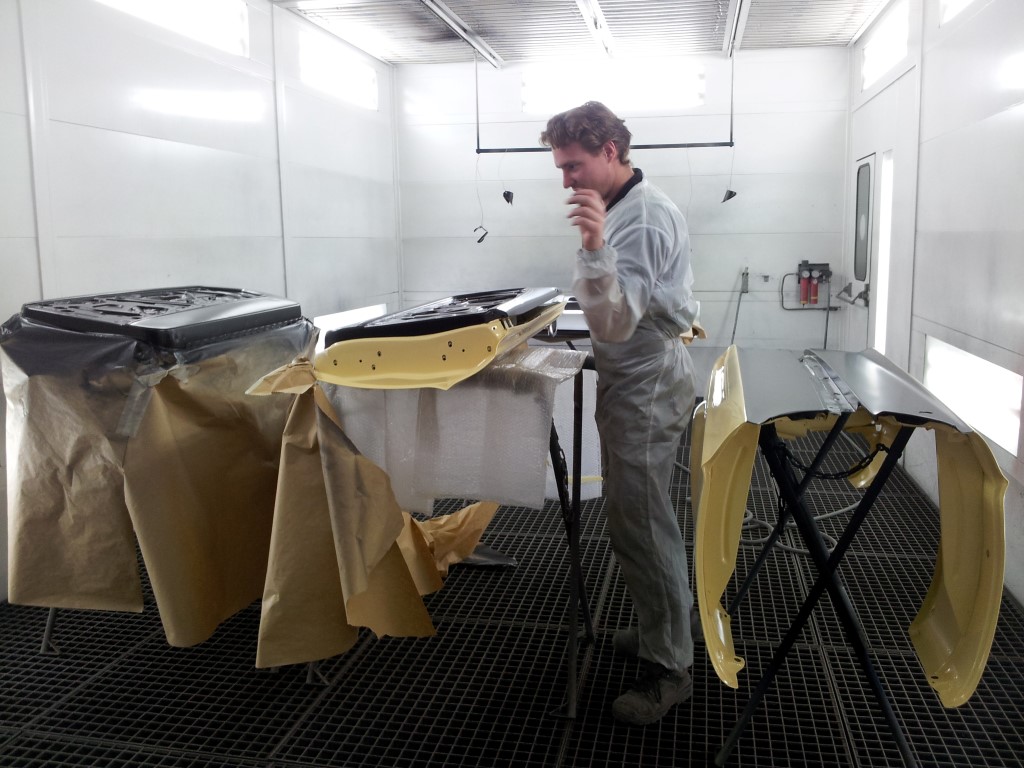 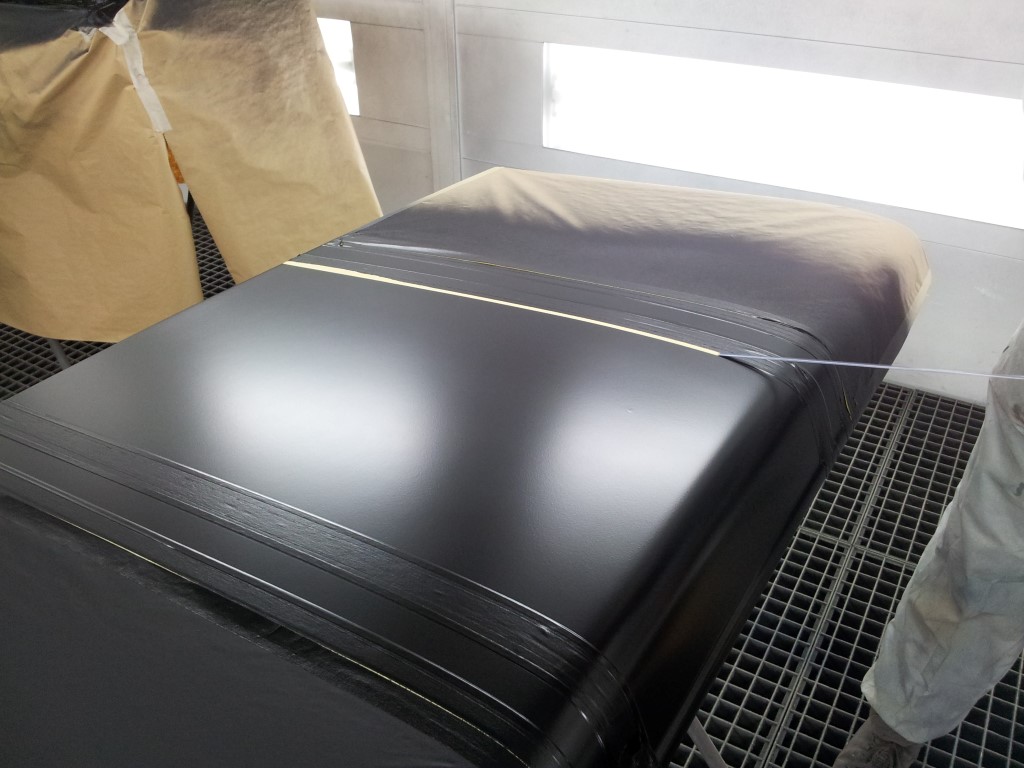 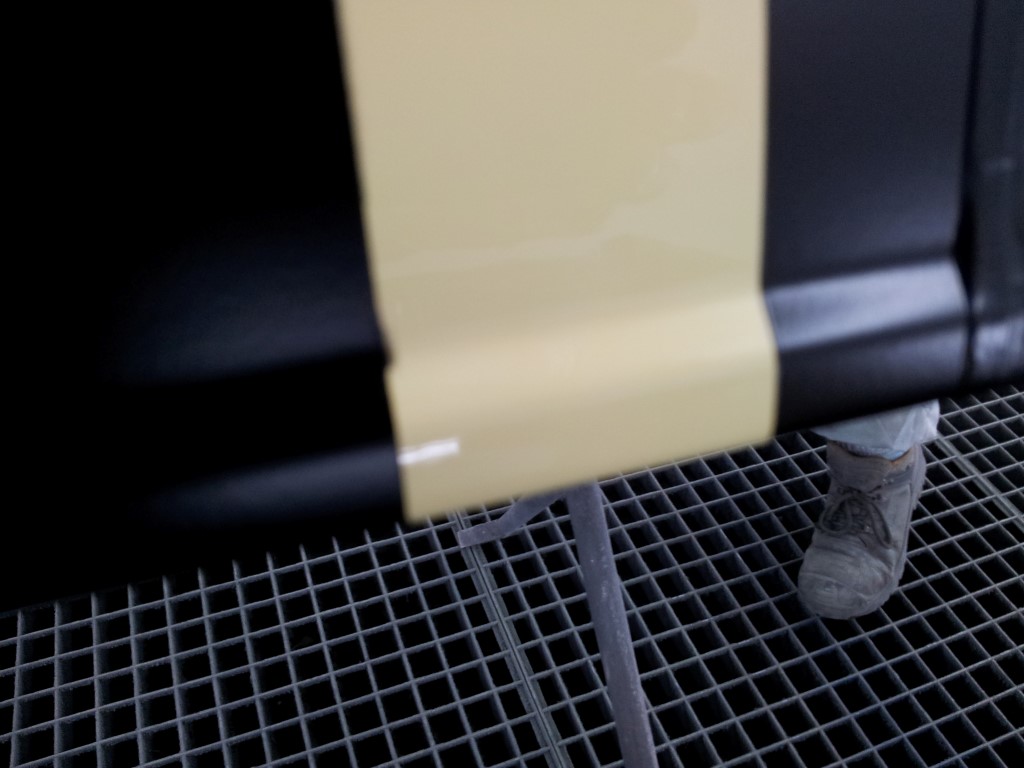 fresh in the booth.. Martin unwrapping the everything 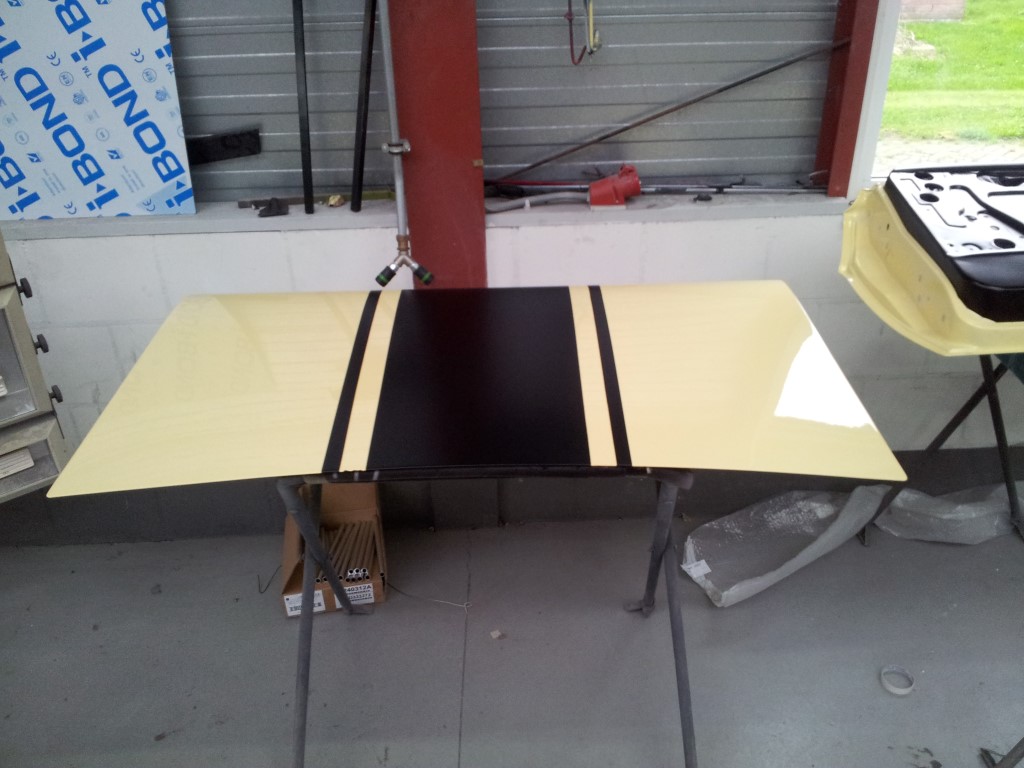 trunk lid with semi flat black striping 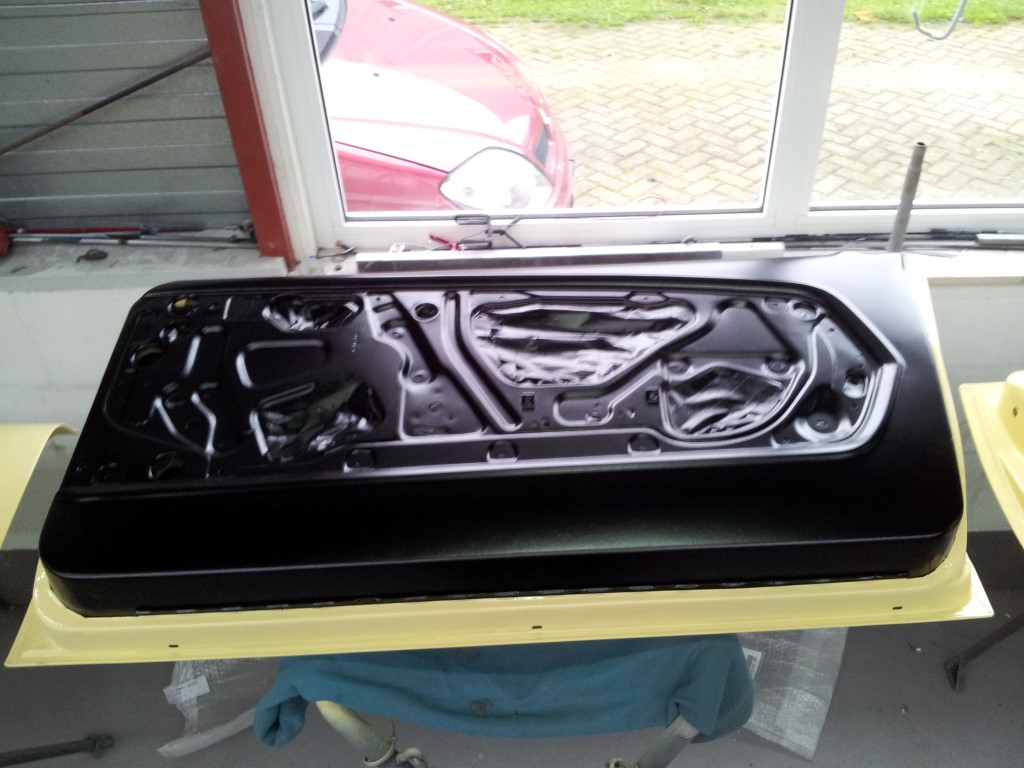 inside of the doors in black 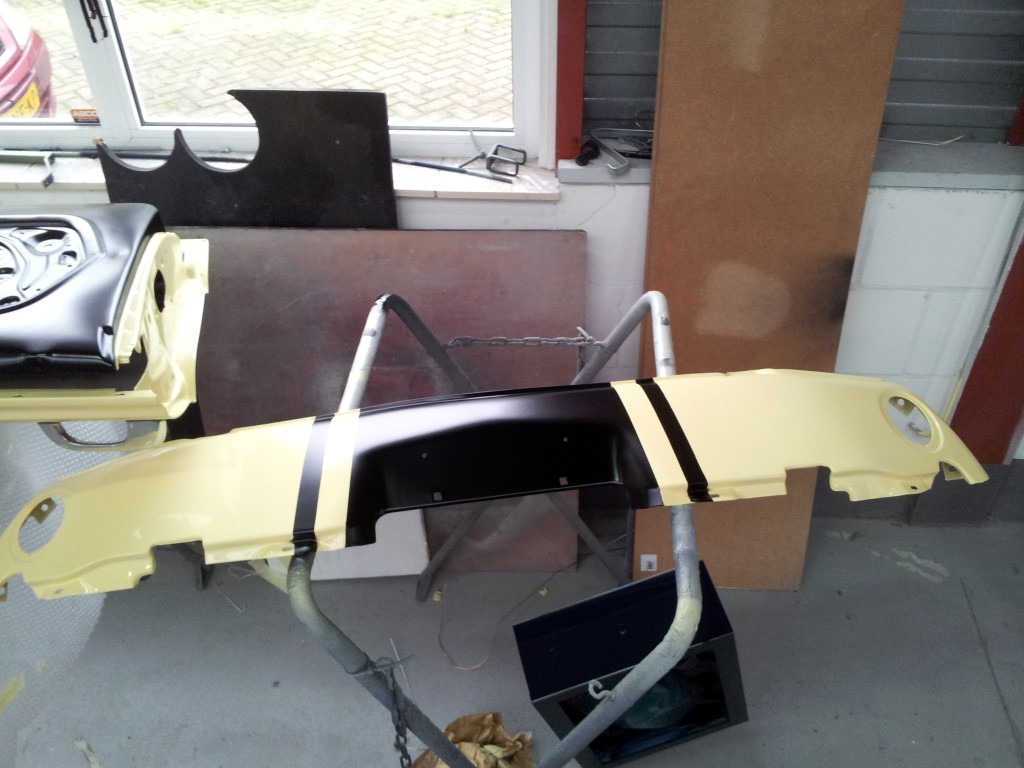 front valance with striping 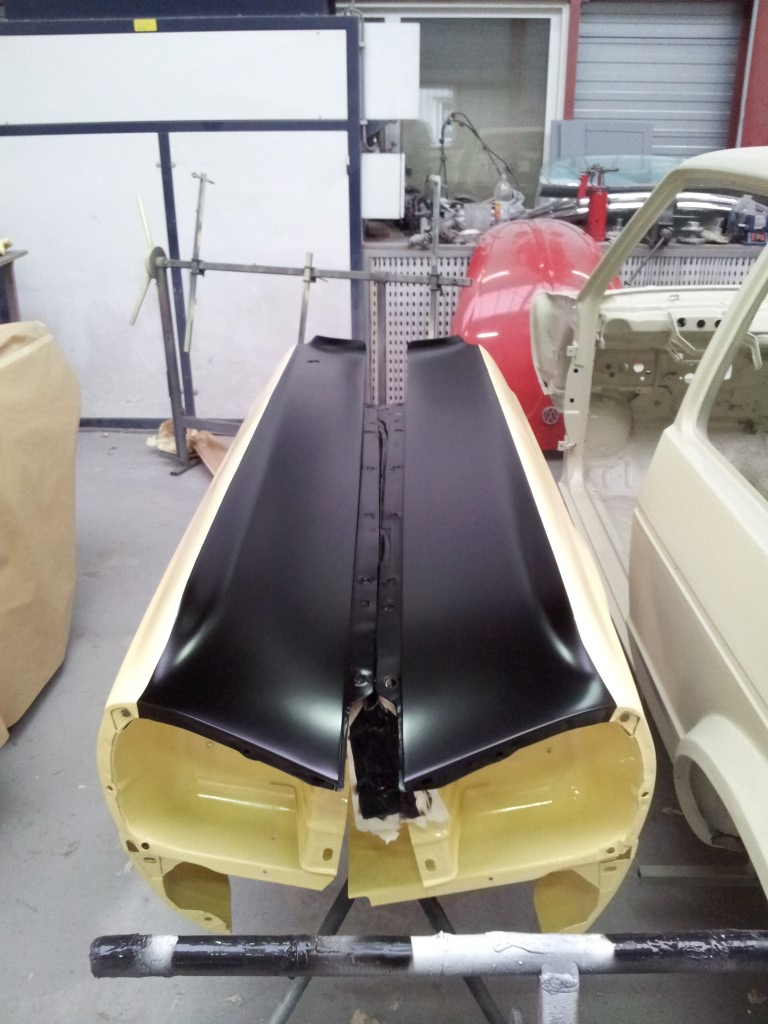 fenders with black on top 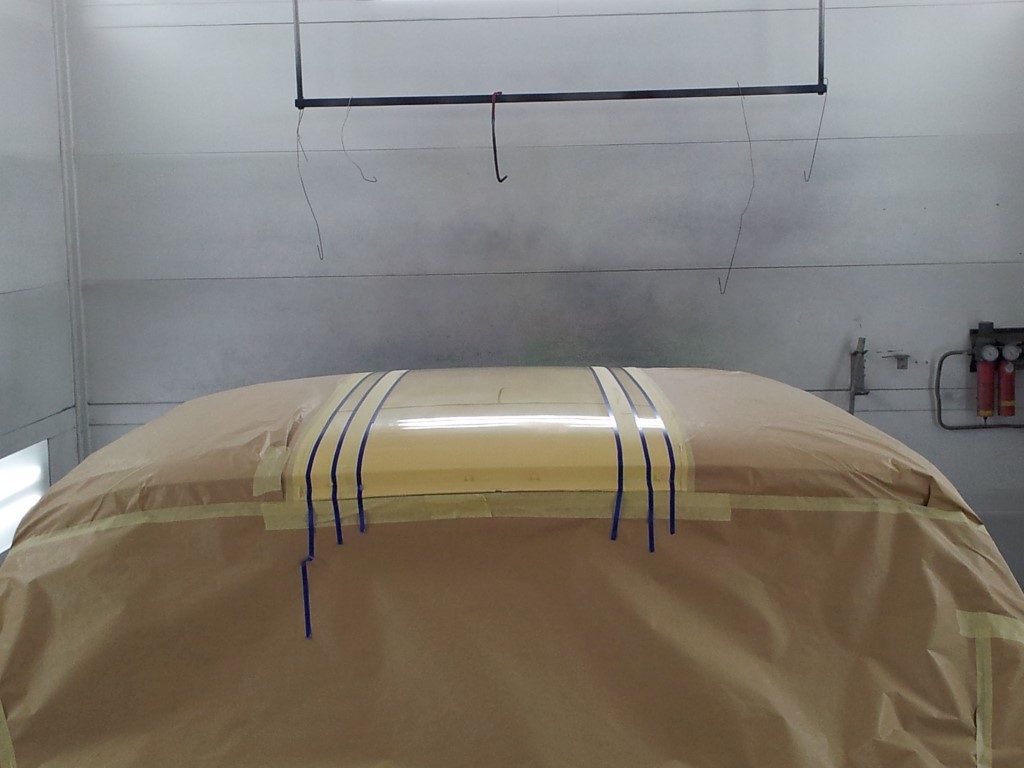 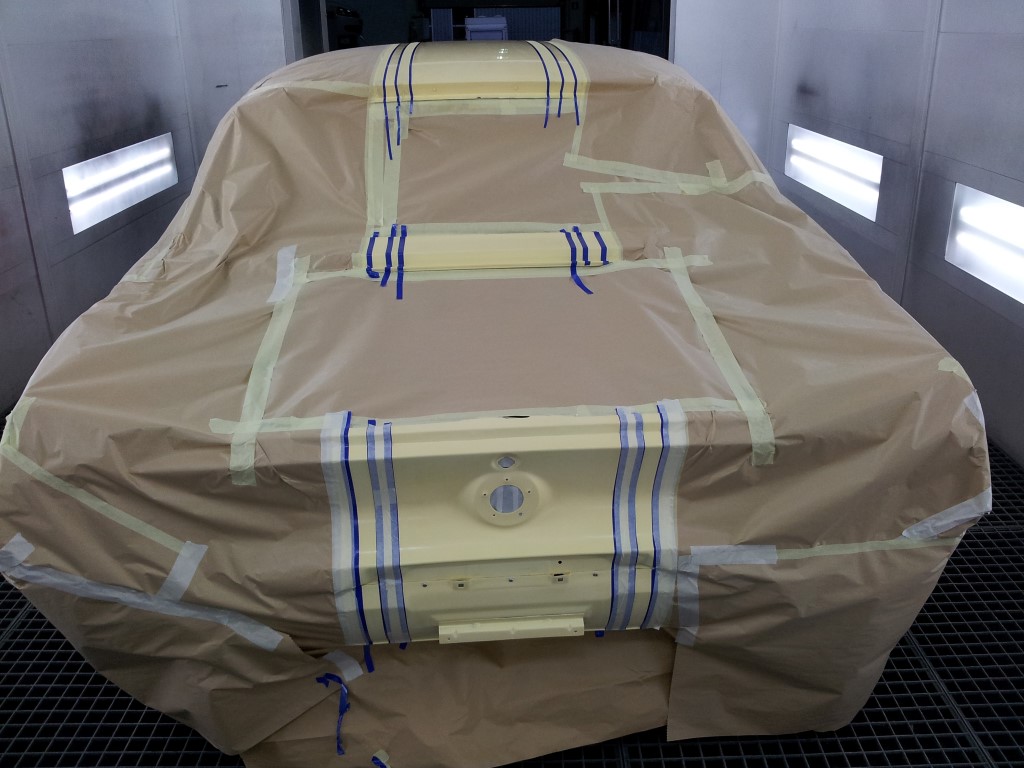 car in booth for black striping.... really nervous about this 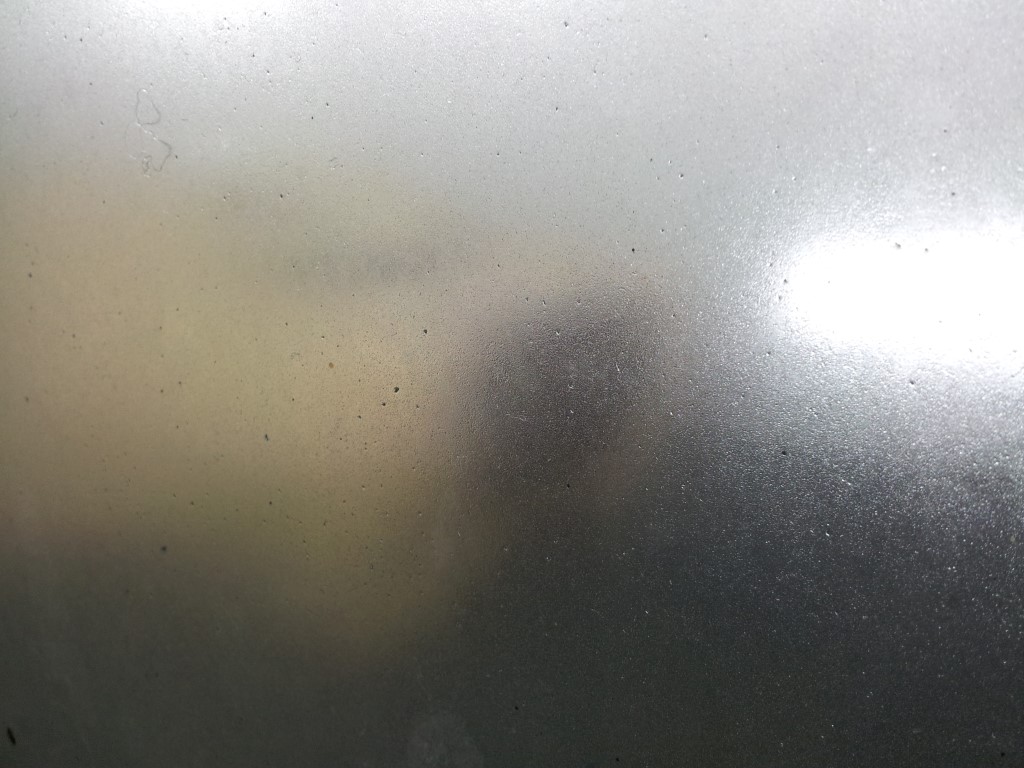 shot thru the booth door...... 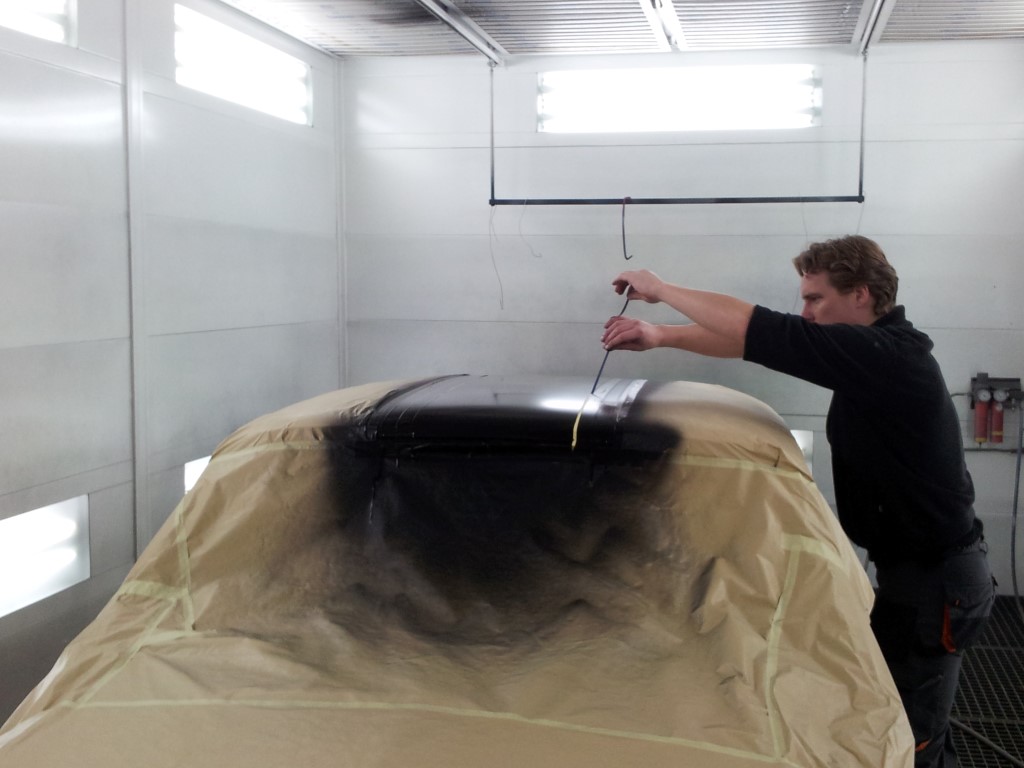 taking the wrapping of after paint 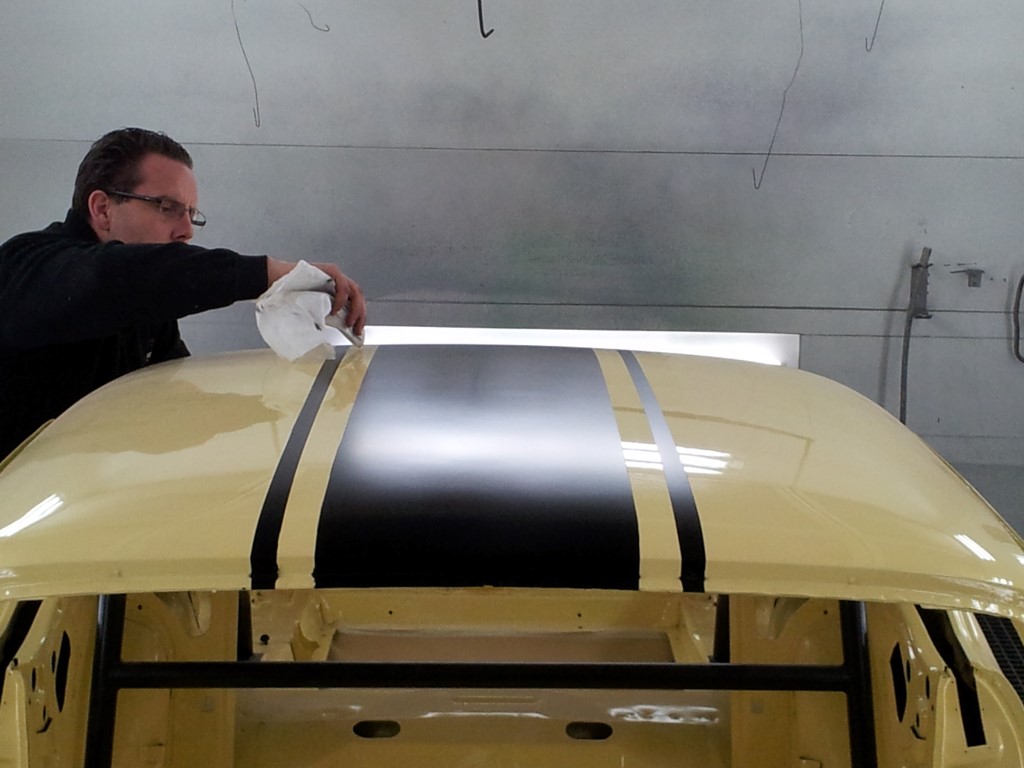 Jeremy cleaning some misstakes 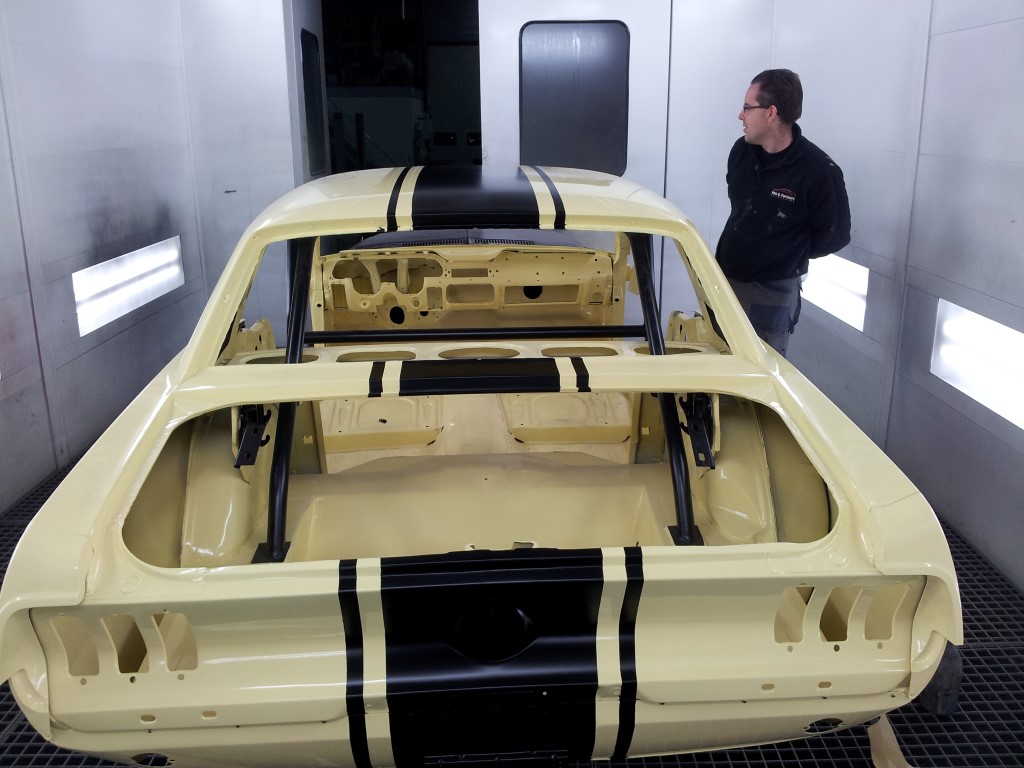 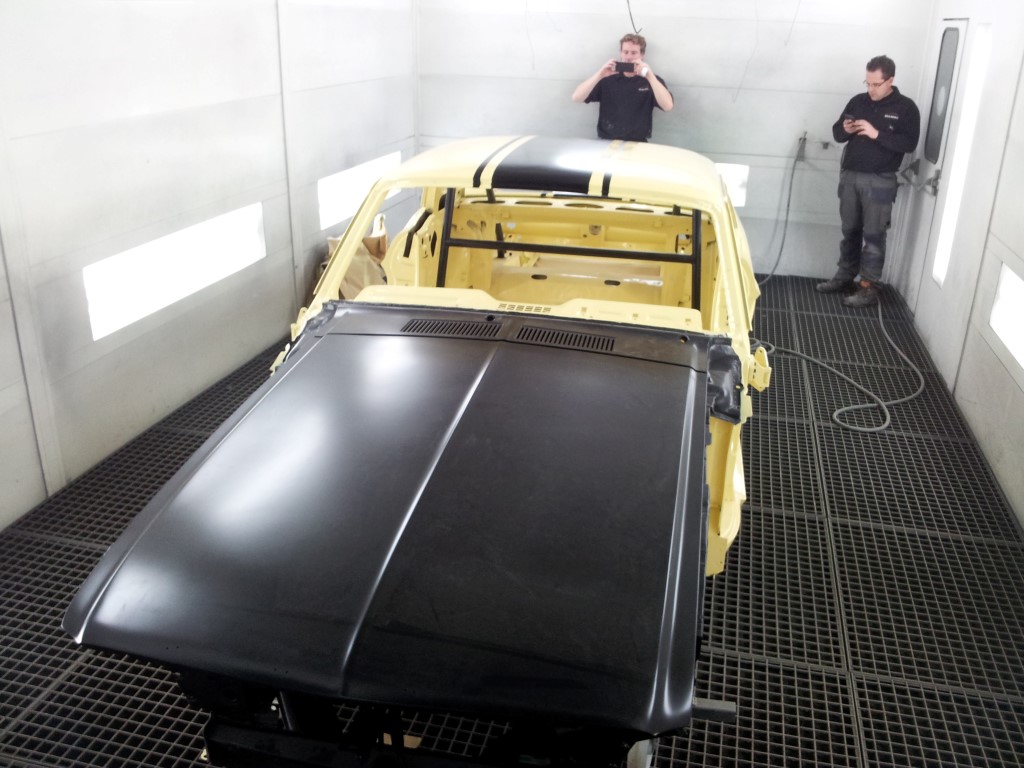 Jeremy and Martin admiring the striping 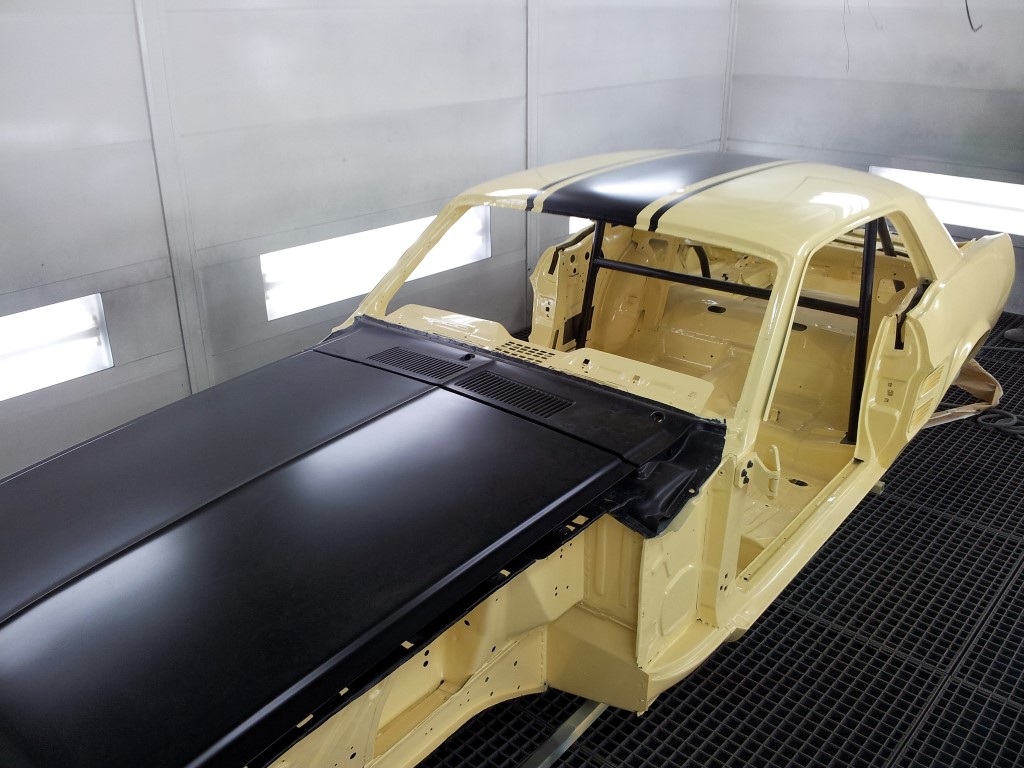 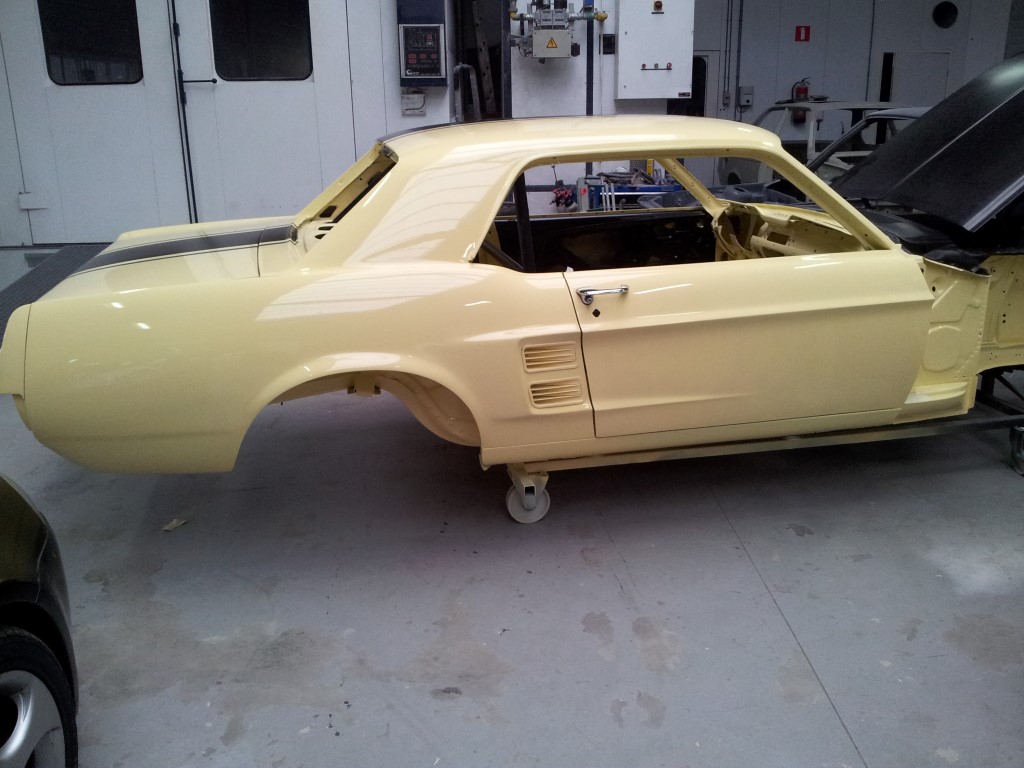 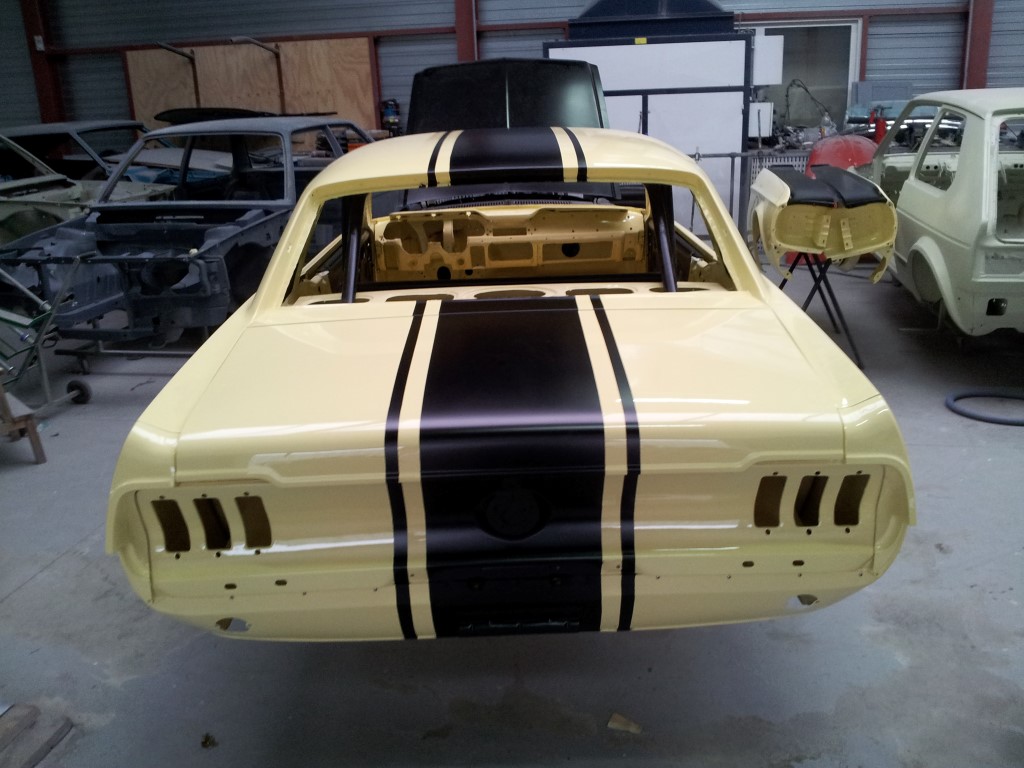 rebuild has started 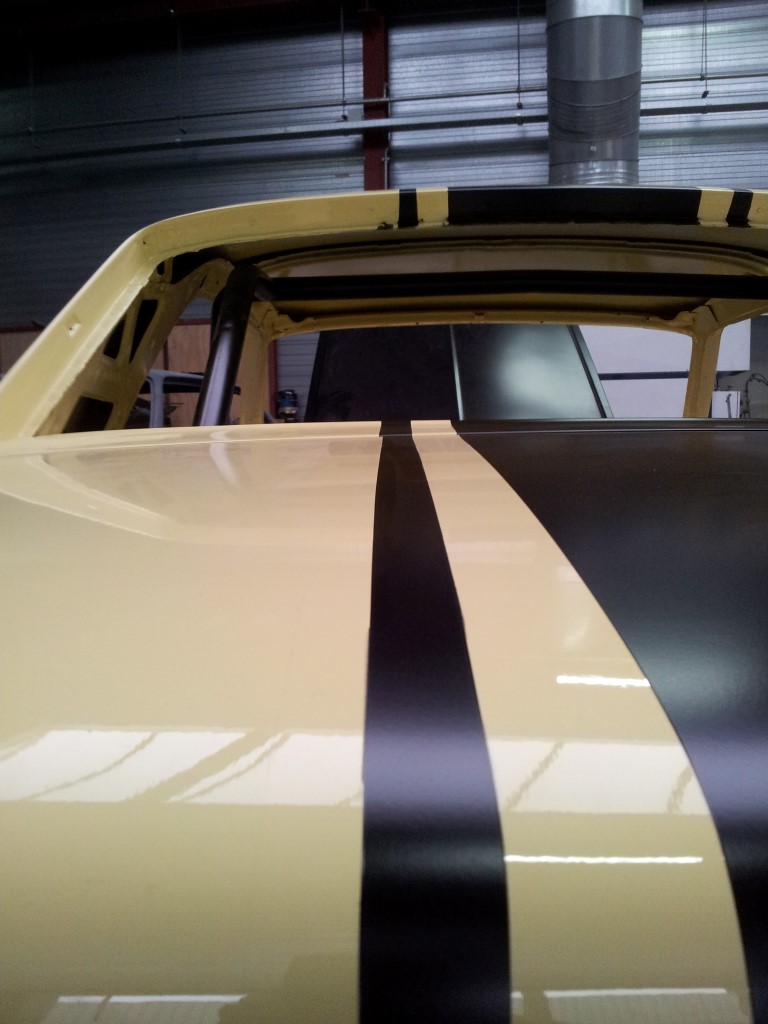 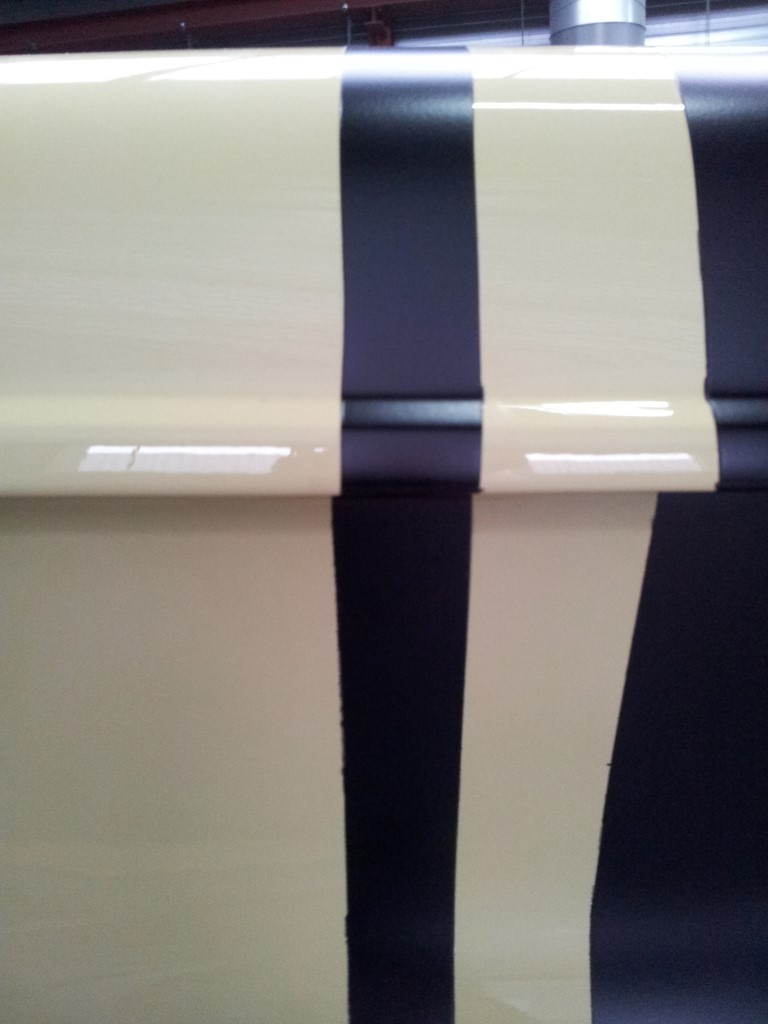 DAMN!!! the left striping is not wide enough.... needs to be fixed 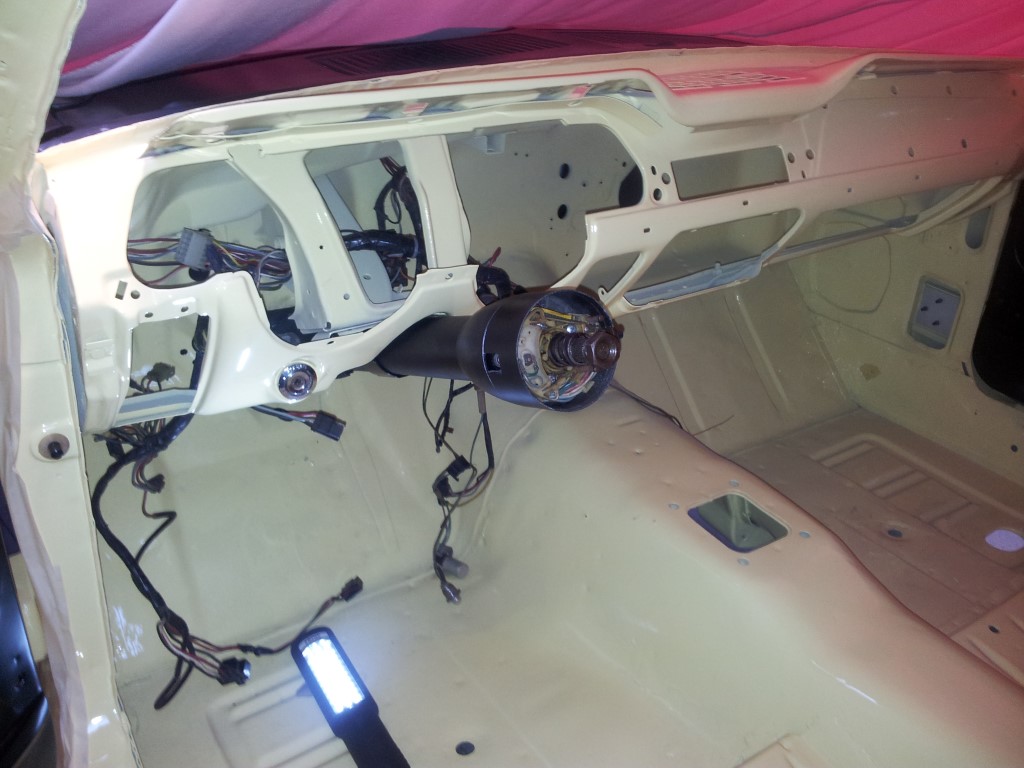 steering column in place. Now getting the wiring in nice and clean 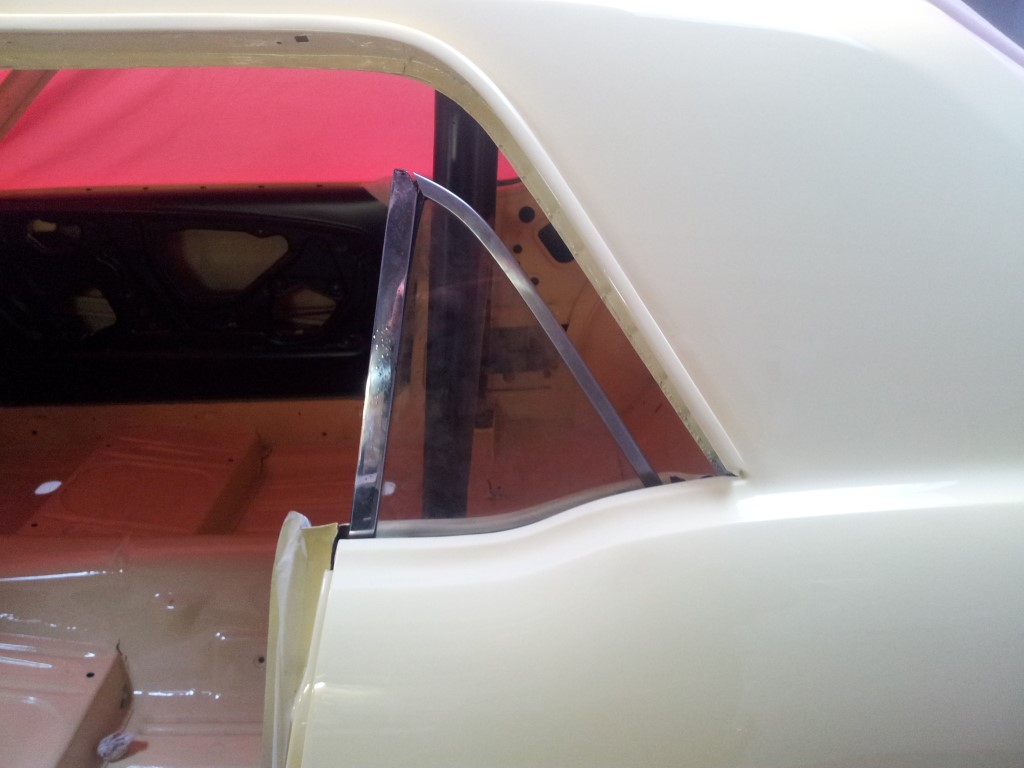 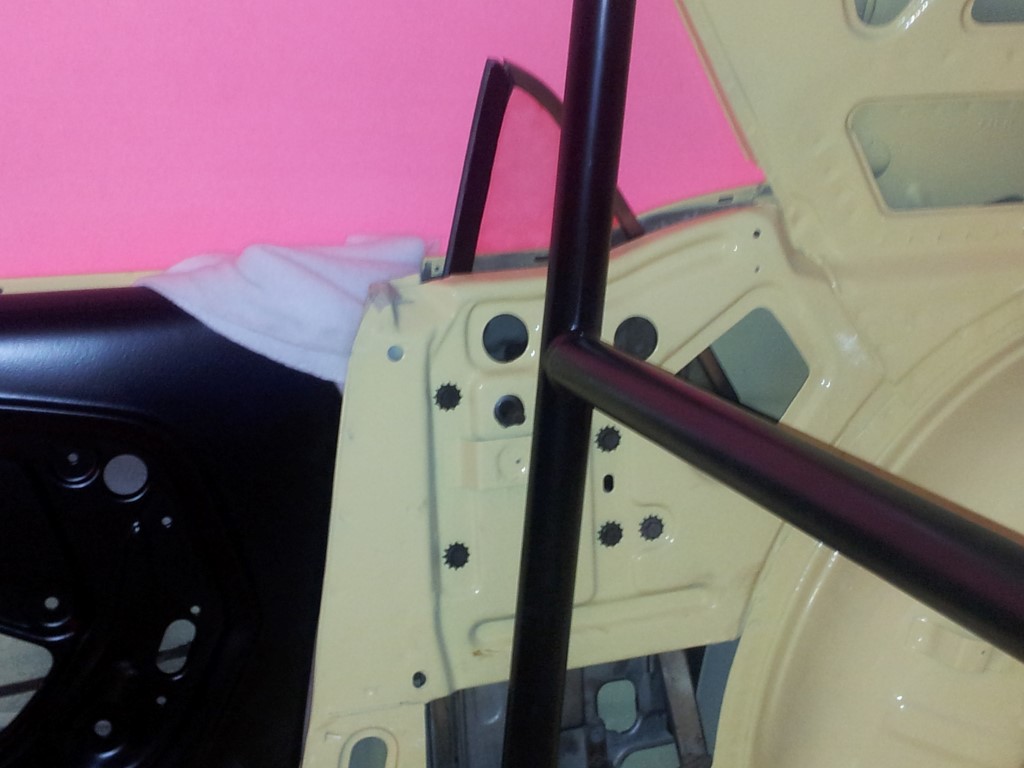 Rear vent windows installed. Still need to be adjusted. Also need a smaller handle to clear the bar 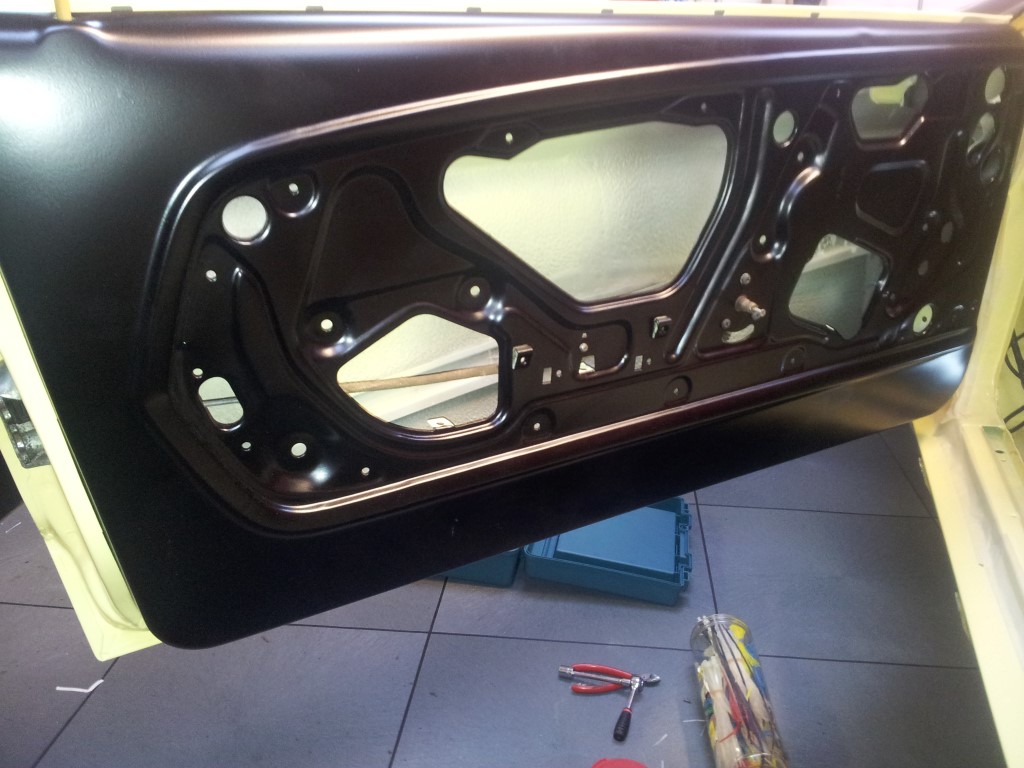 Door lock mechanism installed 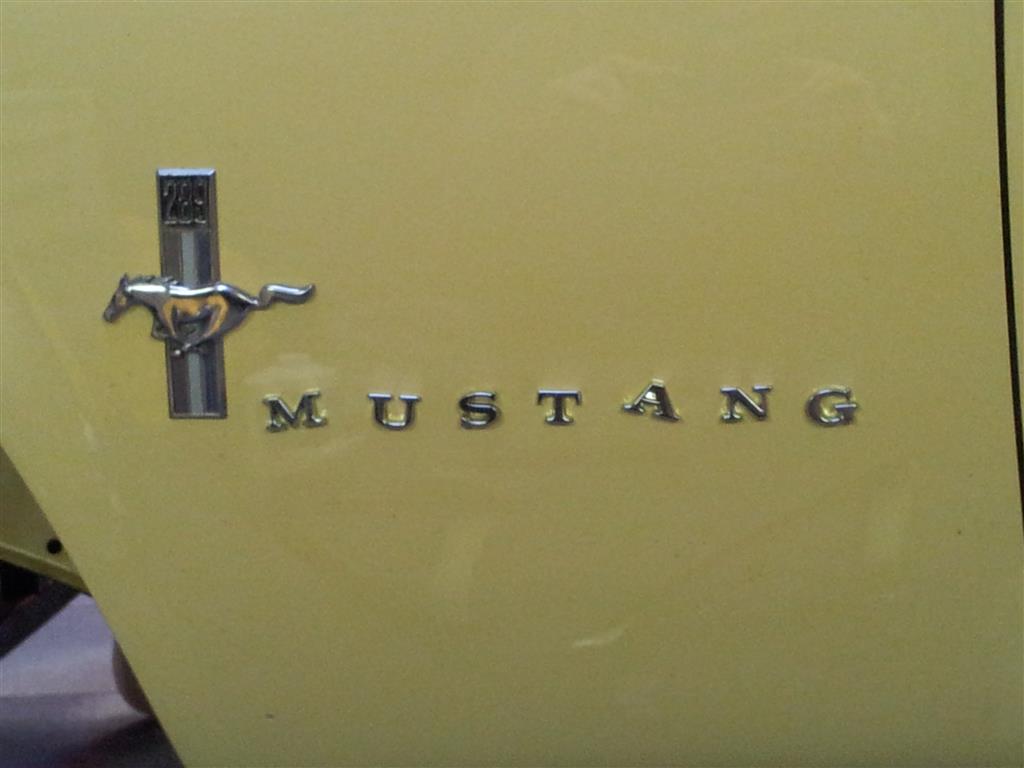 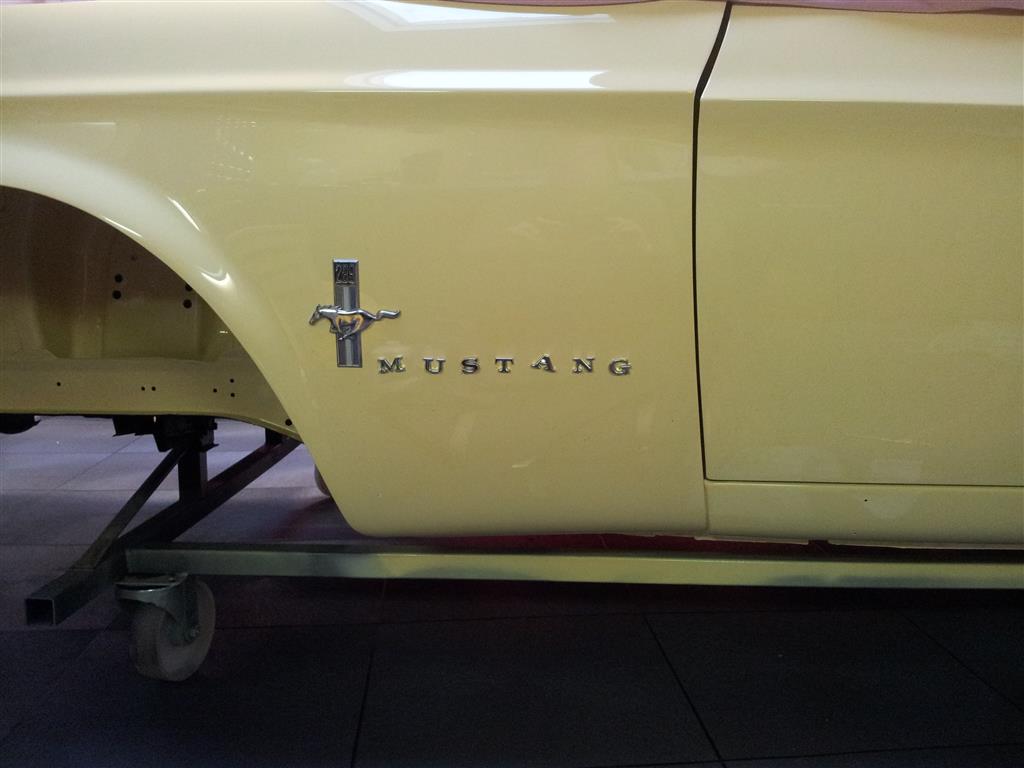 Lettering on the drivers side is crooked.... 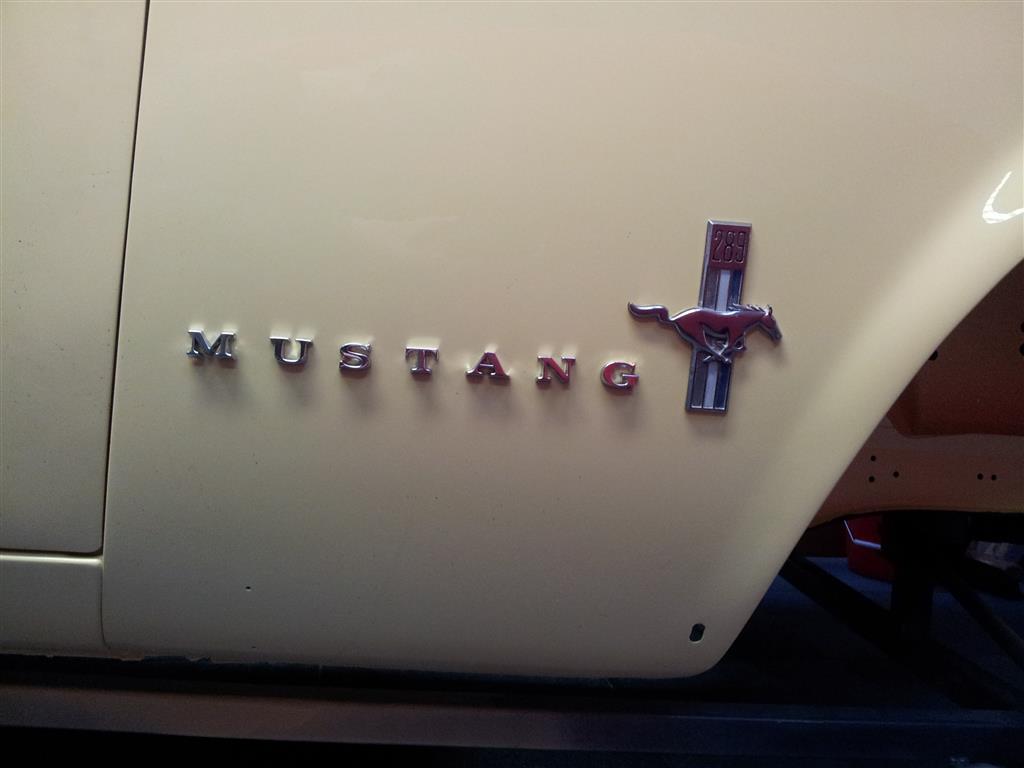 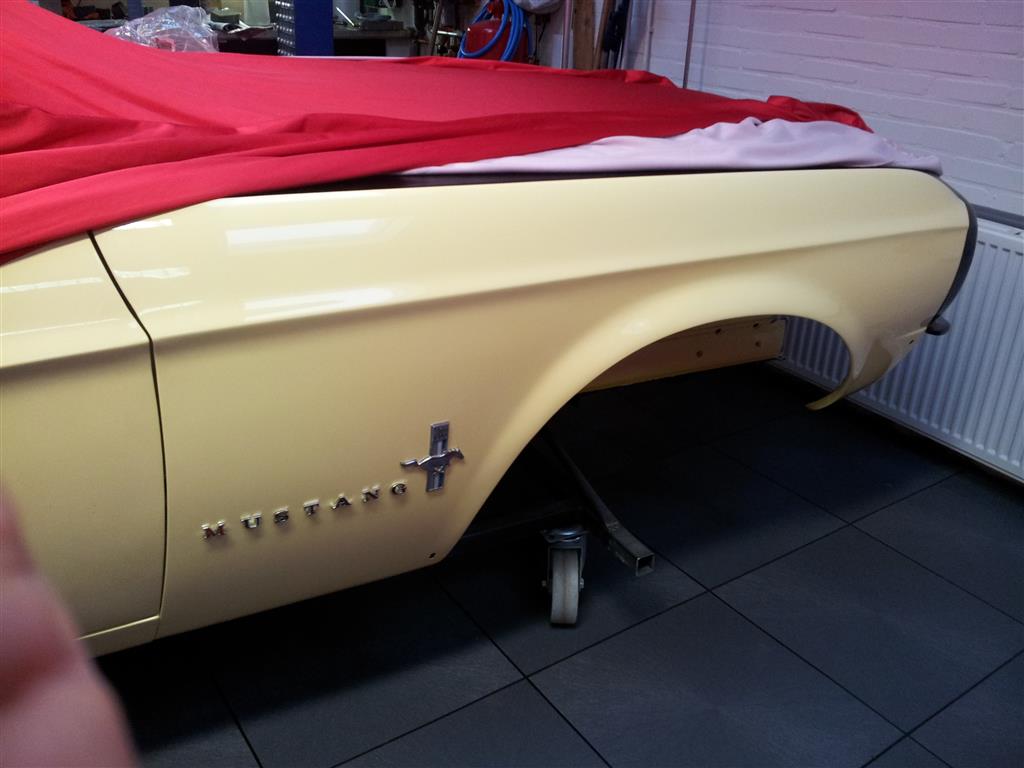 Passenger side is OK 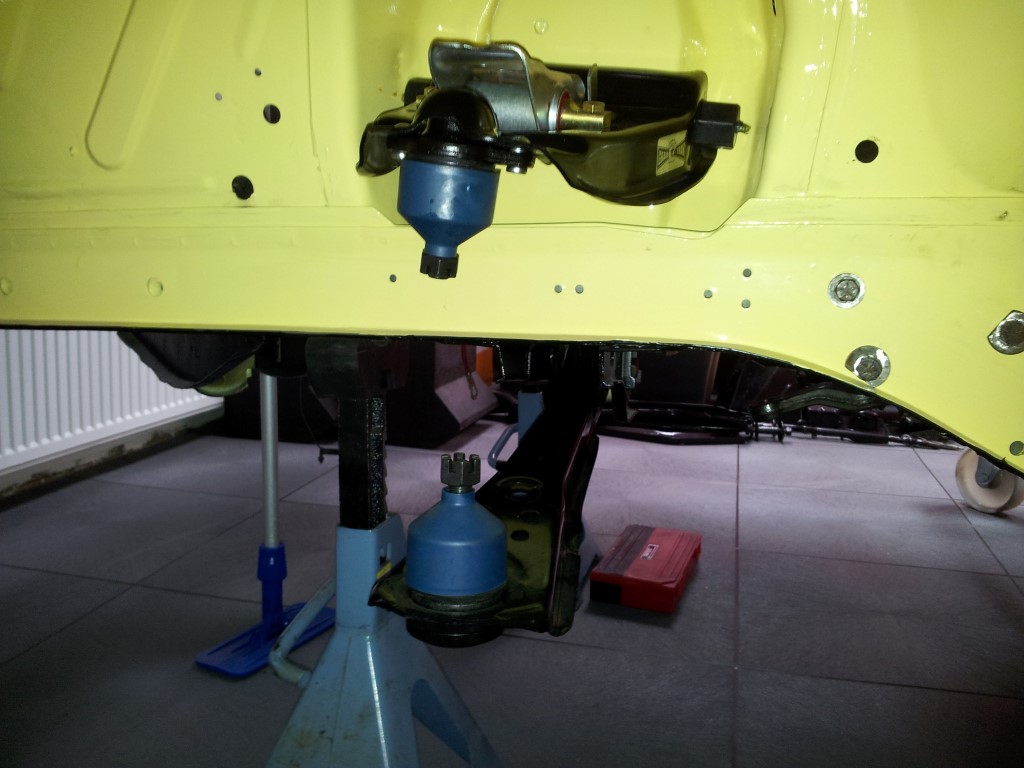 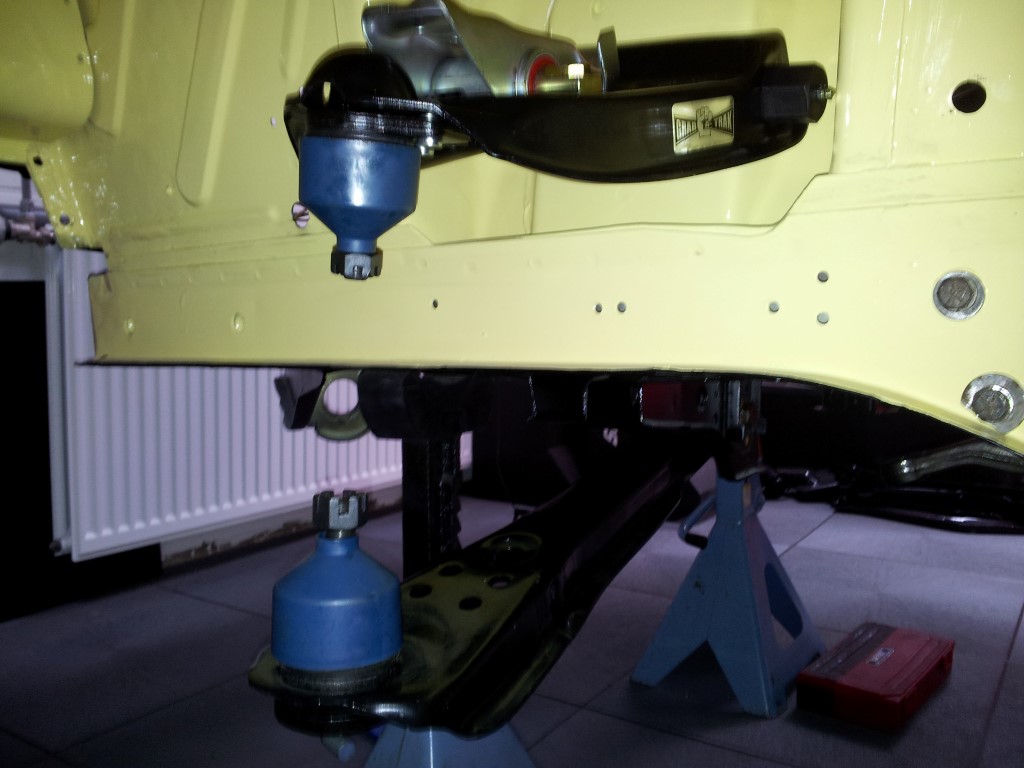 Upper and lower Grab-A-Trac control arms installed 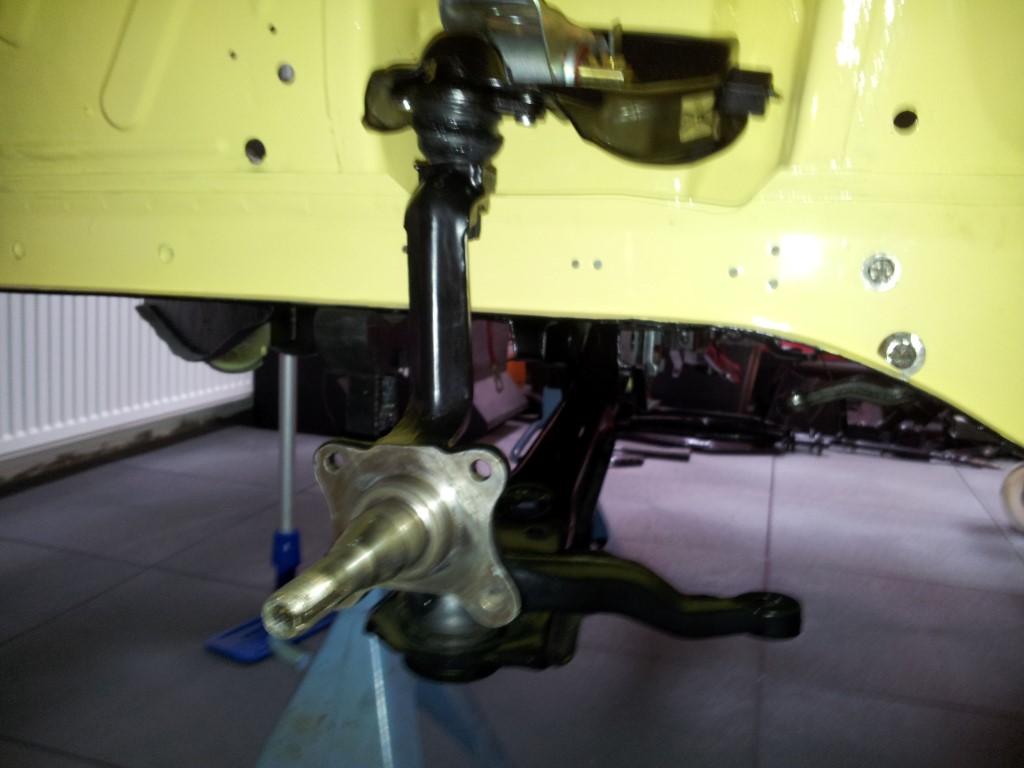 Installed the spindle 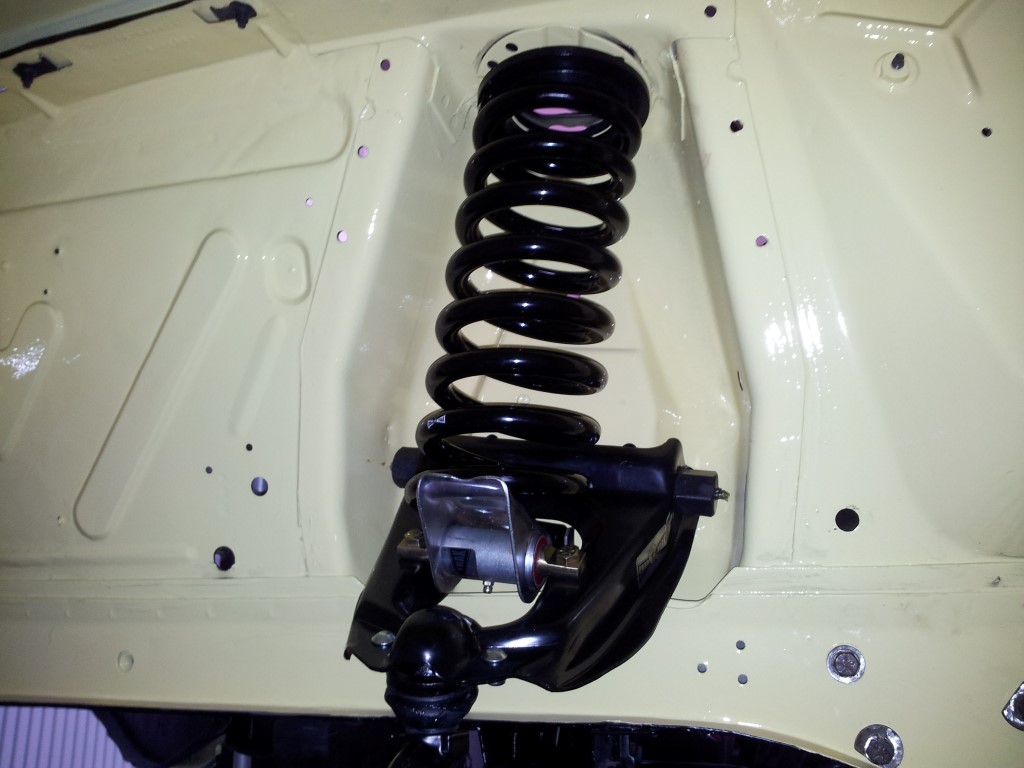 Installed the high performance spring 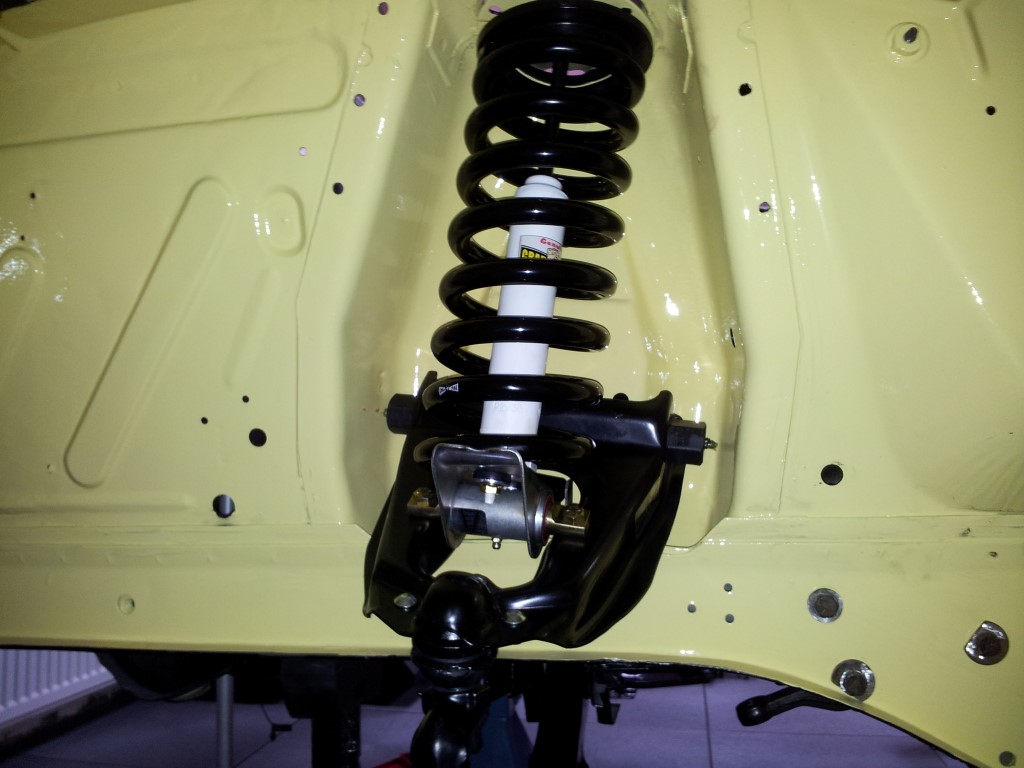 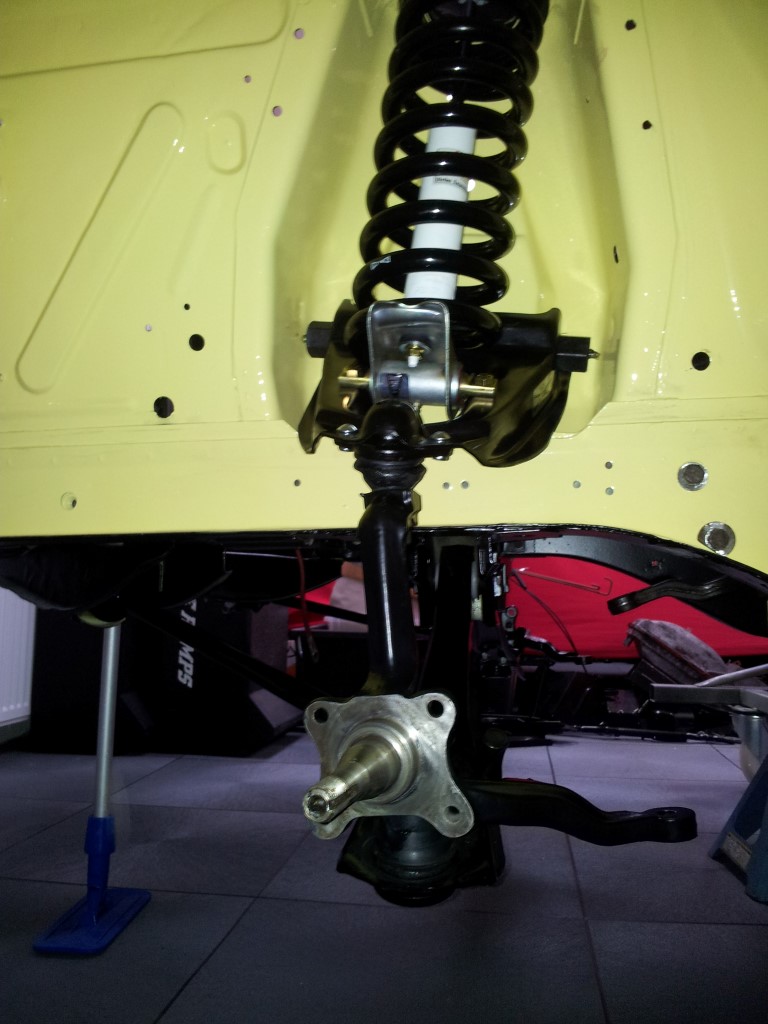 Installed the Grab-A-Trac shock 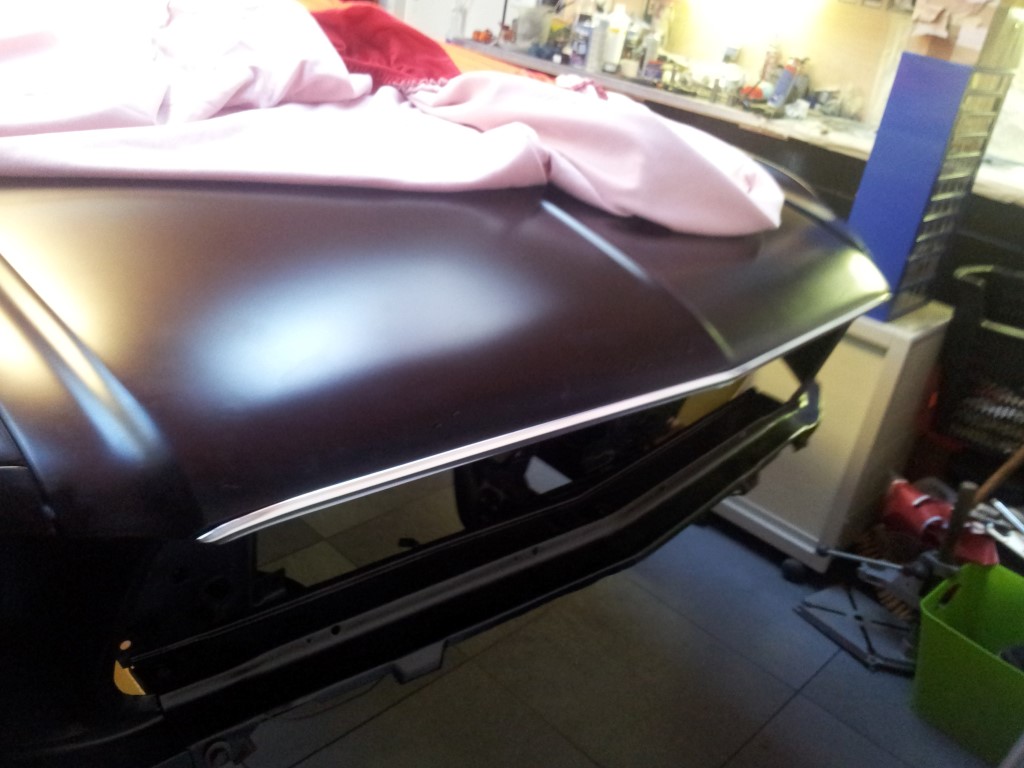 Hood lip moulding installed. Looks quit different 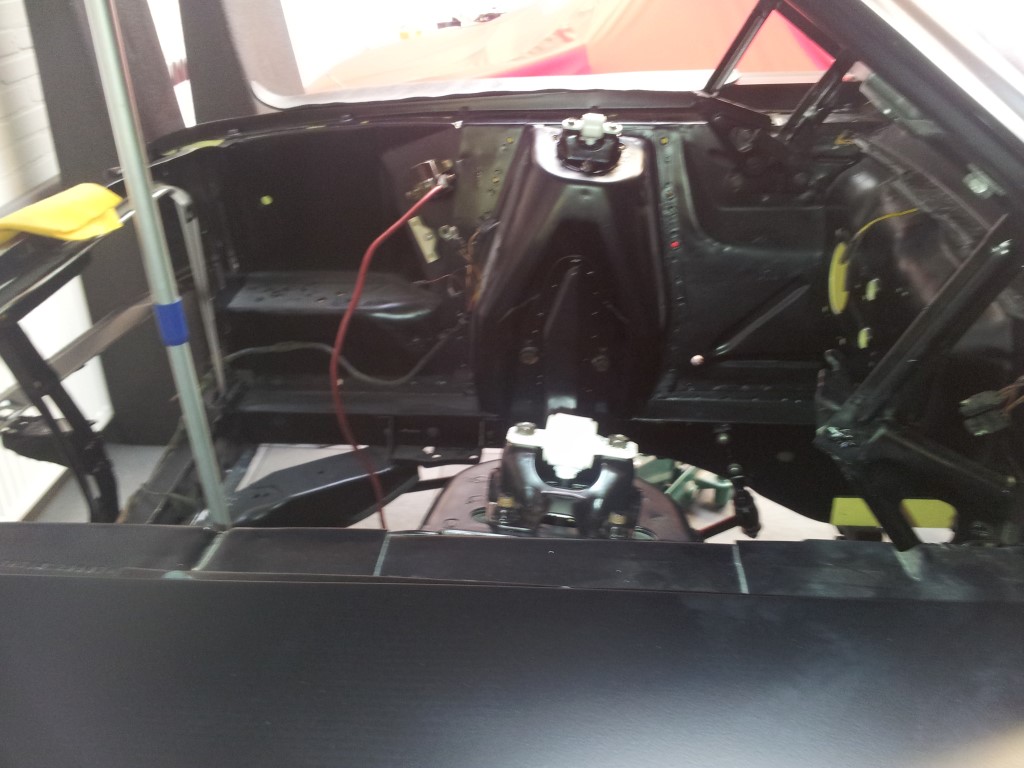 Installed the shock absorber bridges and connected the shocks.... 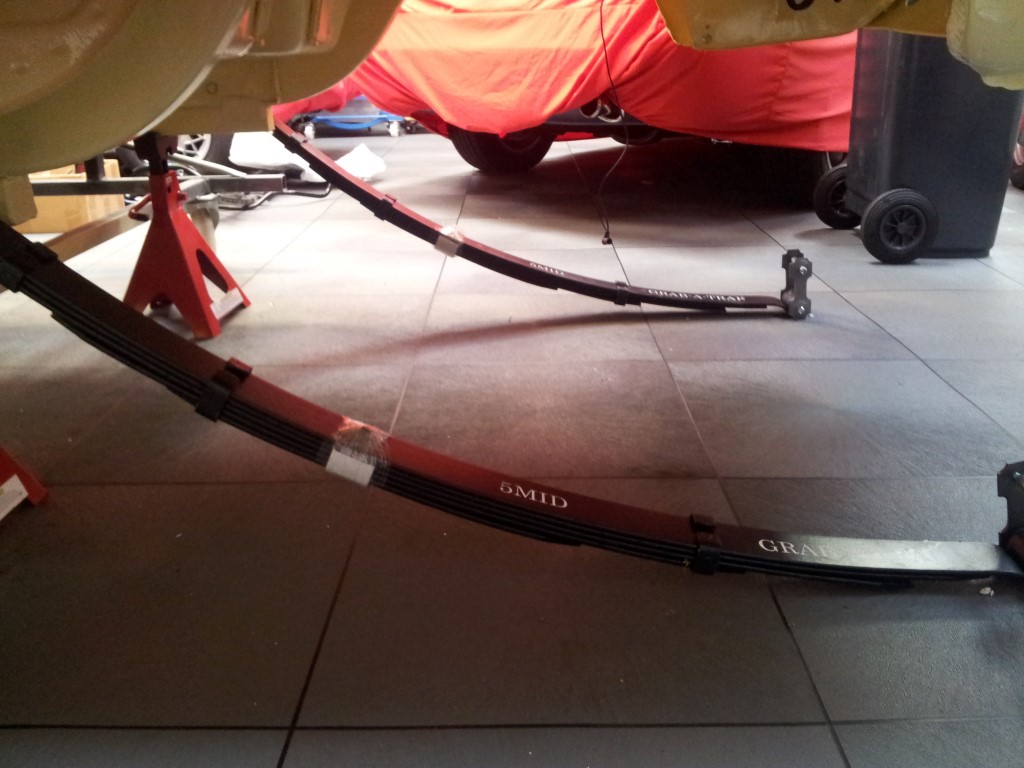 Installed the new 5 leaf mid eye Grab-A-Trac leaf spings..... 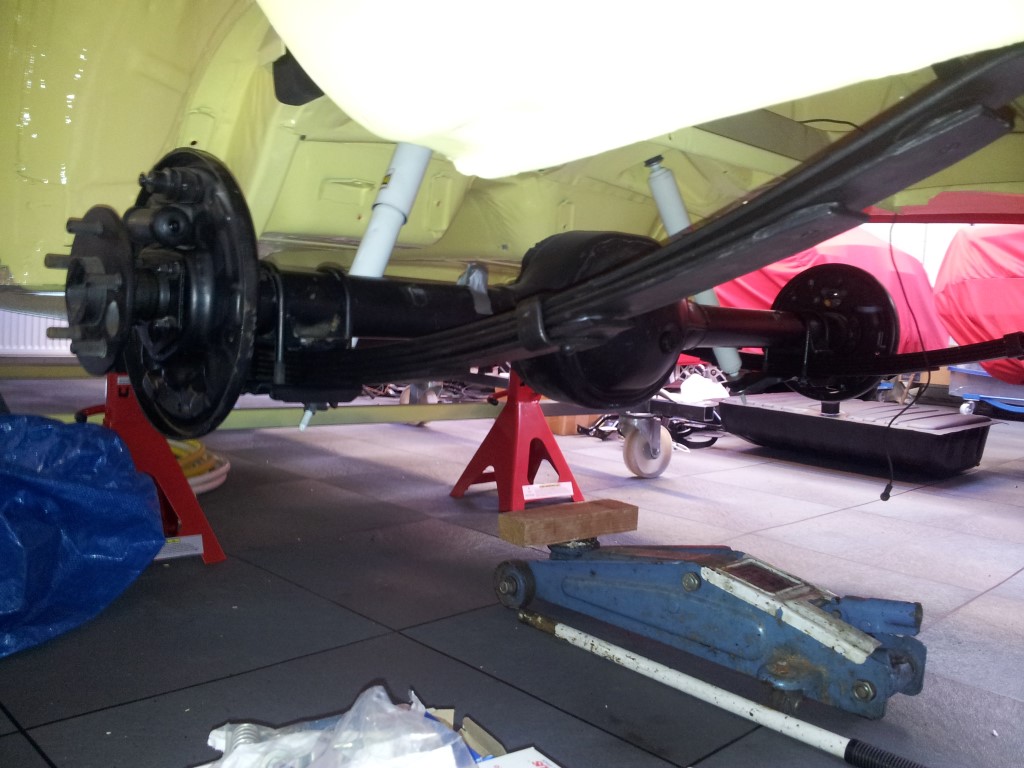 Got the rear axle on the leaf springs 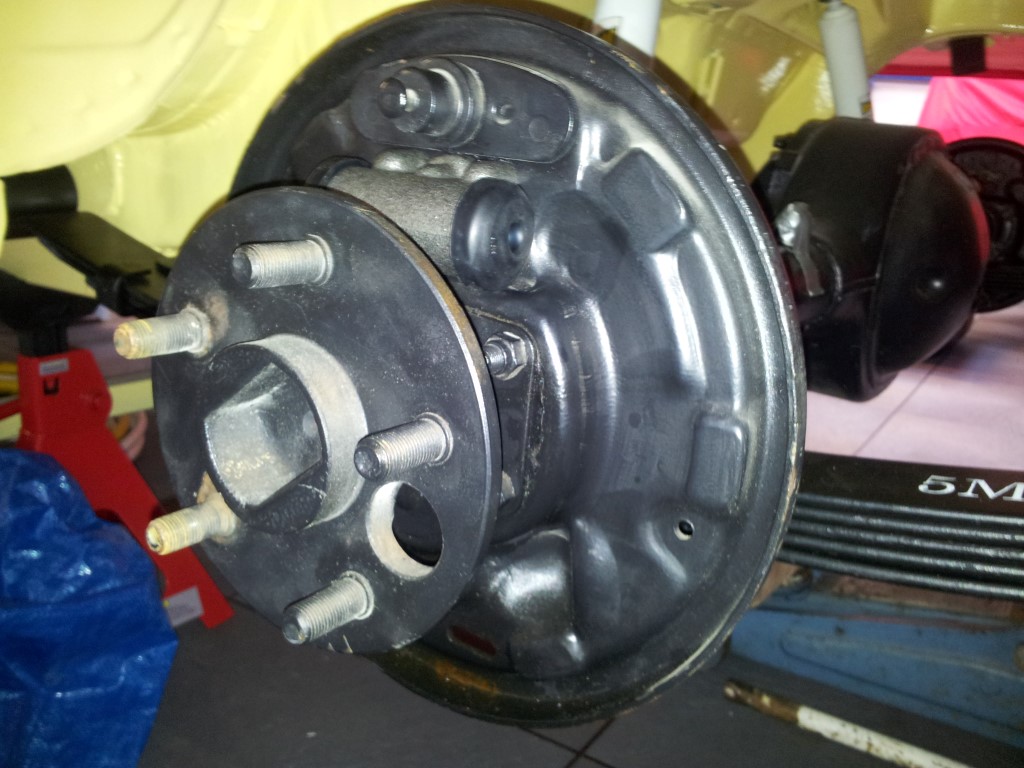 Installed the new brake cylinders.. 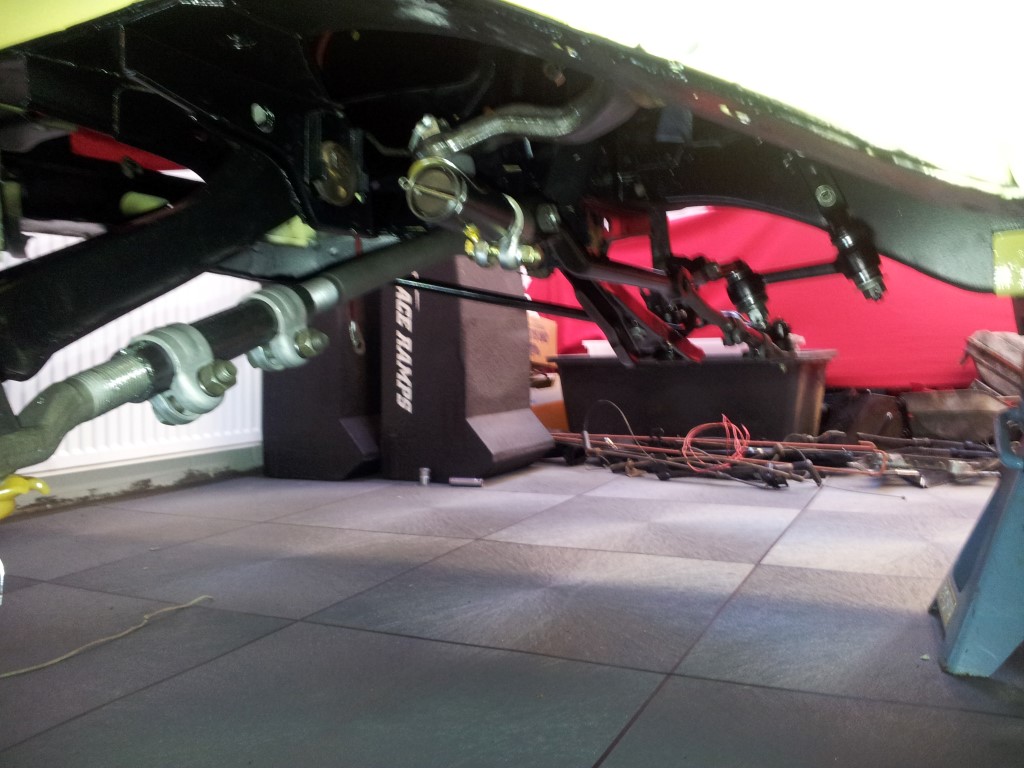 Installed the steering linkage. Used an Power to Manual adapter instead of exchanging the center linkk and idler arm.... Much cheaper 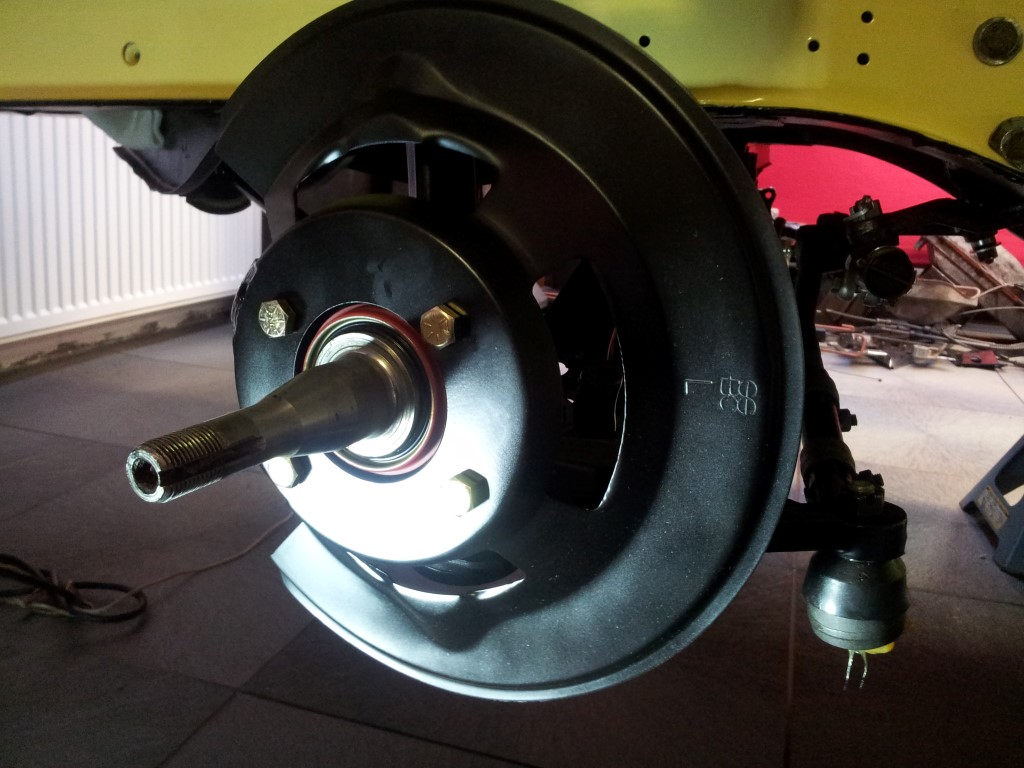 Started the front drum to disc brake conversion.....  One side installed but still need to torque to specs 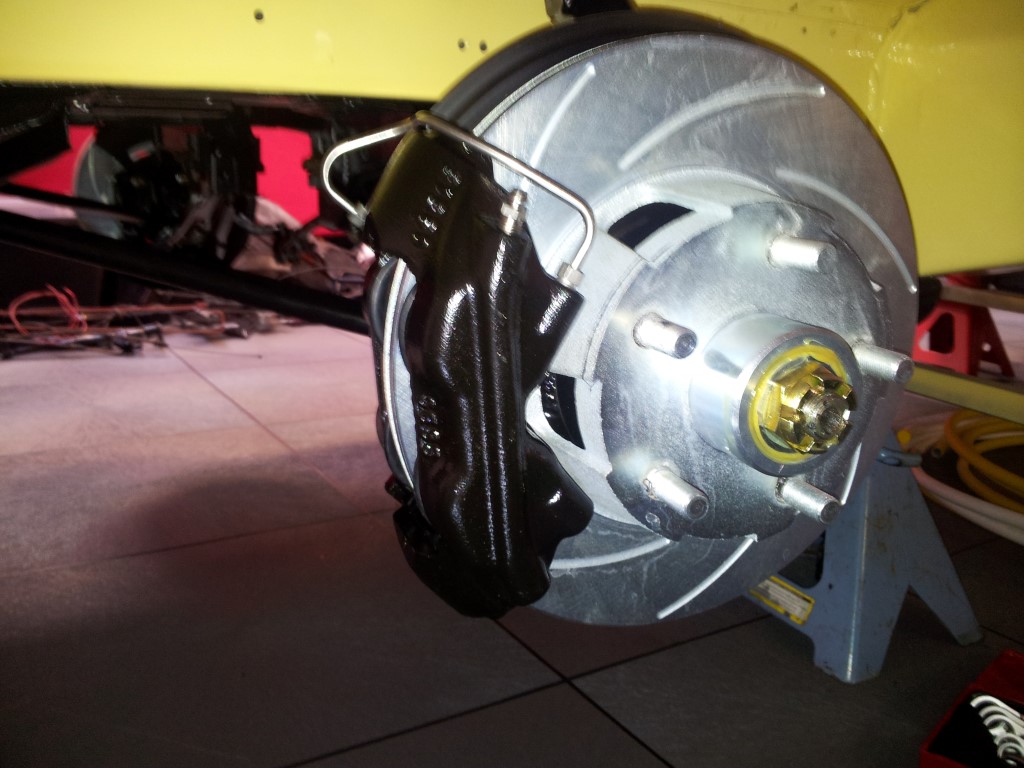 New caliper has been installed... Now the other side 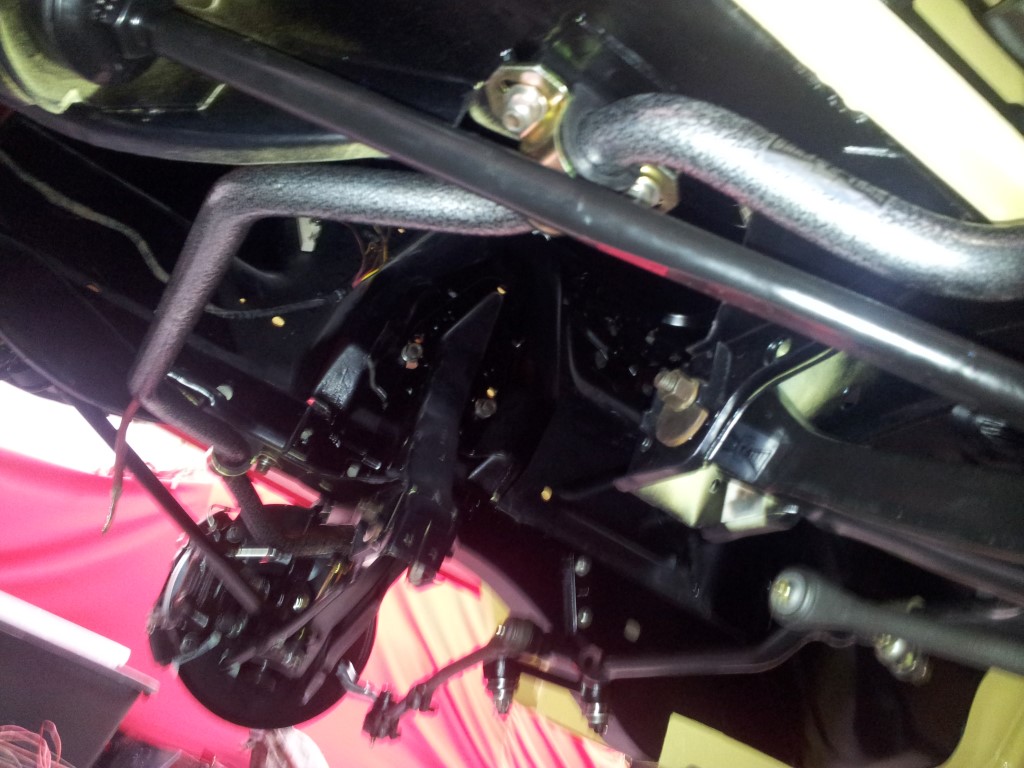 Installed the new 1 1/8" Grab-A-Trac stabilizer bar.... still need to torque it...  Installed the door unlock mechanism... 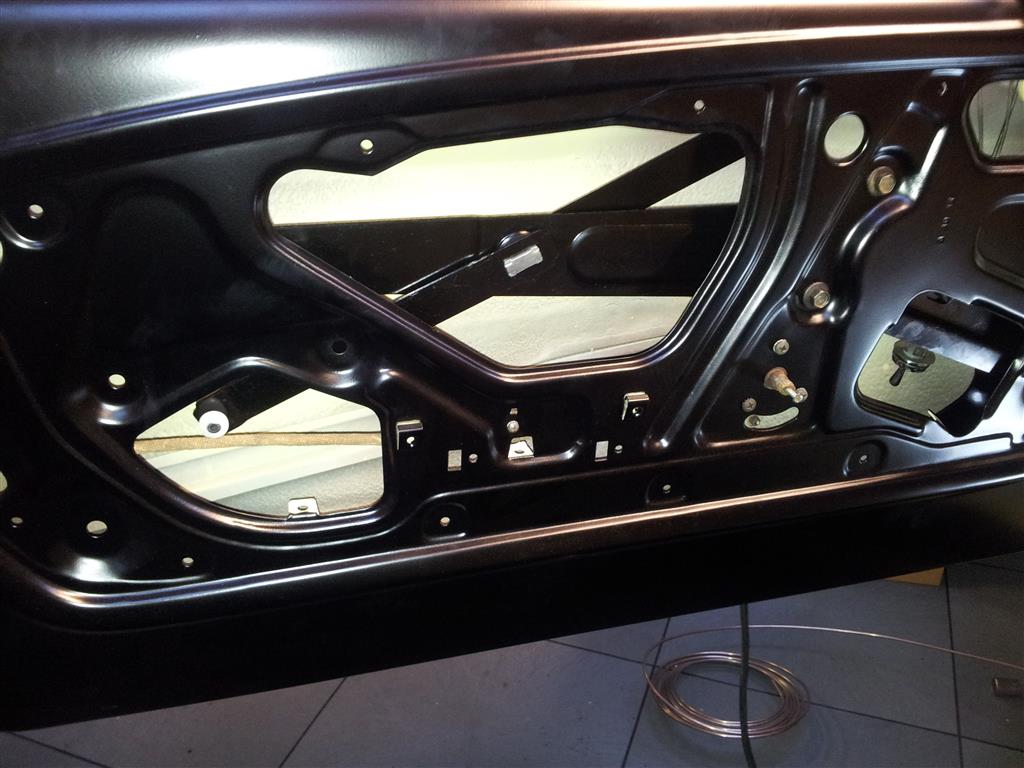 Installed the new windows regulator on the driver side.. 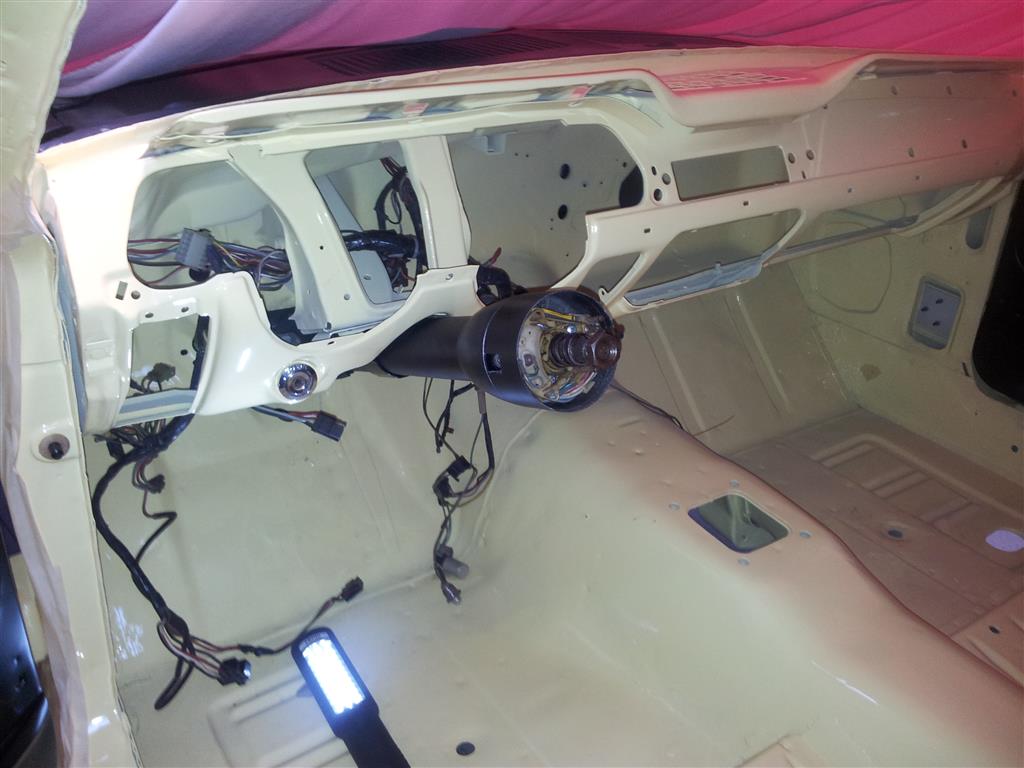 started the work under the dash.. 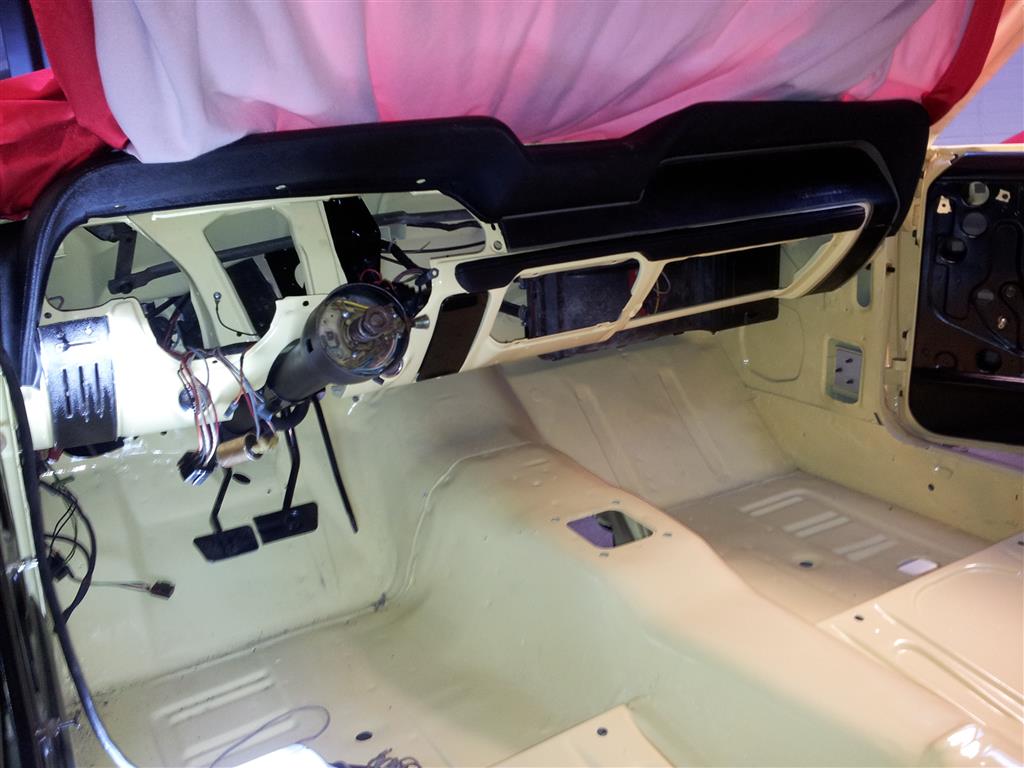 Installed the pedal assembly, wiper washer moter and arms, heaterbox,dash pad, heater regulator and ashtray.. 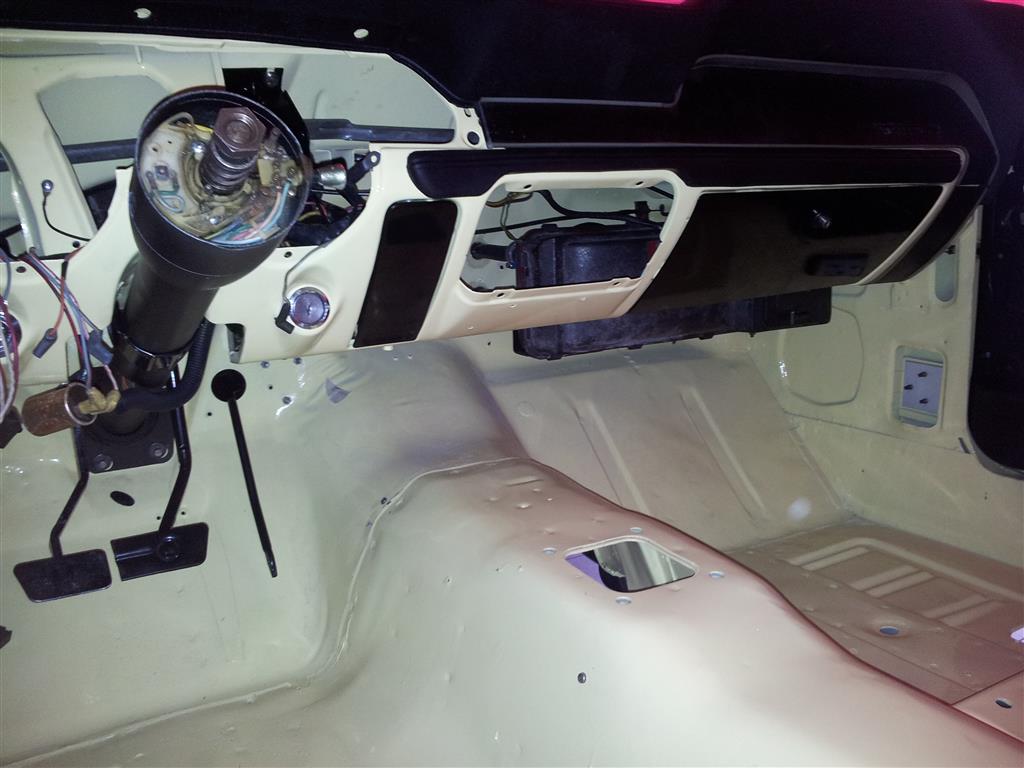 Installed the glovebox door..  Drivers side drum brake internals installed.. 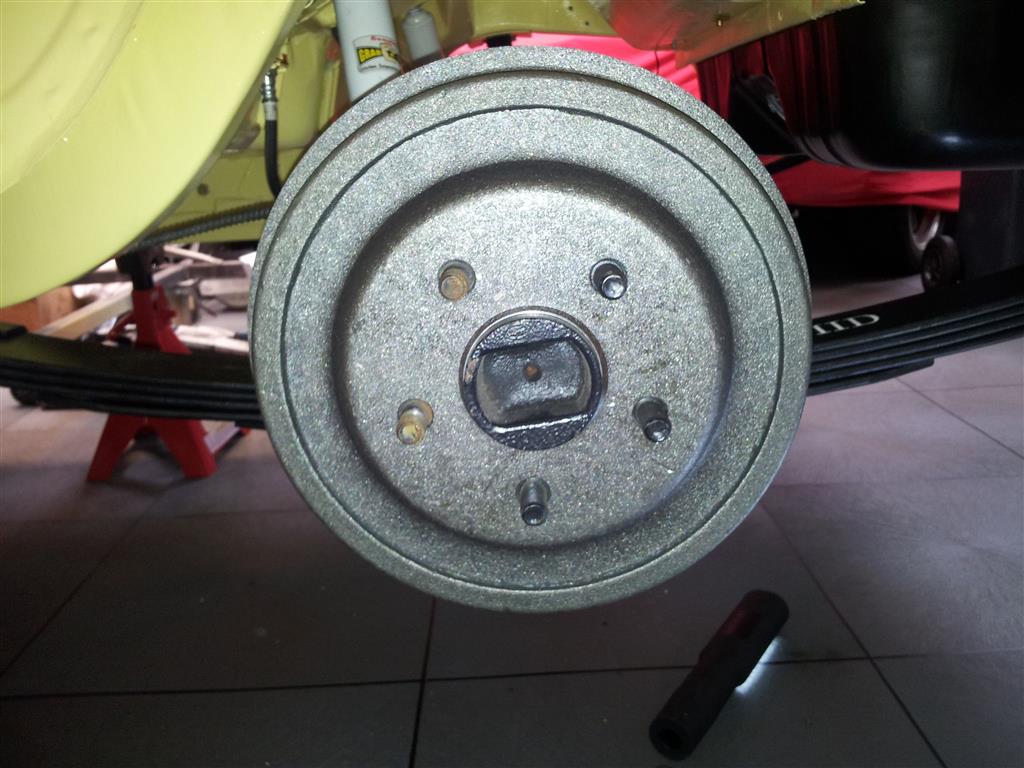 Installed the drum om the drivers side.. 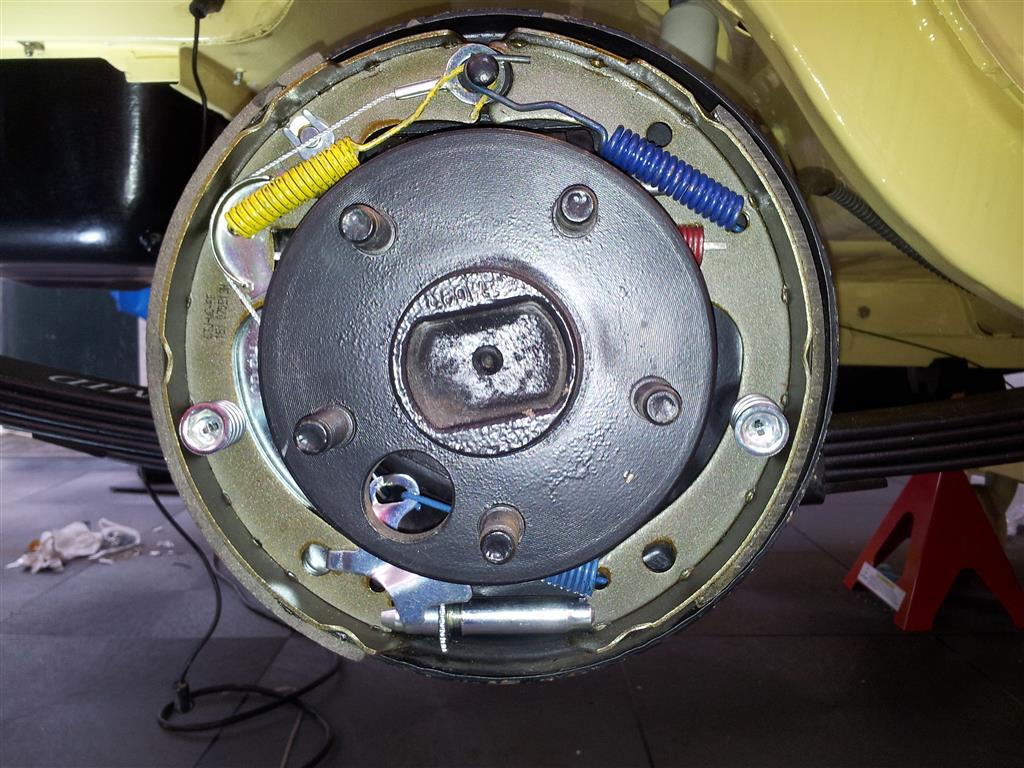 Installed the new internals on the passenger side drum brake. Damn are these new springs tight...  Installed the new drum on the passenger side... 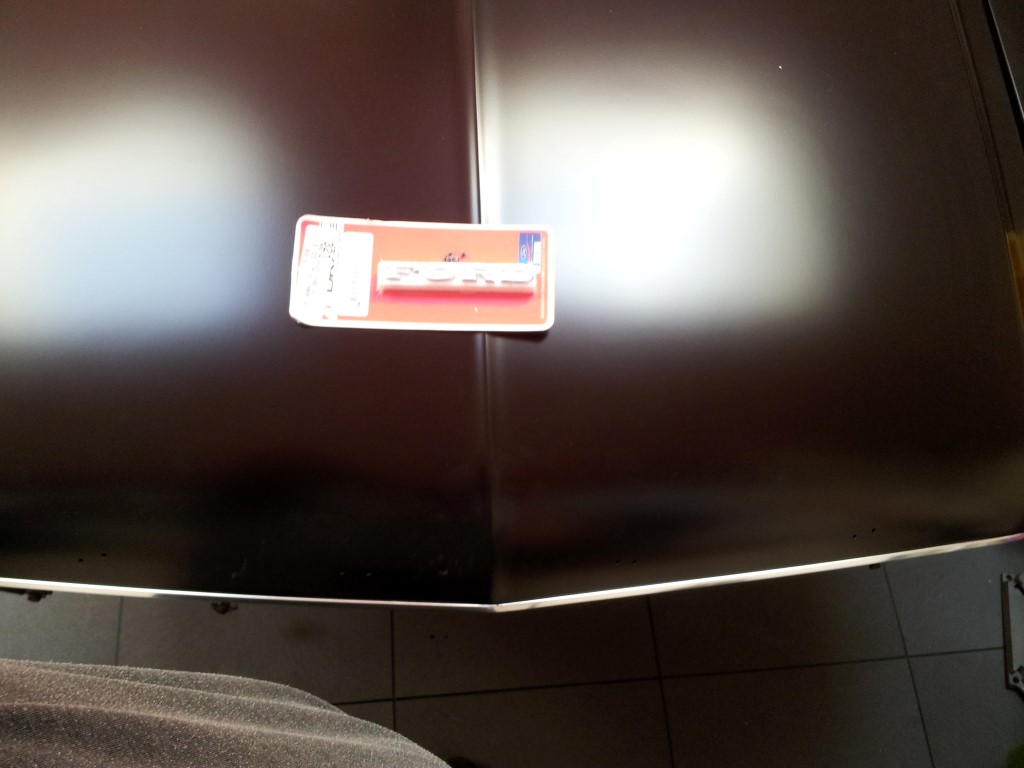 new letter for the hood ready to being installed... 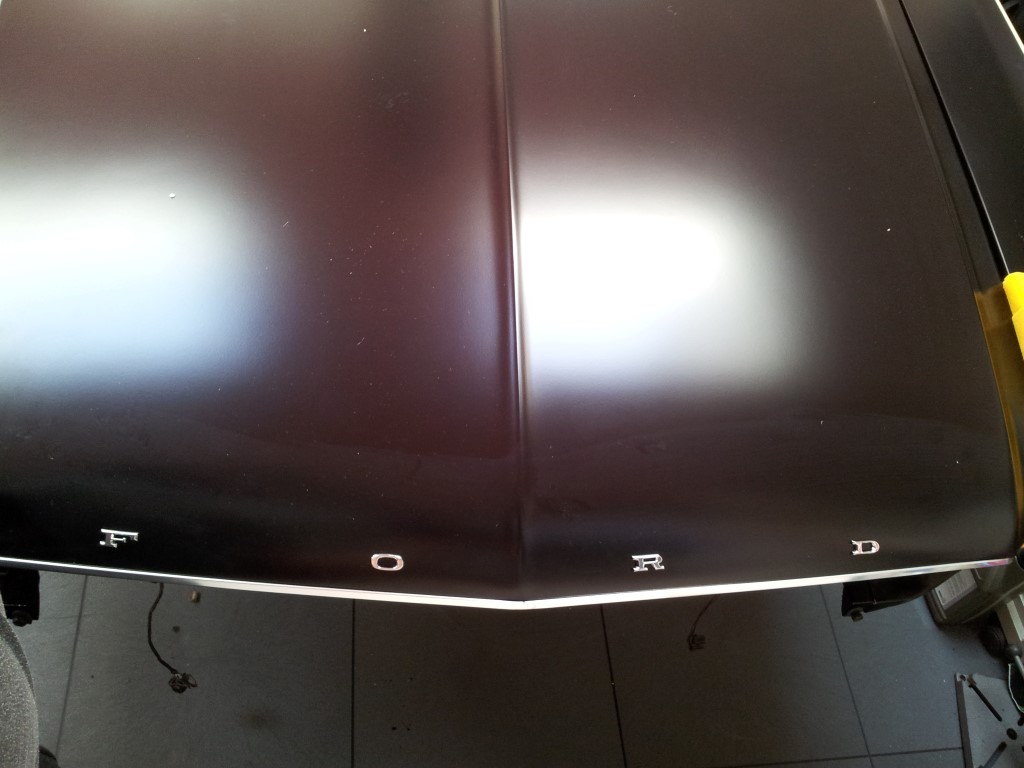 new hood letters installed... 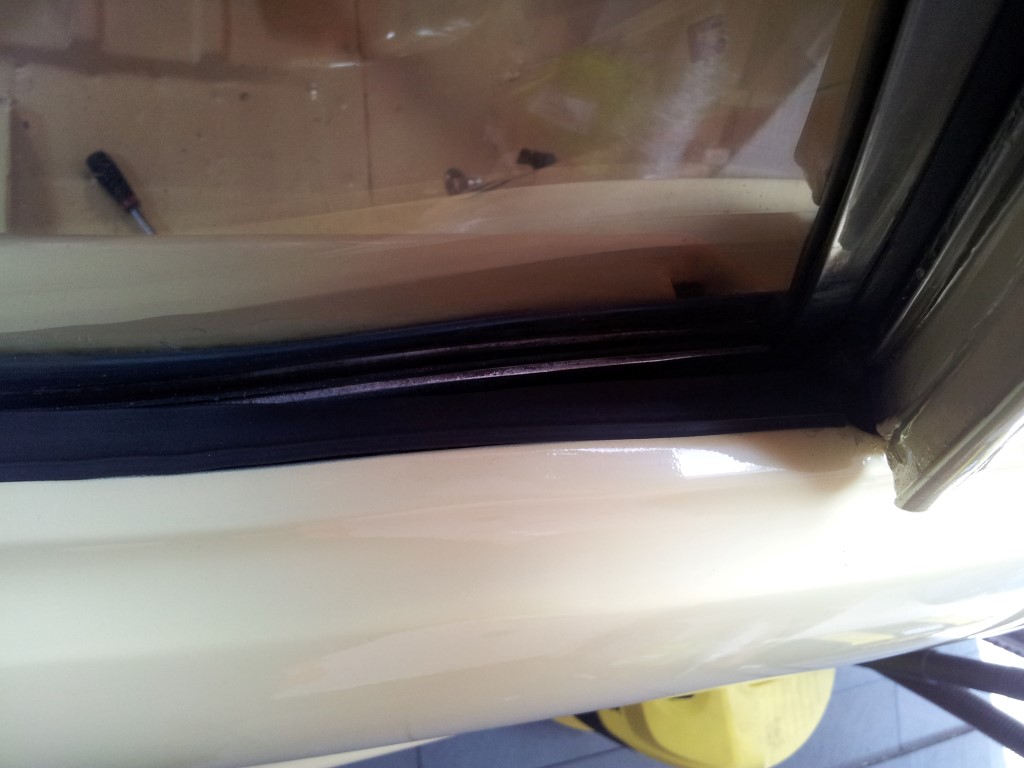 a little to much room between the window frame and the seal... on the drivers side 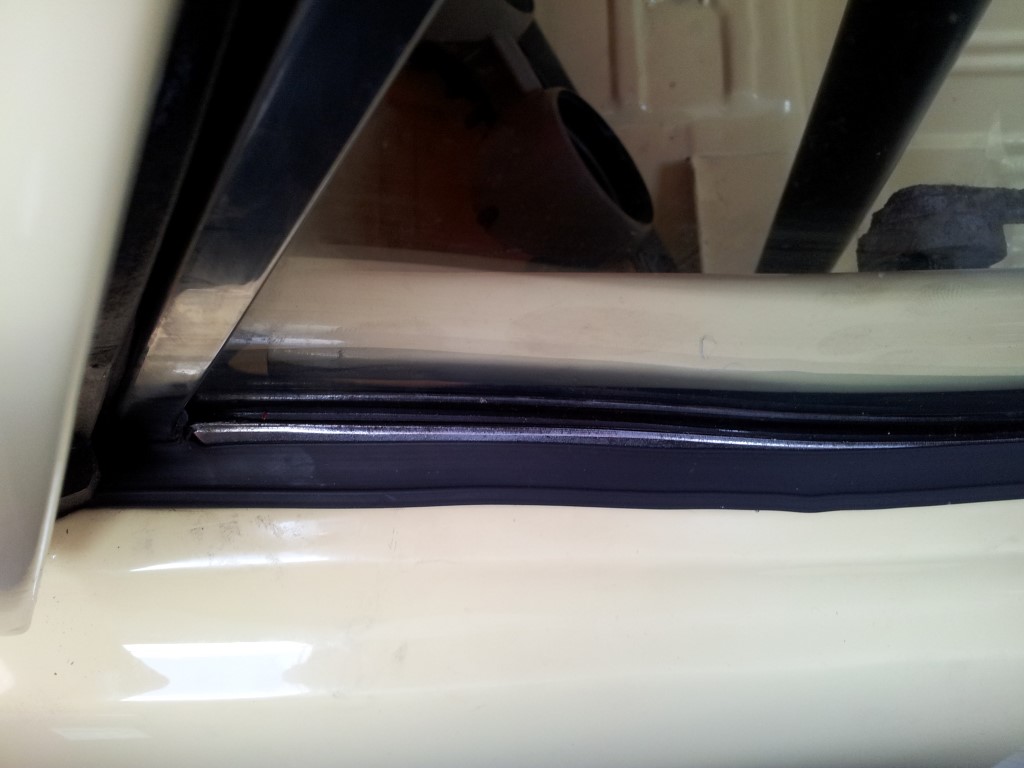 as the seal should close up to the windows frame on the passenger side 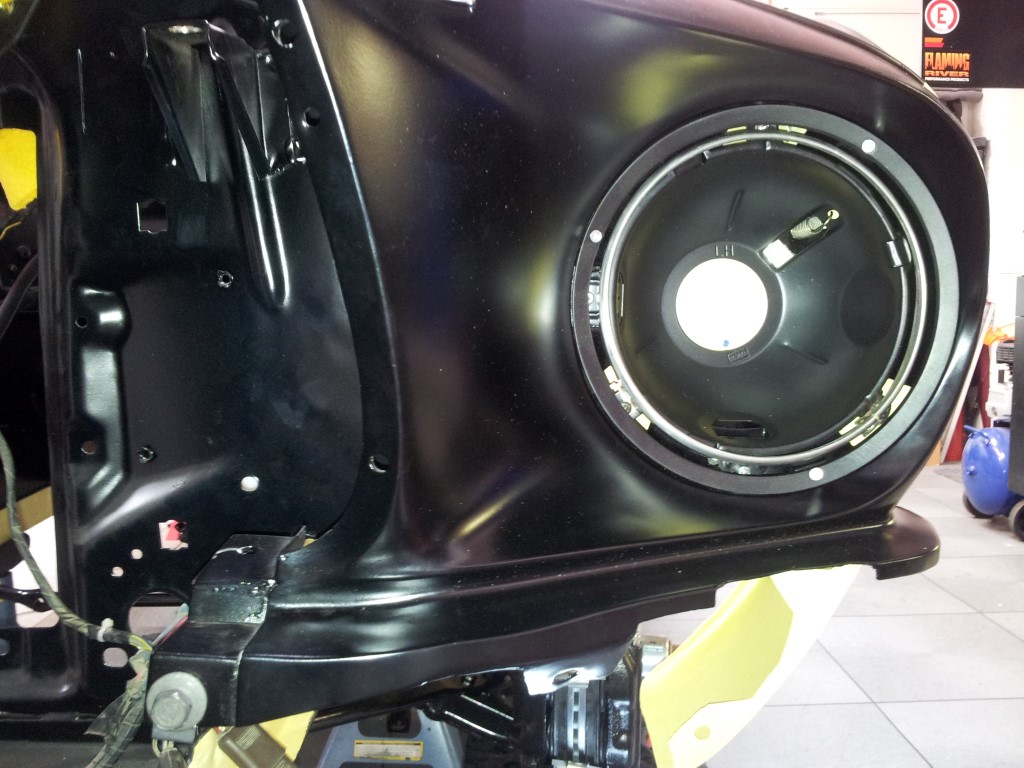 head light bucket installed on the drivers side... 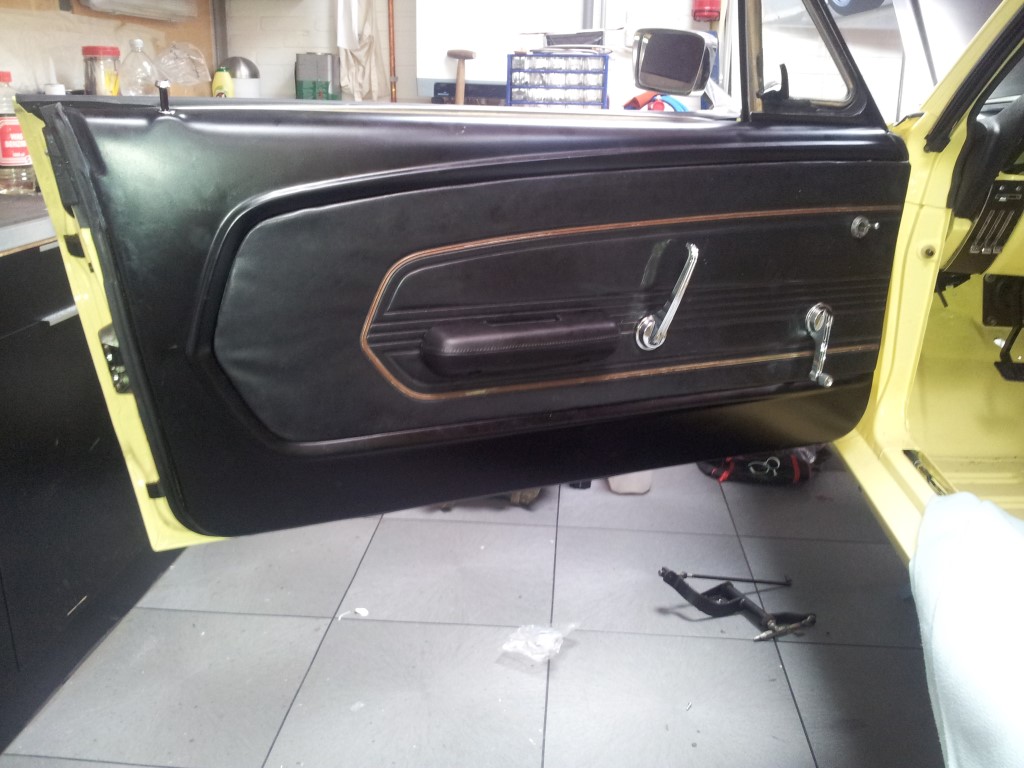 door panel installed along with the remote mirror, the windows crank, door opening lever and arm rest... 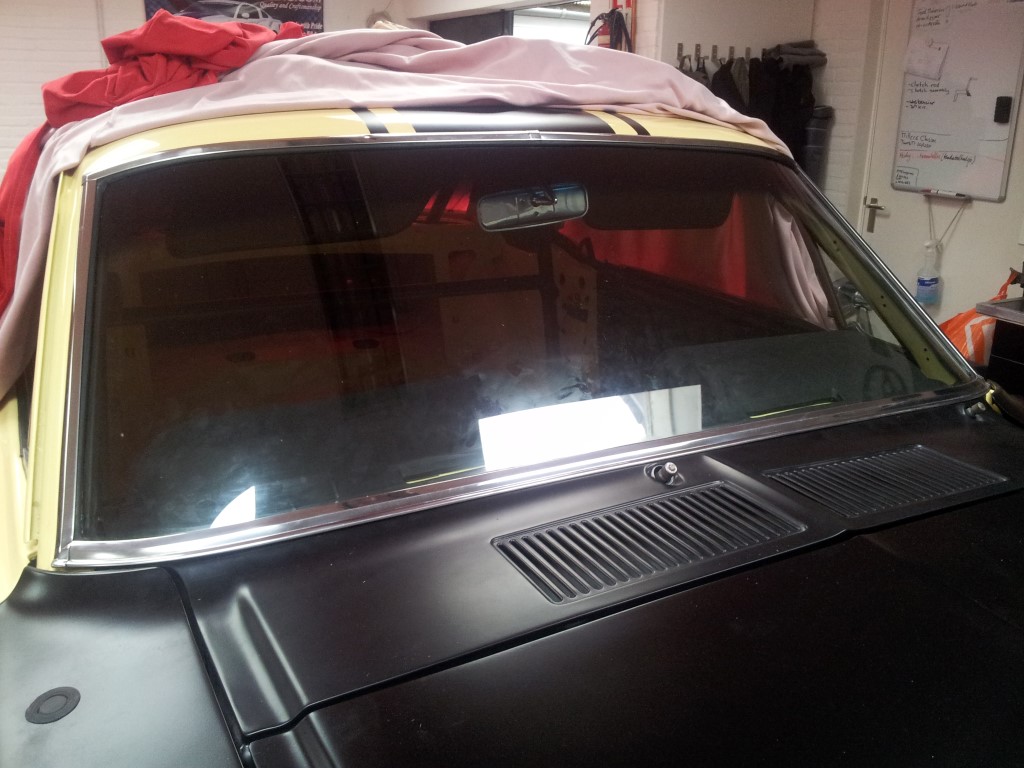 front window and trim installed..... 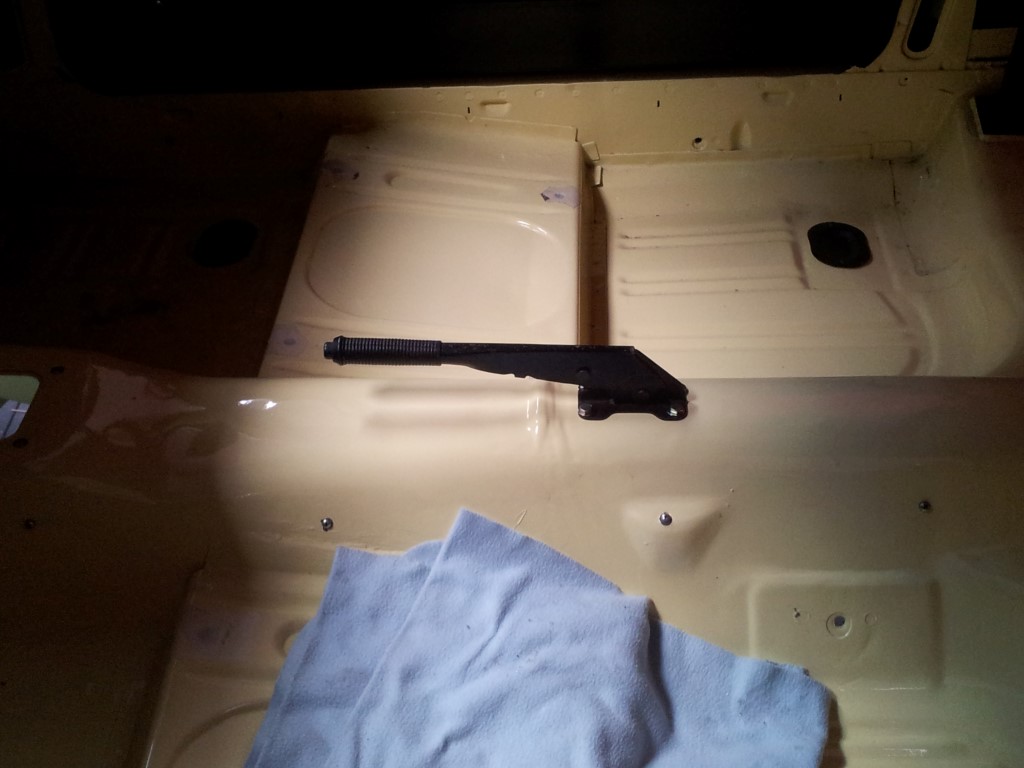 parking / emergency brake installed on the tunnel.... 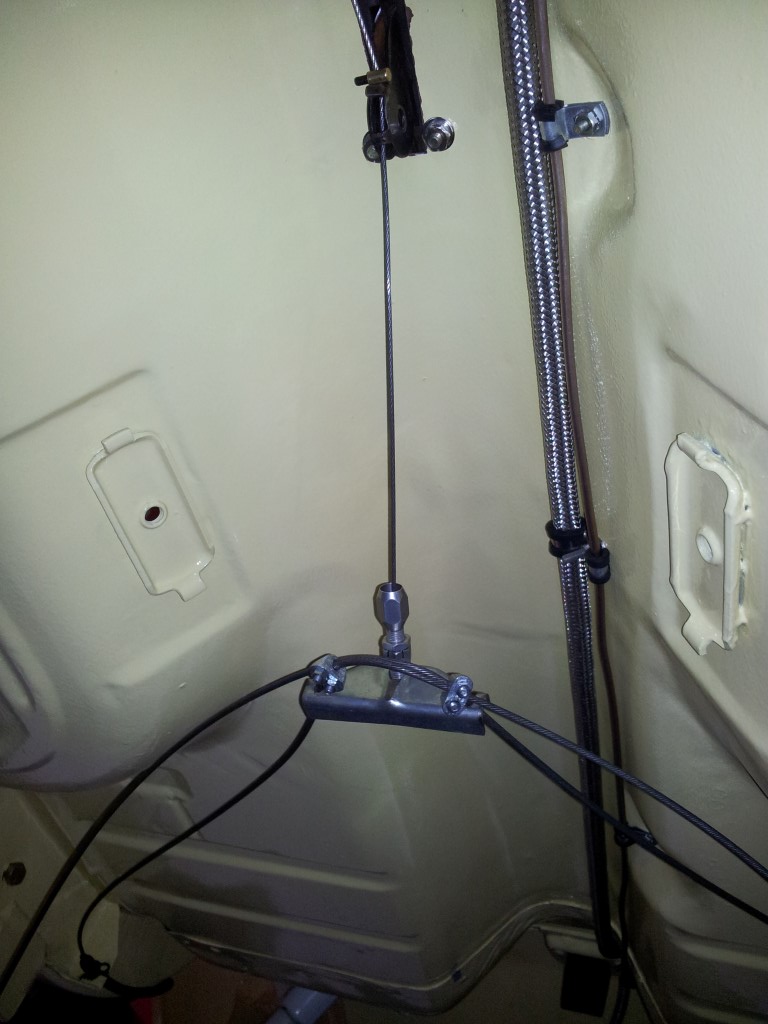 working on the parking / emergency brake cabling system.... 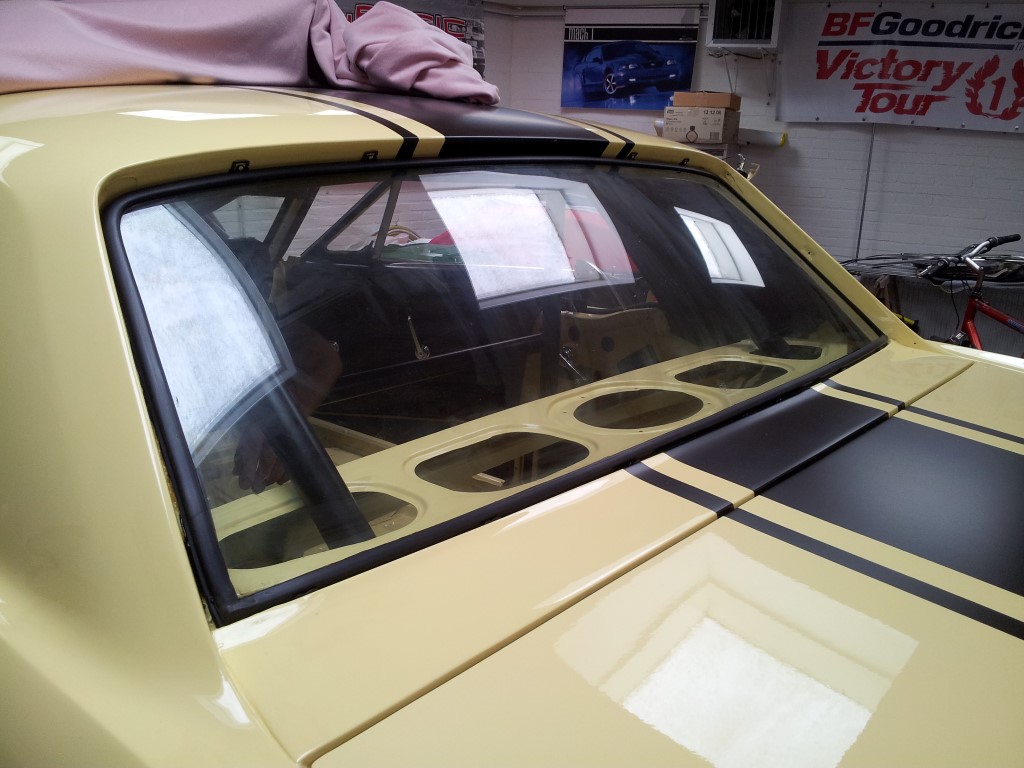 rear window installed.... 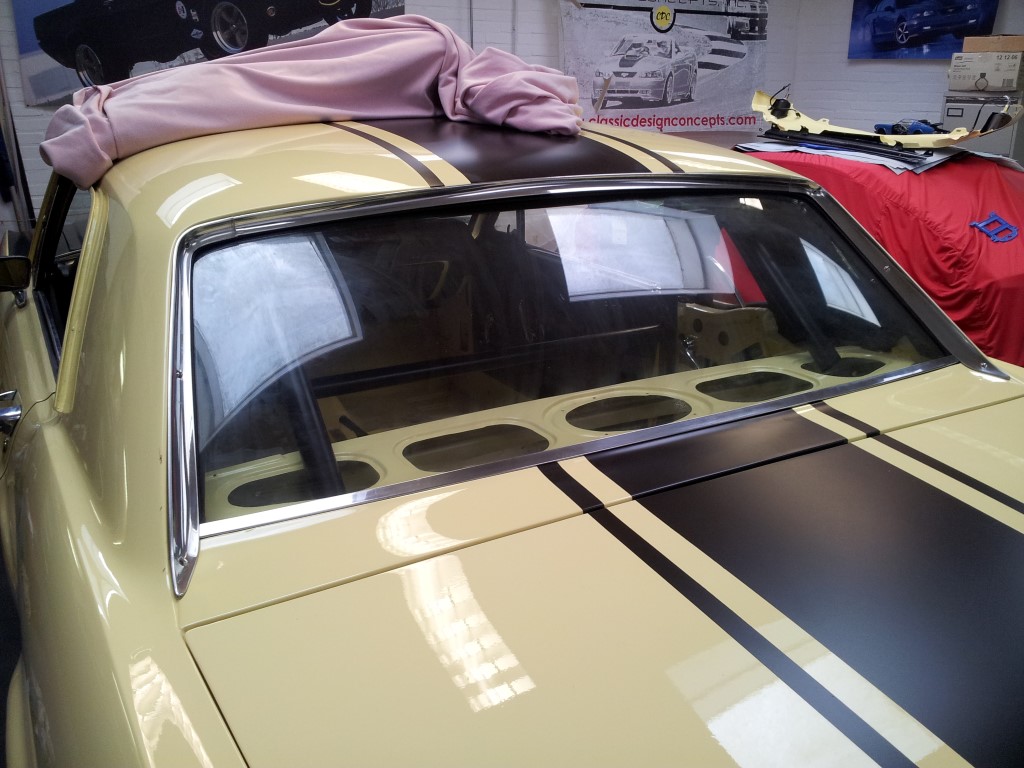 installed the original rear window trim pieces.... 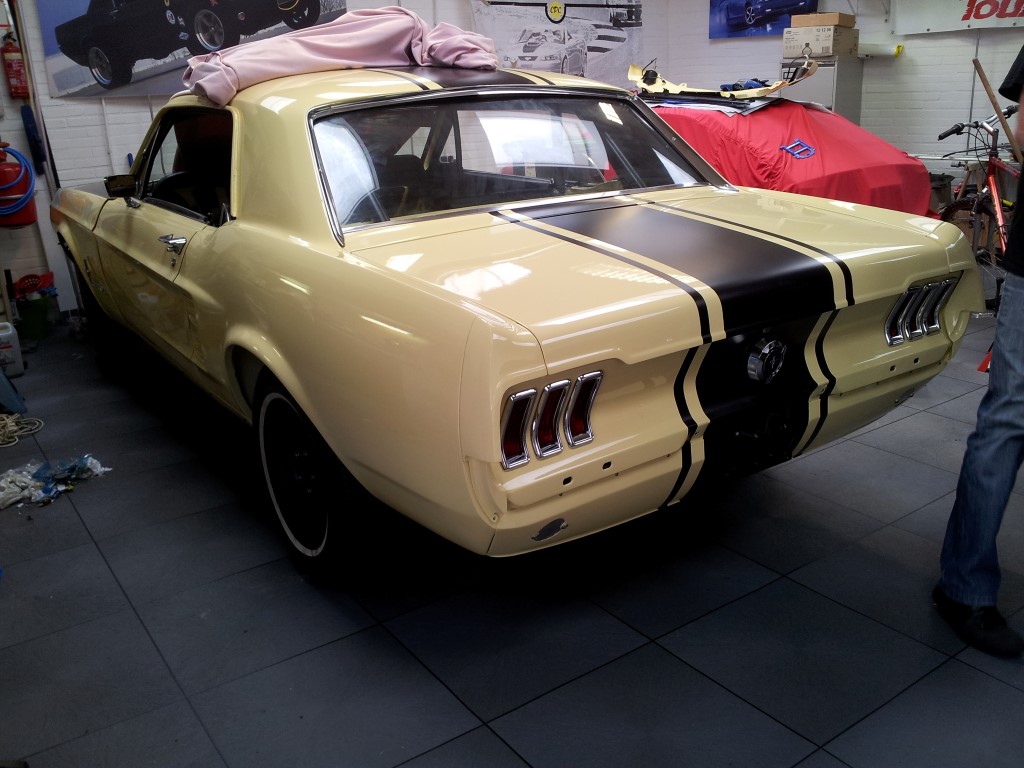 overview of the cars progress.... 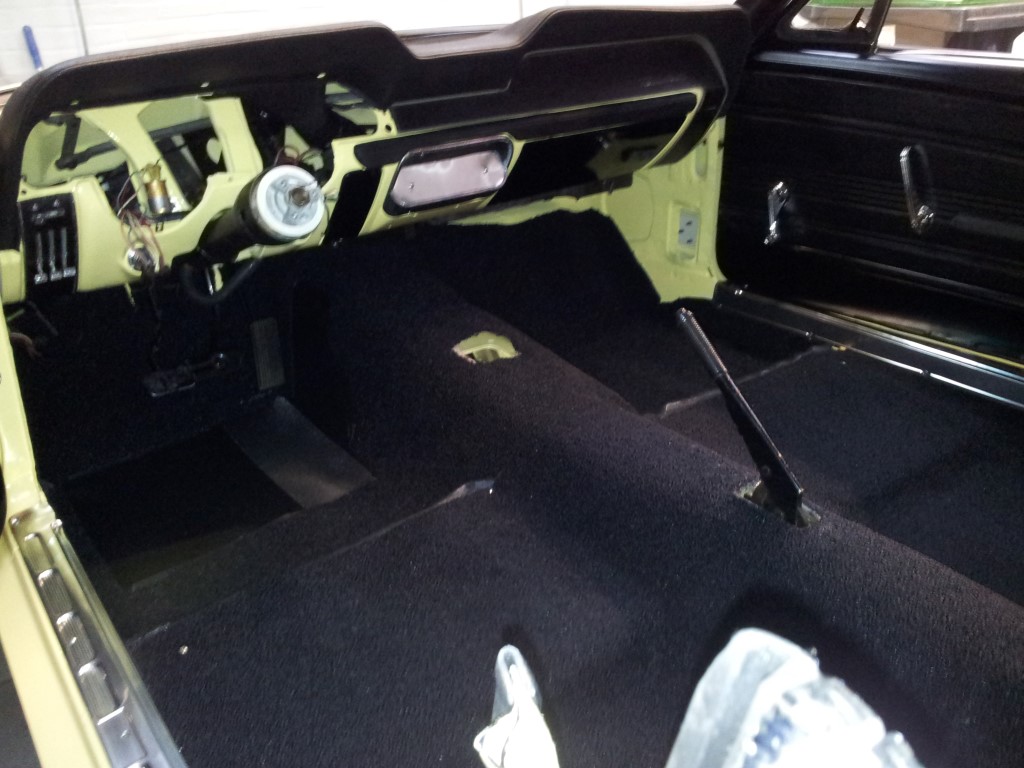 Installed the black carpet.... 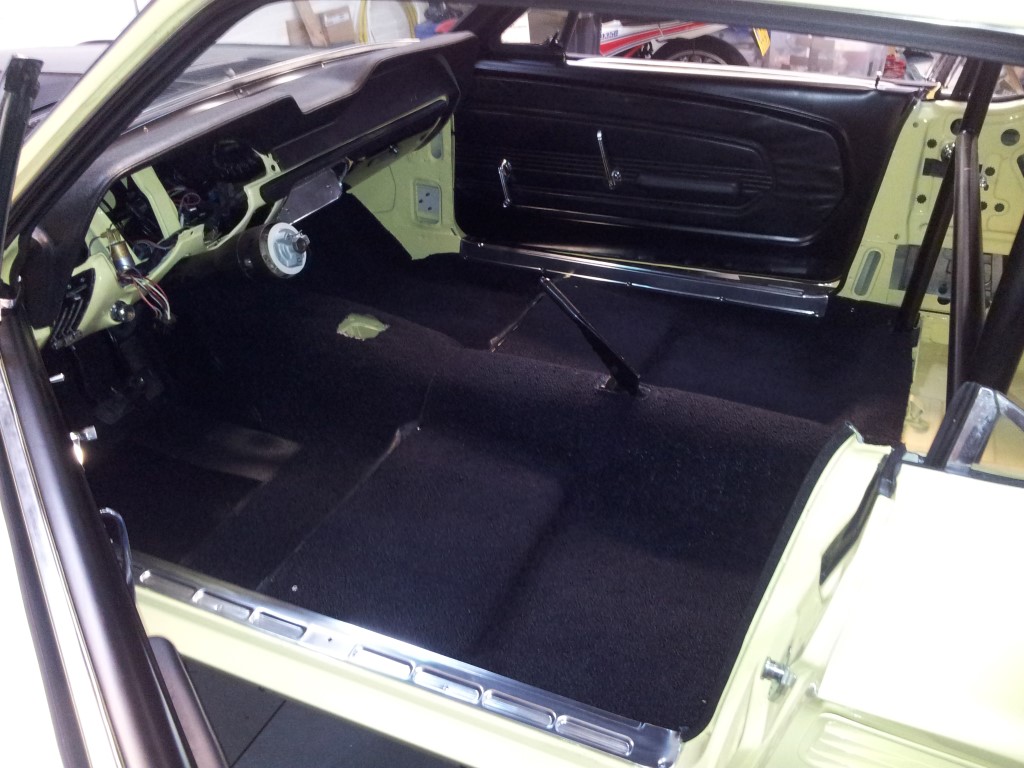 still need to install the kickplates... 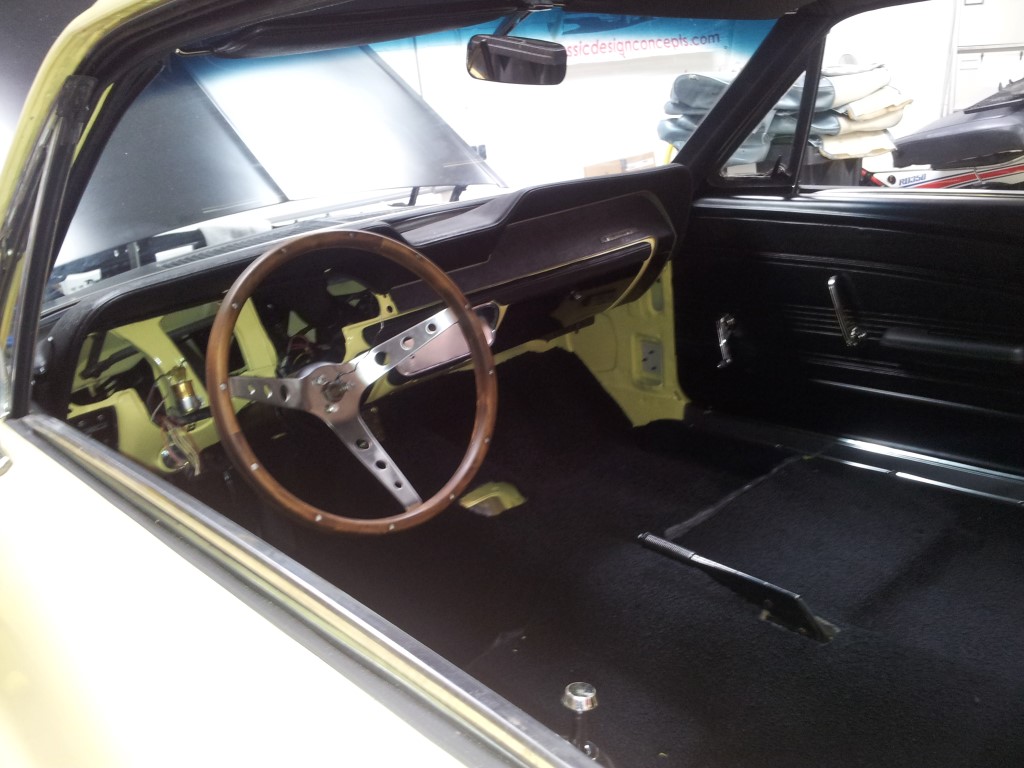 Installed a temporary steering wheel just to be able to steer... 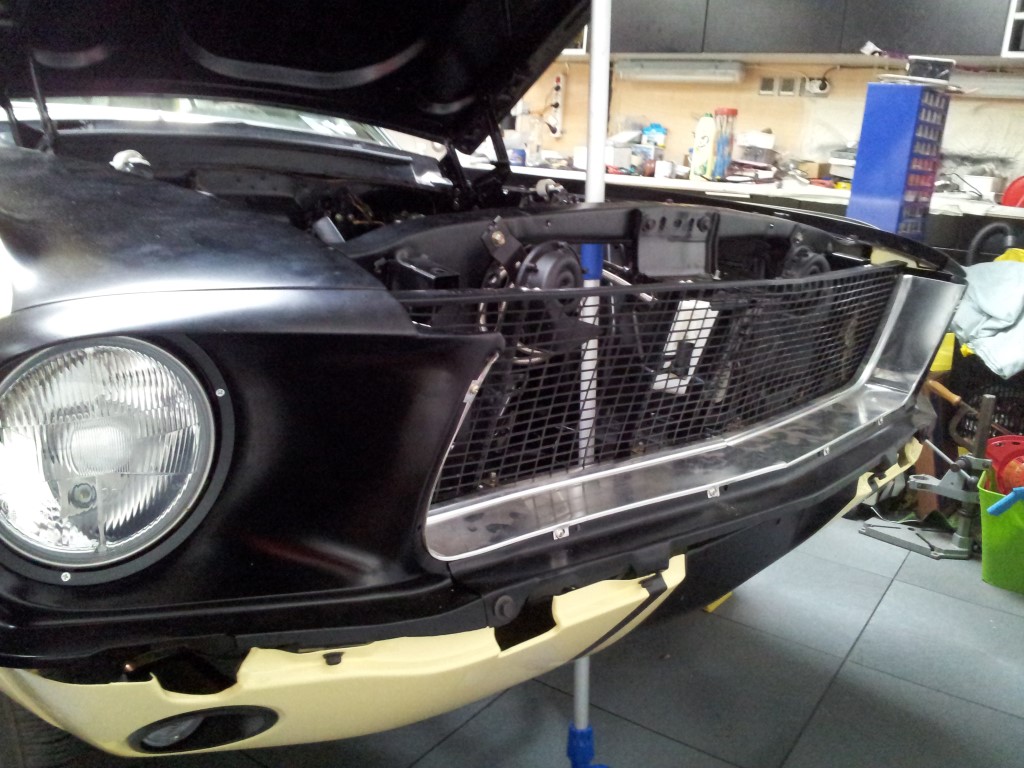 Front of the car assembled.... 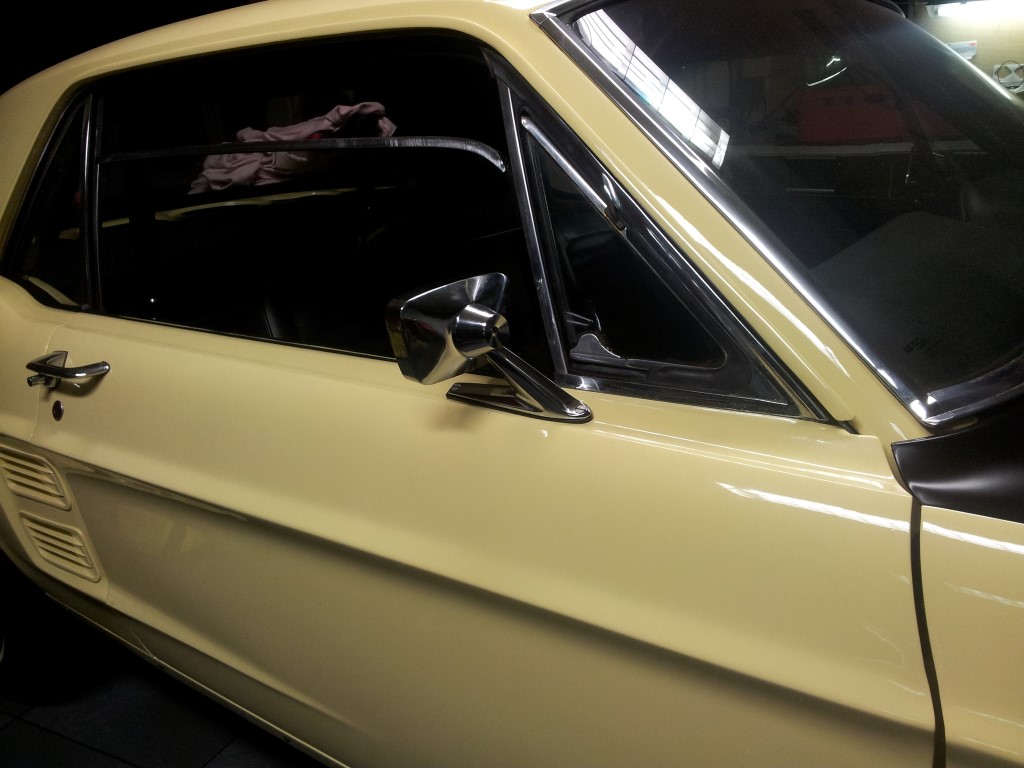 Passenger side mirror installed.... 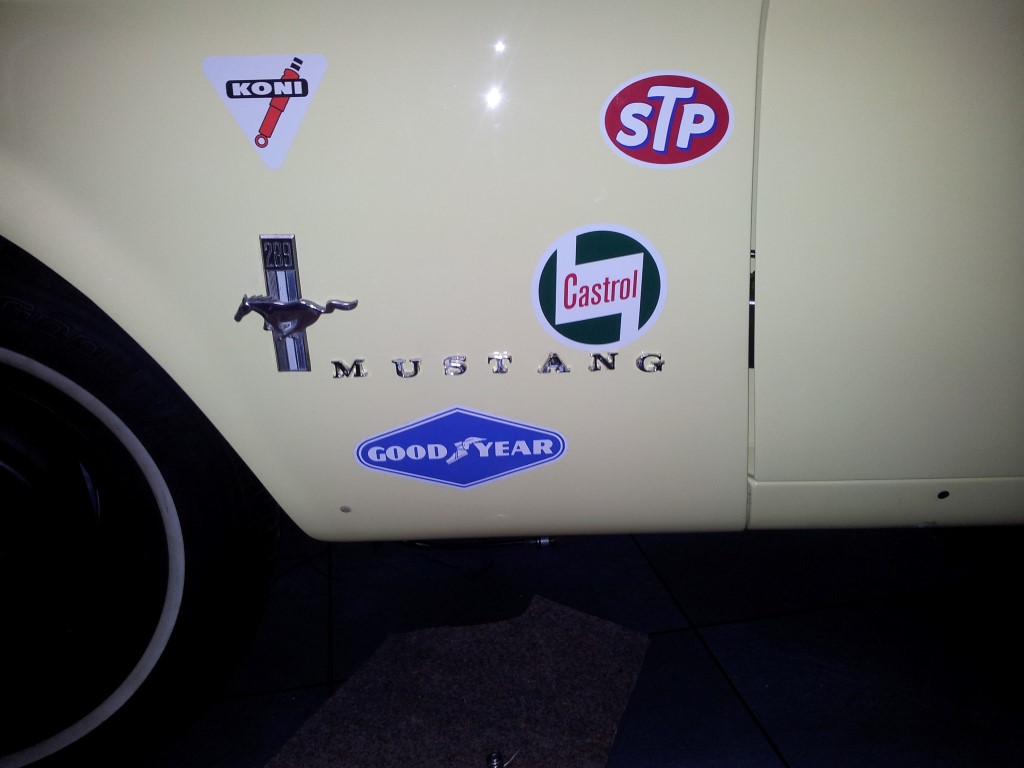 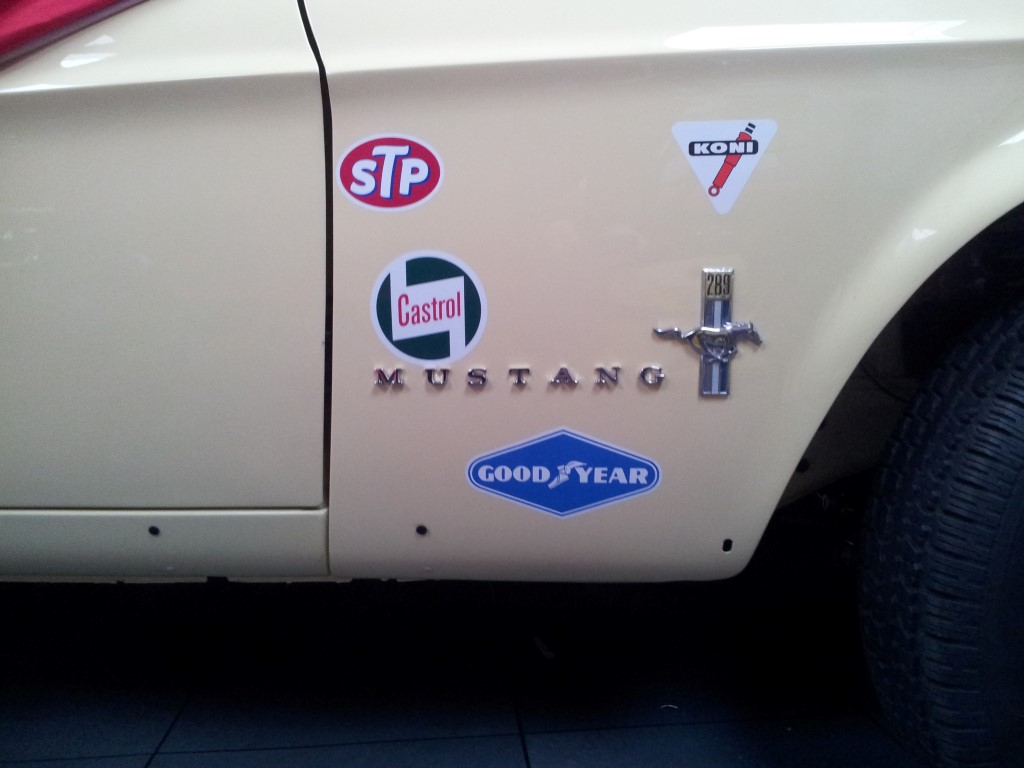 Put a few batches on for the racing look.... 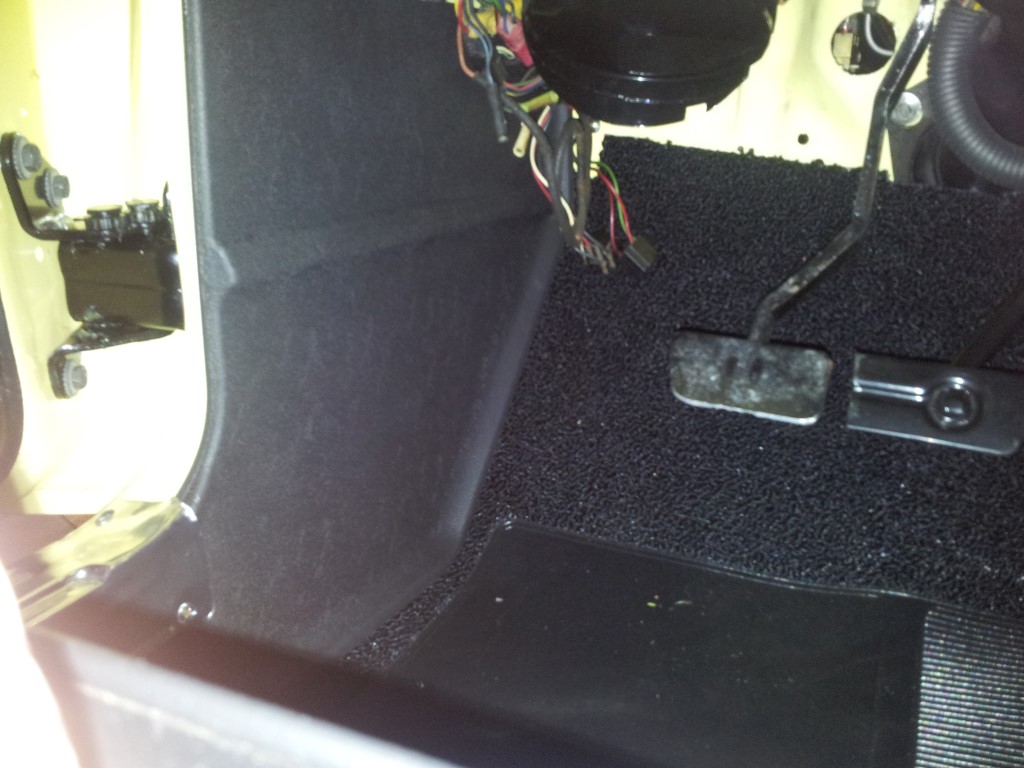 Kick panels gone in.... 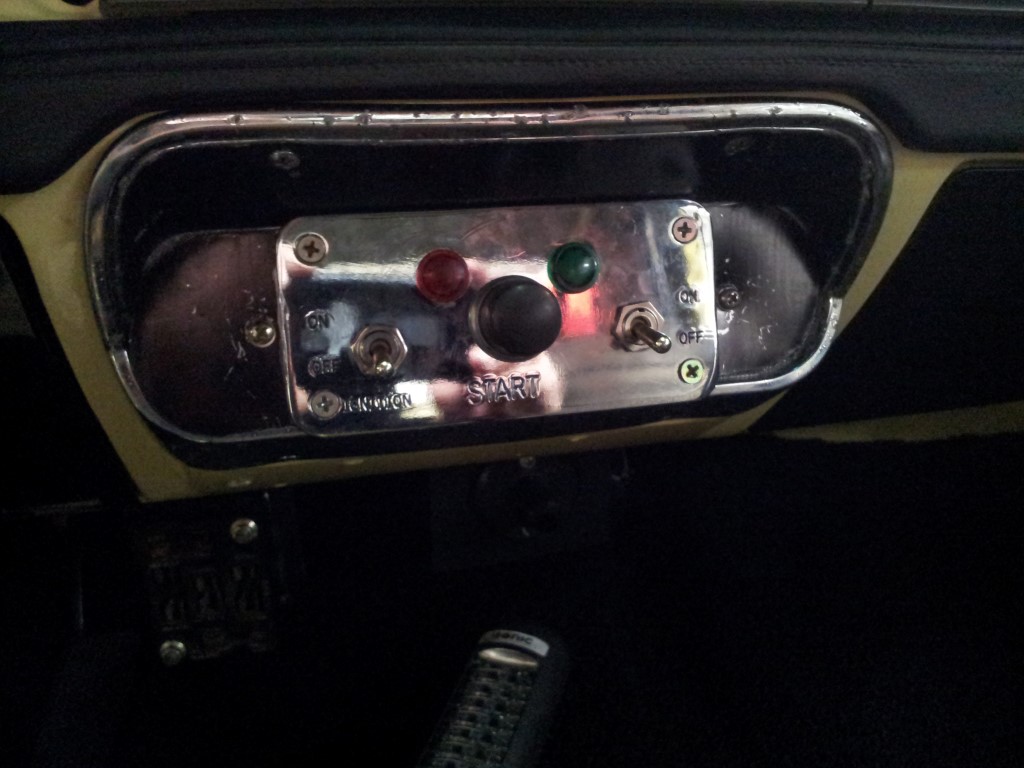 Ignition and start panel gone in.... 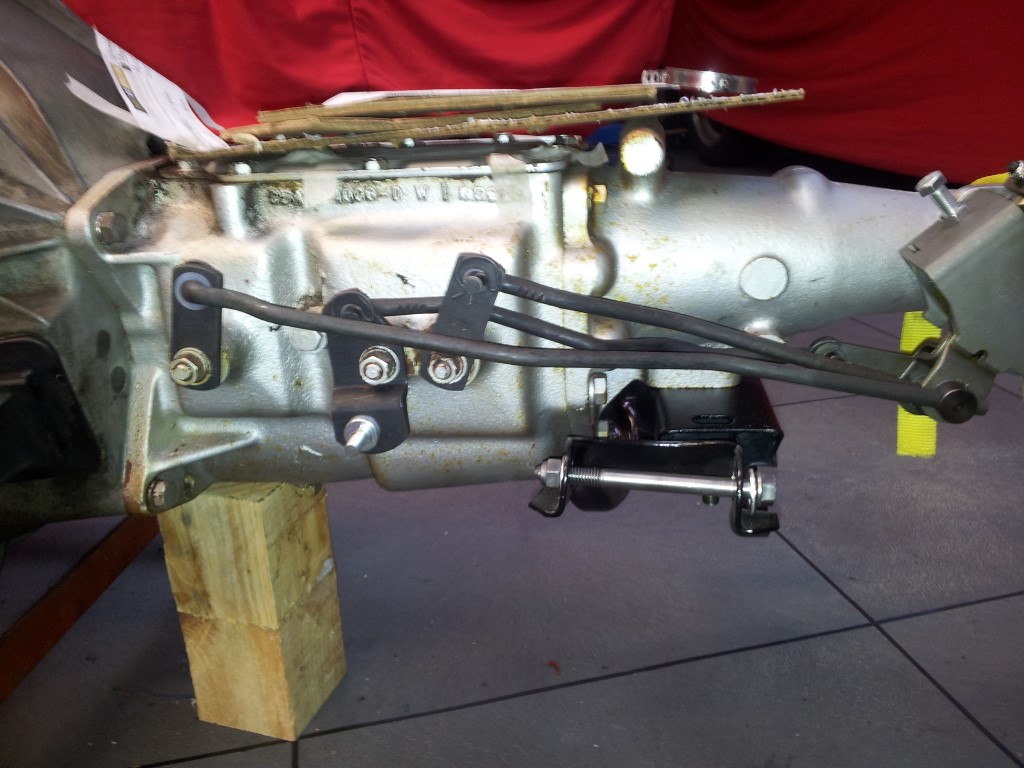 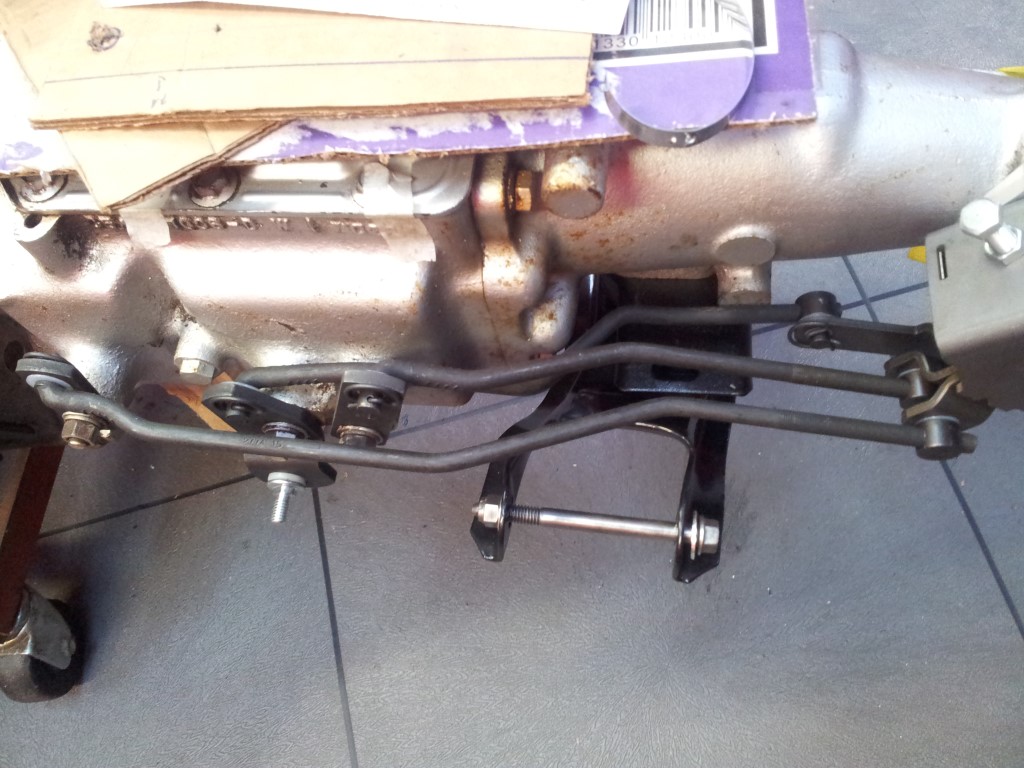 The Toploader 4 speed got new shift linkage.... 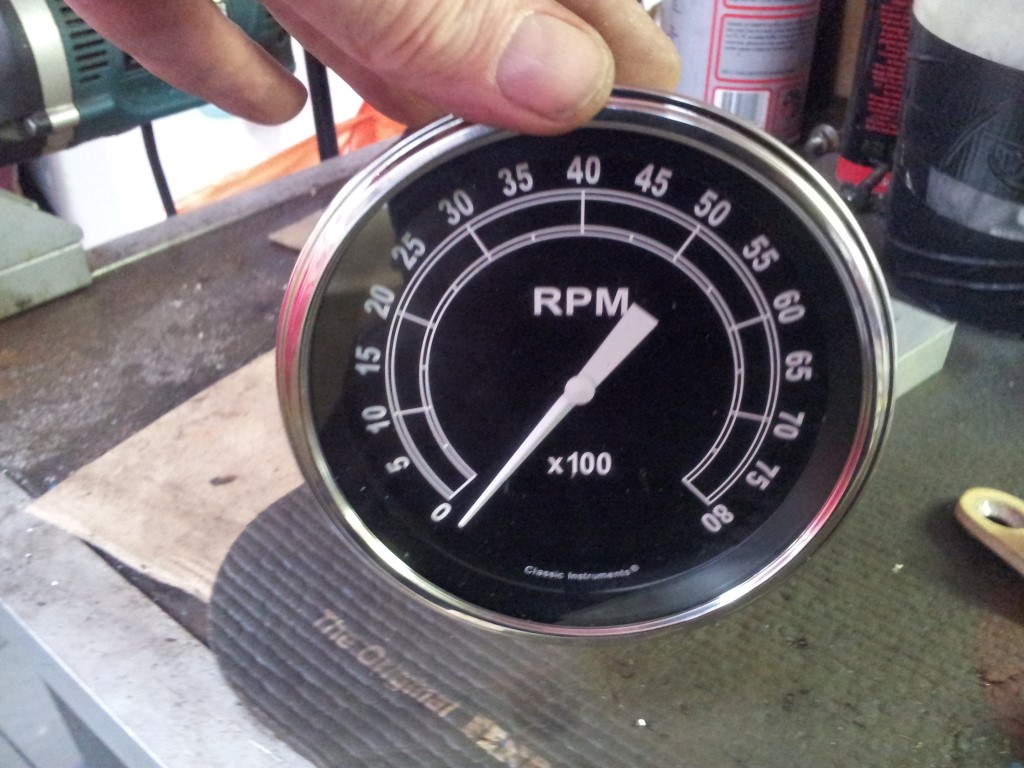 The BIG tach that will go in.... 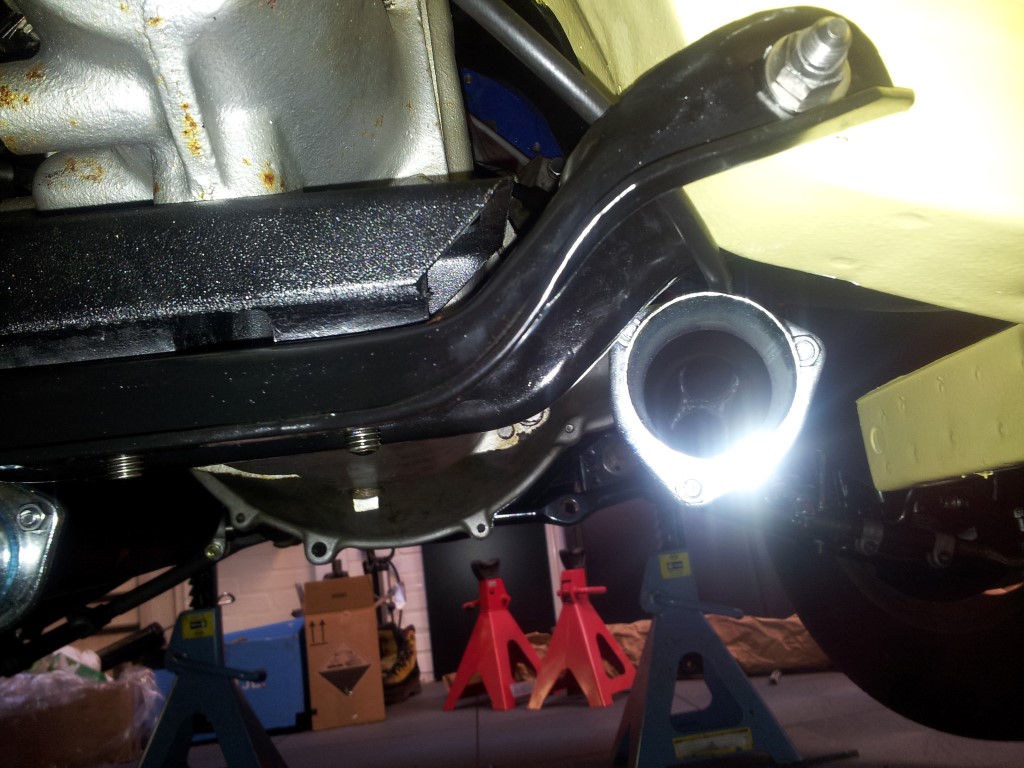  Some clearance issues with the trans crossmember and the exhaust.... 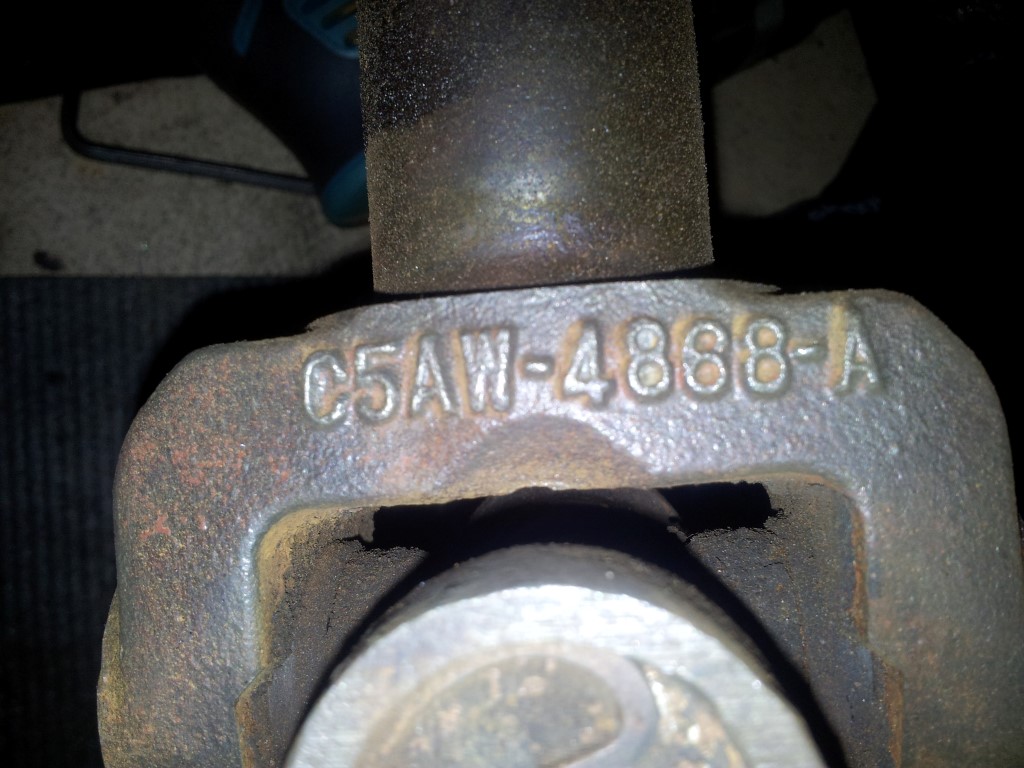 The number on the drive line....     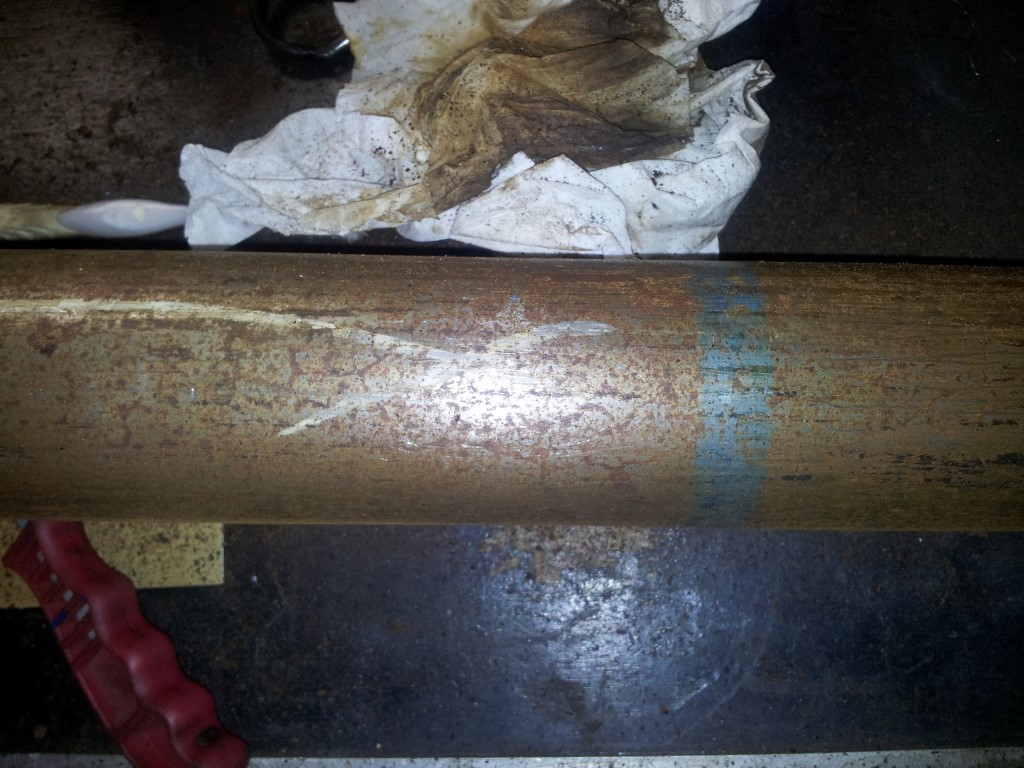 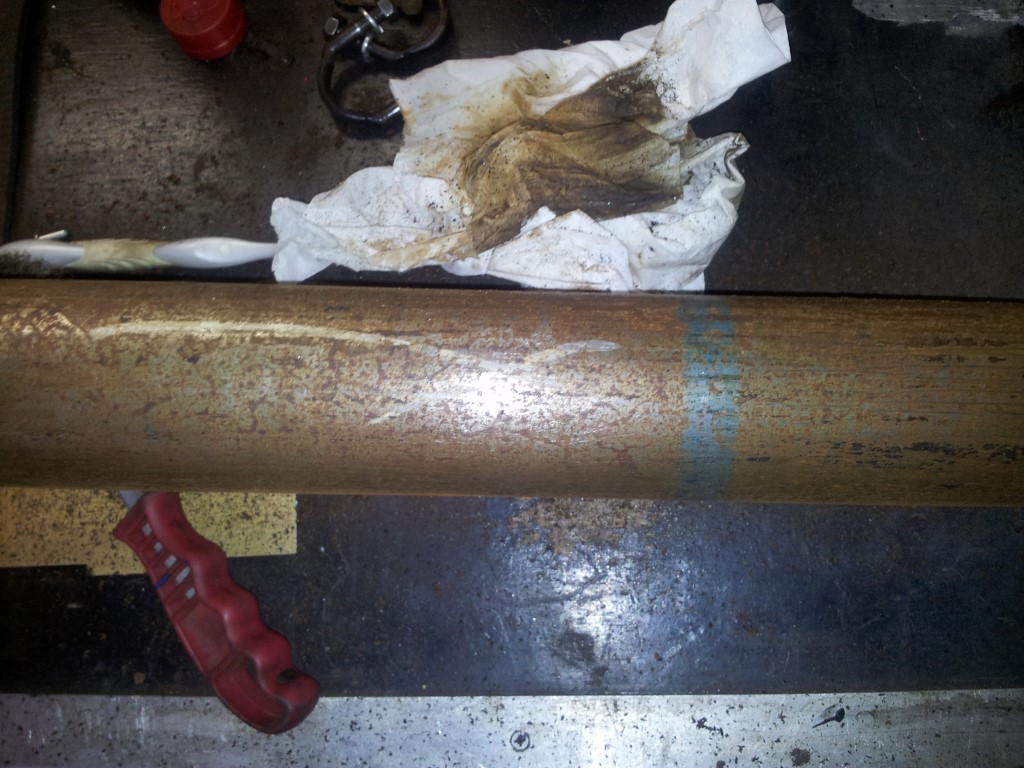 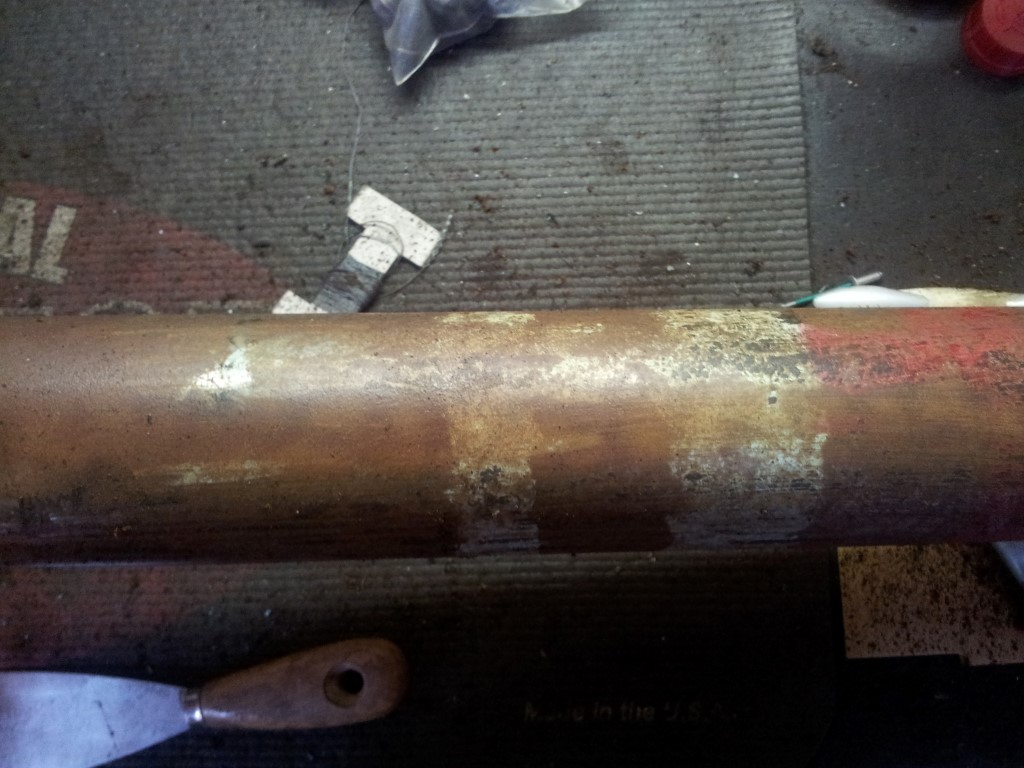 All kind of colored lines on the drive line.... 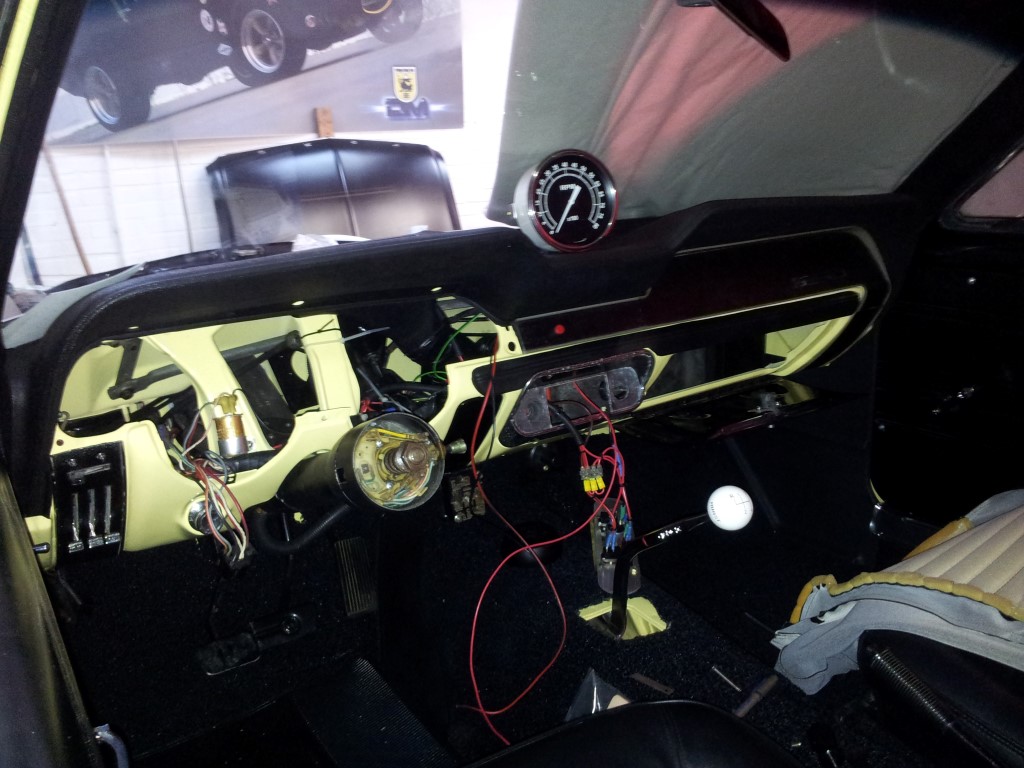 The BIG tach has been installed. Still some wires to take care of.... 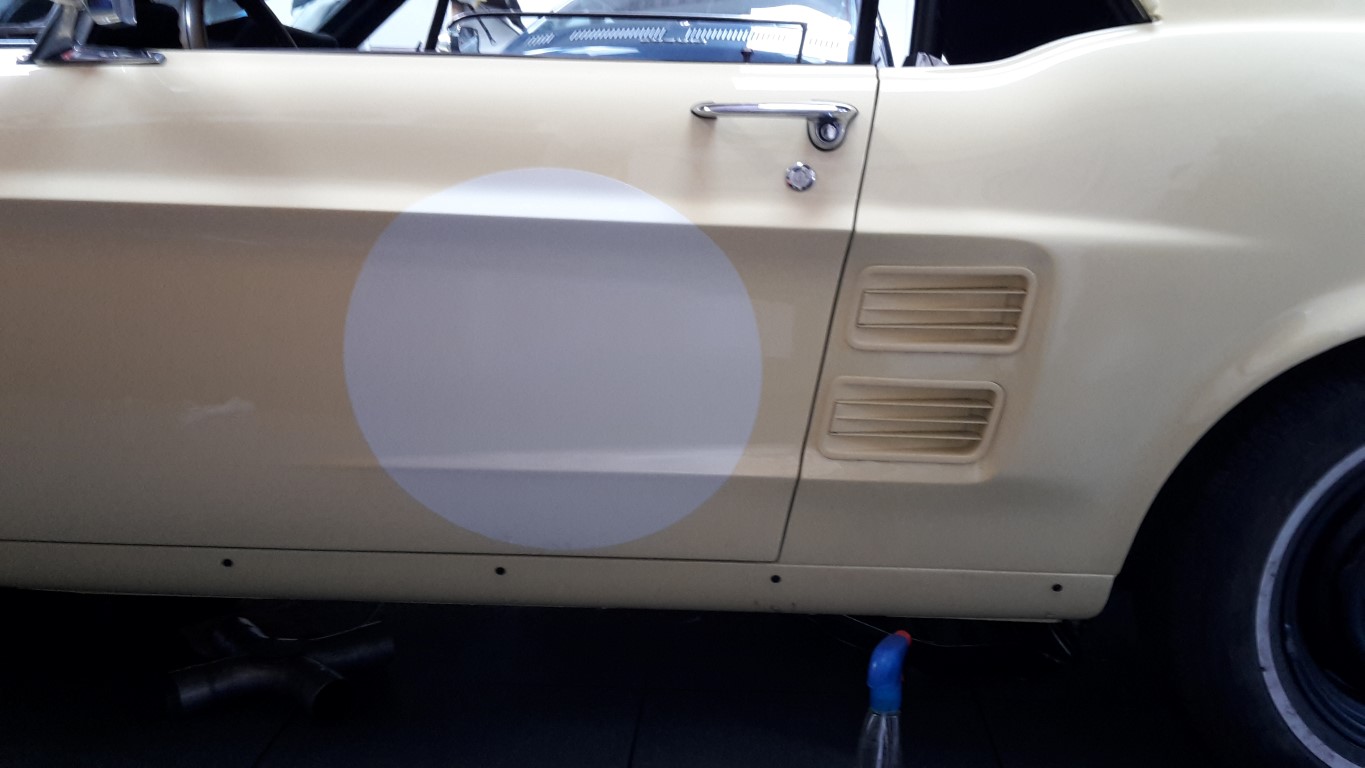 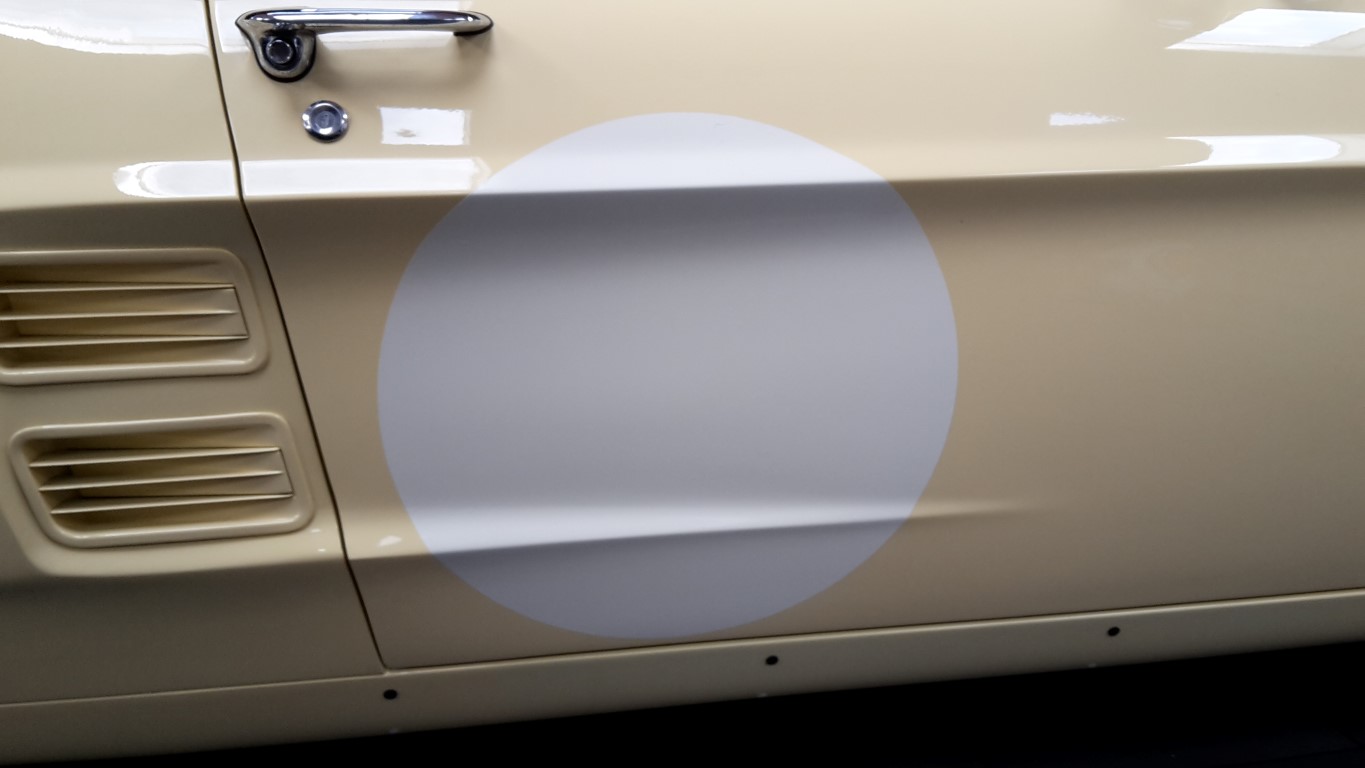 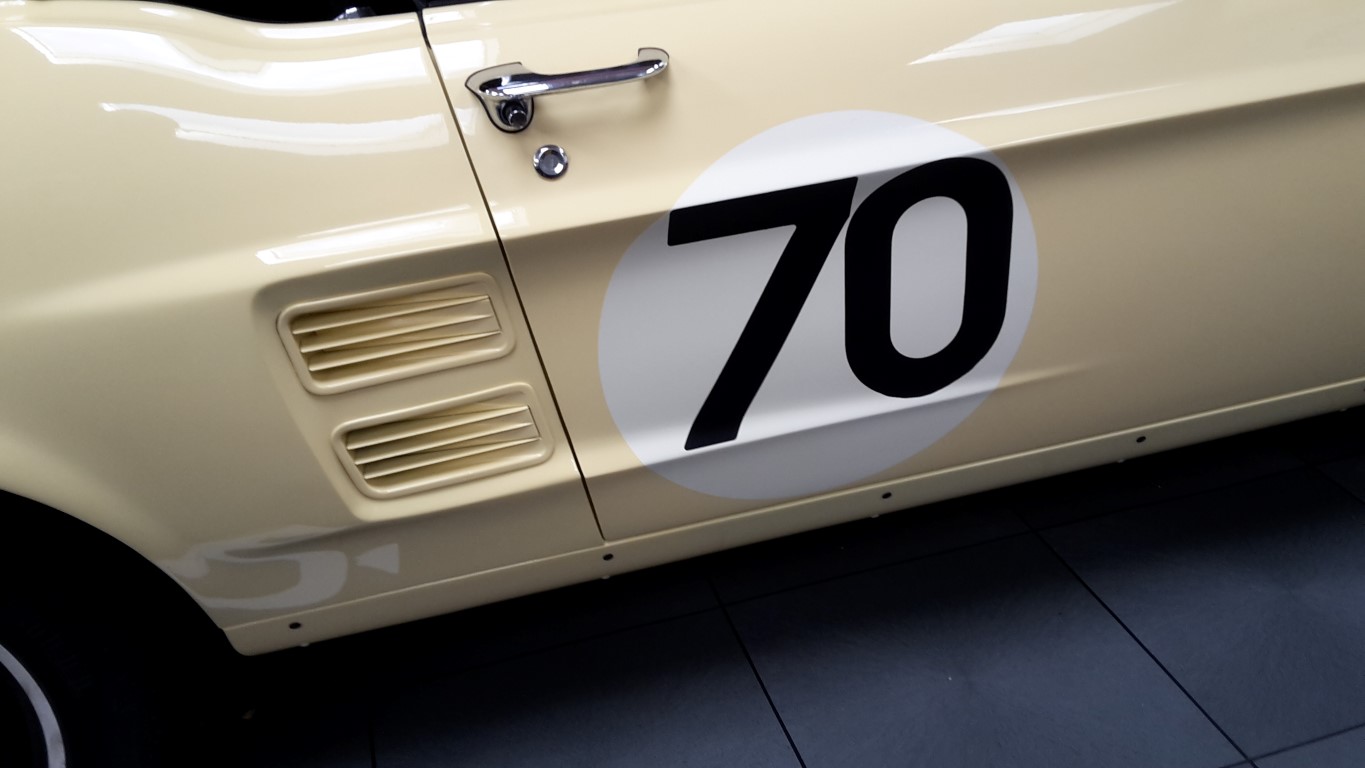 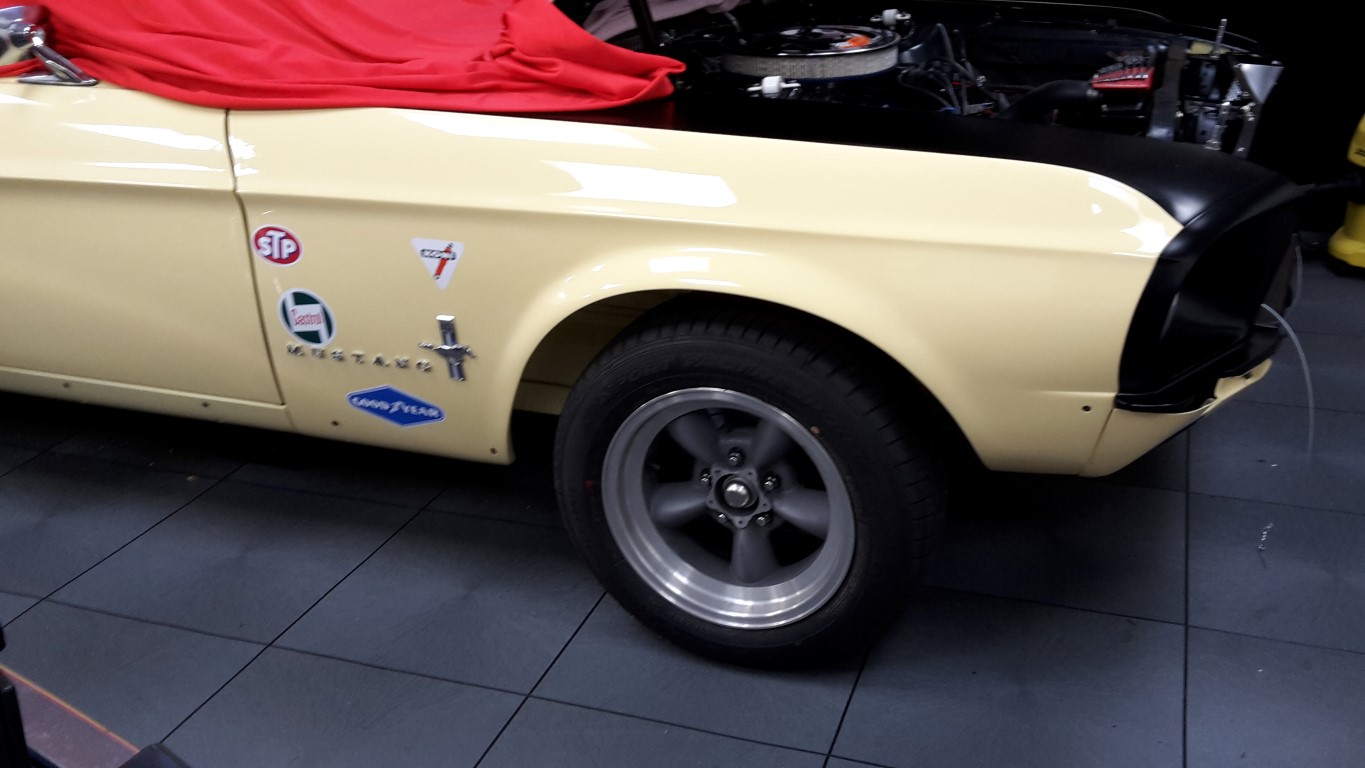 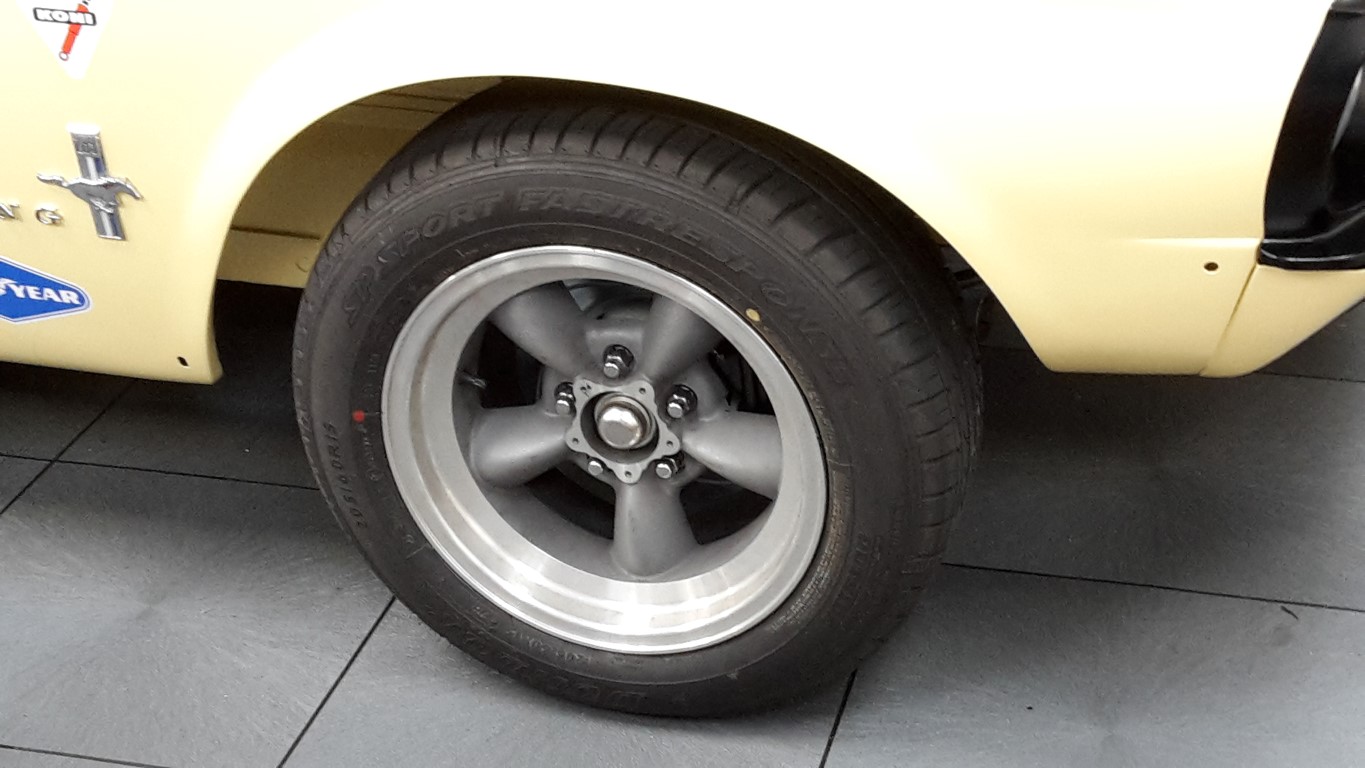 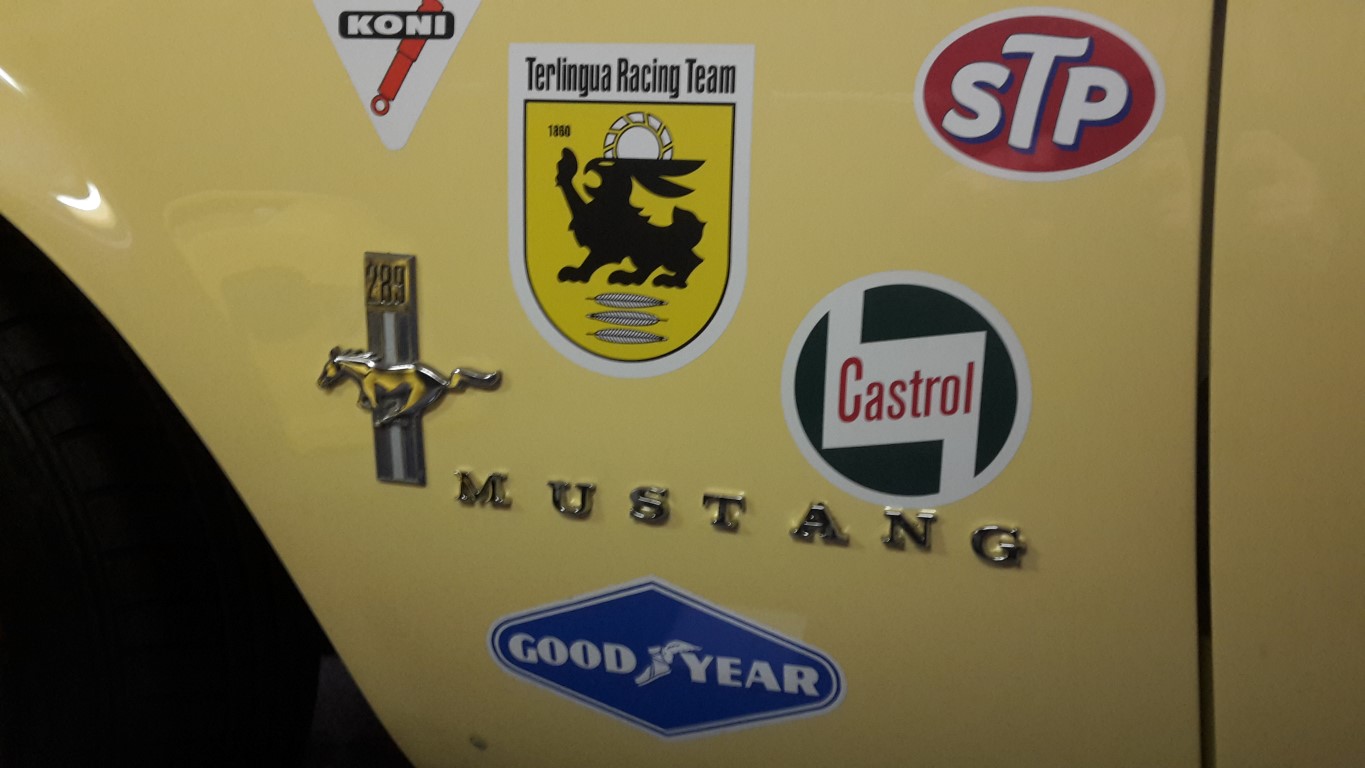 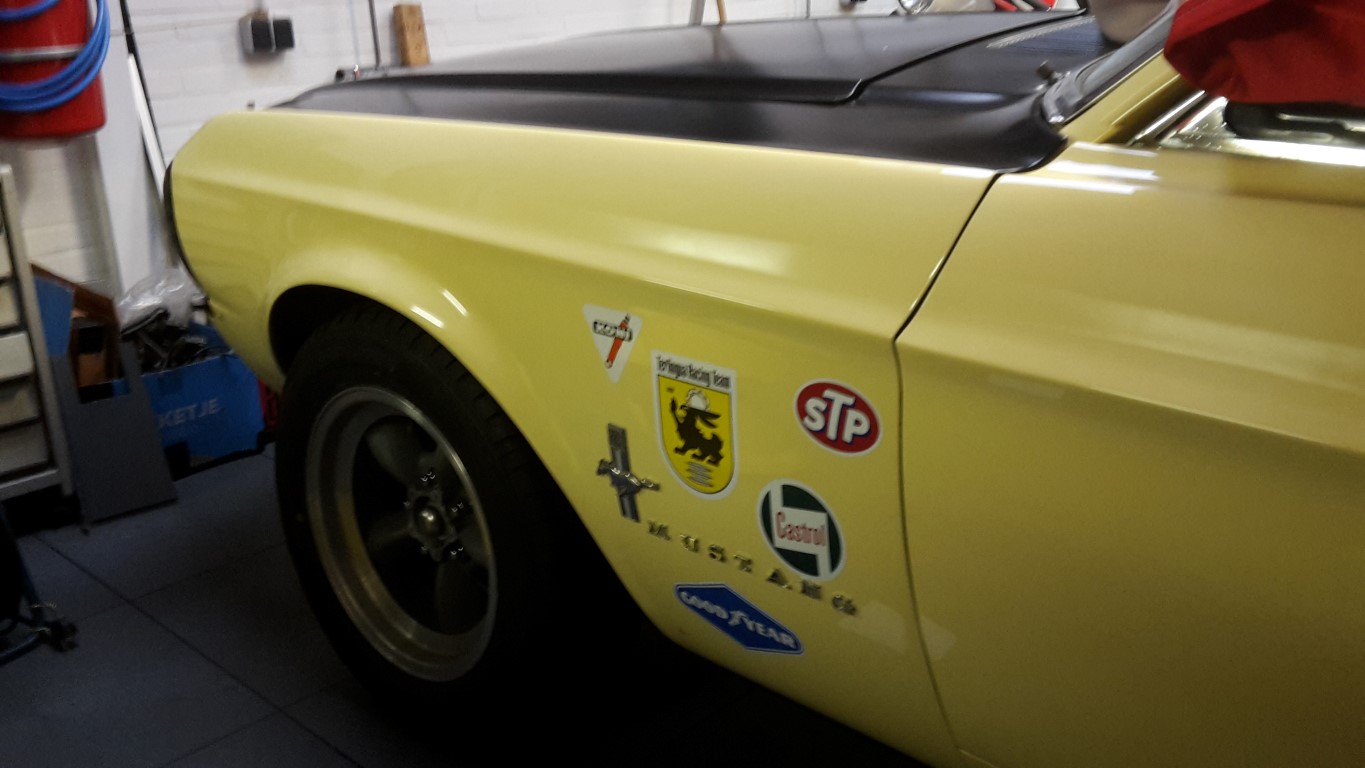 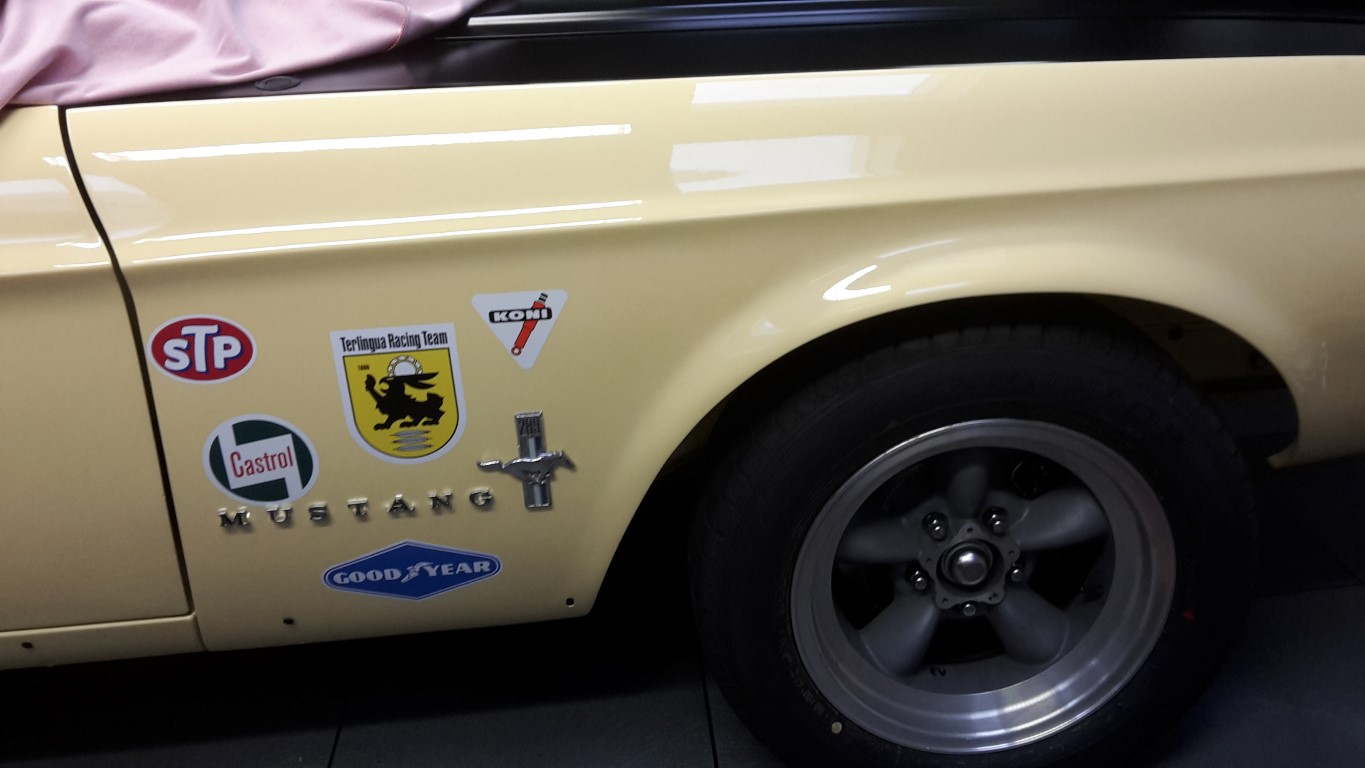 Put on the racing number and all kind of racing decals.... 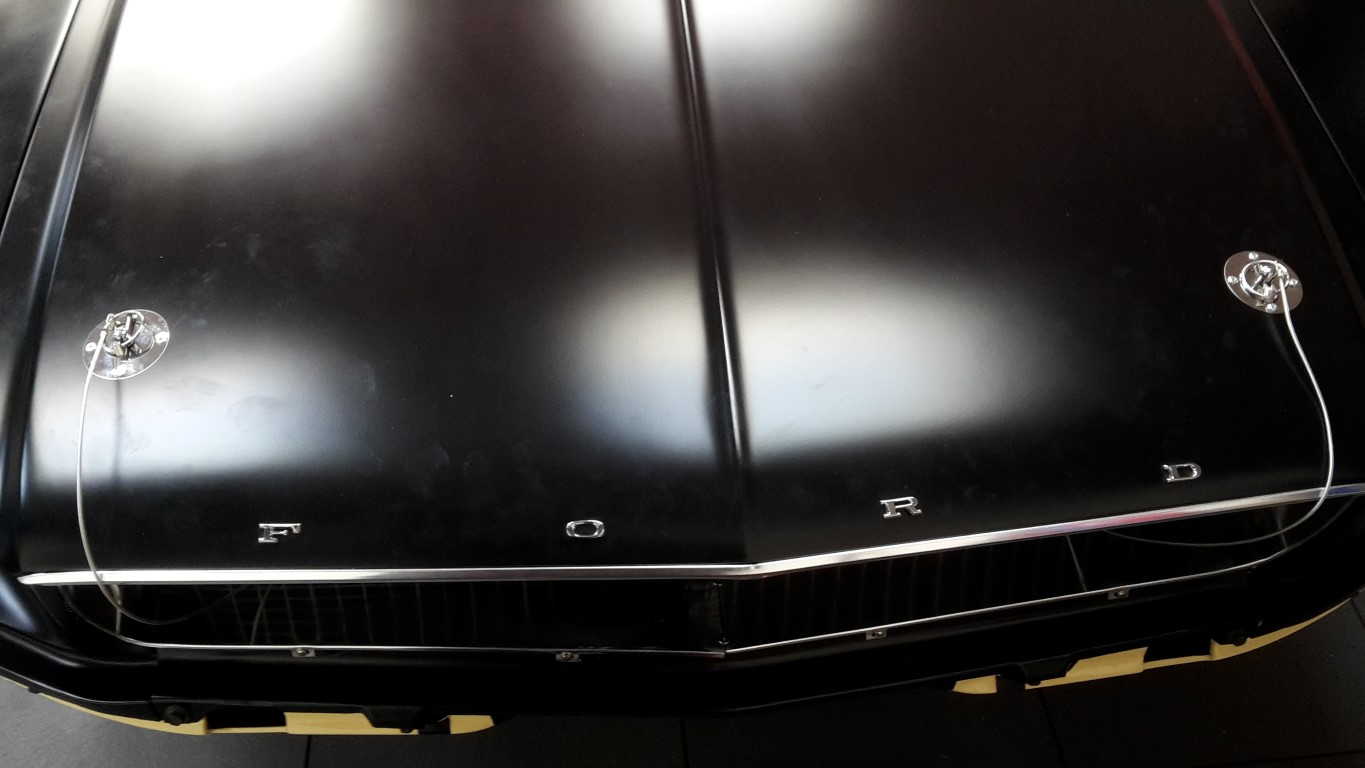 Installed the hood pins. Rather nerve wrecking drilling a painted hood. But it worked out nice....  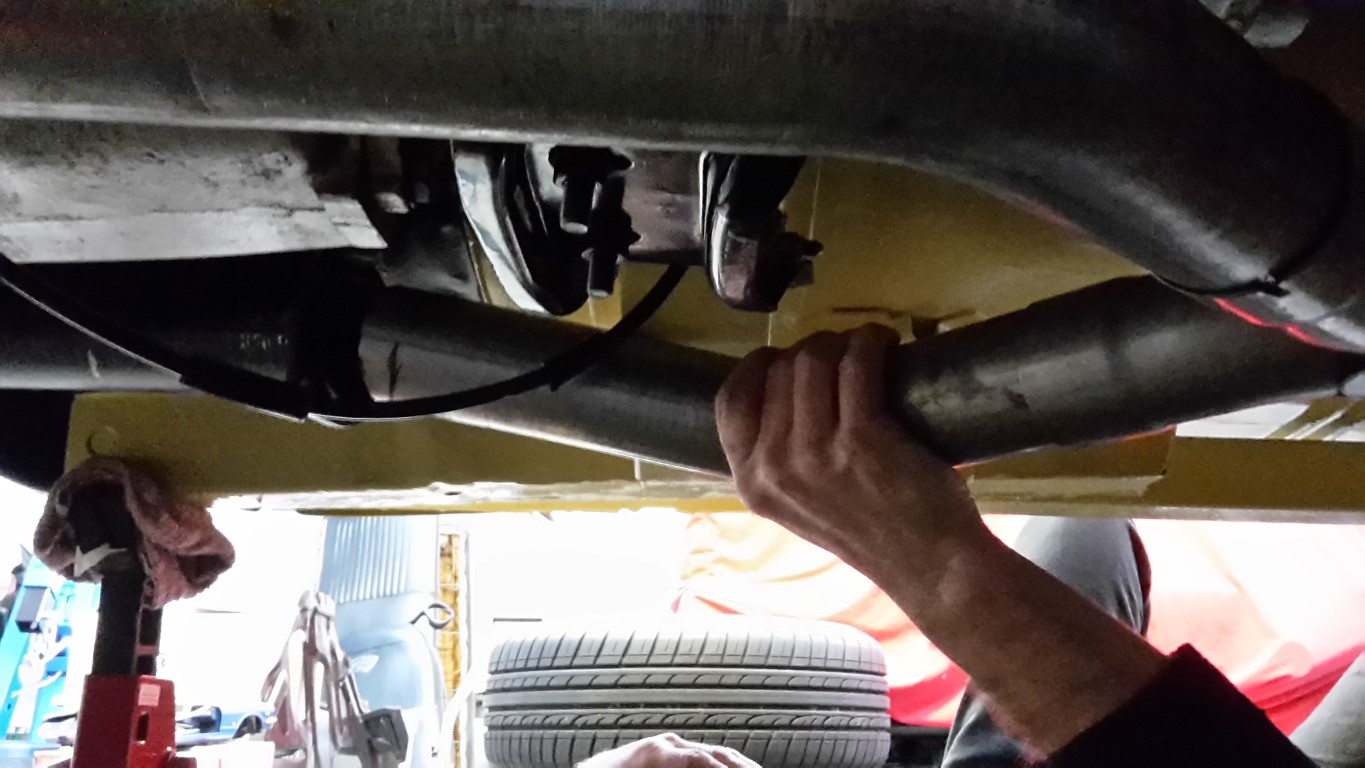 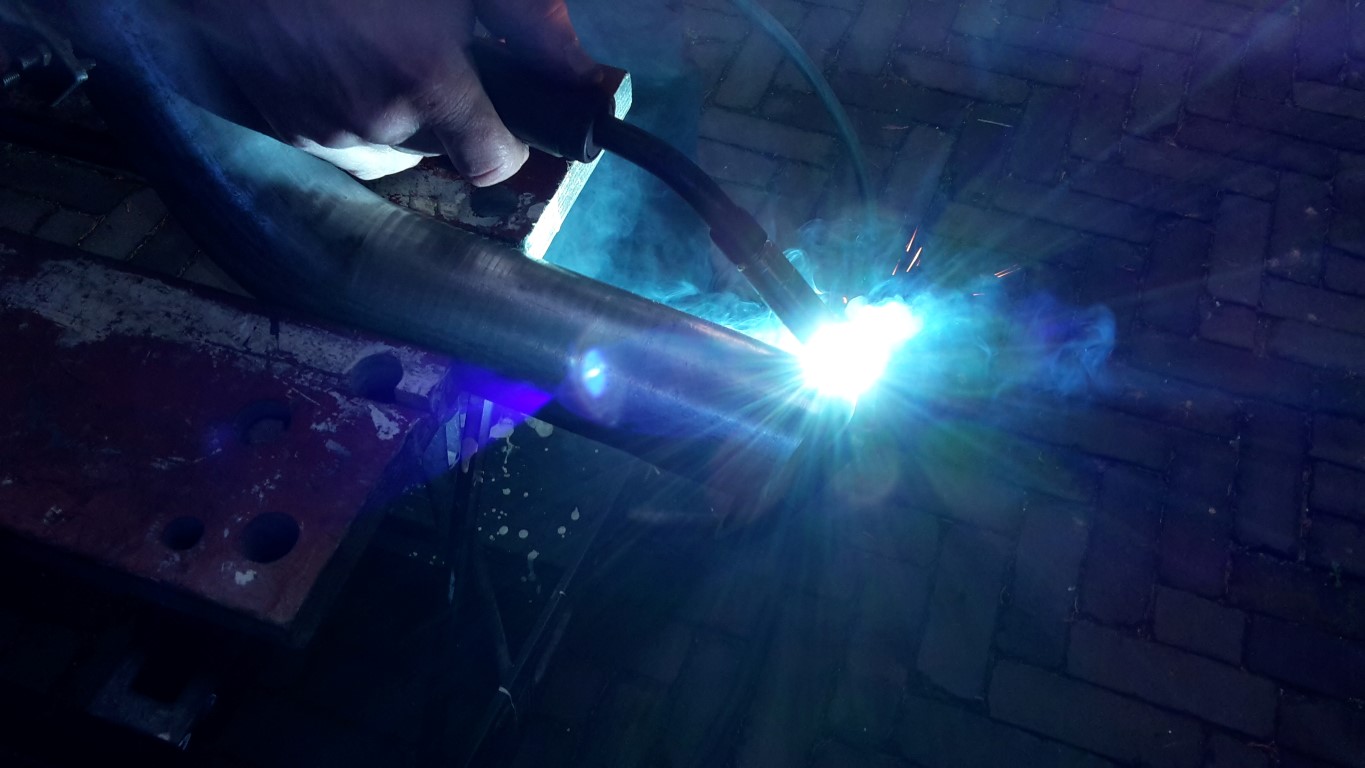 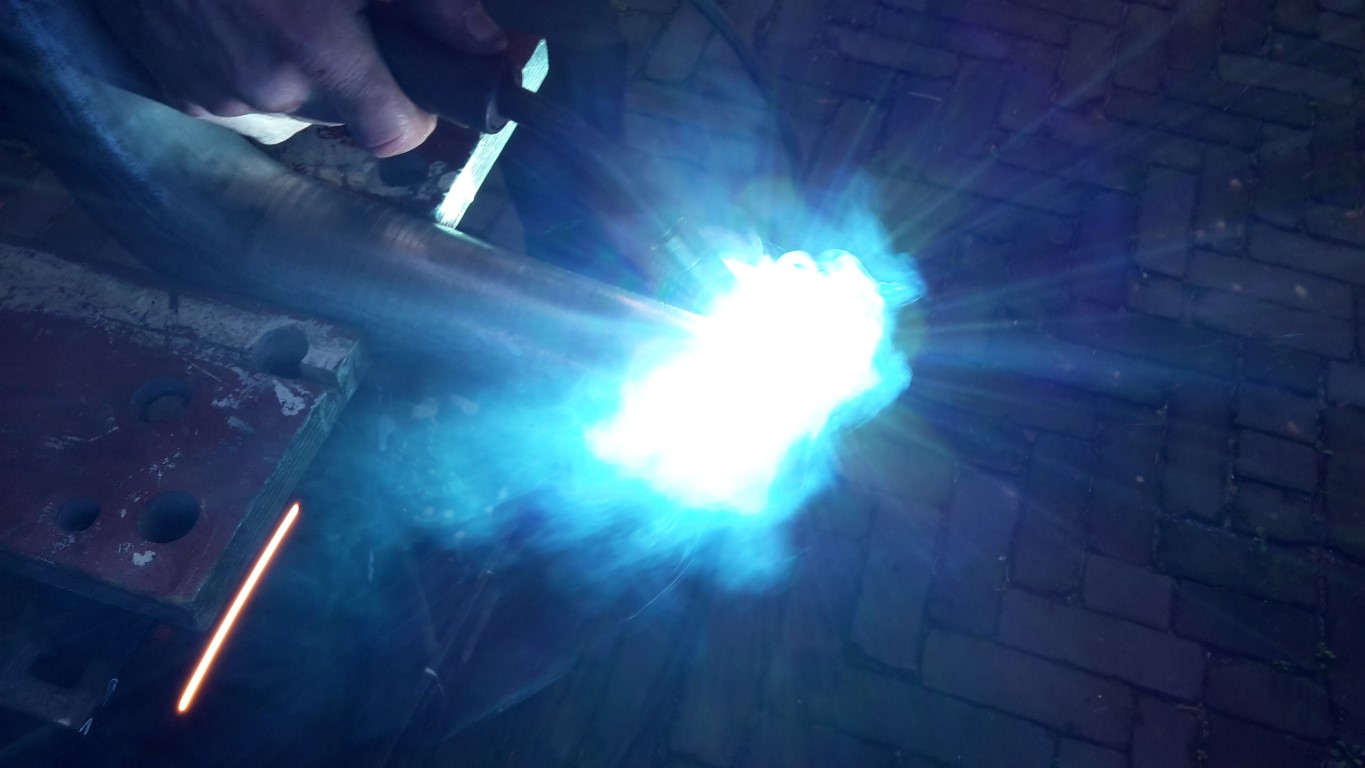 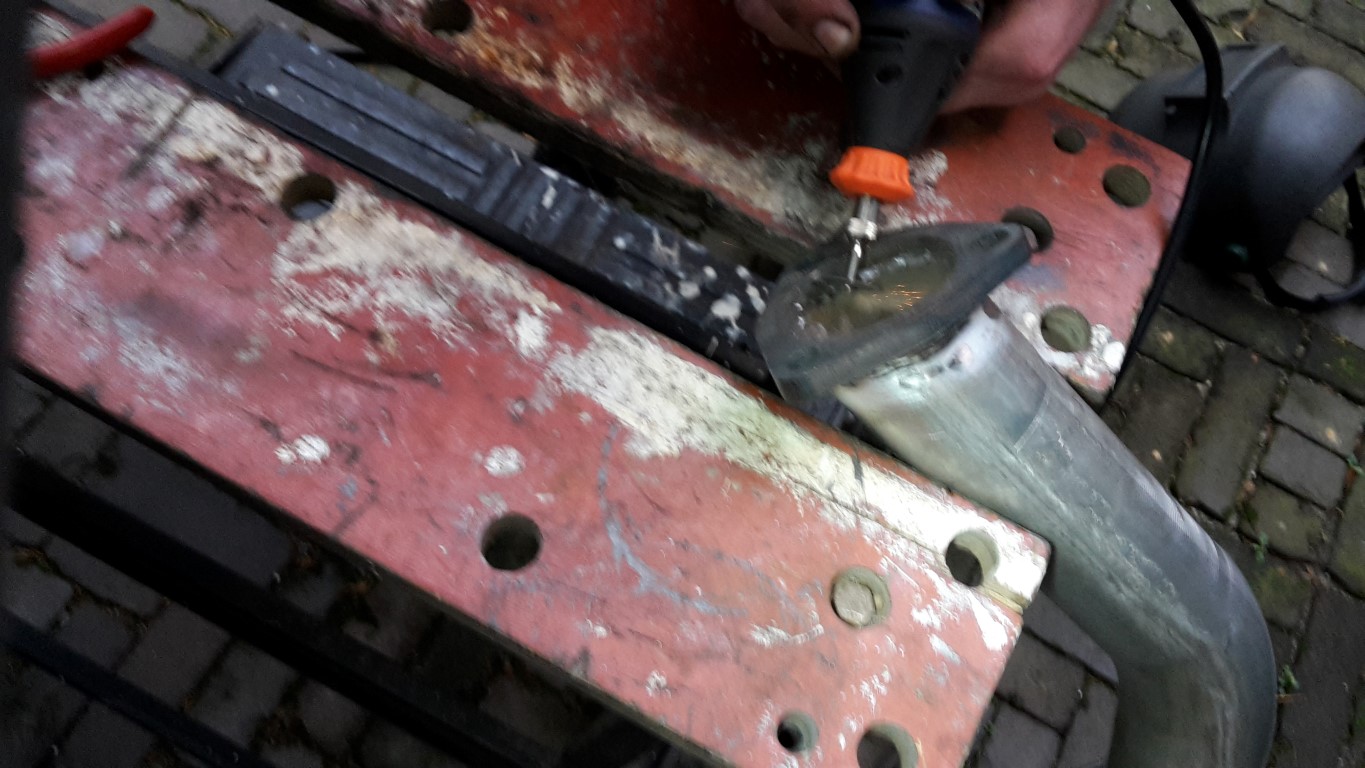 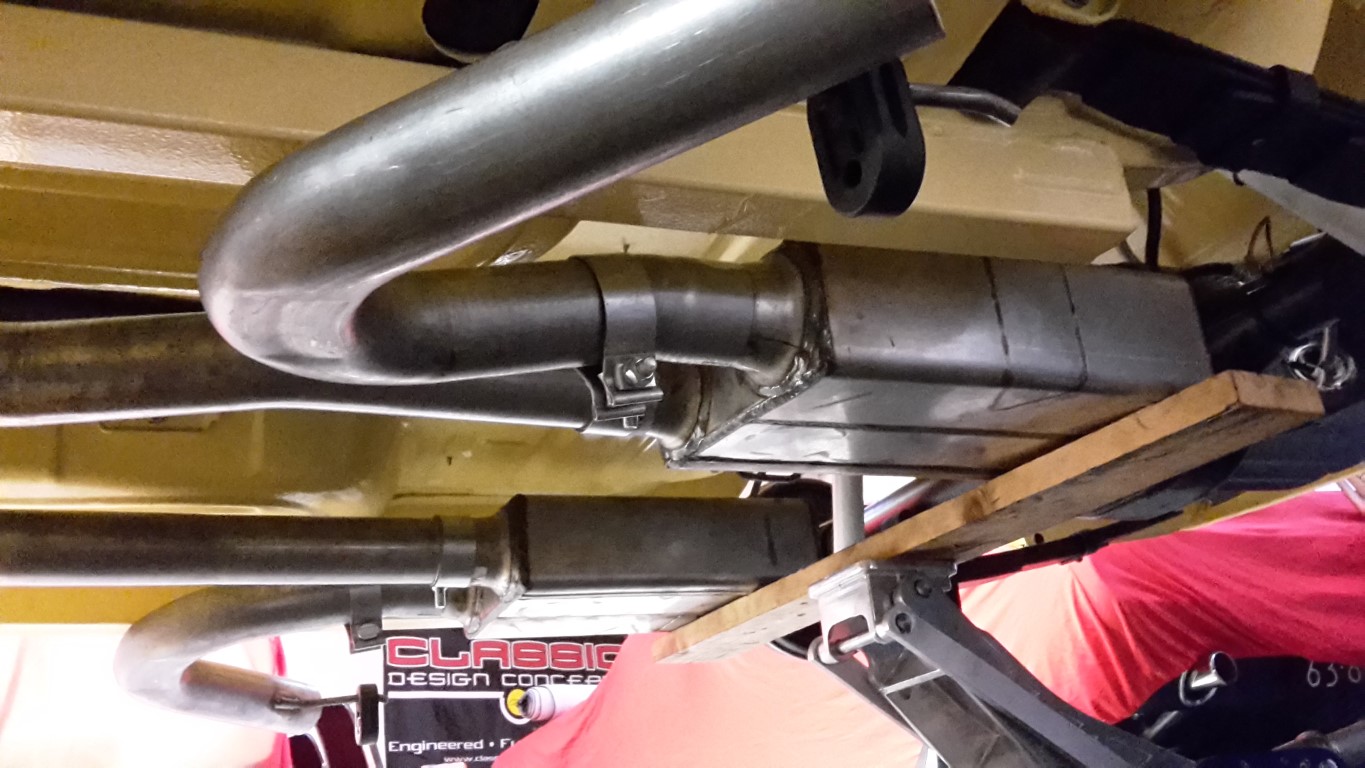 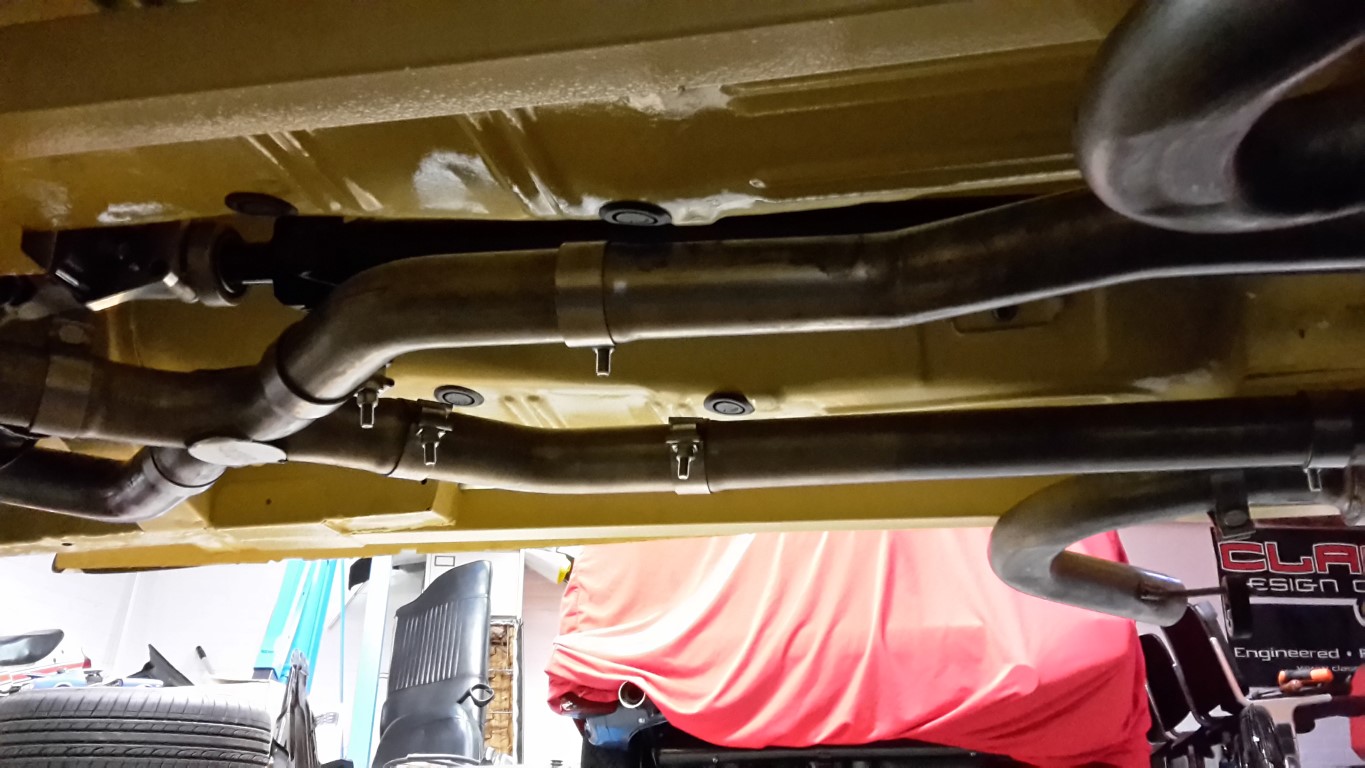 Measuring and welding to setup the SpinTech side exit exhaust 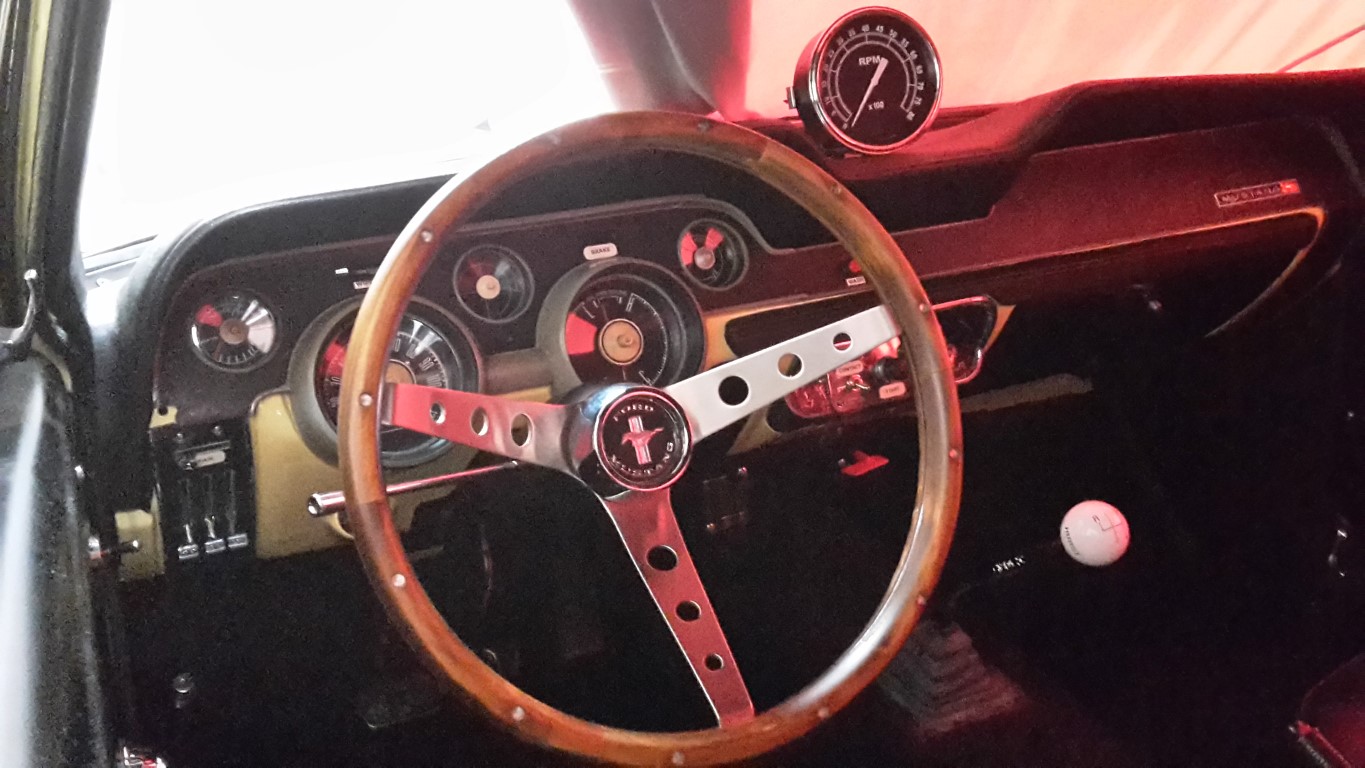 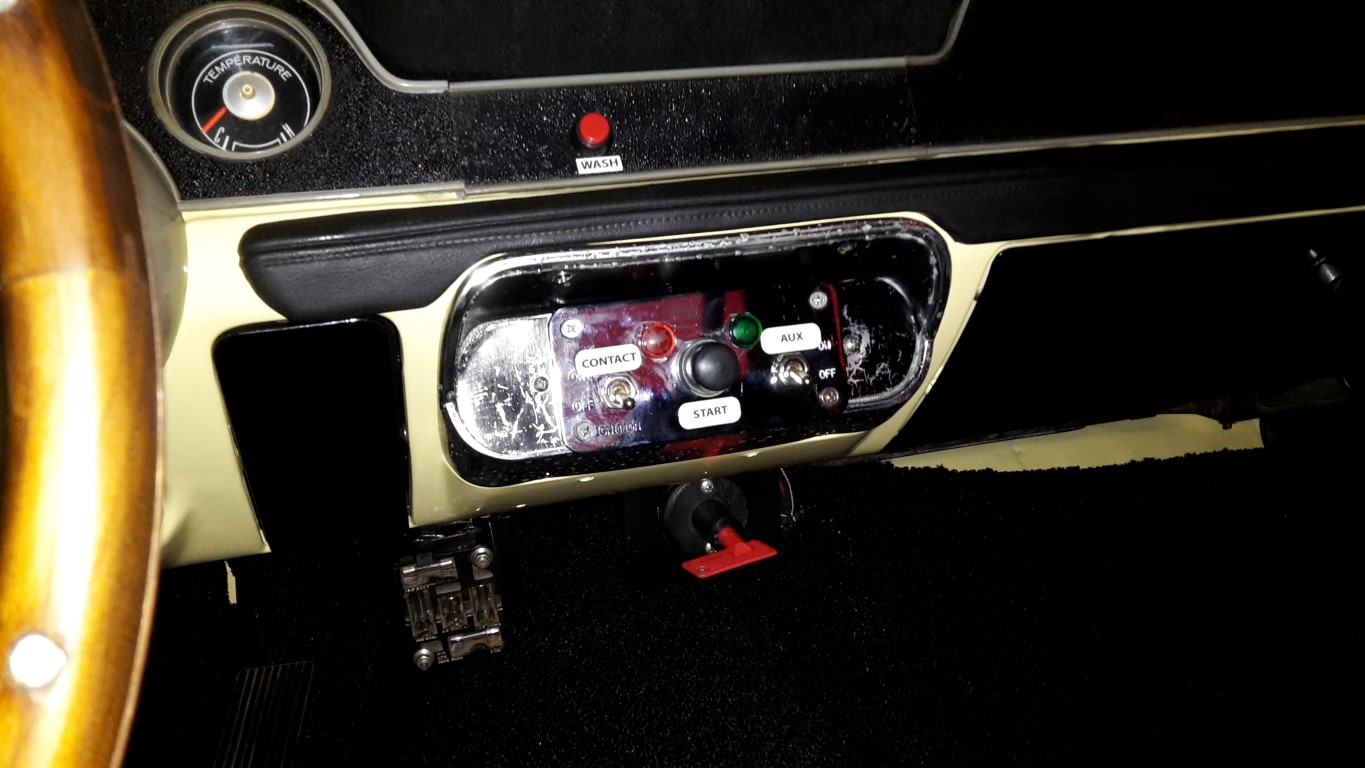 Fixed all the wiring, installed the Dash and rewired (to also use the accessory switch) and labelled the panel... After checking some wiring the engine is running.... 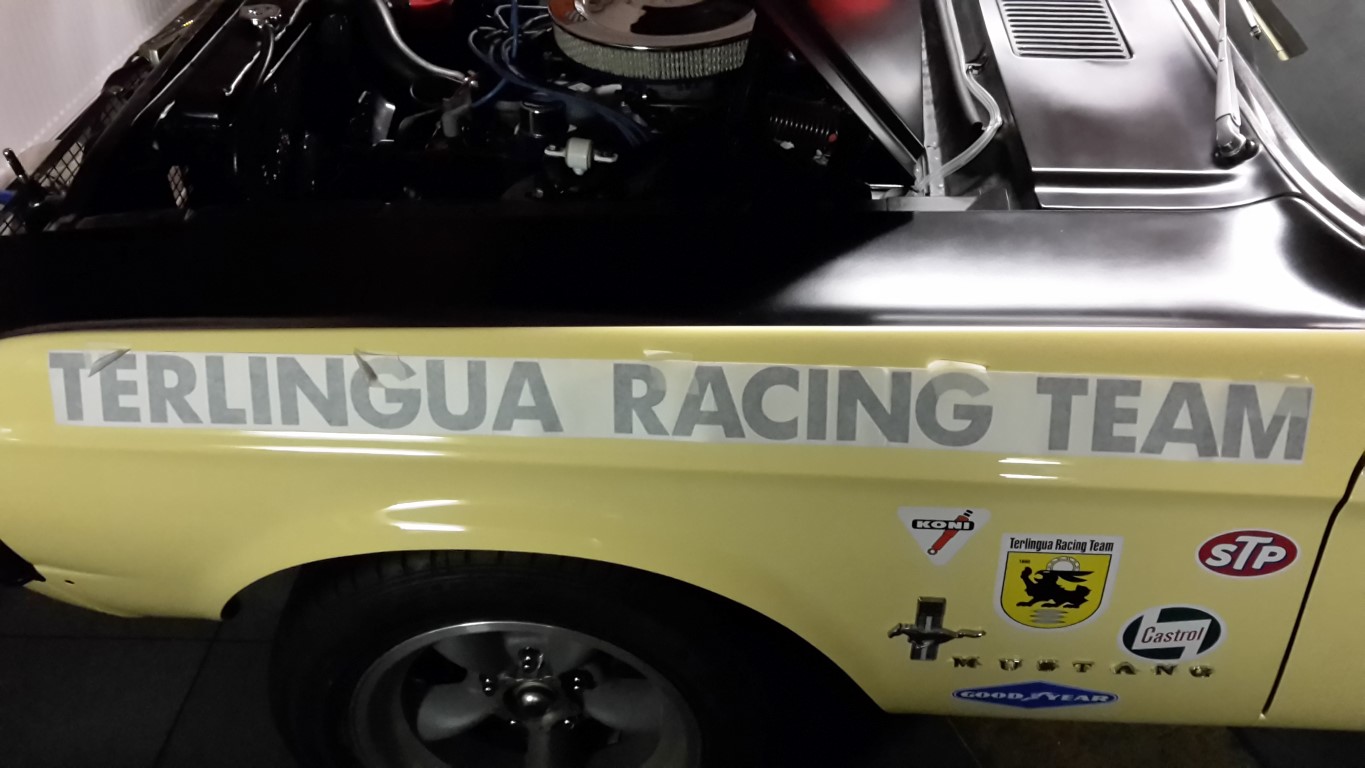  Getting the Terlingua Racing Team decals ready for installation... 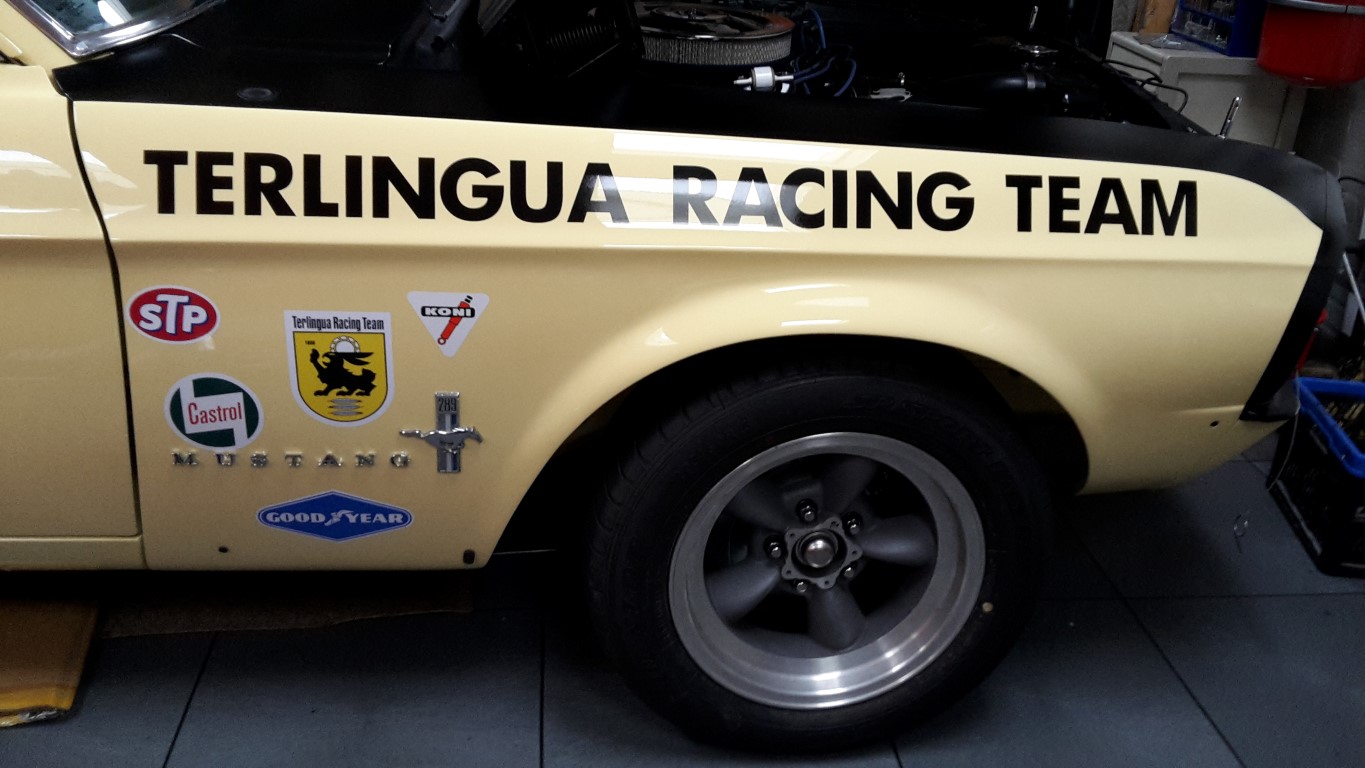 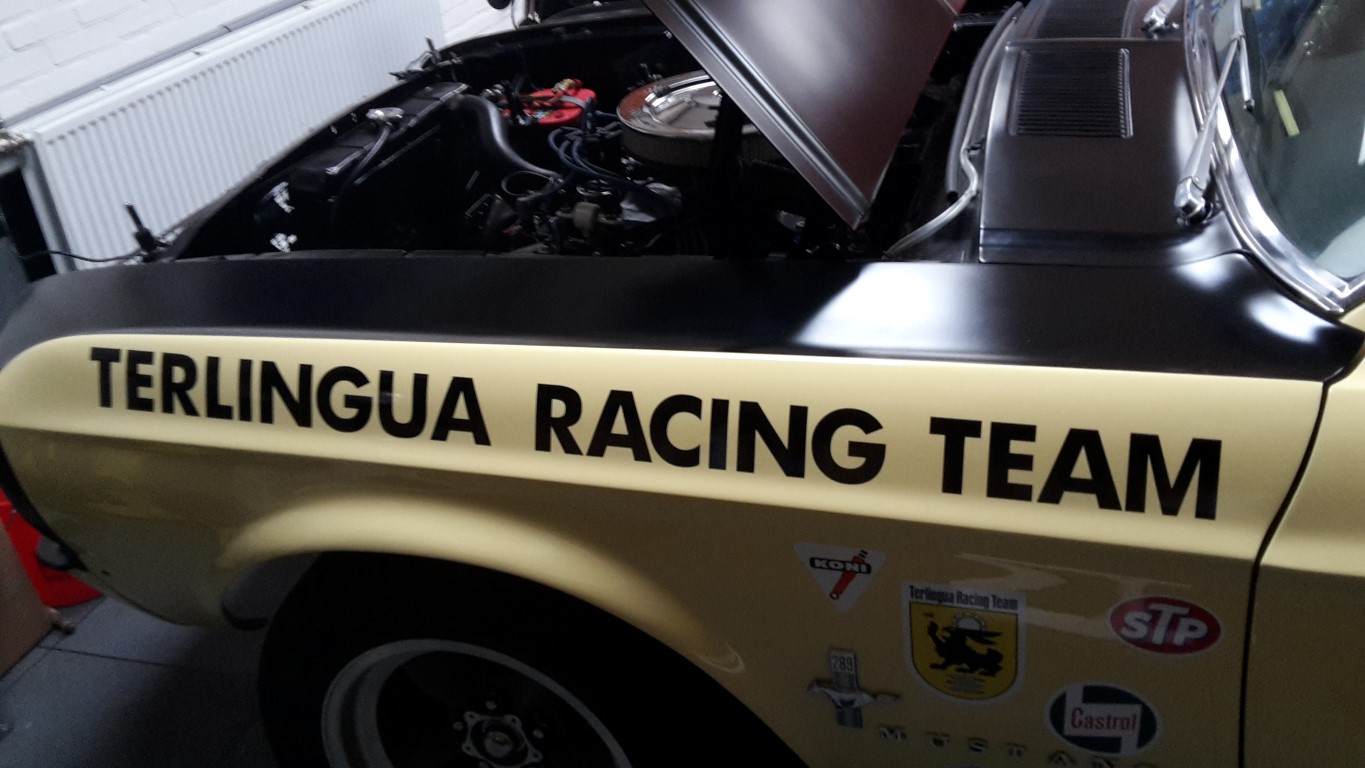 Got the decals installed. Very stressfull job... |