|
Remy Vos This company is no longer in business / Dit bedrijf bestaat niet meer |
Rhienderstein 20 6971 LX Brummen |


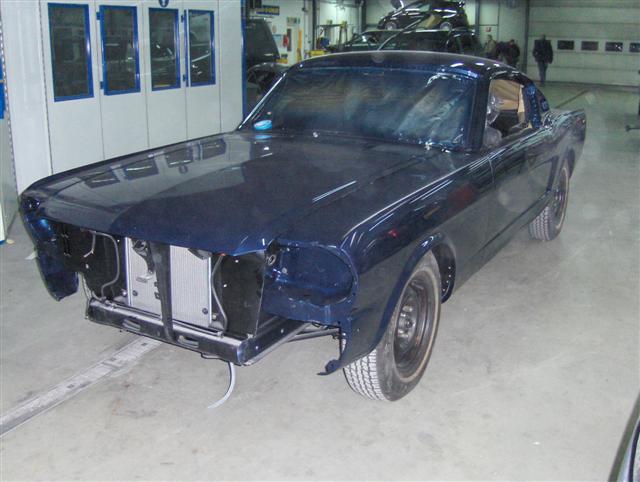
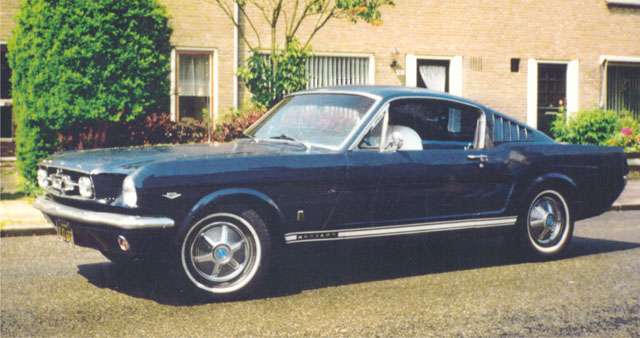 The car the way it was bought |
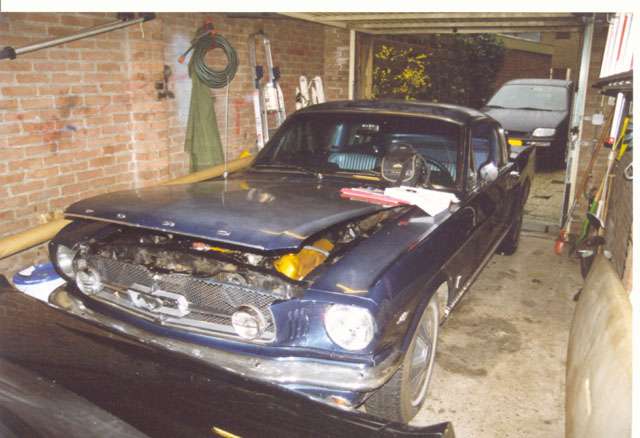 In our (to small) garage. In front you can see just a little of Project 66 and behind is my (former) Mazda 323 Coupe |
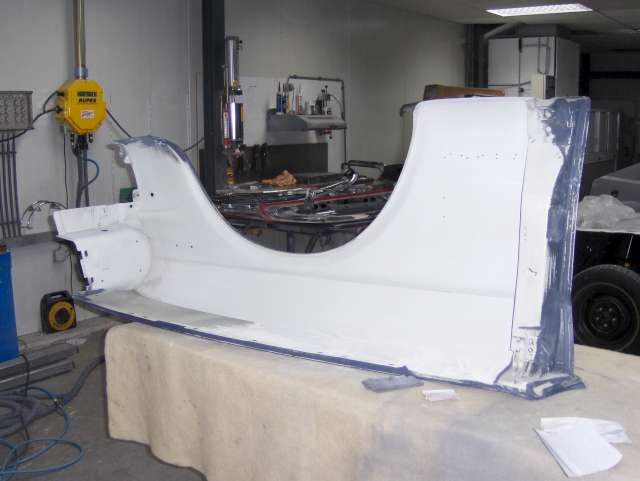
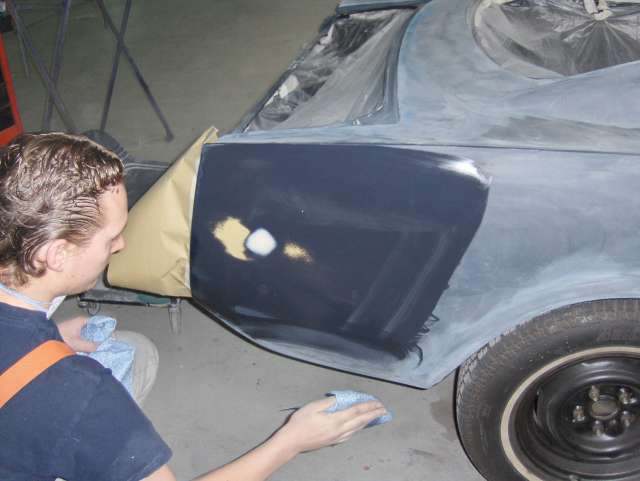
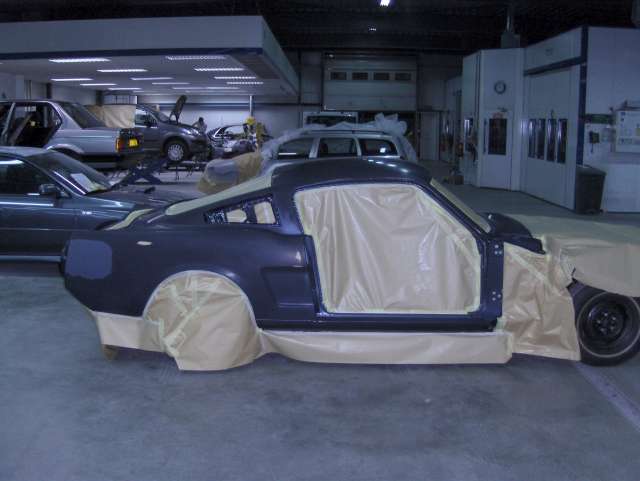
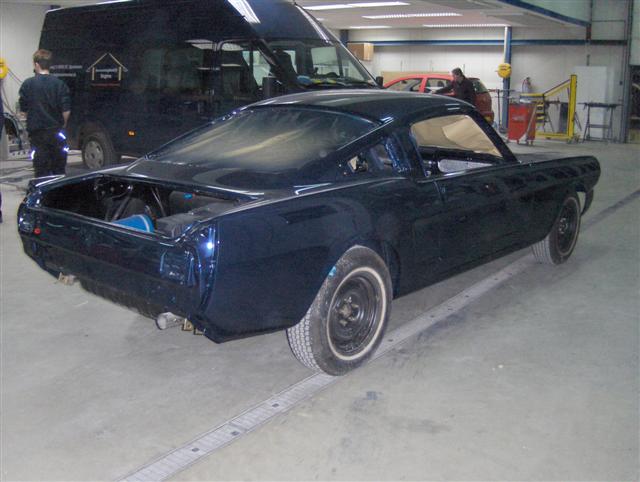
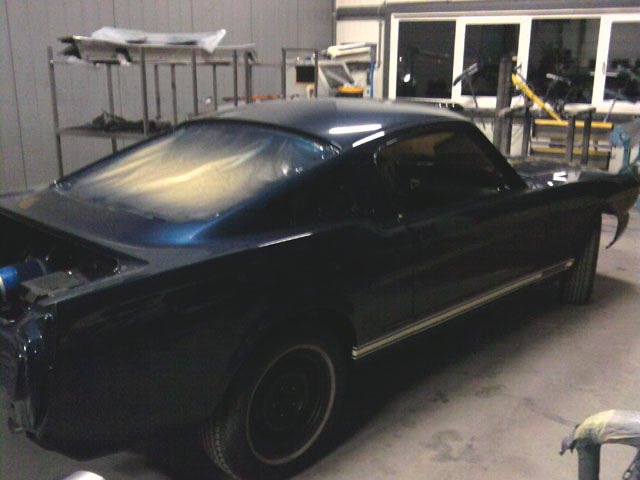
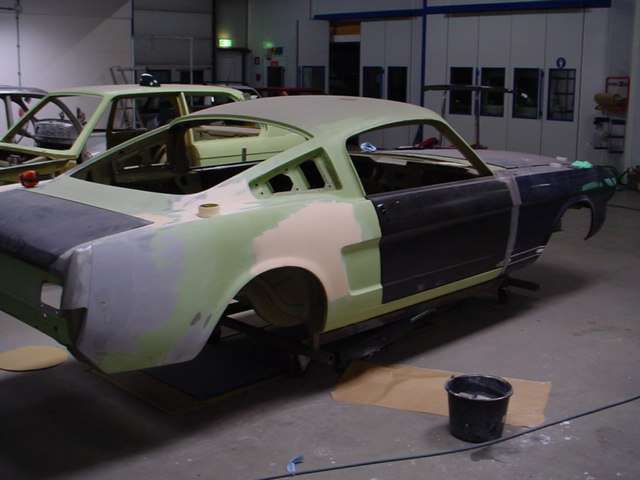 At Body Shop Remy Vos |
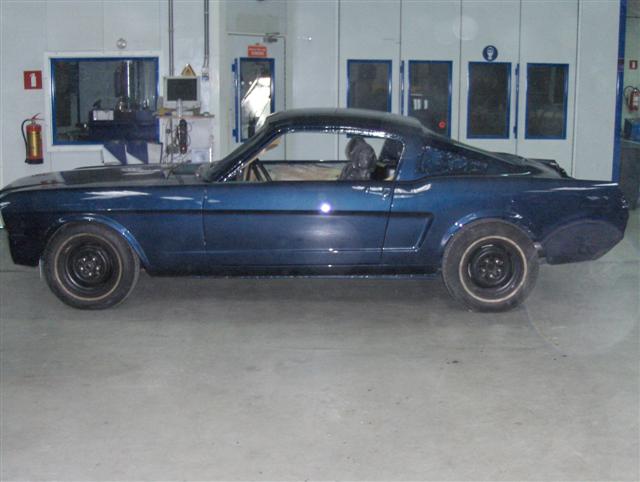
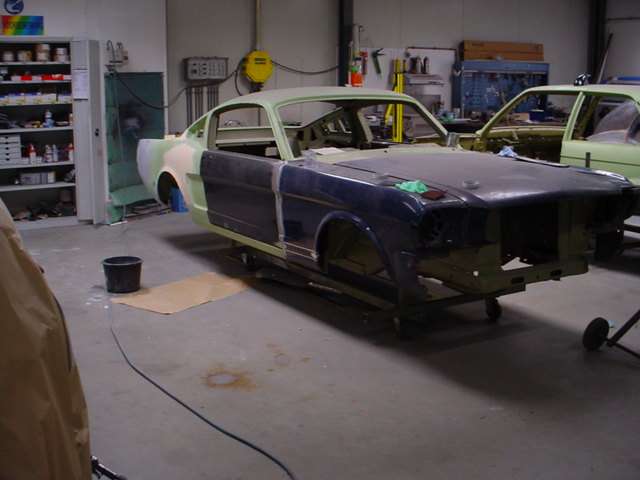 At Body shop Remy Vos |
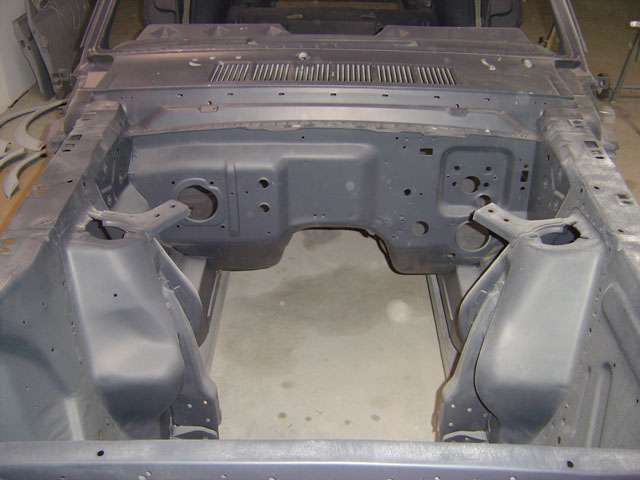
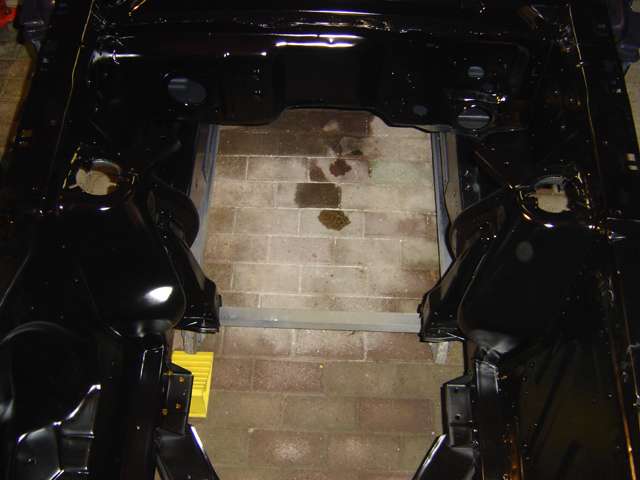
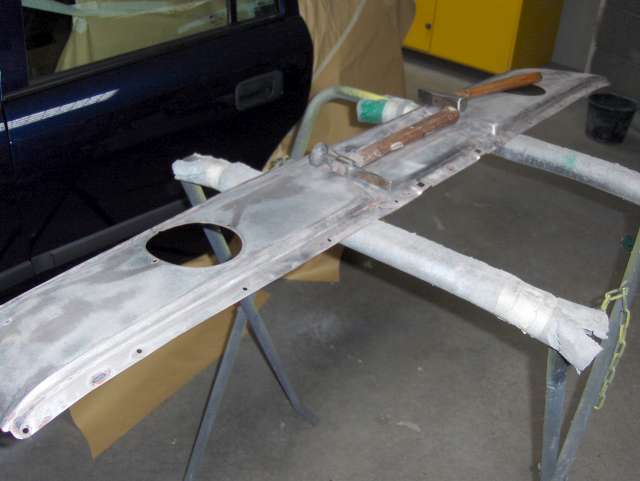
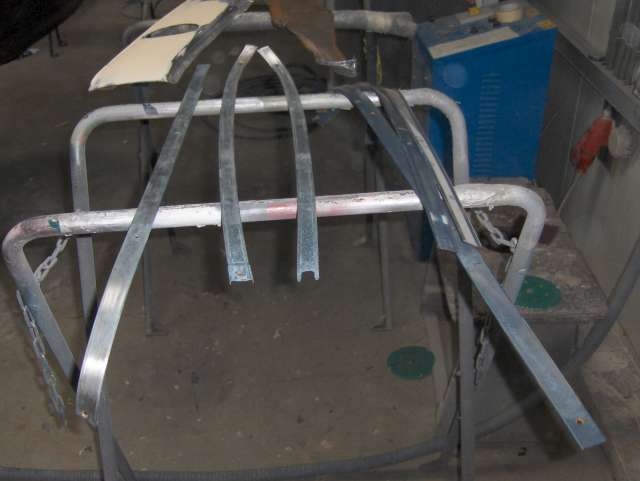
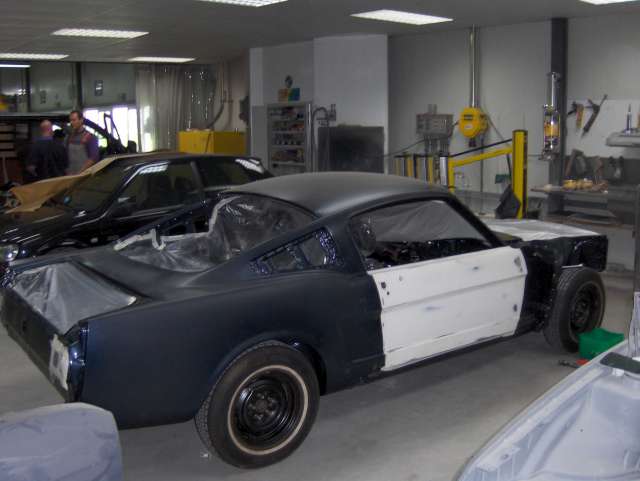
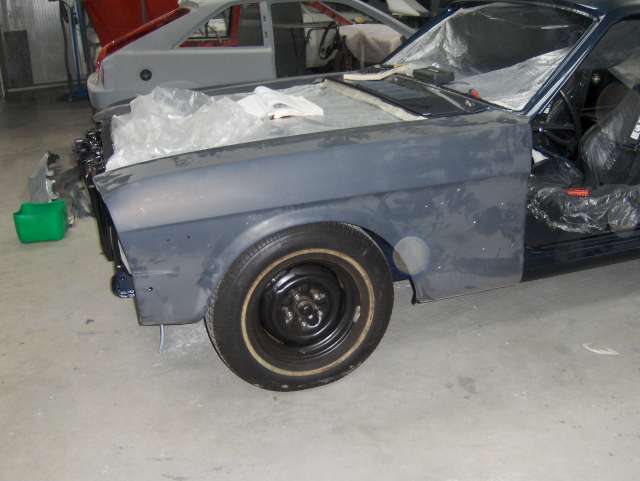
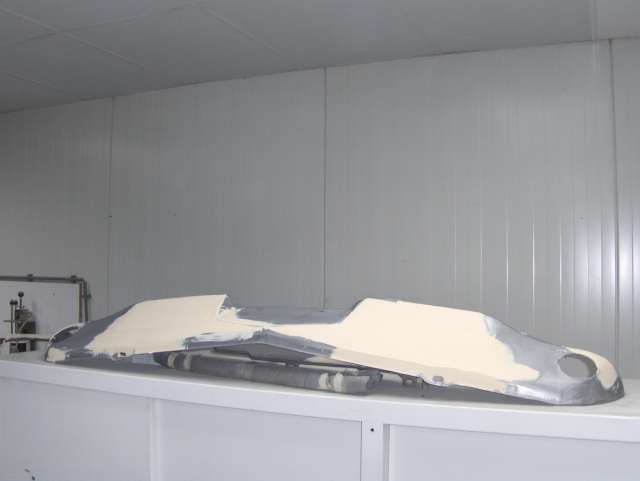
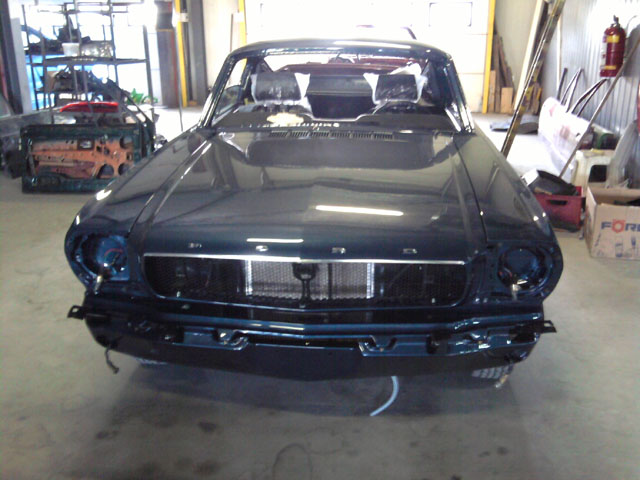
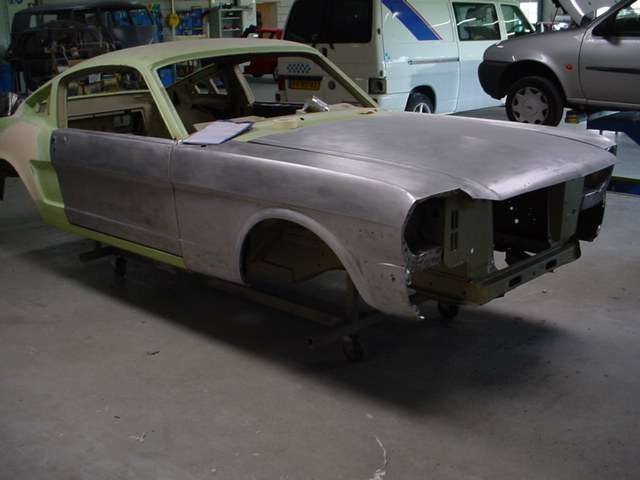 Blasted front, aligning the doors, fenders and hood |
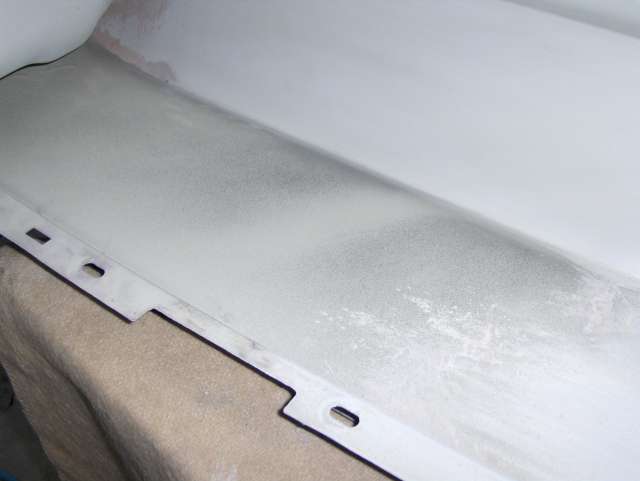
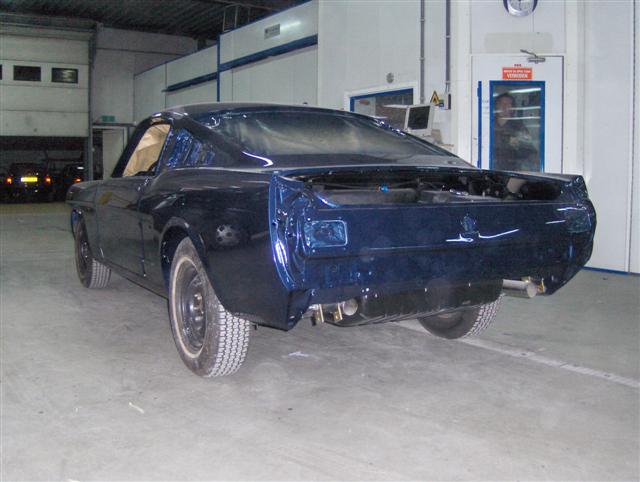
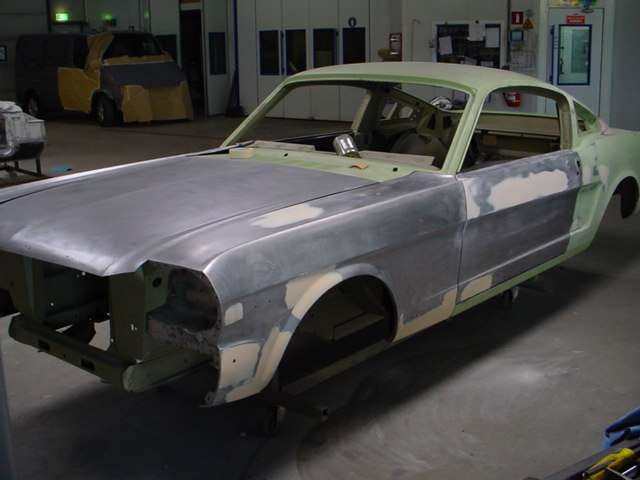 the otherside |
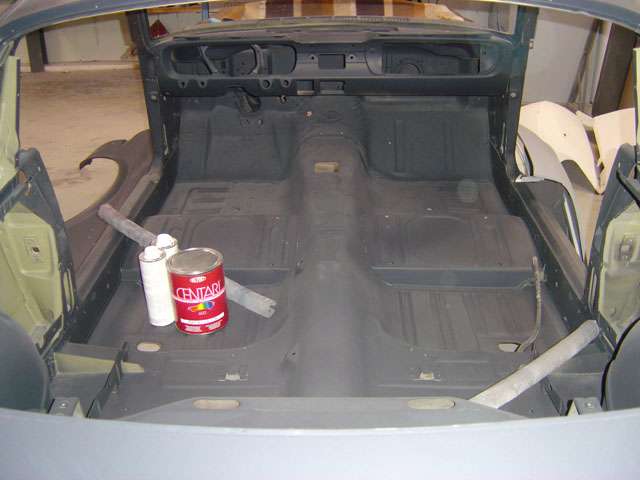
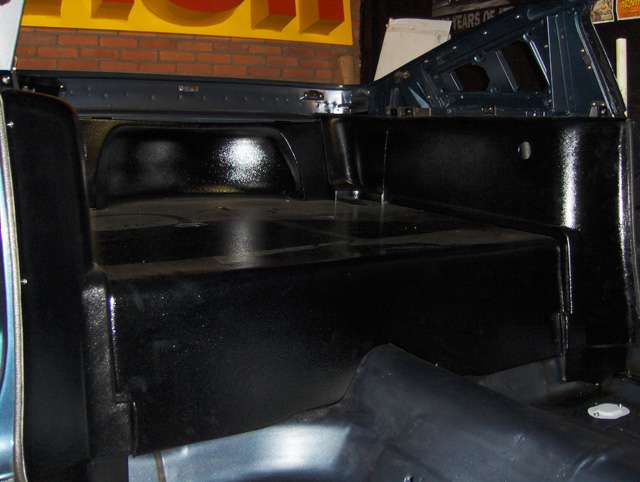
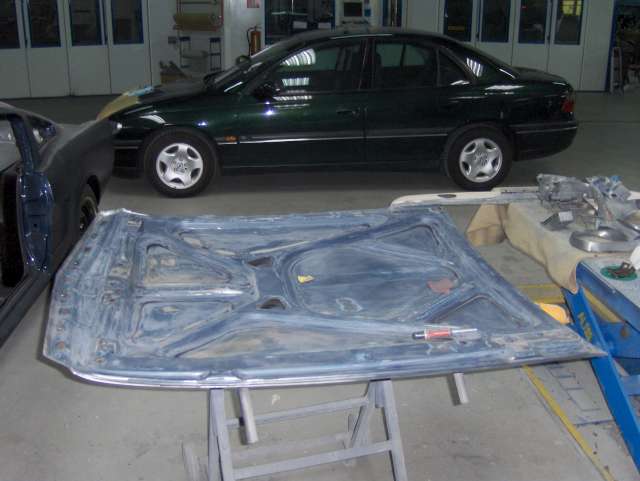
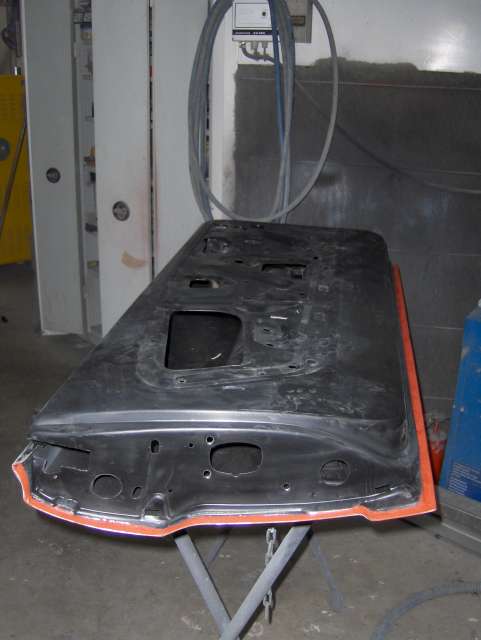
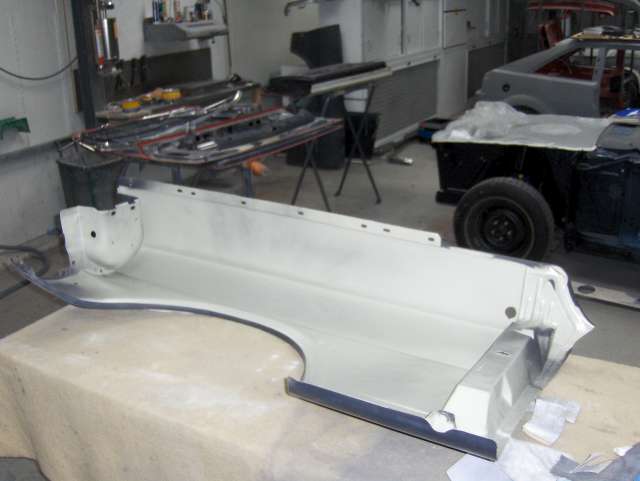
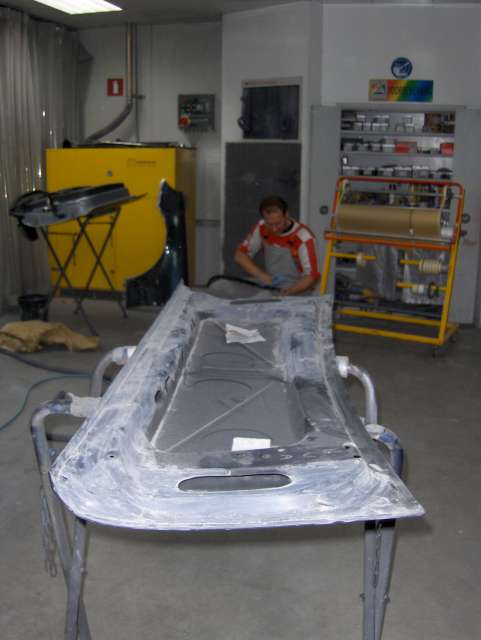
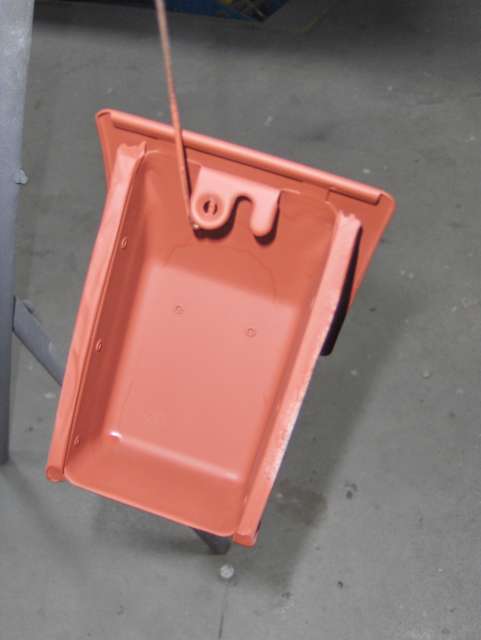
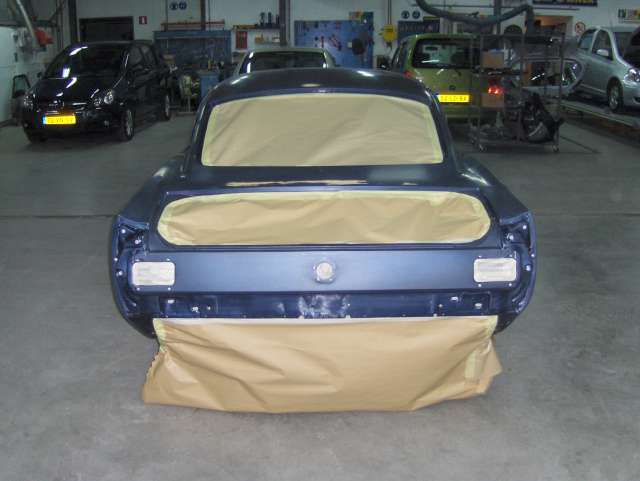
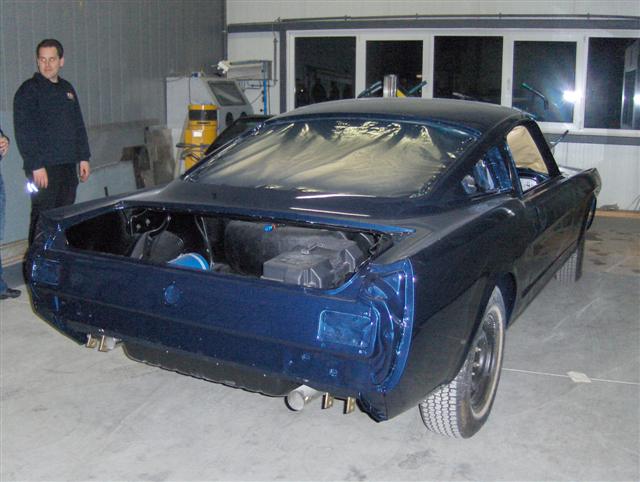
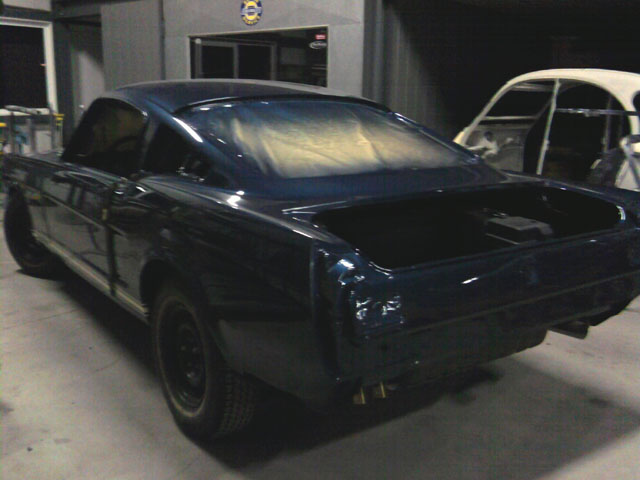
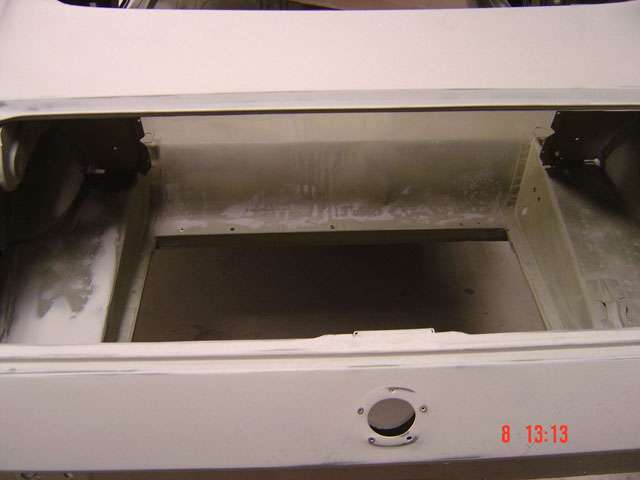 The trunk |
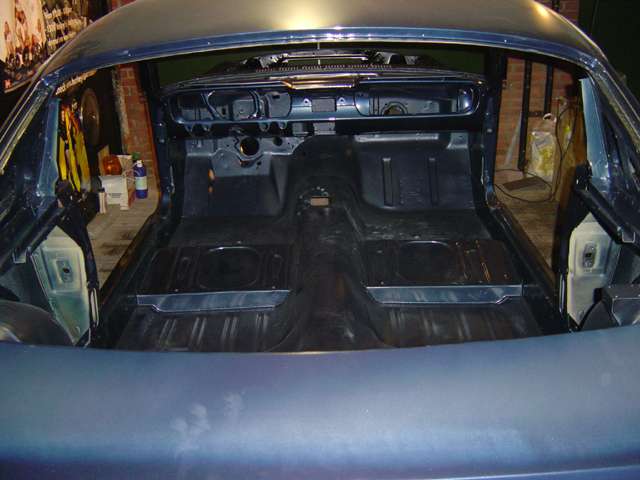
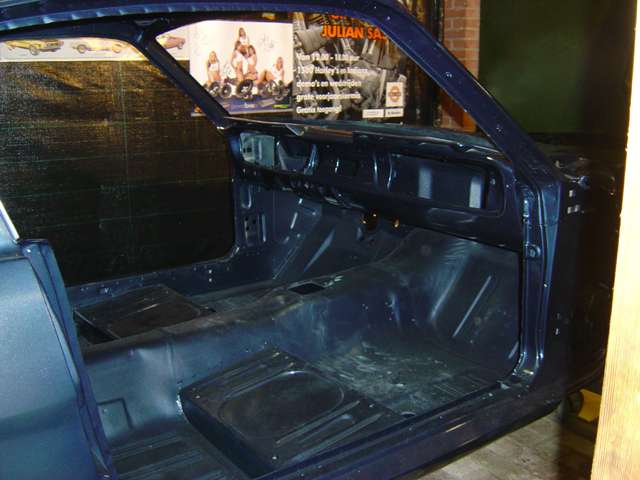
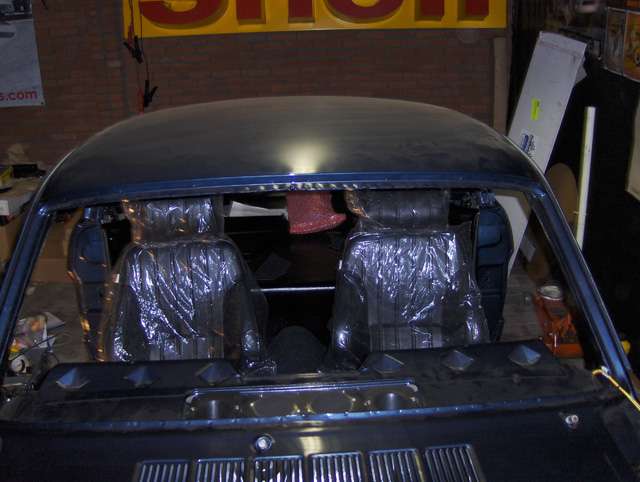
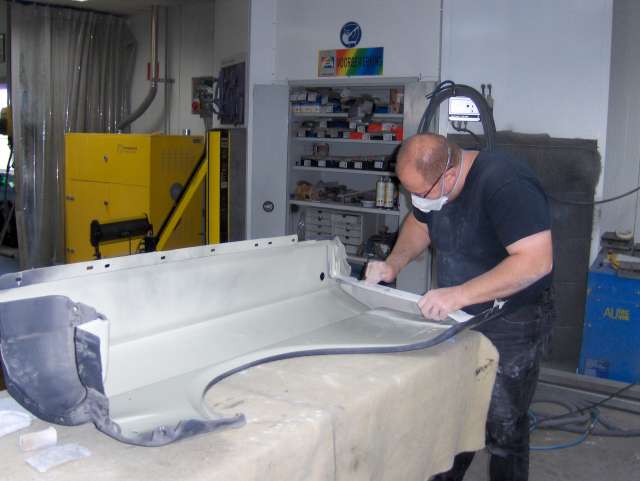
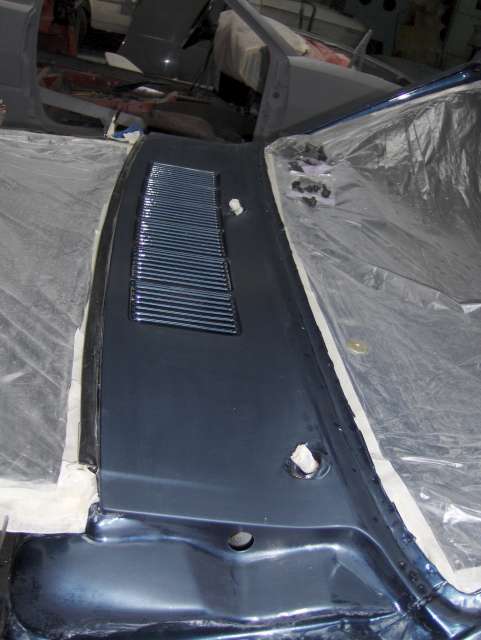
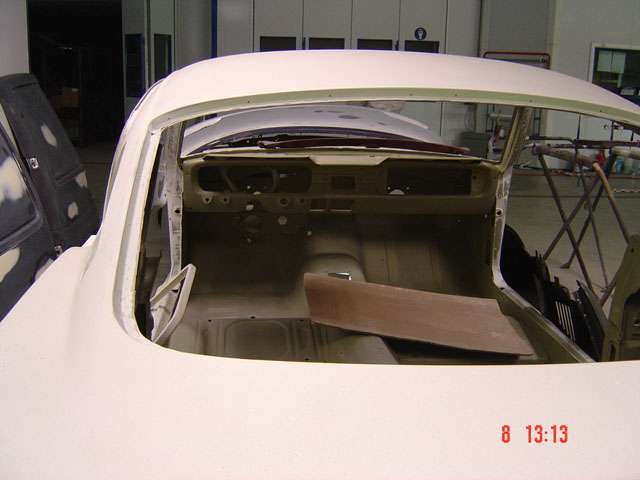 Inside seen thru rear window |
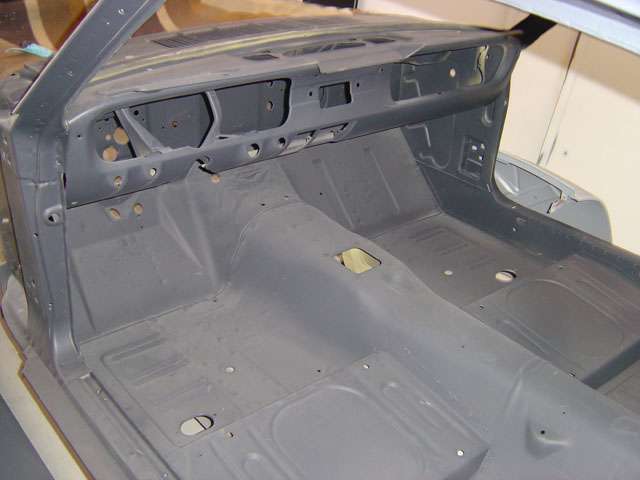
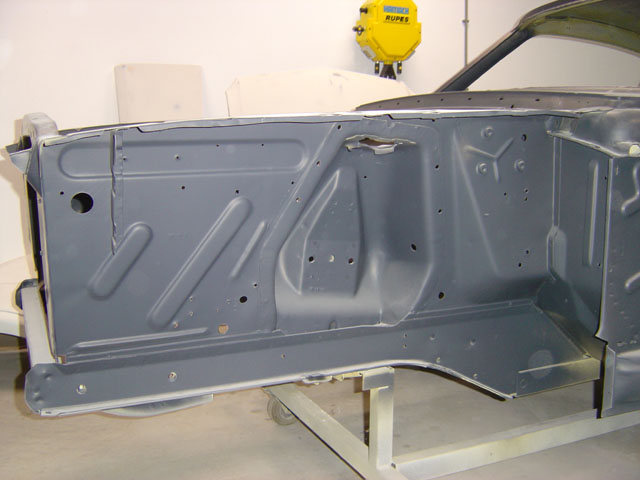
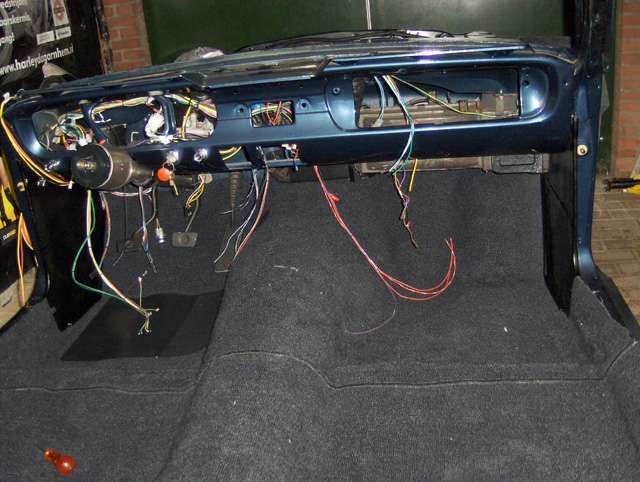
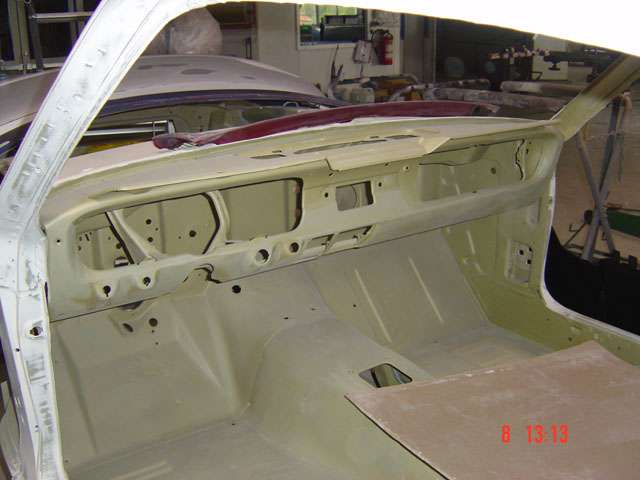 Dashboard and front floors |
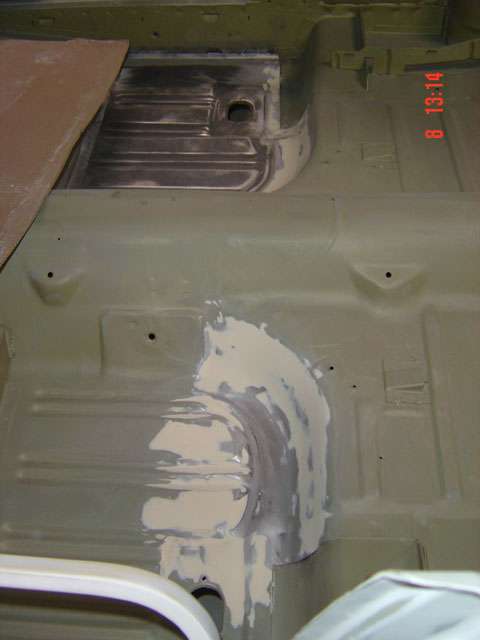 The front floors needed some work |
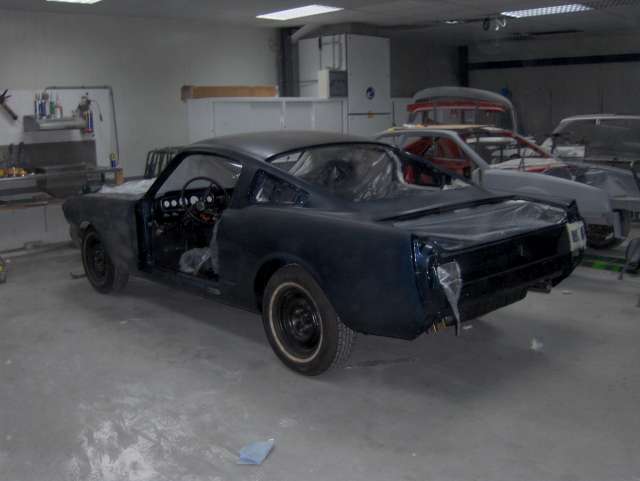
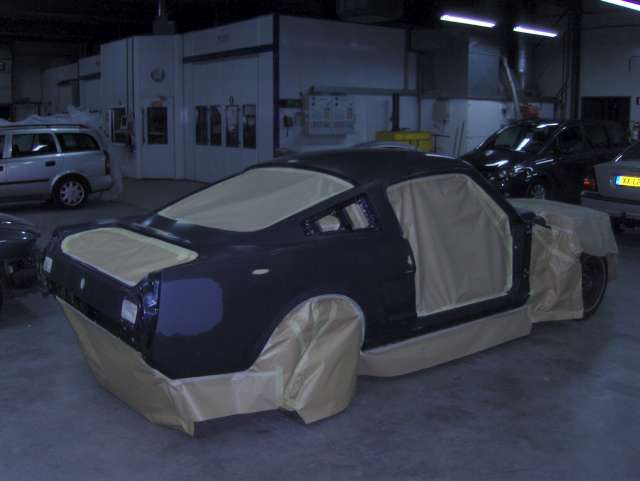
 In black primer |
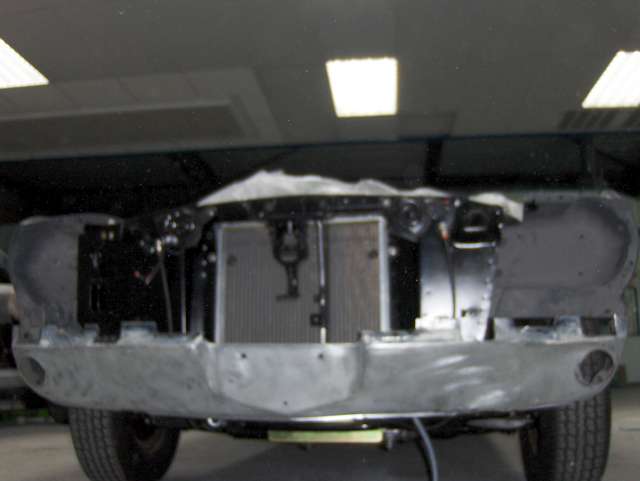
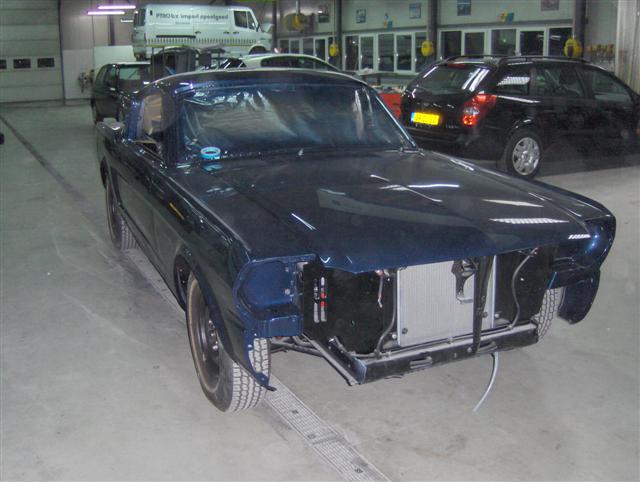
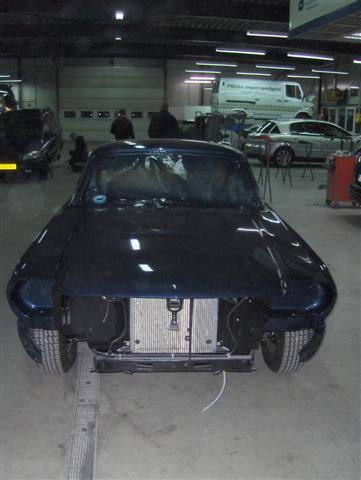
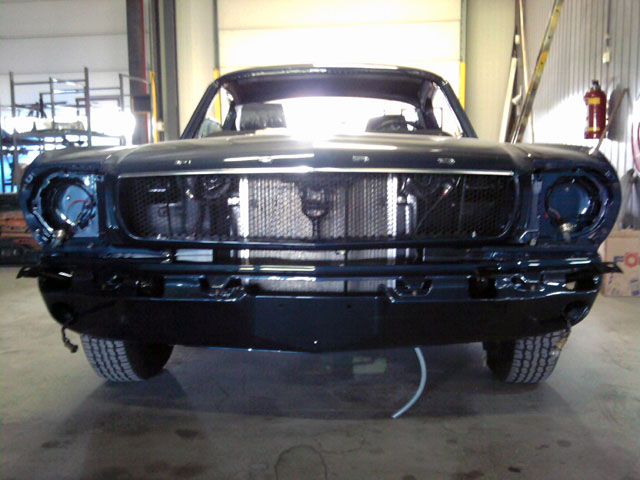
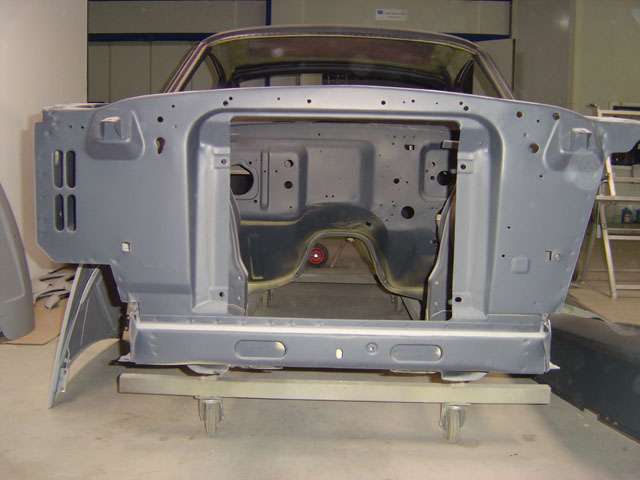 Looking at the front |
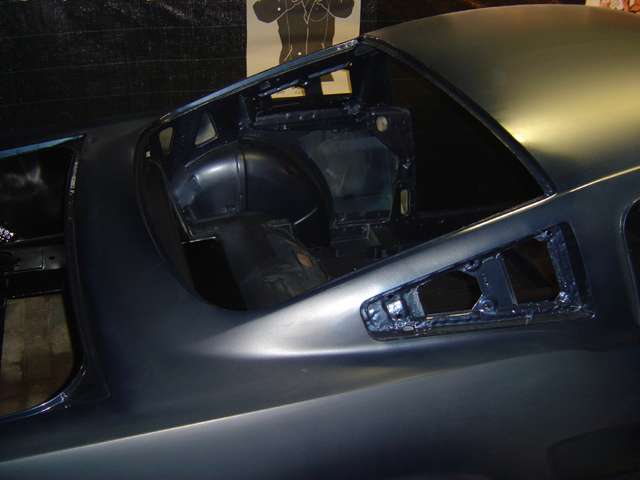
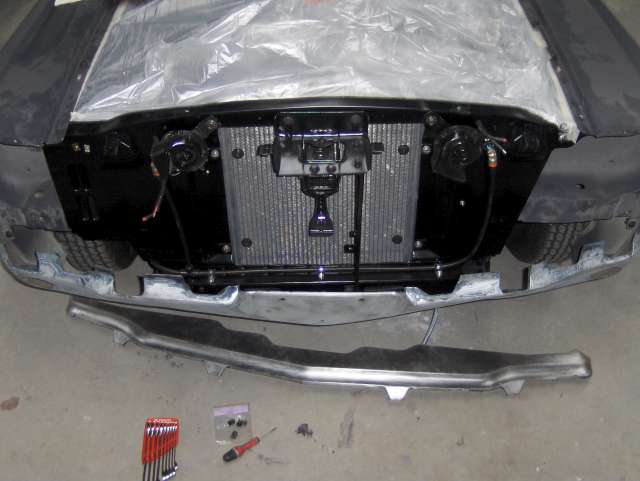
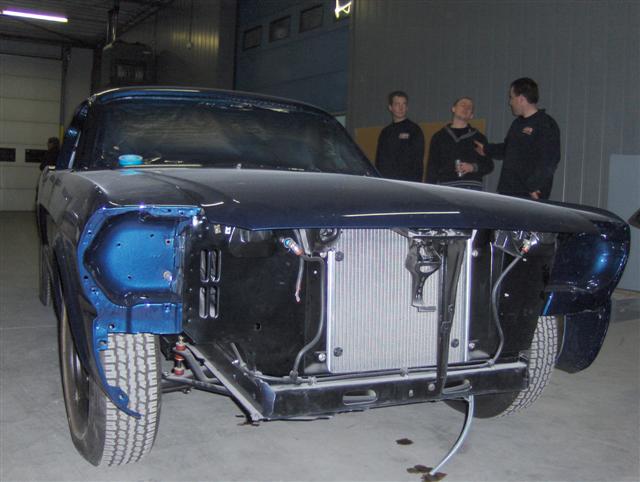
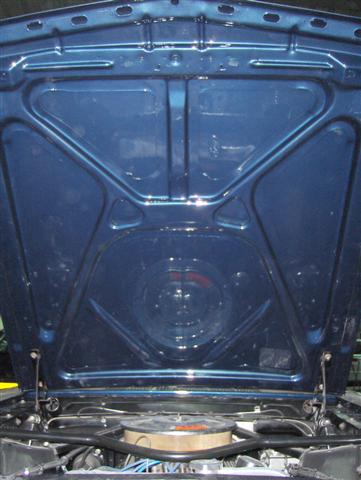
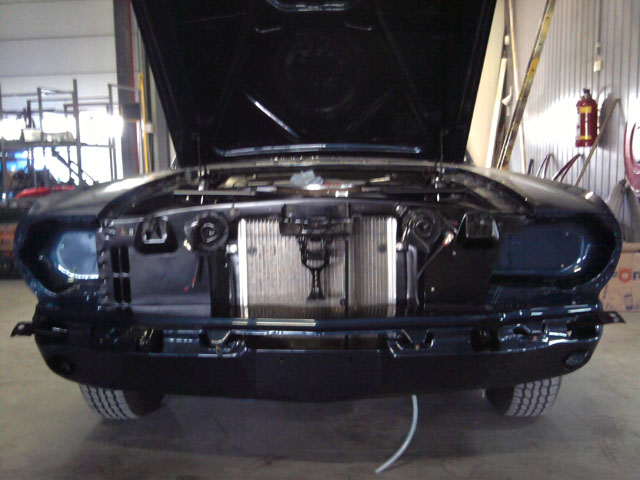
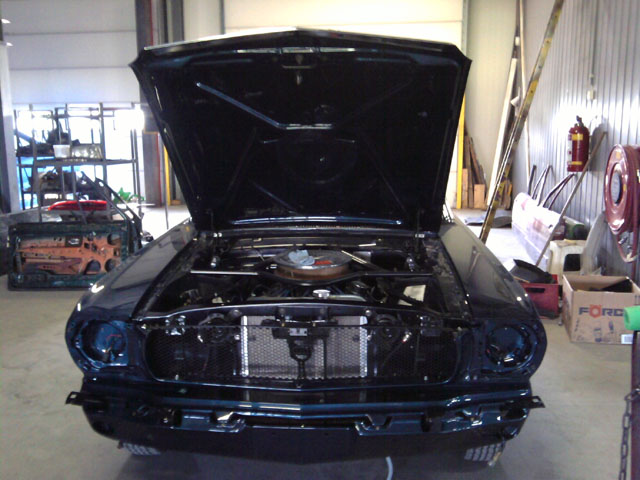
 The engine bay |
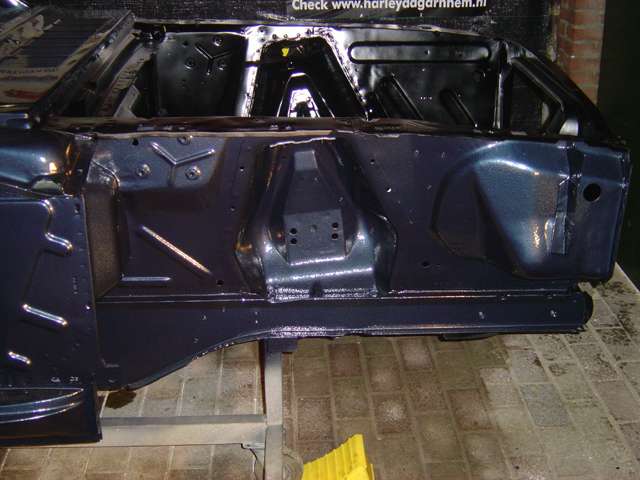
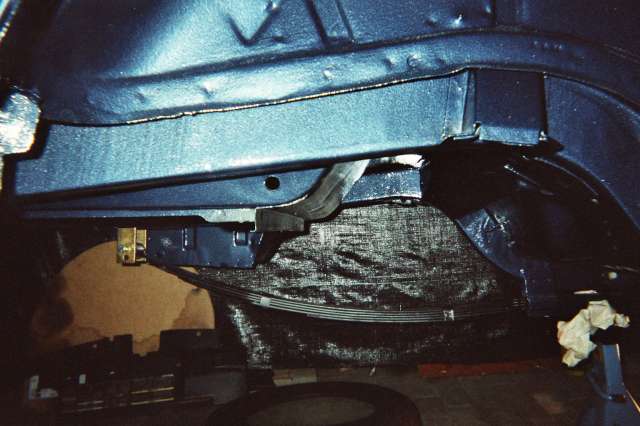
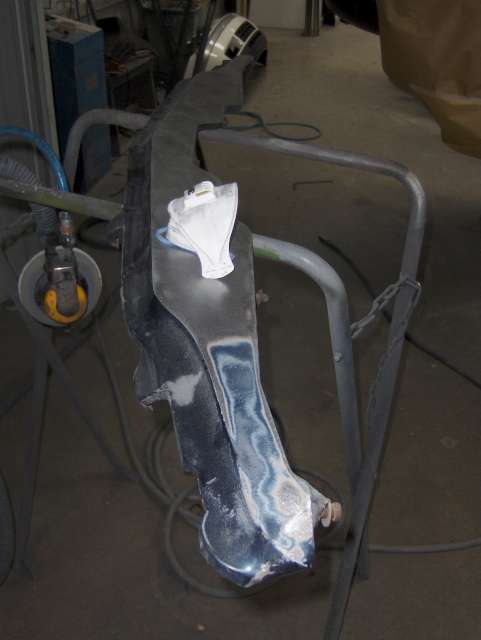
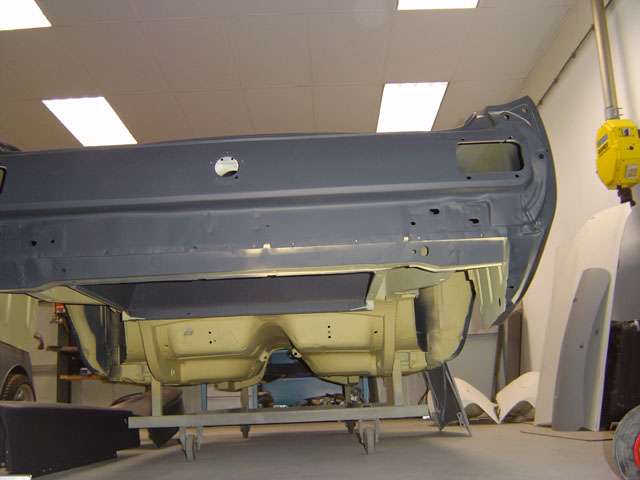 The rear underside, the underside will be specially coated |
 Inside |
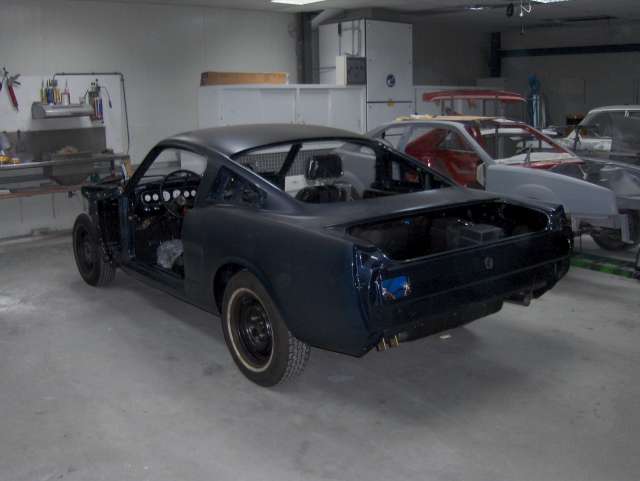
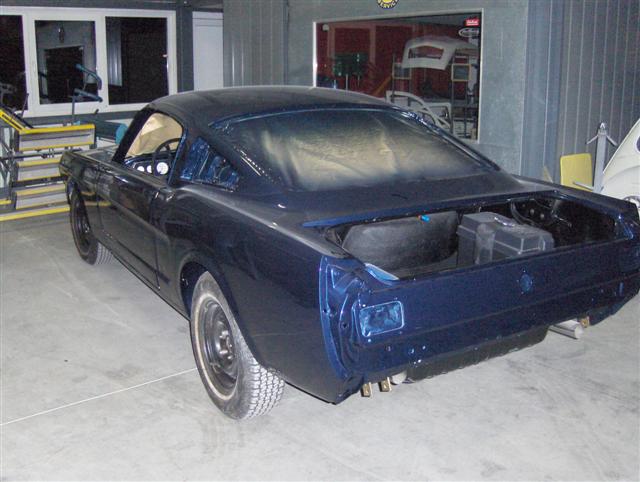
 from the rear again |
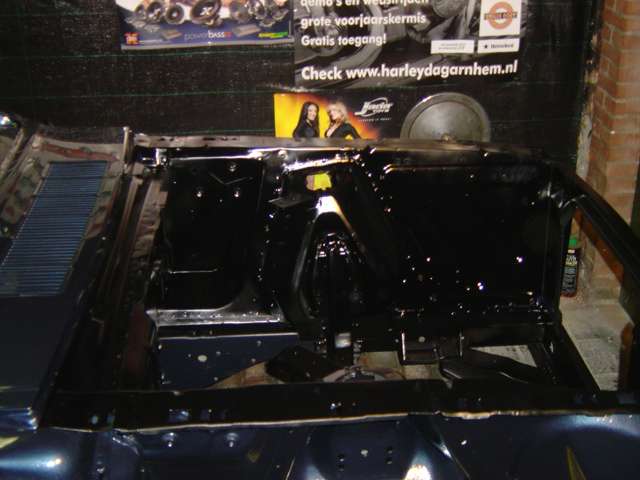
 The dash and the front floors |
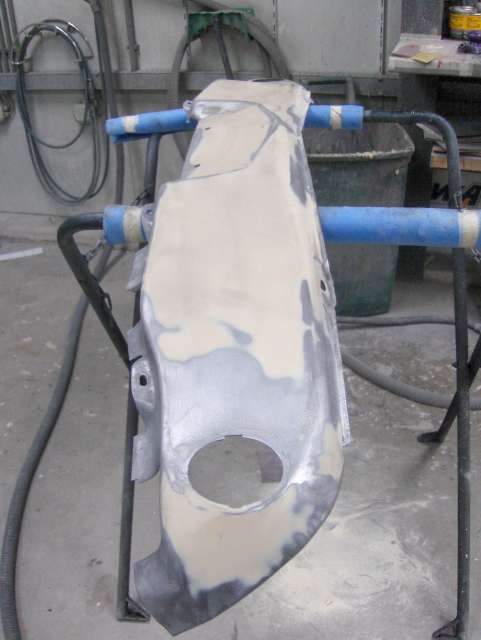
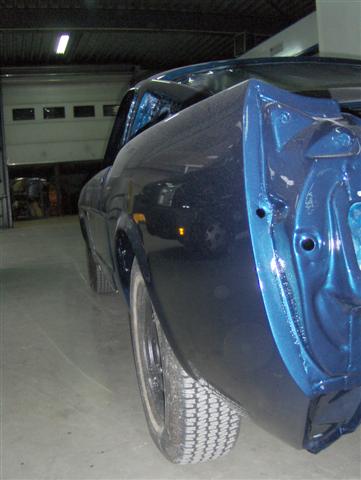
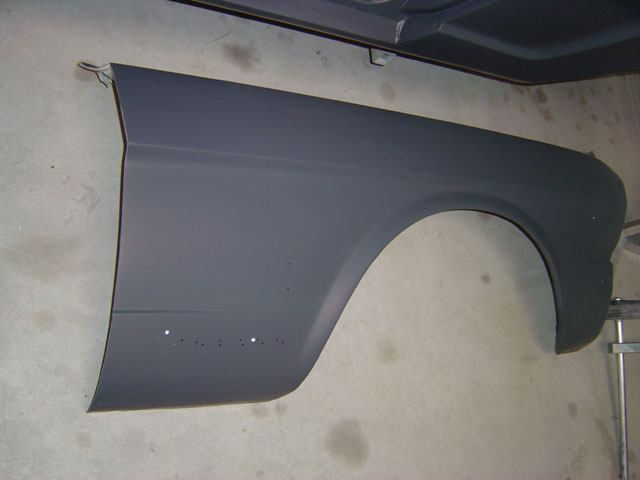 Right fender |
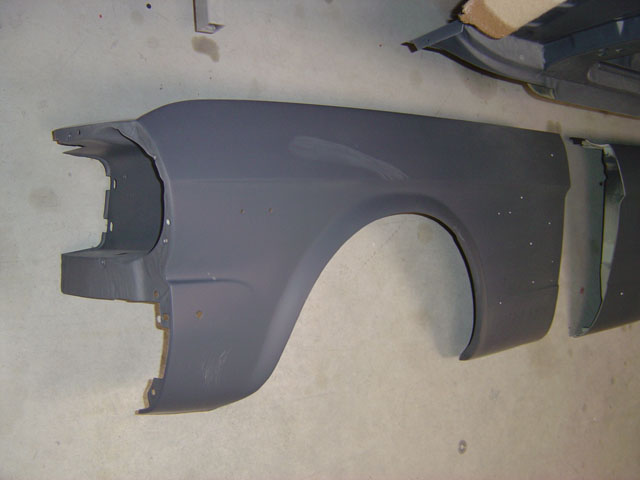 Left fender |
 Left front, the holes for a "Shelby lowering" still need to be drilled |
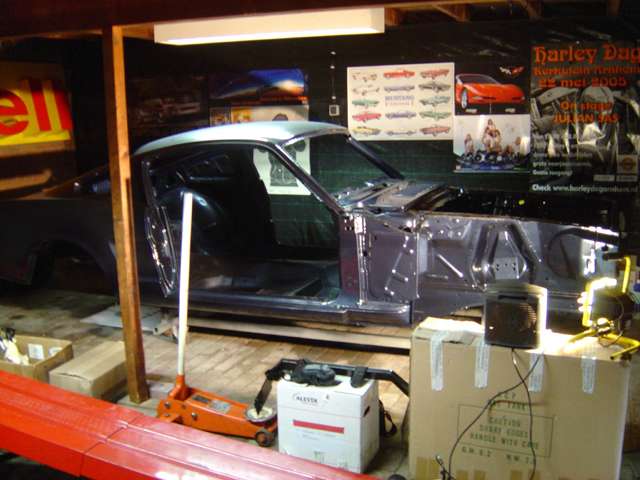 At home at last...led the building begin.......Sorry for the Corvette in the background |
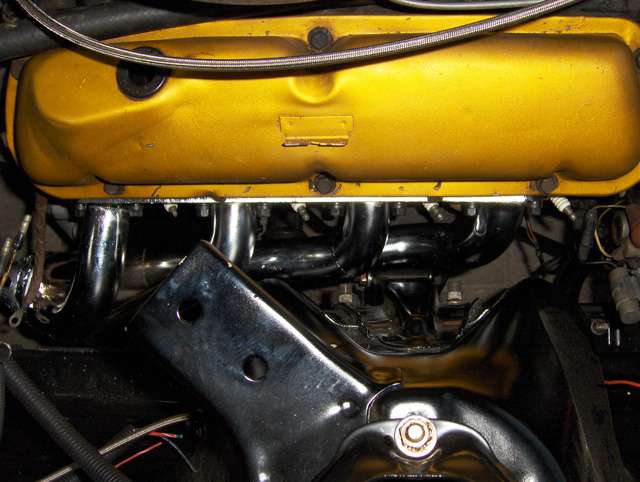
 The engine bay, painted satin black |
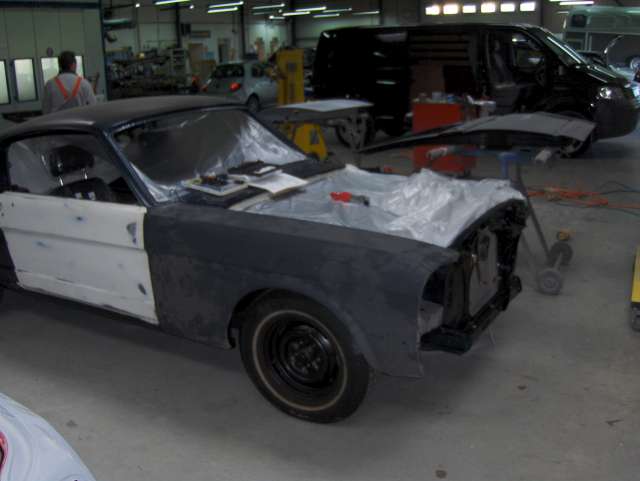
 Inside seen fron thru the rear window, the inside has been painted, the outside is covered but still needs full paint |
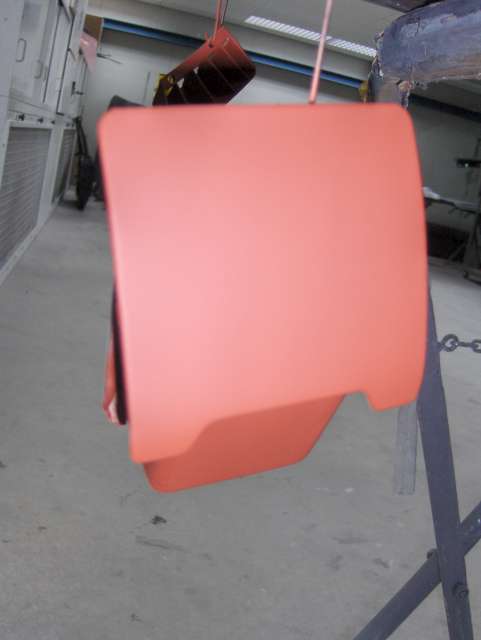
 The trunk |
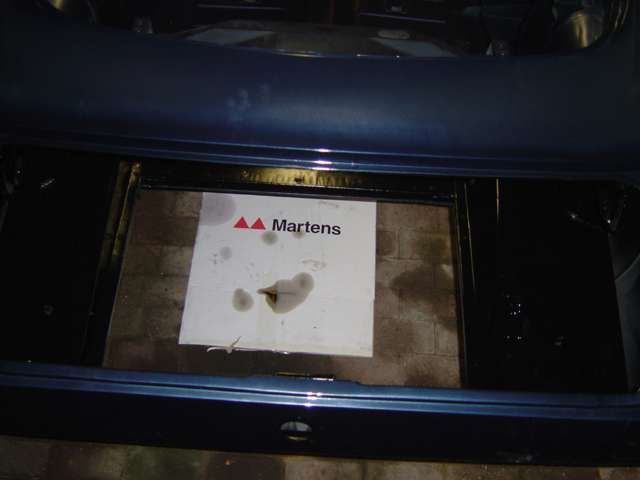
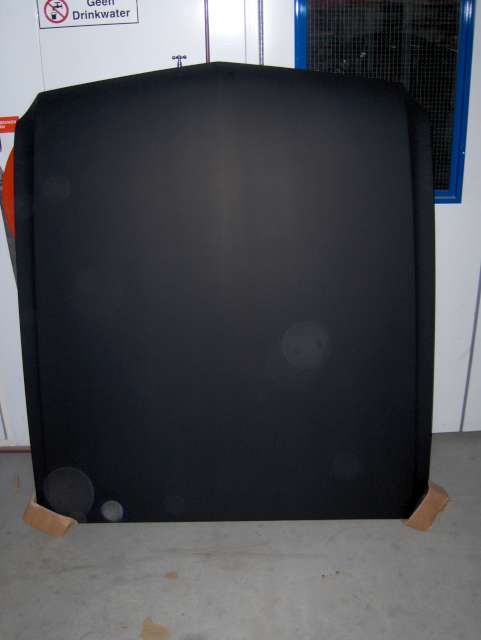
 The rear window |
 The dash and the floors |
 The engine bay |
 Lowered upper arm |
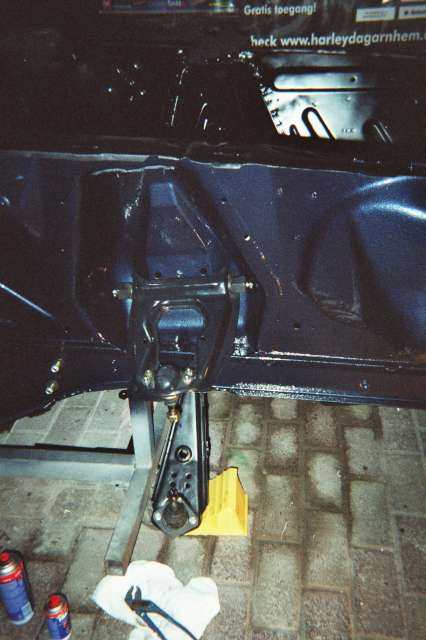 upper and lower arms installed |
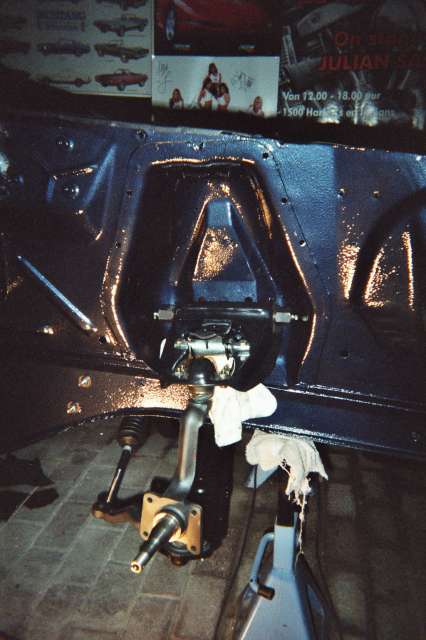 With the spindle |
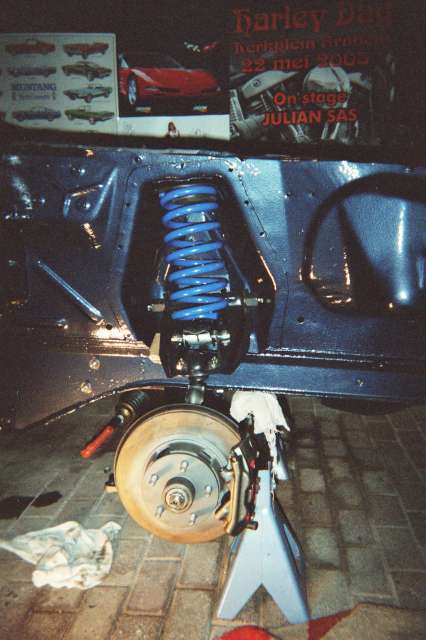 The rotor and spring installed |
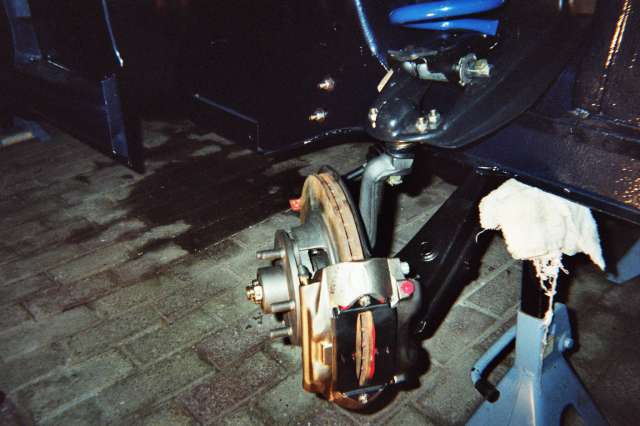 The brake calliper installed |
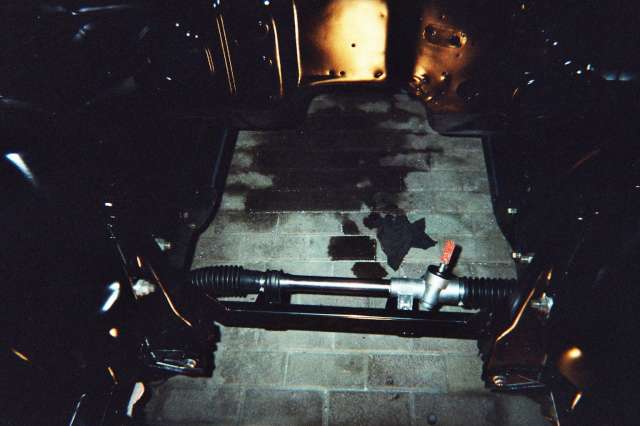 The engine bay with the Flaming River Manual Rack and Pinion |
 Rear leaf spring (5 leaf mid eye) installed |
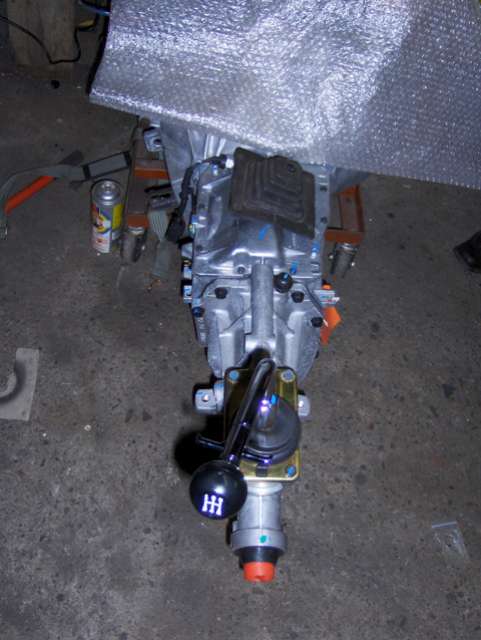 New Tremec T-5 installed behind the 289 V8 |
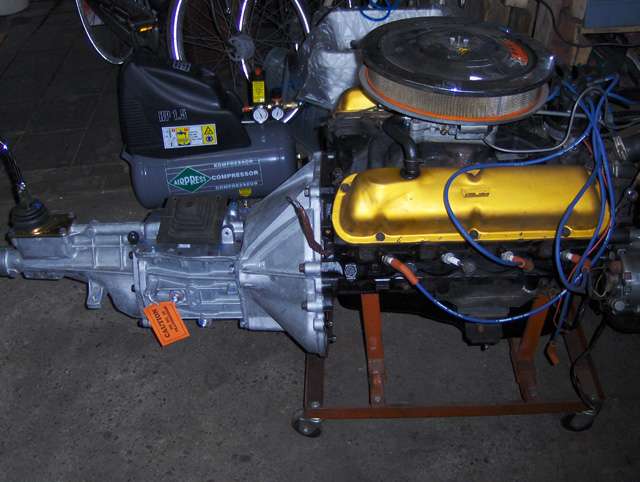 A different angle on the trans and engine |
 I removed the rear seat and installed a Rear Seat Delete option as seen in the GT350R Shelby's |
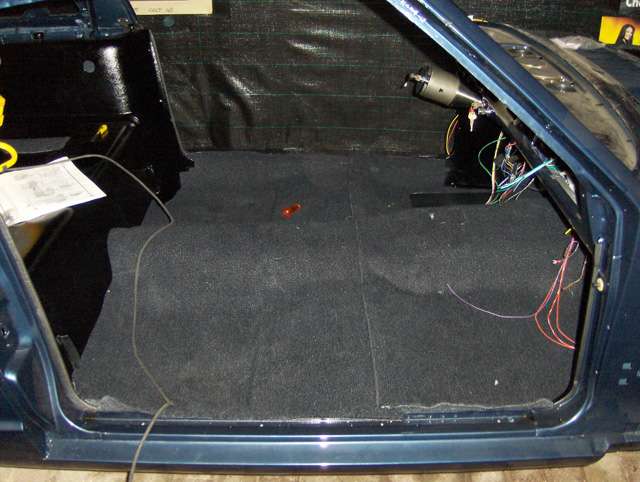 The carpet is going in |
 seen from behind |
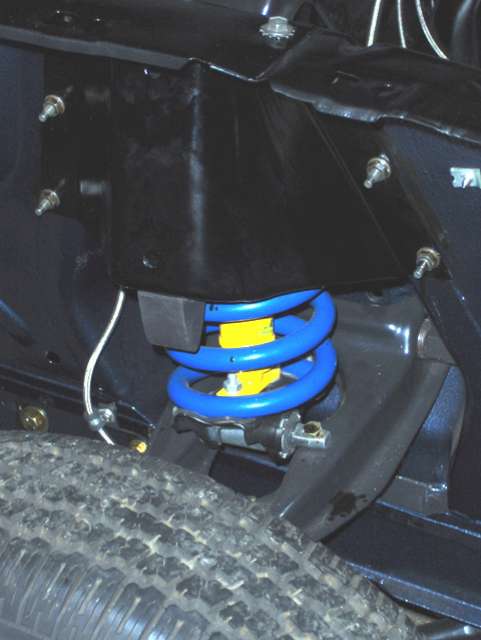 The spring cover installed including the suspension bumper. The SPAX adjustable shocks are just visible |
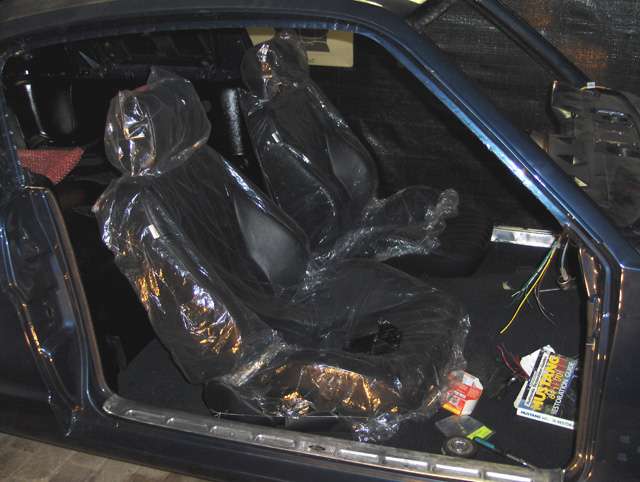 The Scat Enterprises ProCar Rally seats setup inside the car |
 Interior seen from the front |
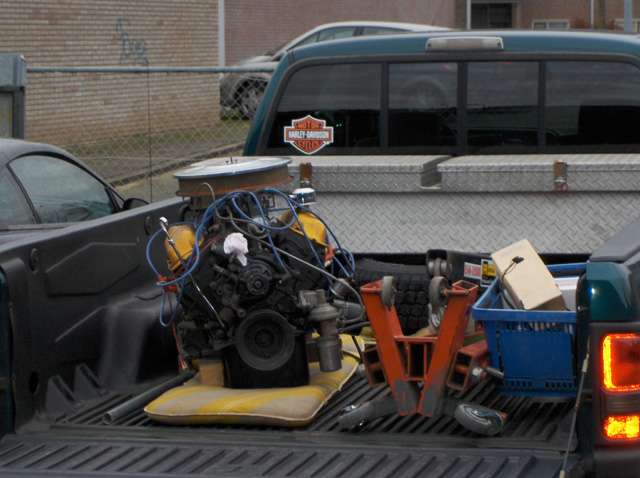 The engine arrives |
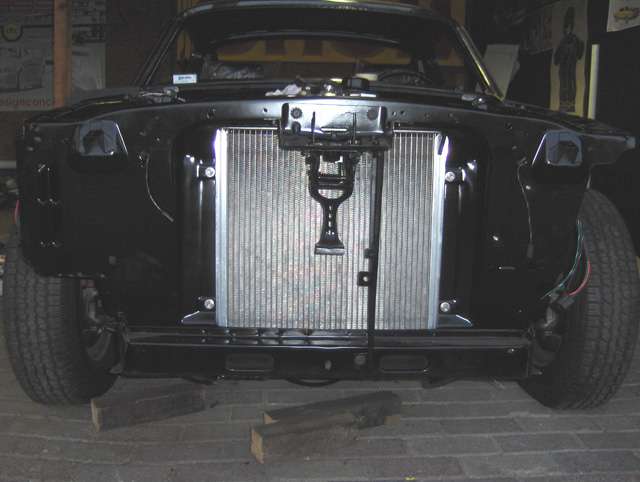 Griffin radiator installed |
 JBA Shorties installed |
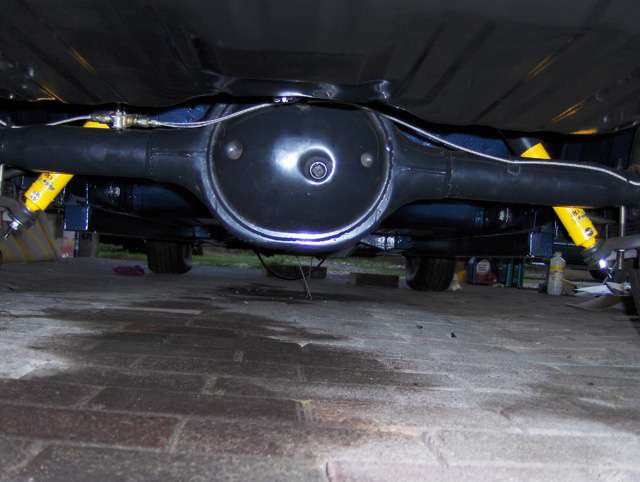 Rear axle with SPAX adjustable shocks |
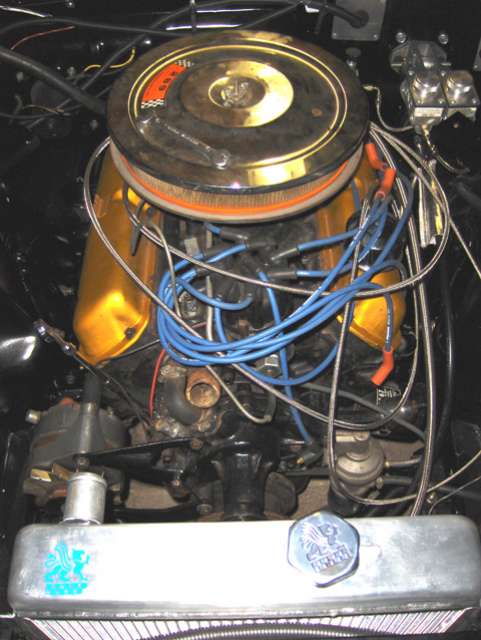 Engine installed, still need to hook everything up |
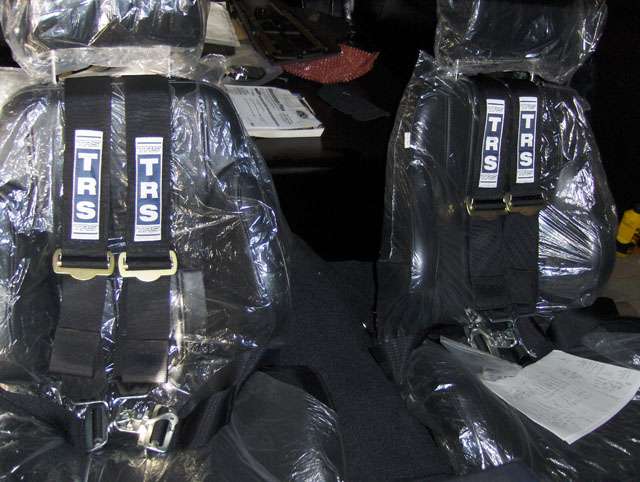 Scat Enterprses ProCar Rally Seats with TRS belts installed. |
 Exhaust being constructed from the JBA Shortie Headers to the Dr. Gas cross-pipe |
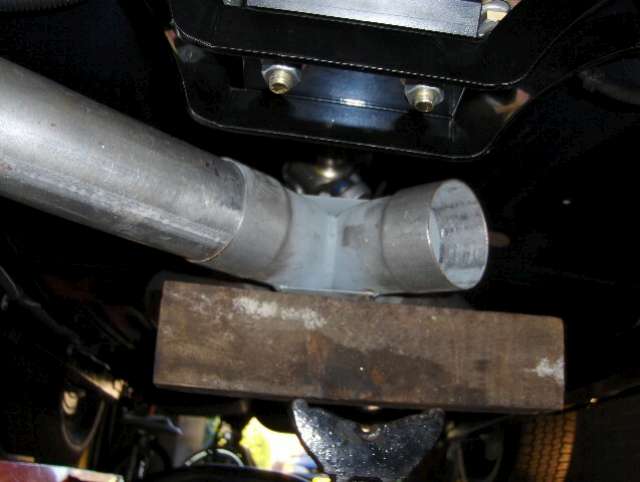 The Dr. Gas cross-pipe |
 Hooker mufflers |
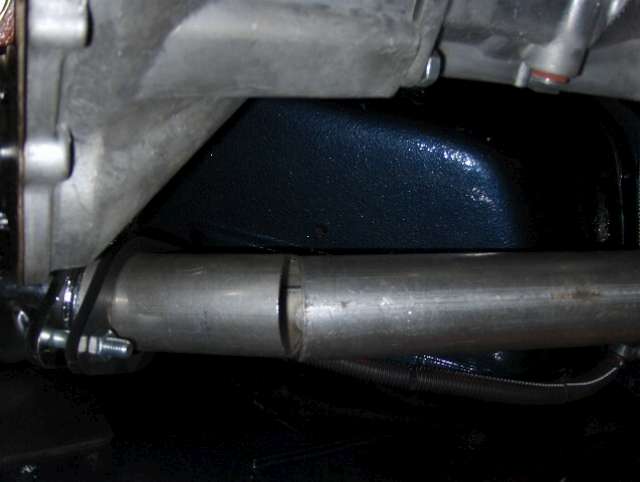
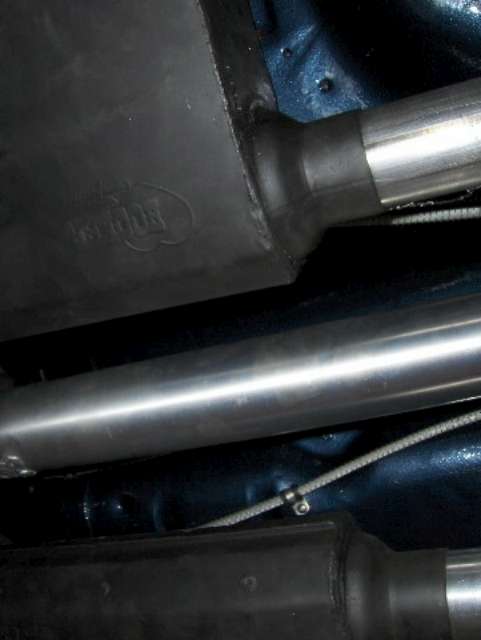
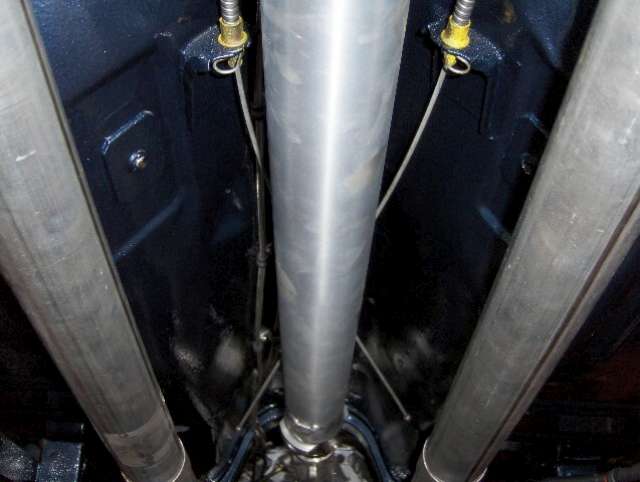 The 2.5" dual exhaust and the aluminium drive shaft |
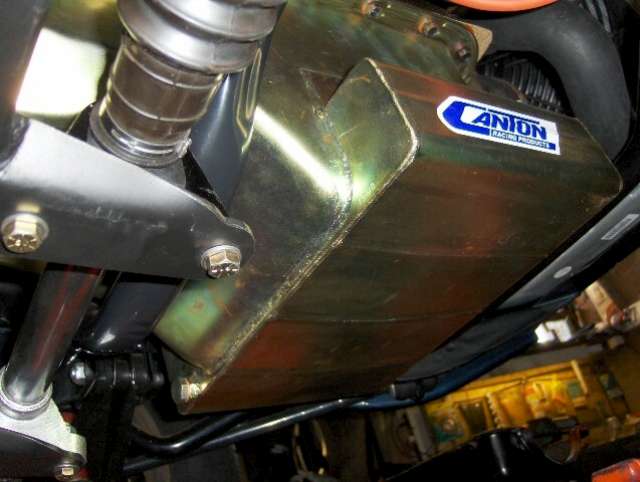 Removed the old oil pan and installed a nice Canton Street pan. Also a windage tray has been installed |
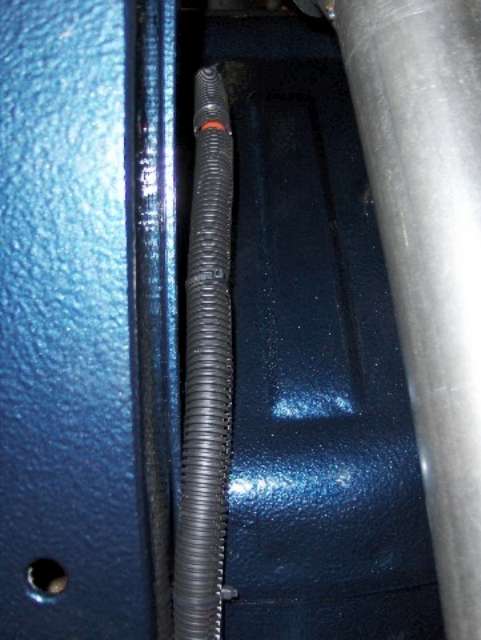 As the battery will be in the trunk, the positive battery cable has to go all the way to the back. Here it comes thru the firewall. |
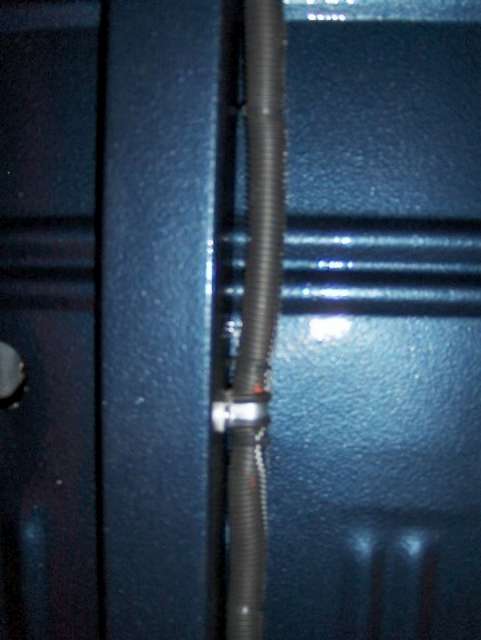 It will follow the chasis and the subframe connectors |
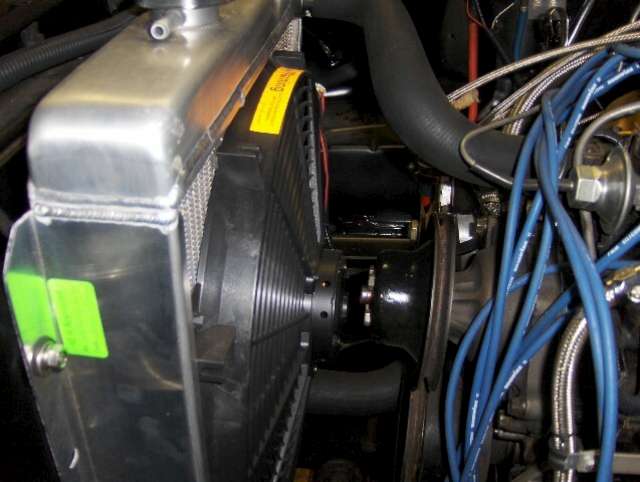 The Griffin aluminium radiator with electric fan. There is not much room to spare between the fan and the water pump. |
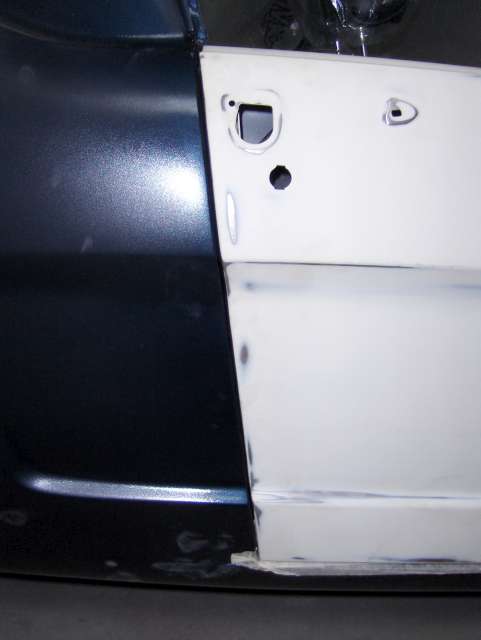
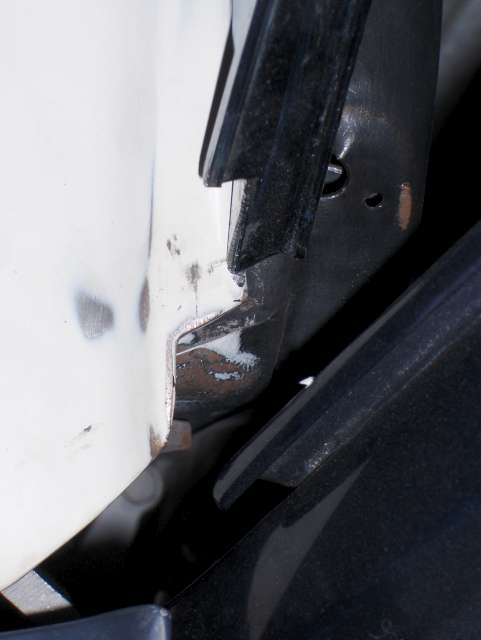
 The space between the 2 sides of the door have to be widened. Otherwise the (vent) window does not fit correctly. |
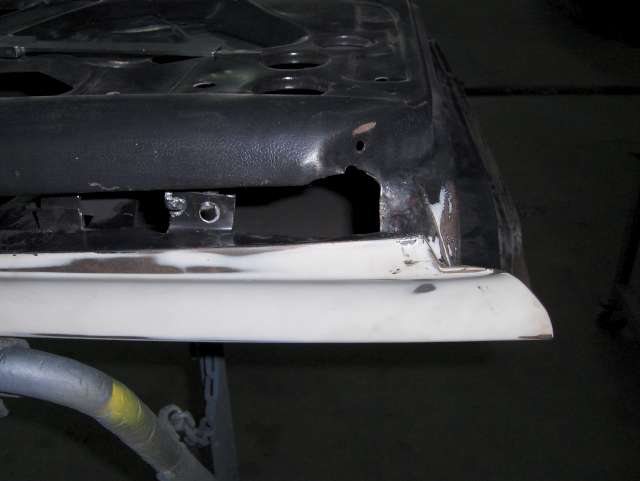
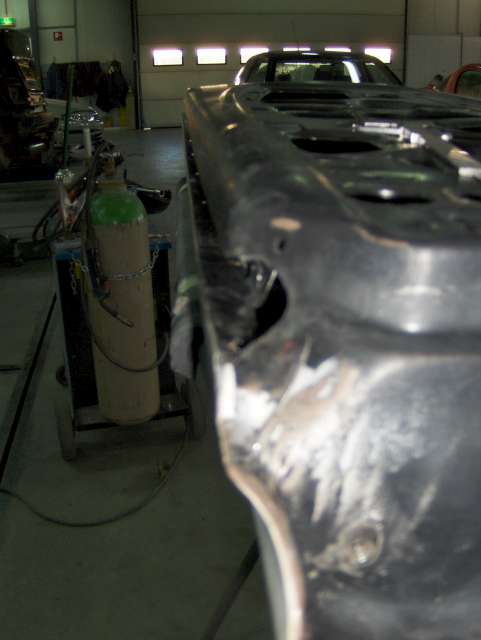
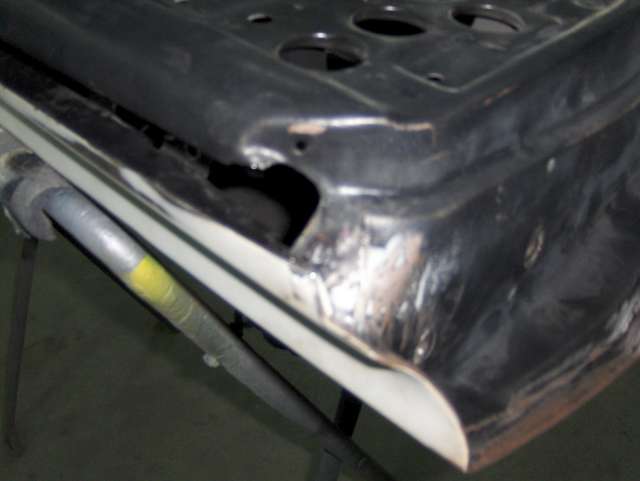
 Dent being removed from the rear valance |
 Sanding the stone catcher. Always use a dustcap when sanding..... |
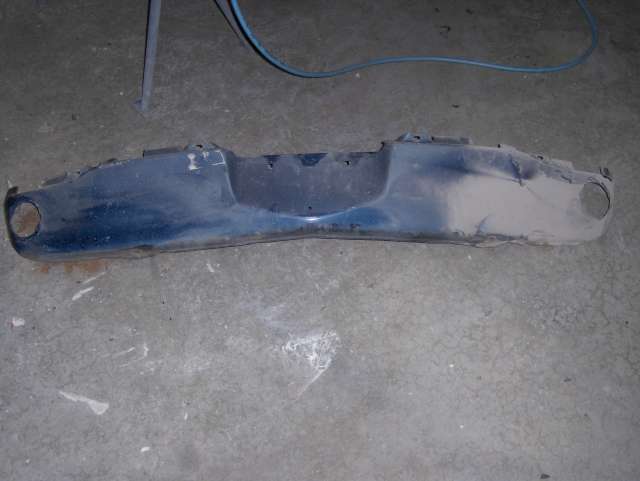
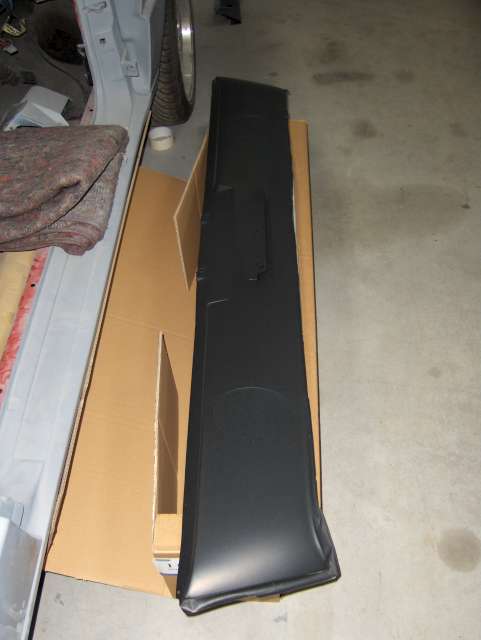
 The inside of the rear valance. The original number can be seen. It will be preserved |
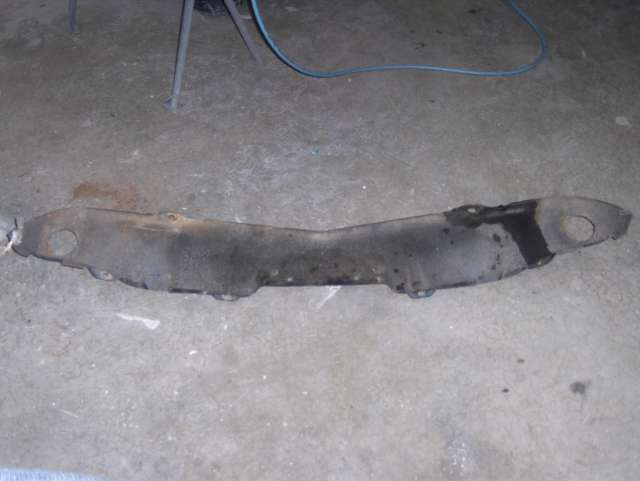
 Stone catcher completely sanded |
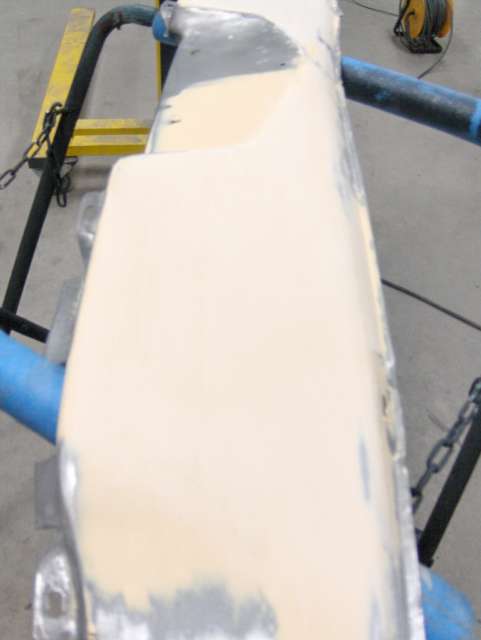
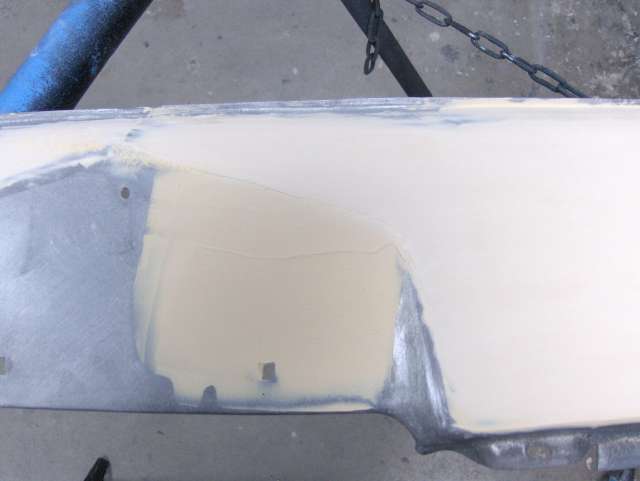
 Filler has been applied to the rear valance |
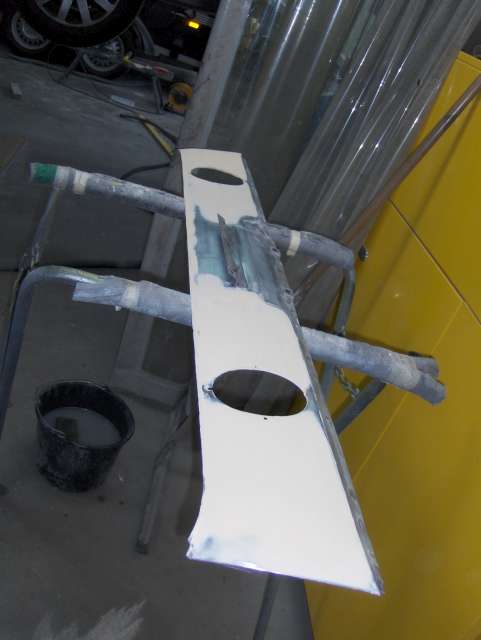
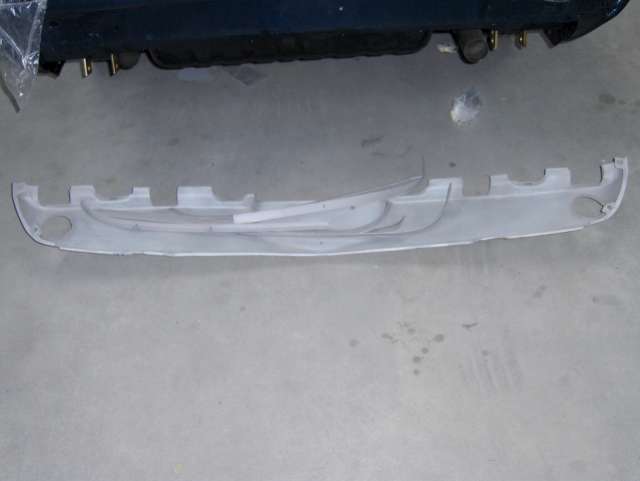
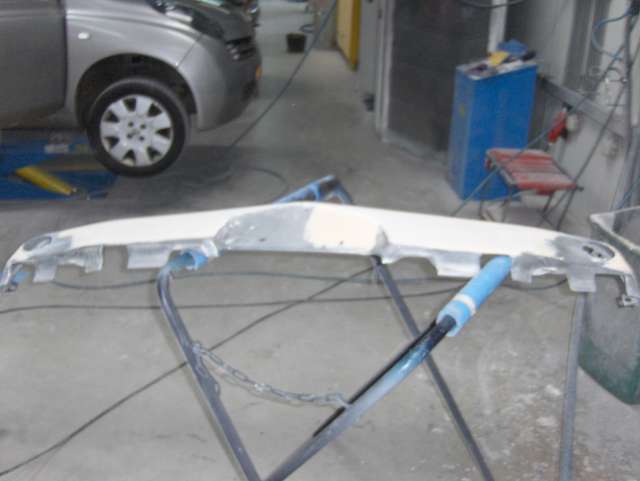
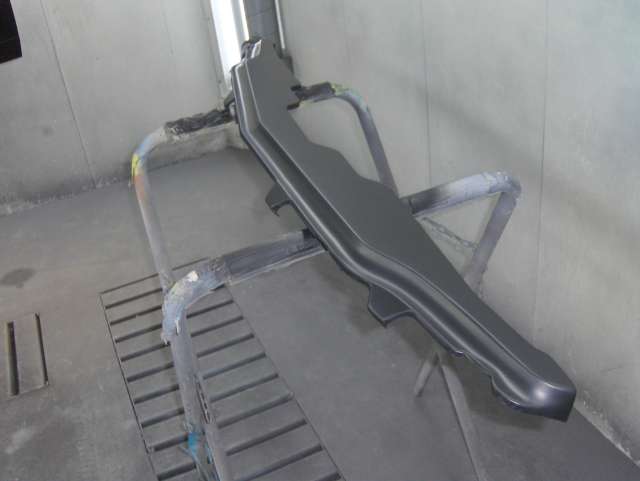
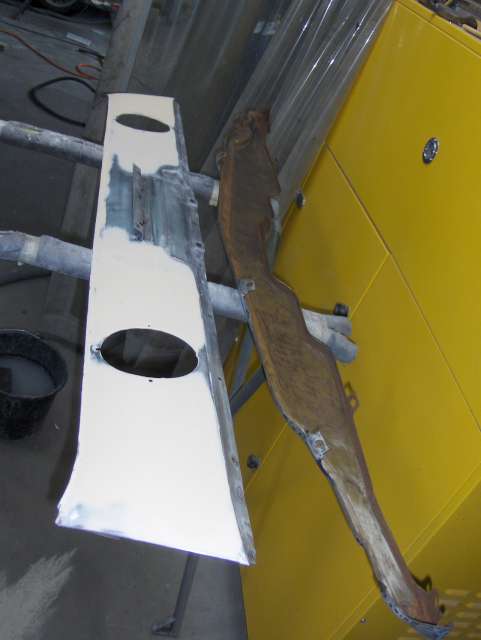 Rear valance and stone catcher |
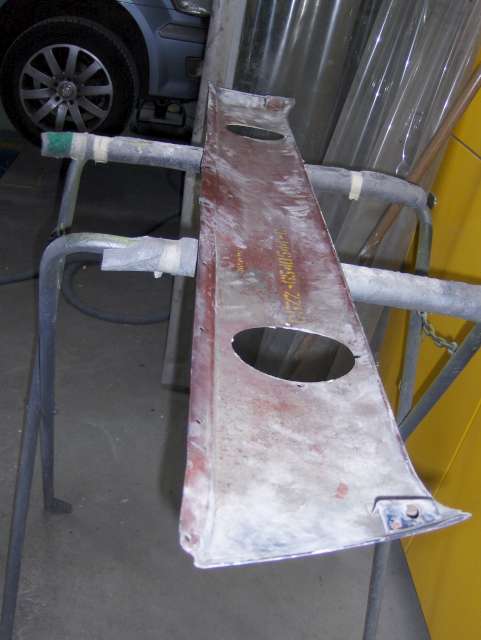
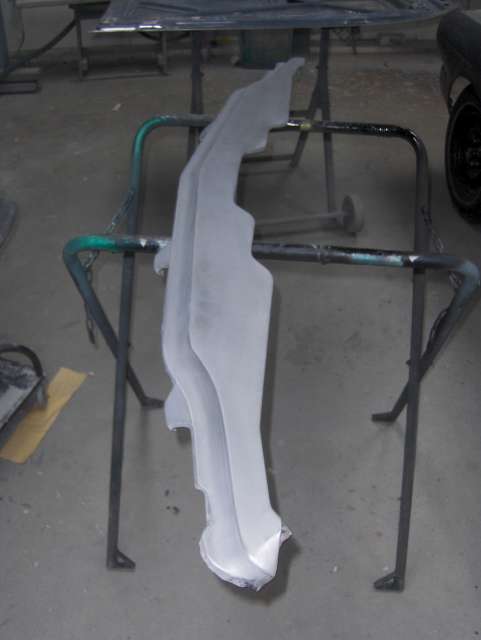
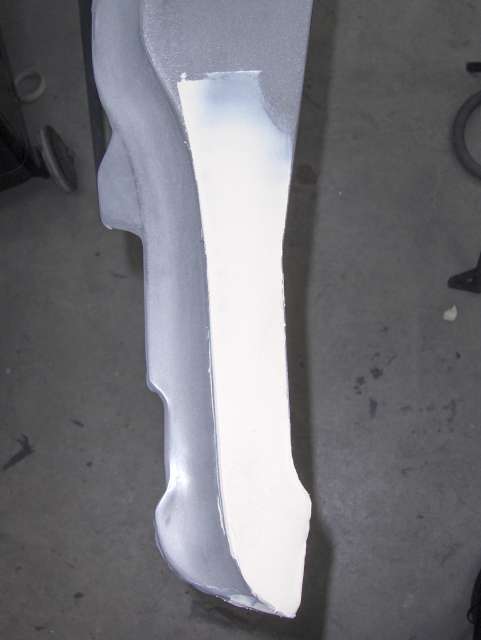
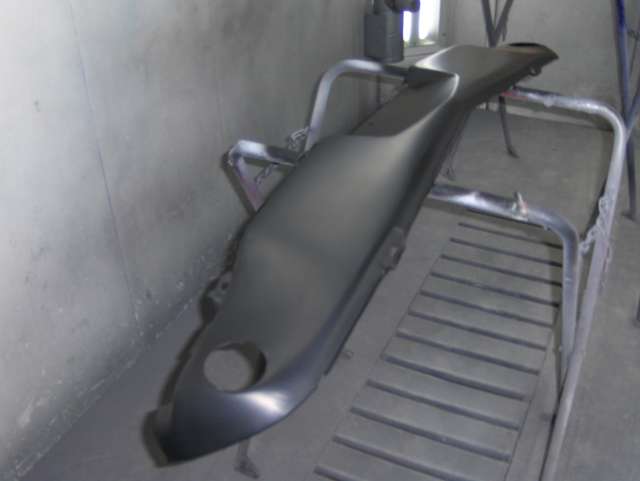
 Front valance waiting for sanding |
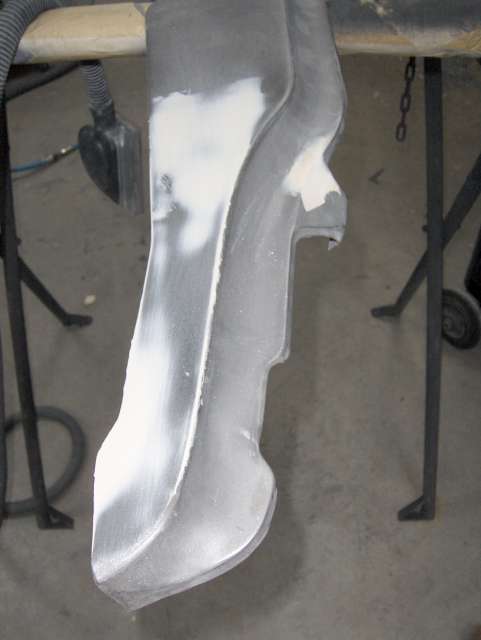
 The inside of the front valance |
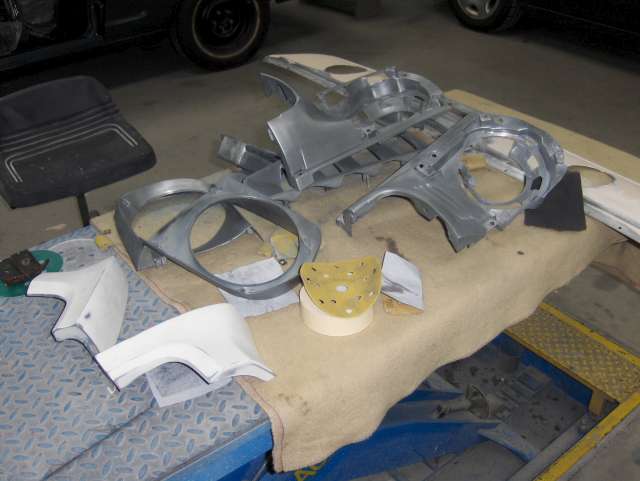
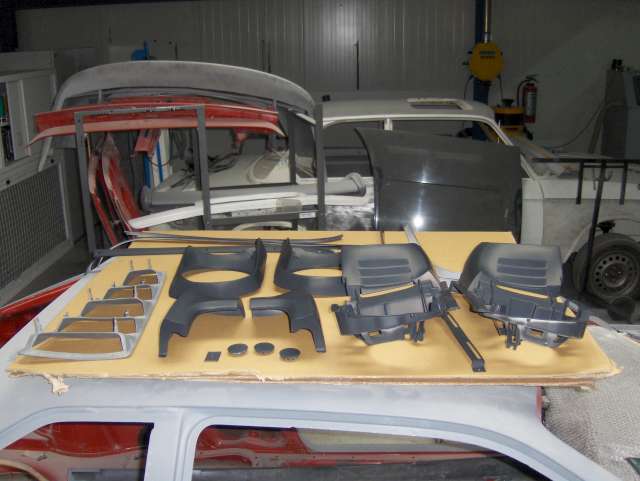
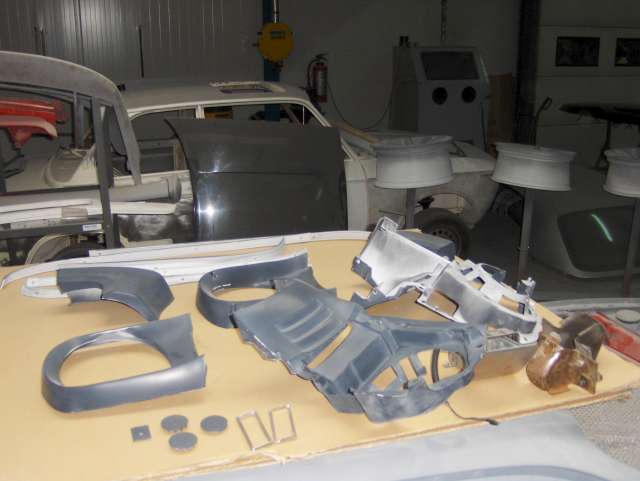
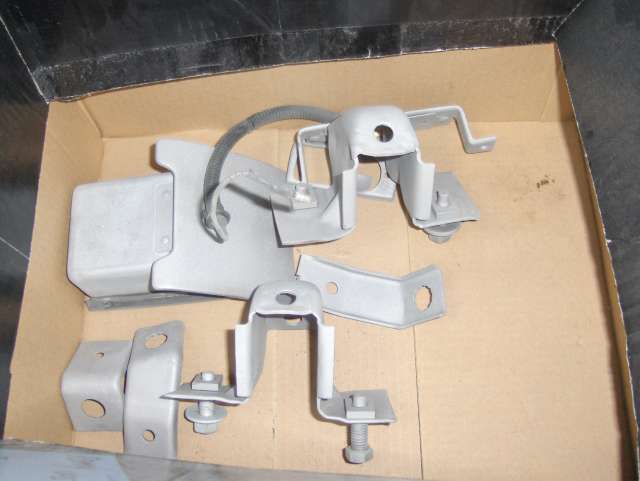
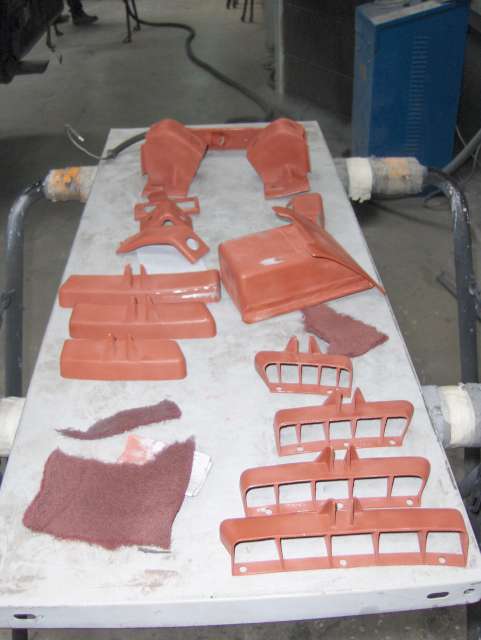
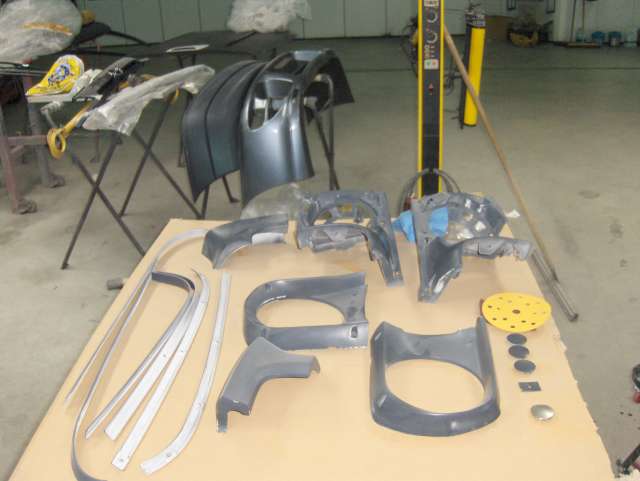
 Interior parts |
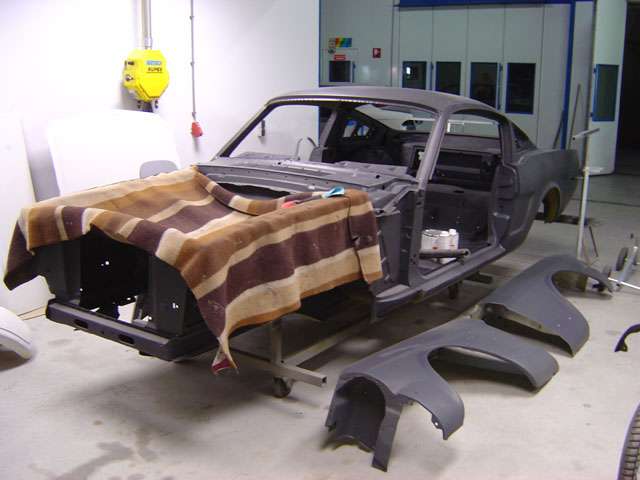
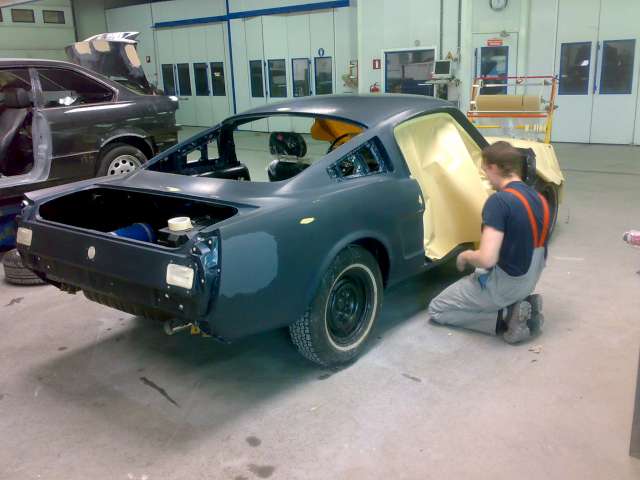
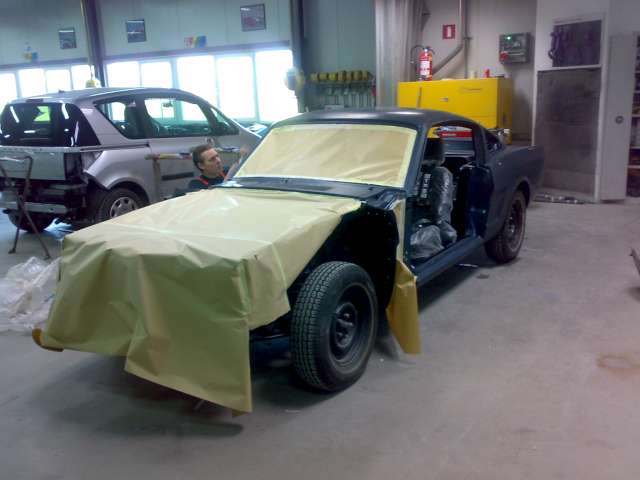
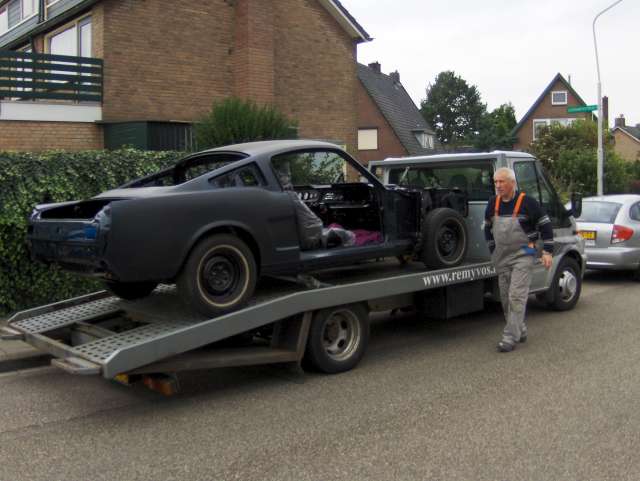 Finished building at home, back to the body shop |
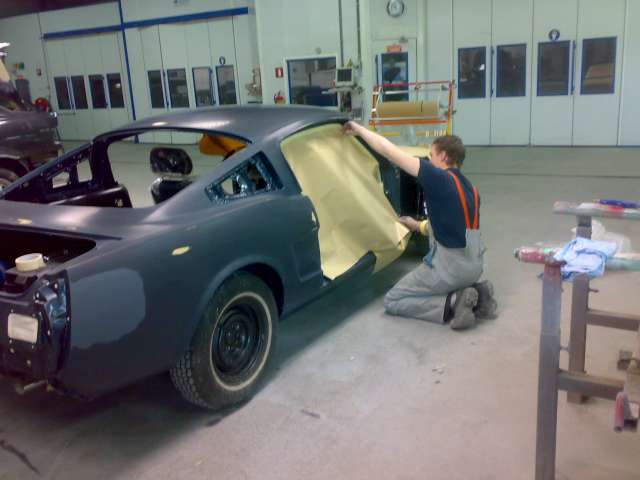
 Back at the body shop |
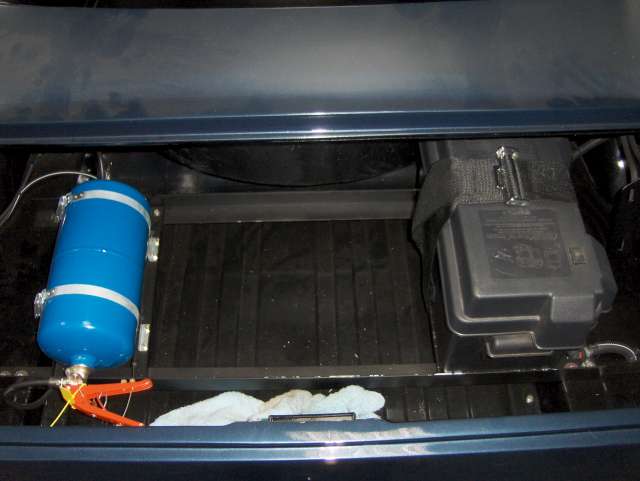 NO, that's not a nitrous bottle but a fire estinquisher and the battery box |
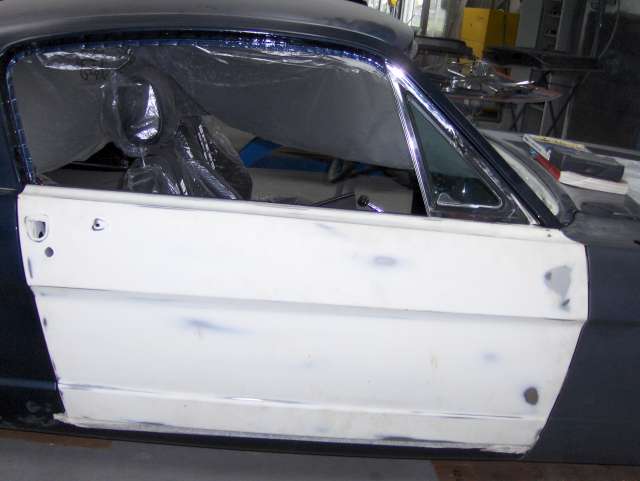
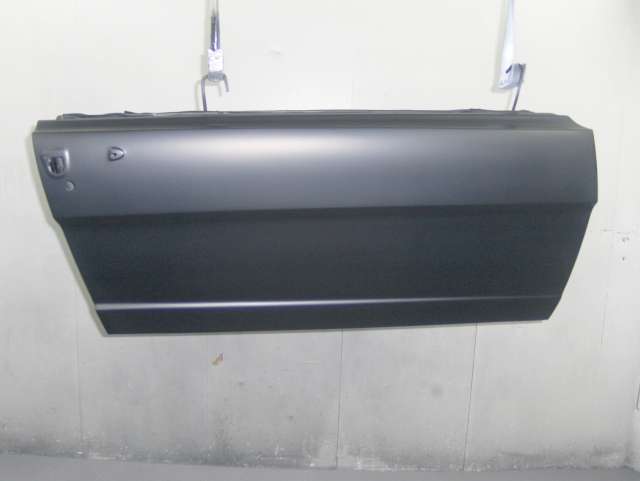
 a door fitted to the car |
 Fiting the door. |
 front fender installed in order to fit the door. It is pretty busy at the shop |
 Checking the line of the front fender and the door |
 Driverside fender installed..... |
 Fitting the front valance and the stone catcher |
 Look from the front of the car |
 Even looks quit good without the final paint.... |
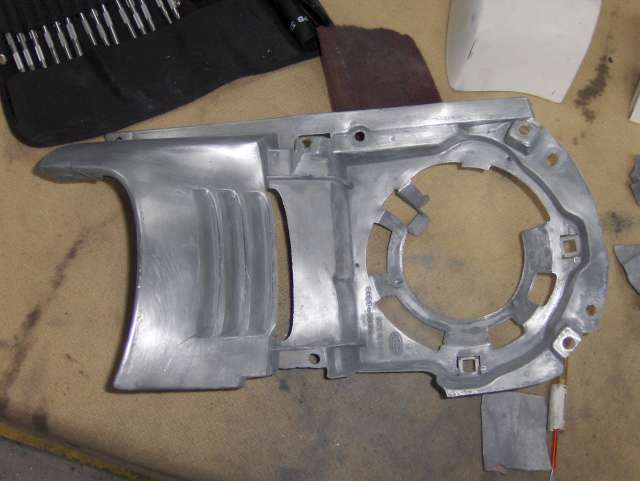 Headlamp housing cleaned after blasting |
 Parts after blasting. The rear extentions are already prepped |
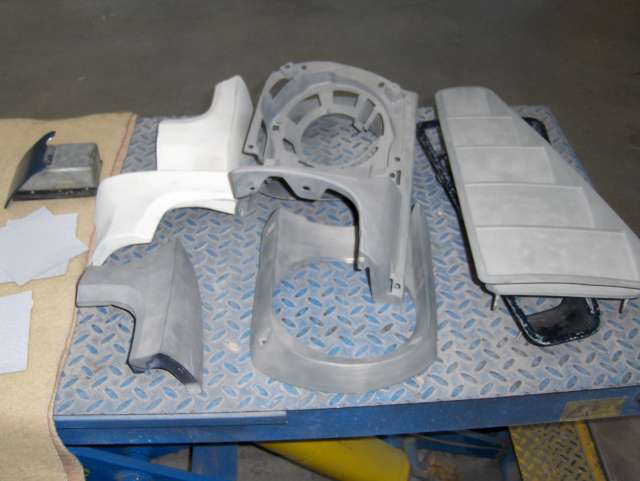
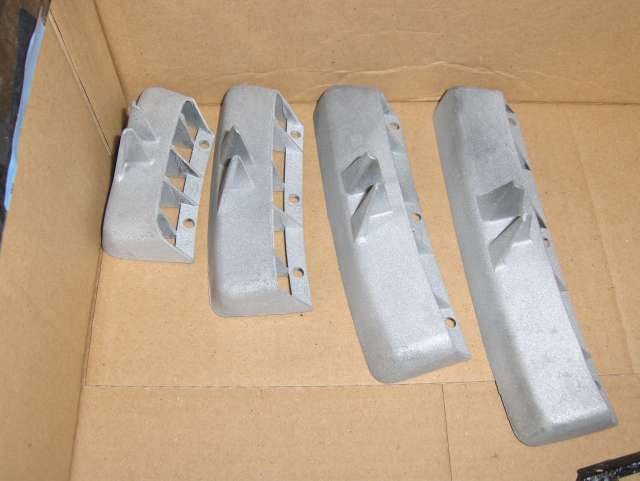
 Parts cleaned with Scotchbrite after blasting |
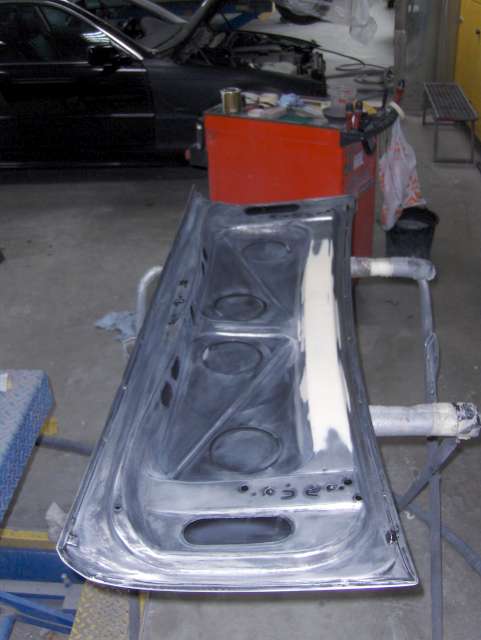
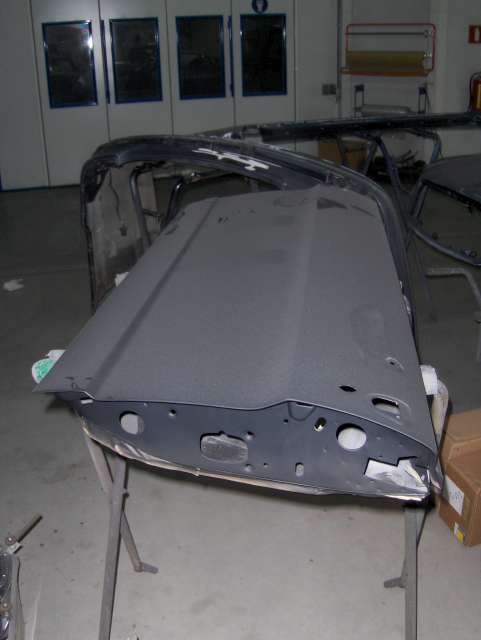
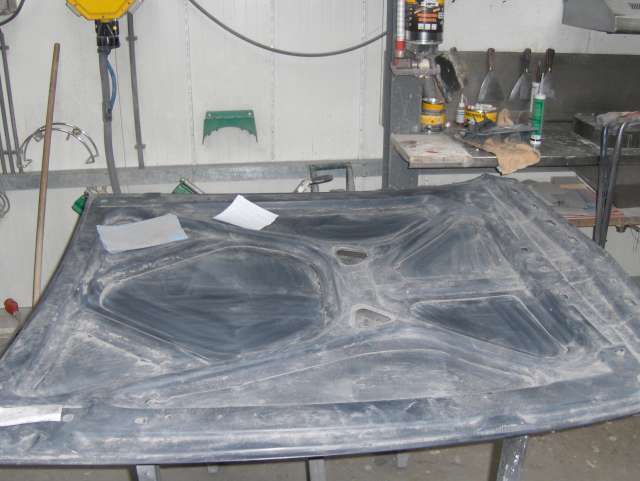
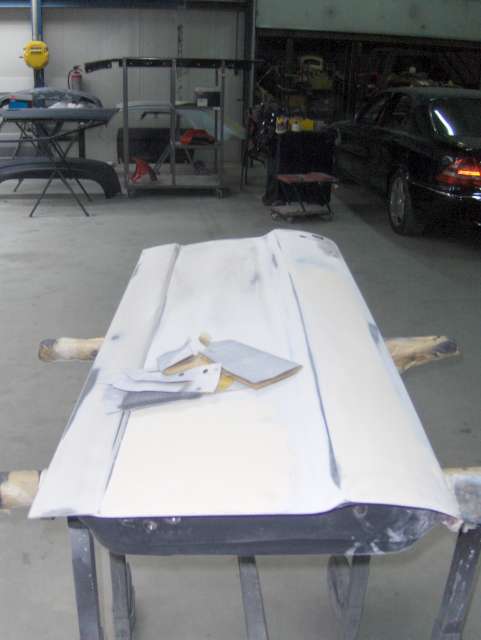
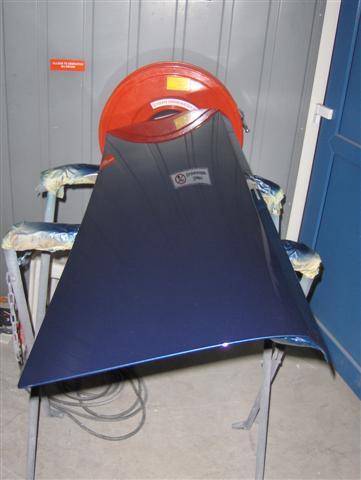
 working on the deck lid |
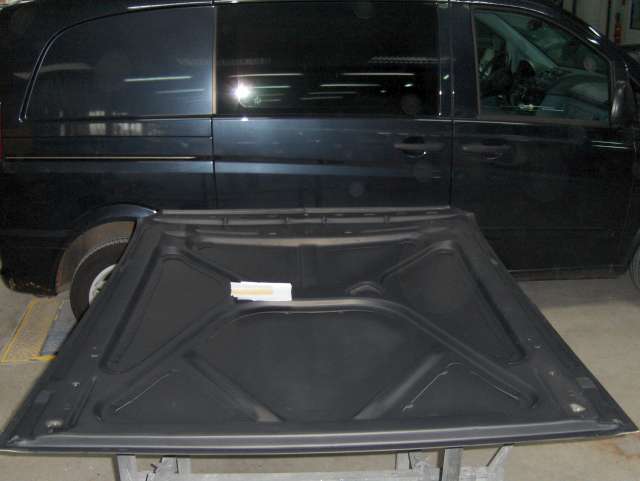
 Inside of the hood. it all has to be sanded and cleaned |
 Some filler had to be applied to th inside of the decklid |
 Front valance completely sanded |
 As was the stone catcher |
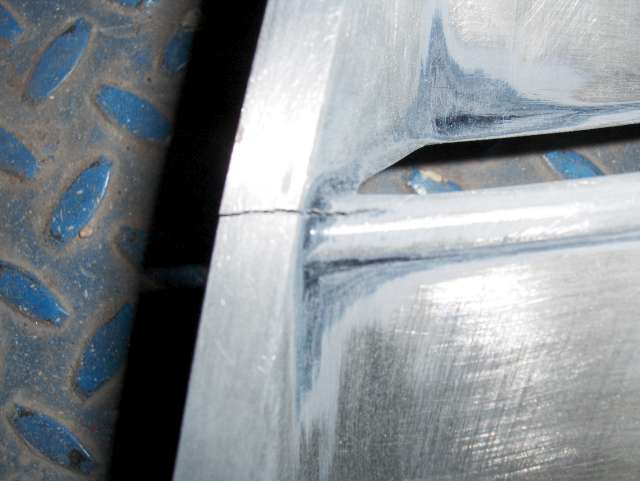 !!DAMN!! one of the vents cracked.... |
another shot of the crack.... |
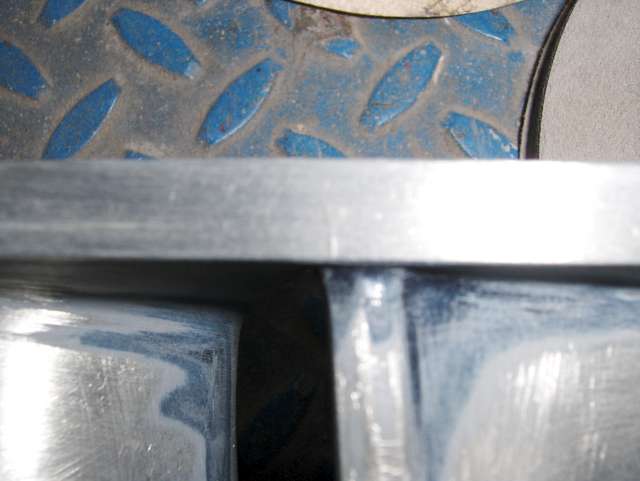 and another shot. The crack can hardly be seen |
 The broken vent. The crack can clearly be seen |
 The crack just got bigger and bigger |
 Some parts in black ground paint |
 The passenger side door needs work to get the (vent) window to fit |
 fitting the vent windows to the door |
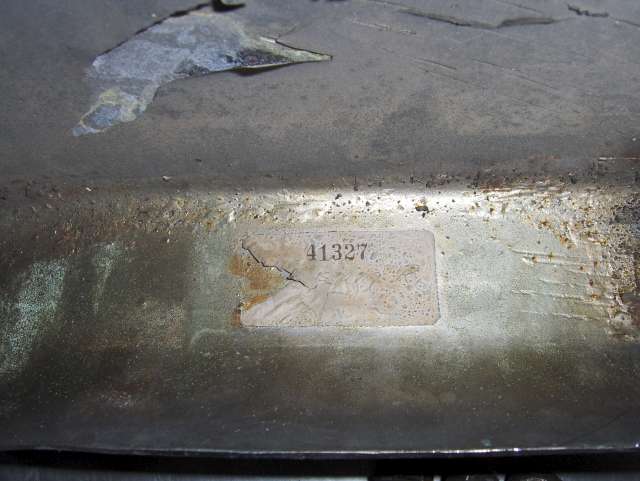 a label inside the bumper |
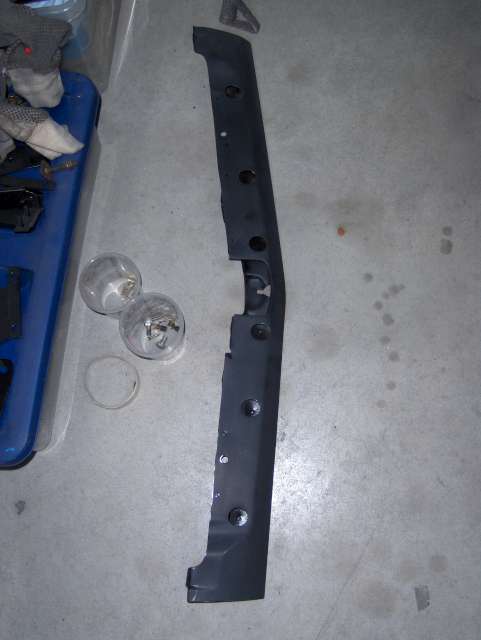
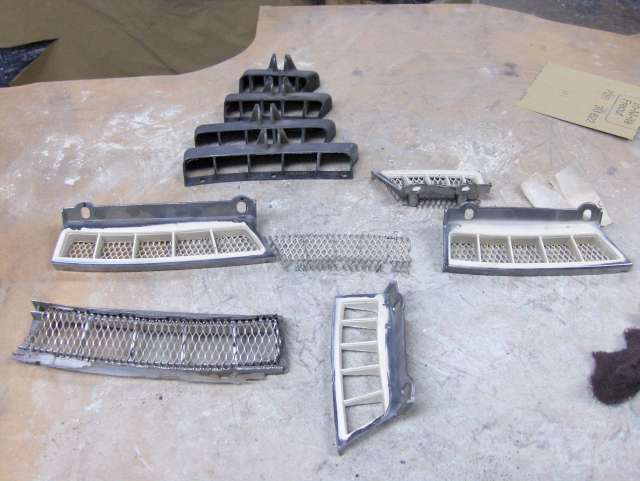
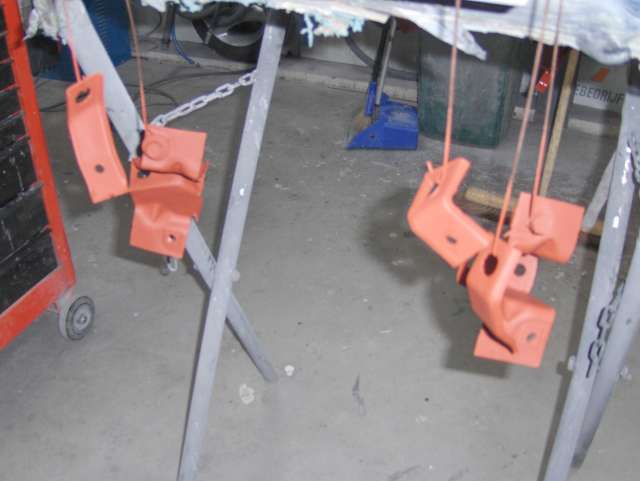
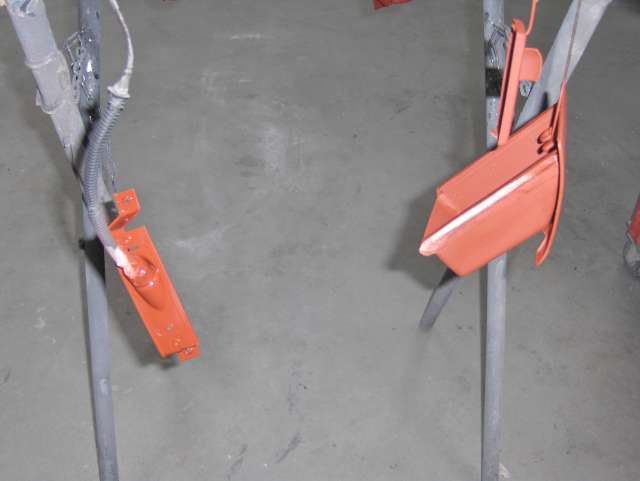
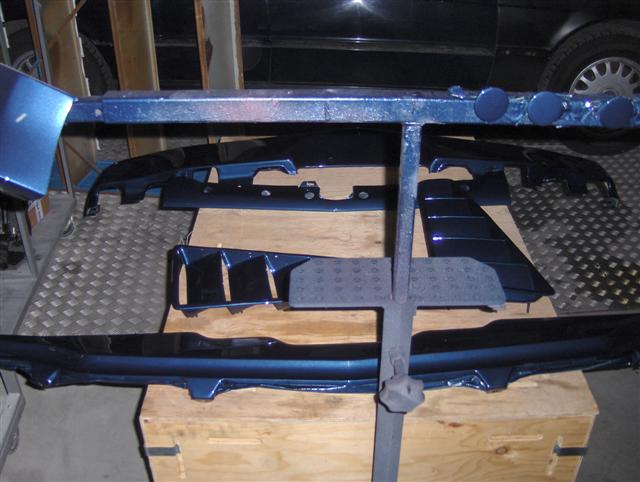
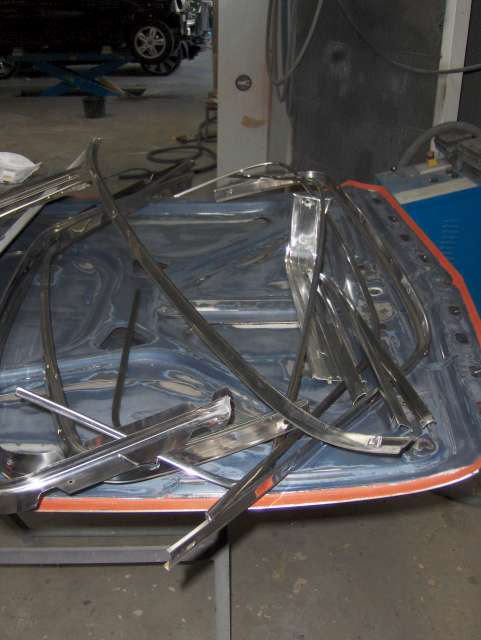 all kinds of trimming parts |
 reconstruction of the door |
 fitting the vent windows to the door |
Checking to see if both sides of the door are level again |
 another shot of the reconstructed door |
 the seams treated with Ford primer |
 the door with the vent window fitted |
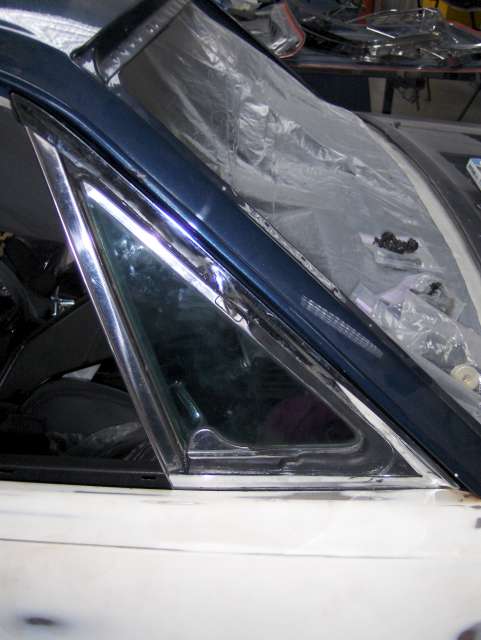 another shot of the vent window |
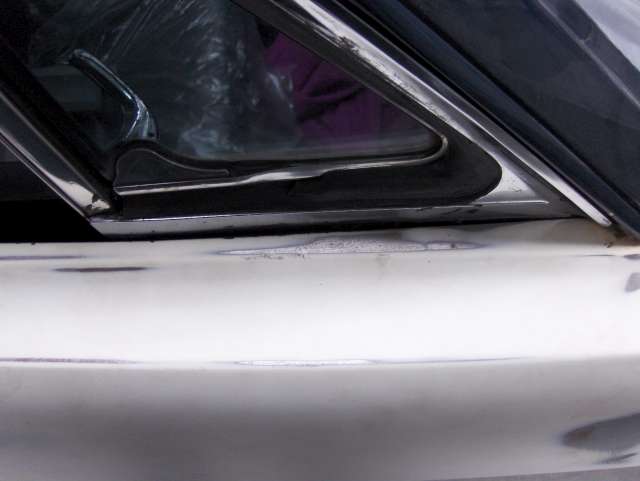 vent windows fits quit nice. |
 started water sanding |
 sanding the inside of the fender |
 close up shot of the inside of the fender |
 the other fender |
 that's me sanding the fender. As said, always wear a dustcap when sanding |
 the cowl area has been wet sanded |
 sanding the trunk lid. That's Mark in the background |
 a door in black ground paint (and dust) |
 the hood with black ground paint. the bleak "bubbles are "ghosts" |
 the rear valance in black ground paint |
 several parts in black ground paint and sanded smooth |
 yet another part ready for paint |
 door ready for sanding |
 inside of the hood waiting to be sanded |
 inside of the hood sanded |
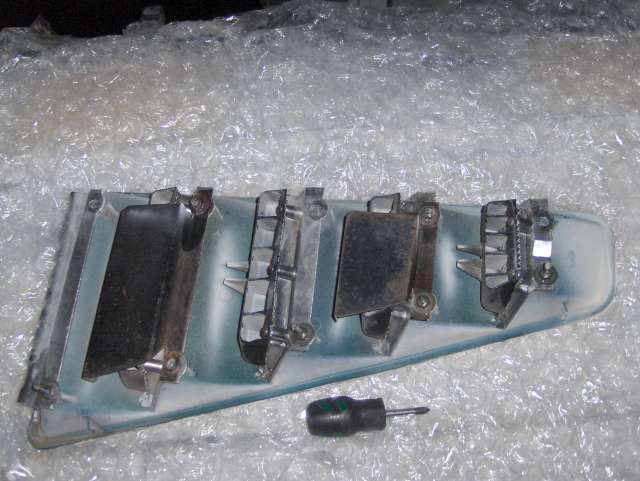 CAREFULLY taking the new vent assembly apart |
 all the small parts of the vent assembly |
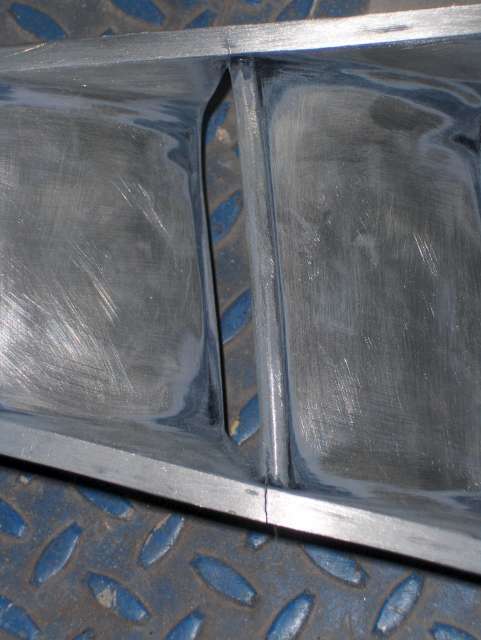
 this vent also has the beginning of a crack. it will be carefully sanded and directly painted to keep it from cracking more |
 front valance with filler |
 due to long storage, the doors had some bumps and dent..... so back to the filler and sanding |
 Fred caught goofing around..... |
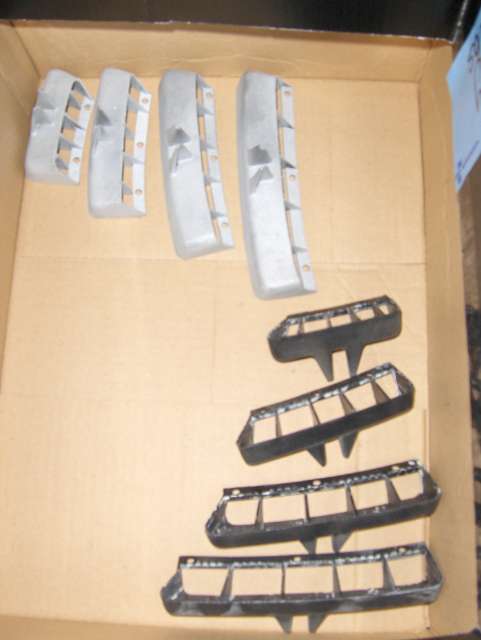
 small parts blasted |
 everything got a coat of Ford primer |
 more parts in primer |
 parts from the vent assembly blasted |
 a close up |
 another close up shot |
 more primer |
 primer |
 primer |
 more primer |
 and more |
 primer surface treated with scotch brite |
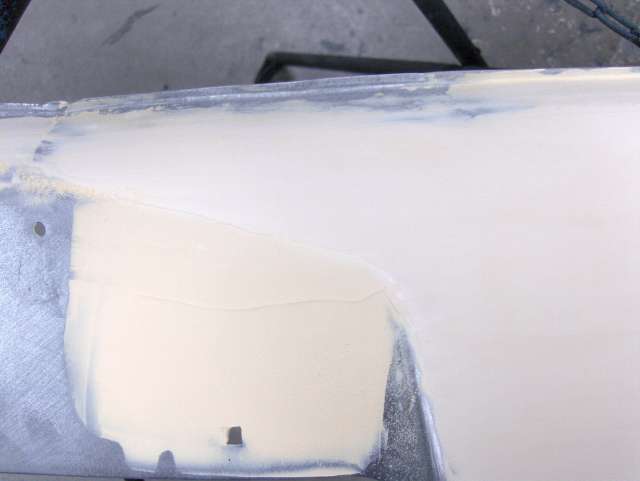
 filler sanded down on the stone deflector |
 some more filler was needed |
 filler on the front valance |
 full shot of the front valance with filler |
 filler |
 and more filler that has to be sanded down |
 front valance after the filler was sanded down. |
 parts ready for final paint |
 a small dent was found on the rear panel and was taken car of |
 body magician Martin in cleaning the body |
 Martin cleaned the body and is masking of the openings to prep the car for final paint. |
 Martin in action |
 Engine bay and front window masked of, Martin working the passenger side |
 a door in black ground paint |
 stone deflector |
 front valance |
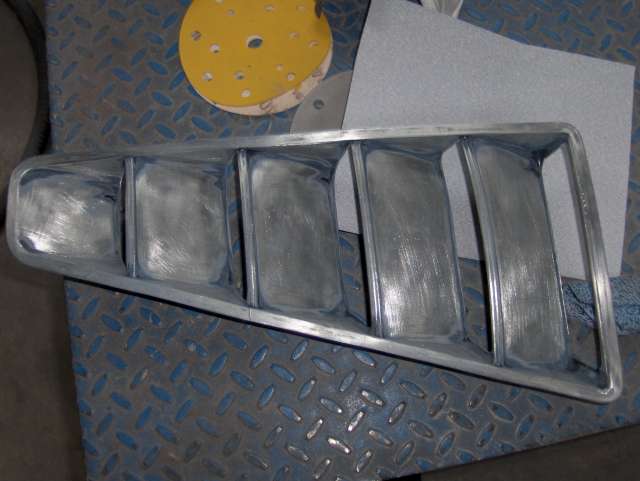
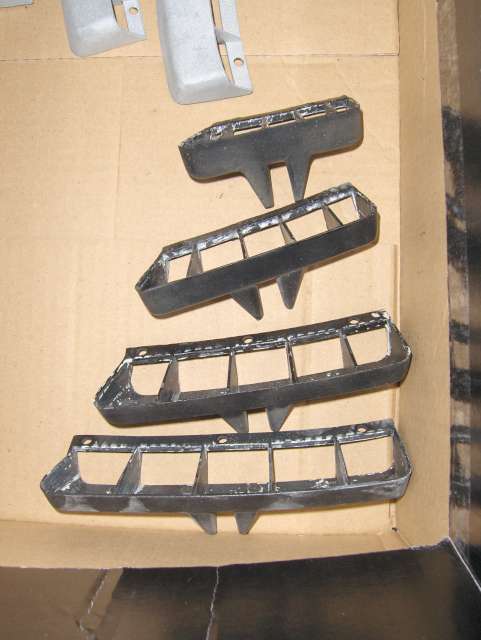
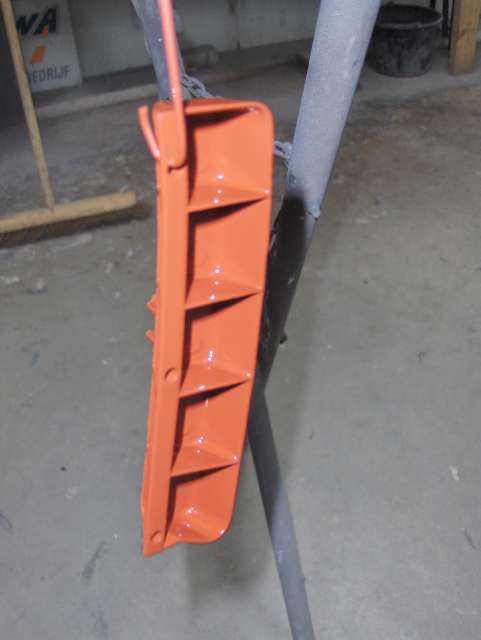
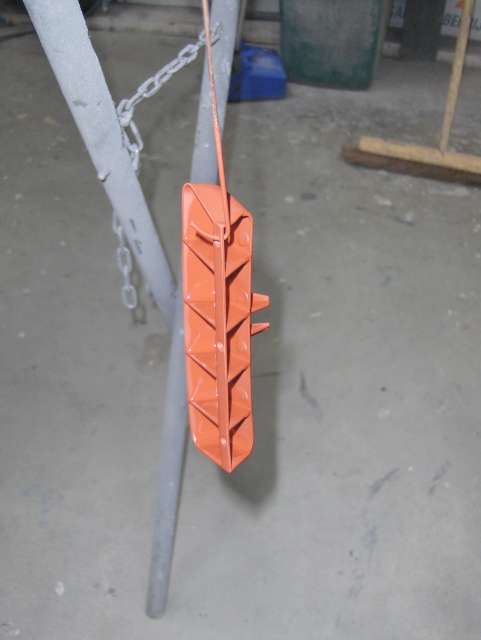
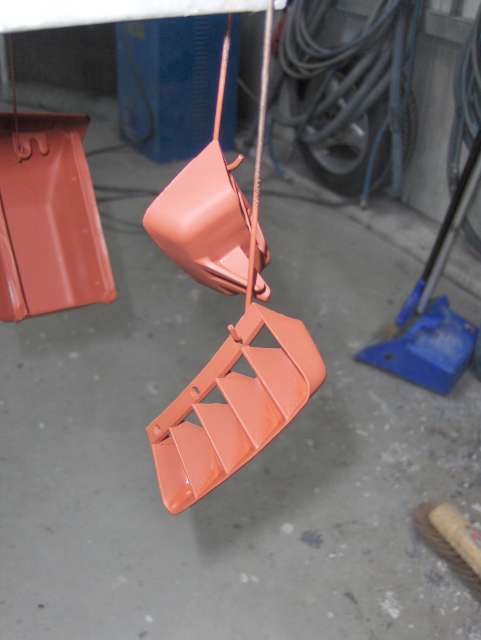
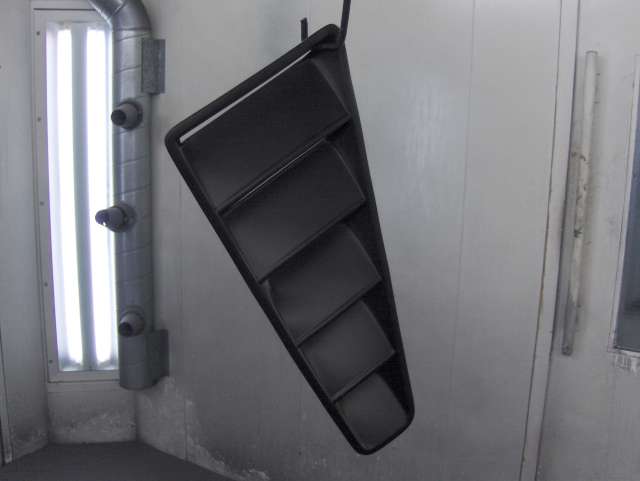 the dreaded vent louvers |
 car ready for the paint booth |
 there was one question...... |
 WHERE DID WE PUT THE CORRECT RECIPE FOR THAT COLOR?!?! |
 After much research the receipe as been retreived |
 these pictures do not do any justice to the real beauty of this paintjob |
 Some guys from Remy Vos |
 Very smooth.....You can see the ceiling in the hood |
 enjoy.... |
 . |
 .. |
 ... |
 .... |
 ..... |
 ...... |
 ....... |
 Engine bay reflected in the hood... |
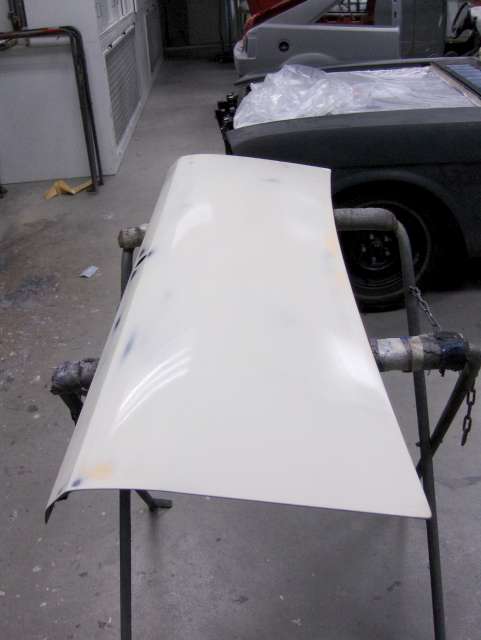
 The Le Mans White striping has been put on... |
 Painted on that is... |
 Assembling the front section... |
 Valance, ... |
 stone deflector, lamp housing... |
 Grill has been put in, the Fog ligths and Mustang cradle are next... |
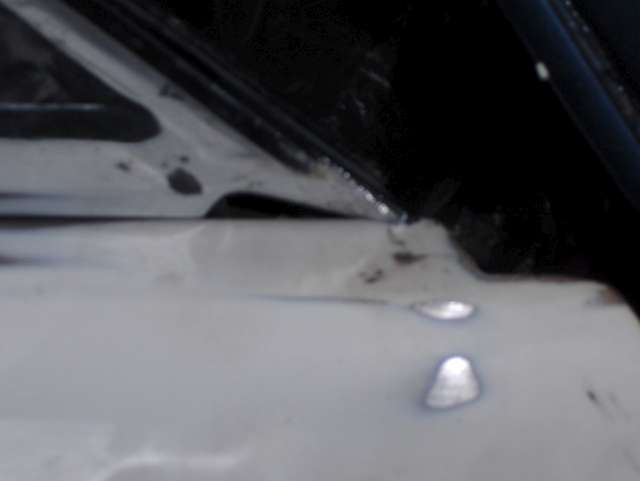
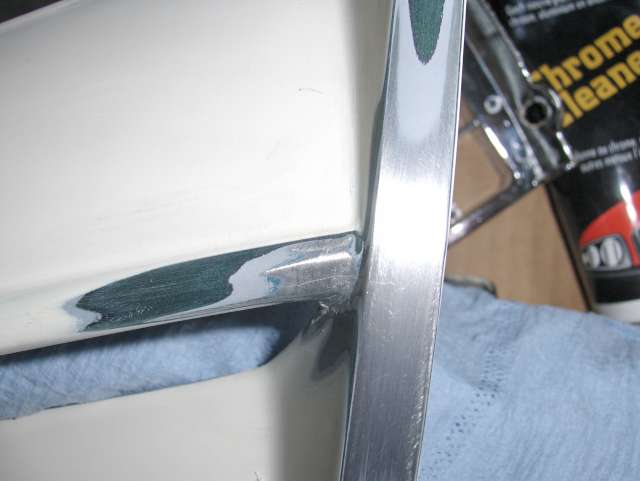
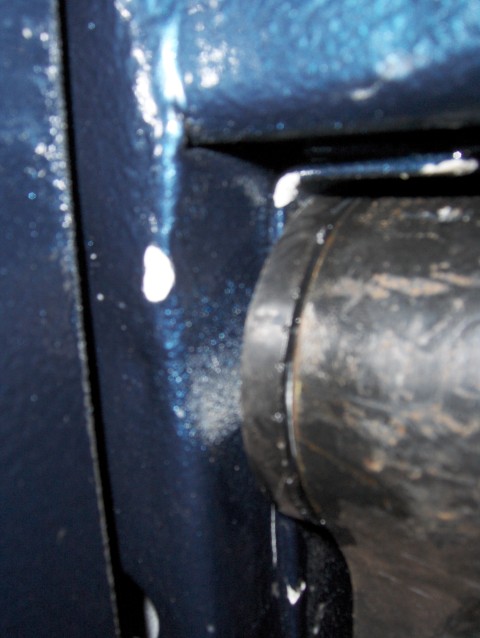
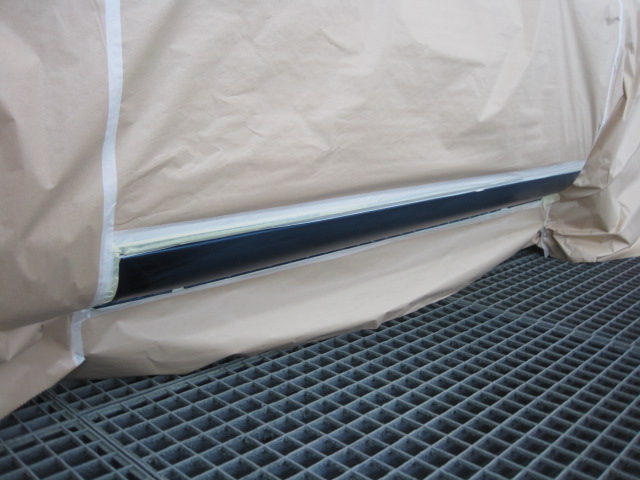
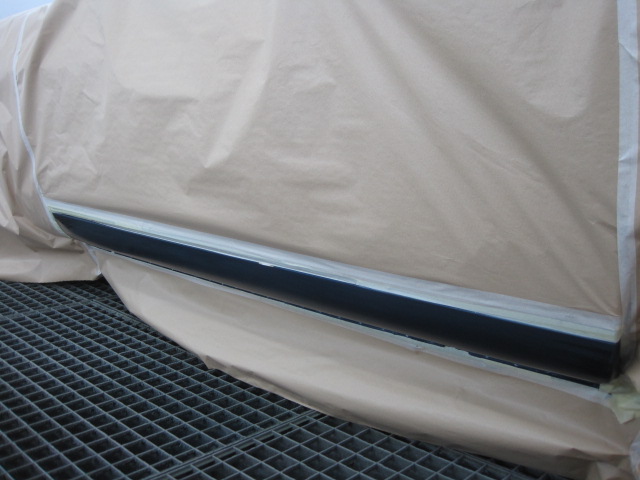
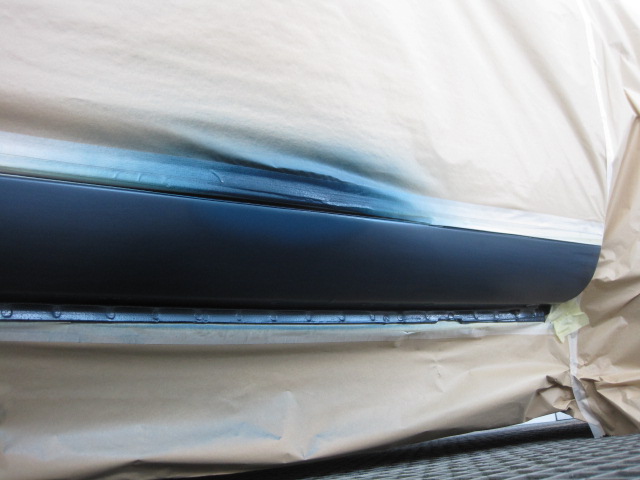
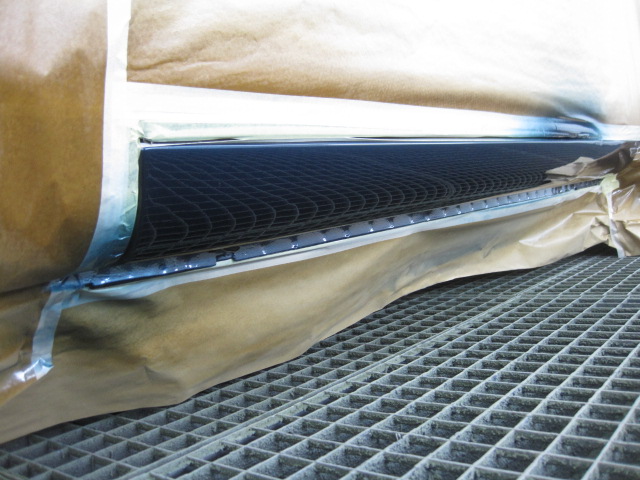
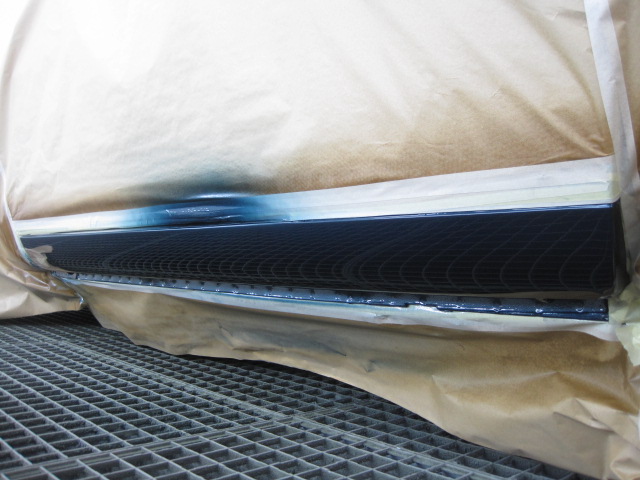
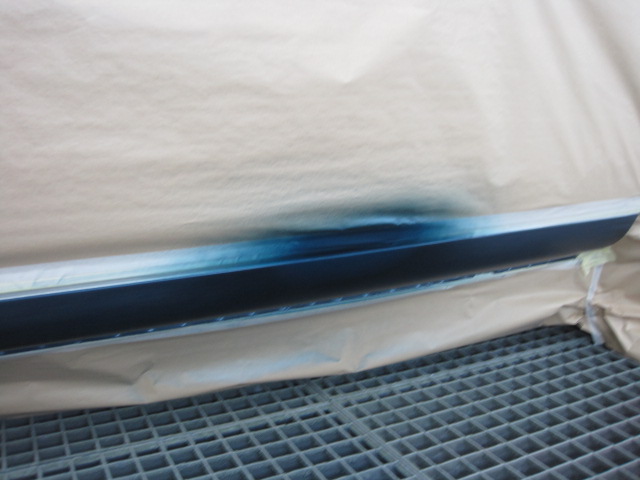
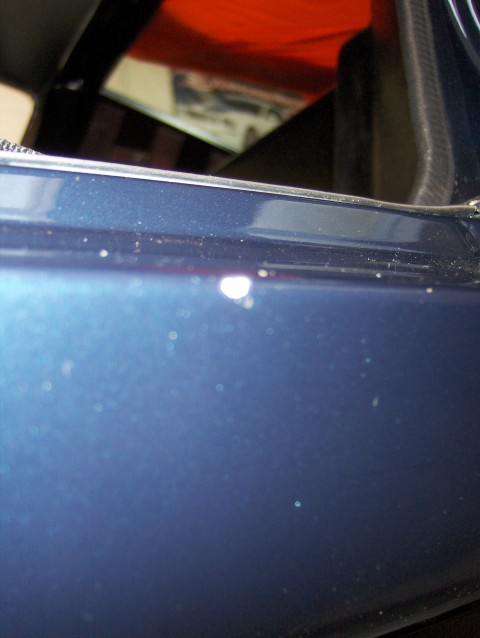 I drop a screwdriver and it chipped the paint just below the door... |
 Also the paint got chipped at the edge of the door.... |
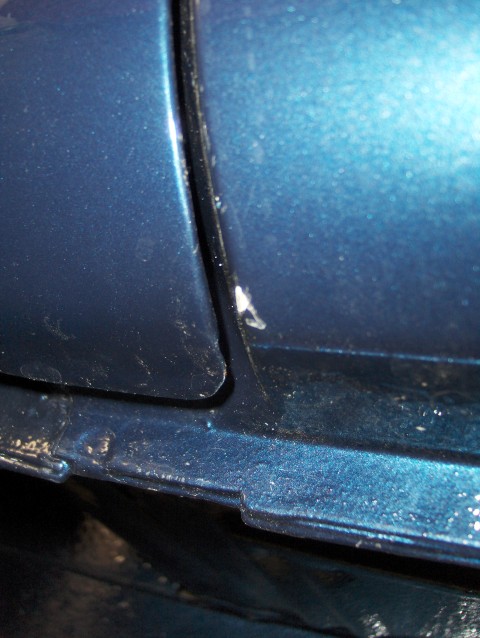
 While installing the rear suspension,the paint got chipped... |
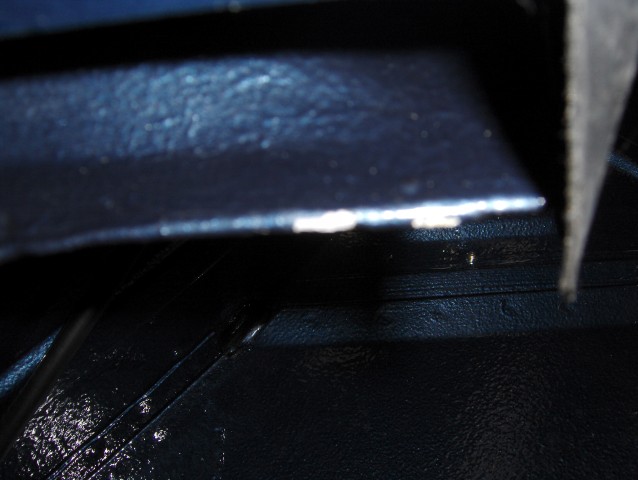 Finally I also chipped the paint on the subframe... |
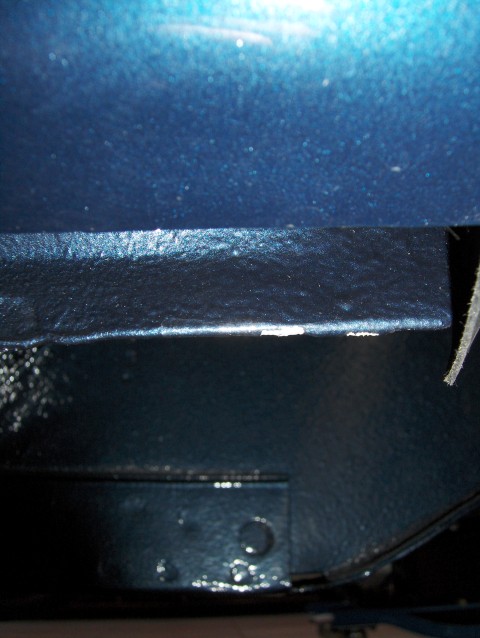 This is a better picture... |
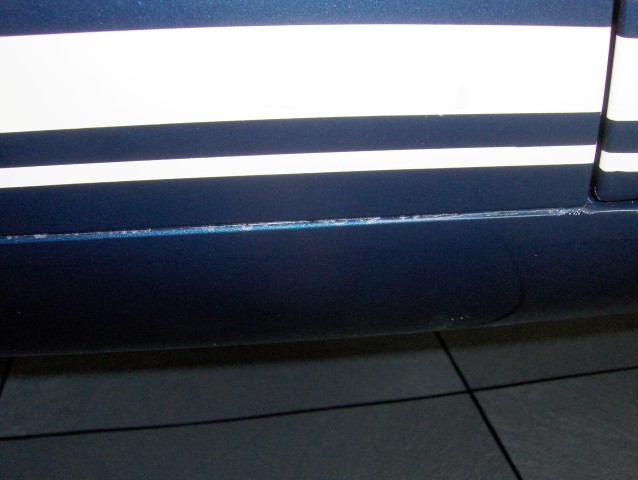 The doors need to be alined, the striping doesn't match... |
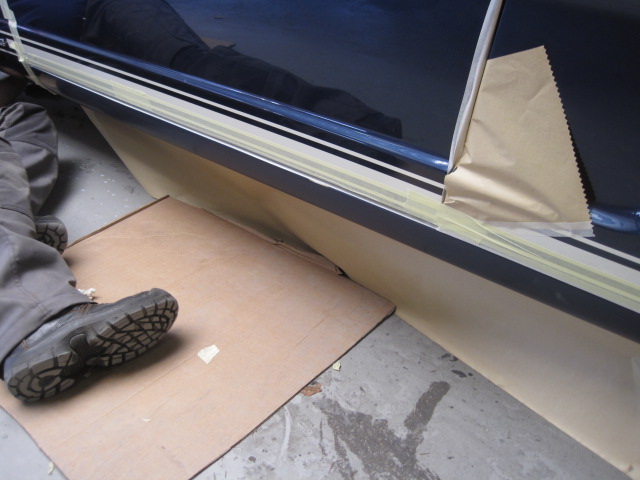
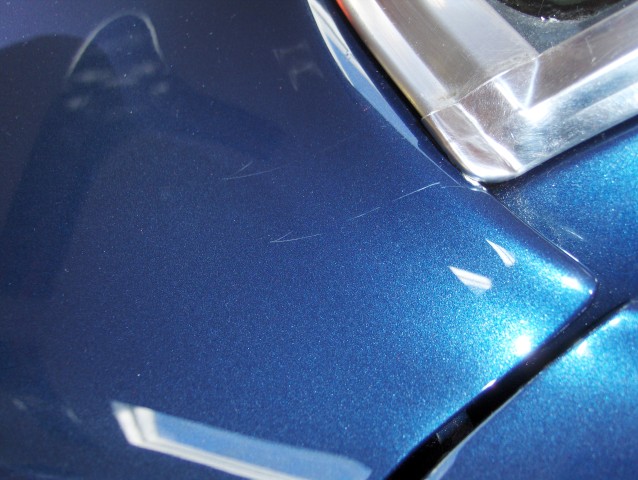 Scatched the paint while installing the window moulding ... |
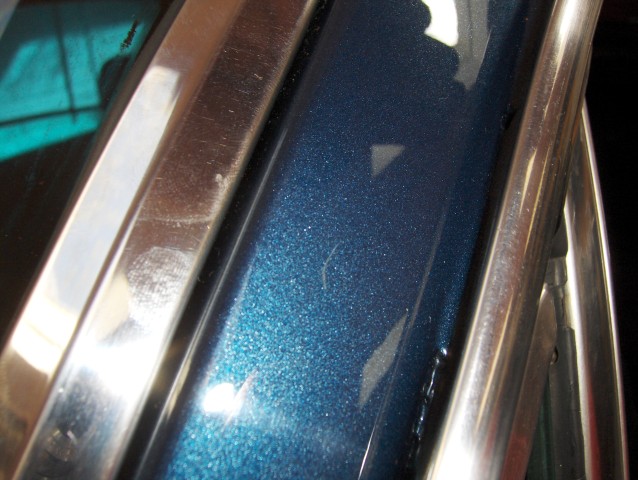 ...Another scratch, damm, I all need them to be fixed |
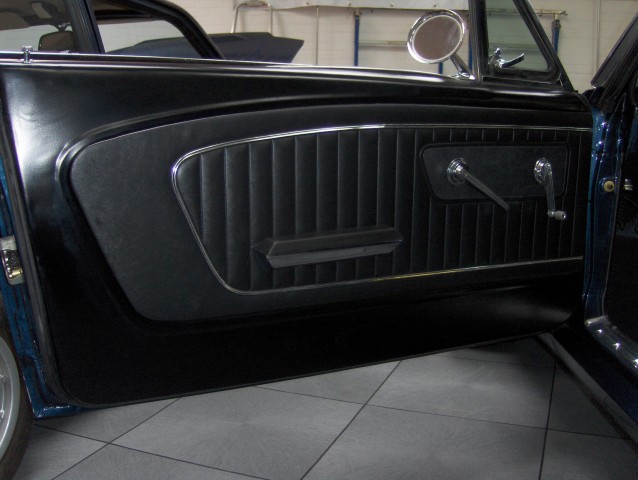 The door panel has been installed, including the windows regulator, the door lock release and the arm rest... |
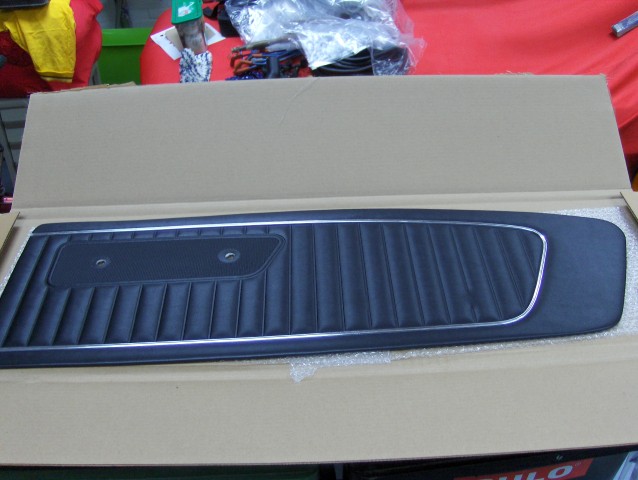 The new door panel... |
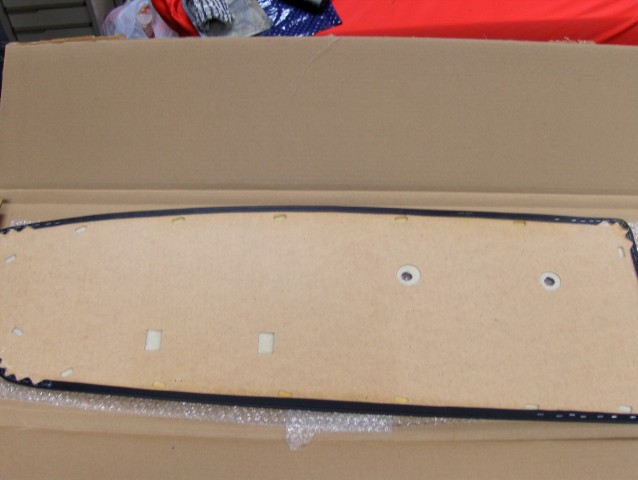 The other side of the door panel. The shape of the preformed holes is no reference to how the clips have to be installed... |
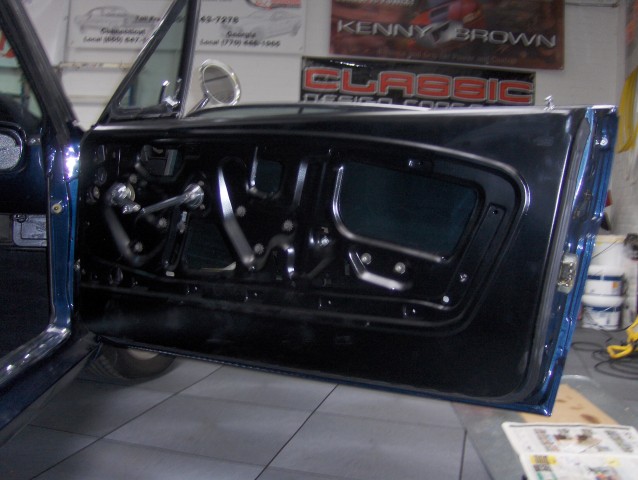 The inside of the door before the door panel went on. I didn't install a watershield... |
 Remy Vos from Vos and Partners correcting the doors... |
 Taped the edges to protect the paint... |
 Prepared for paint, the chip can just be seen... |
 From a different angle... |
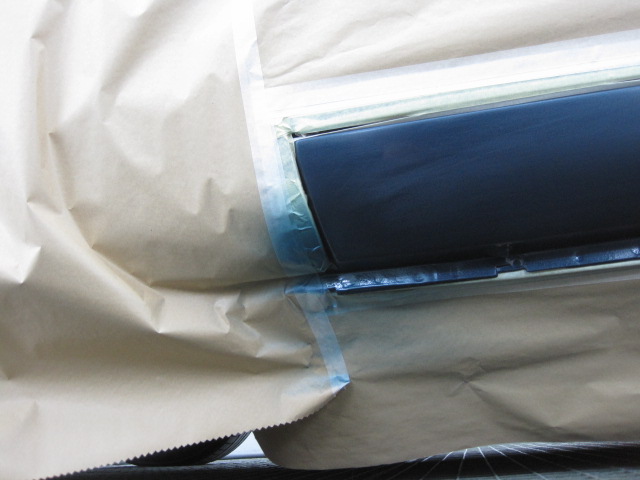 The chip here can hardly be seen... |
 Paint just went on... |
 Also this spot has been corrected... |
 From a different angle... |
 Yet another angle... |
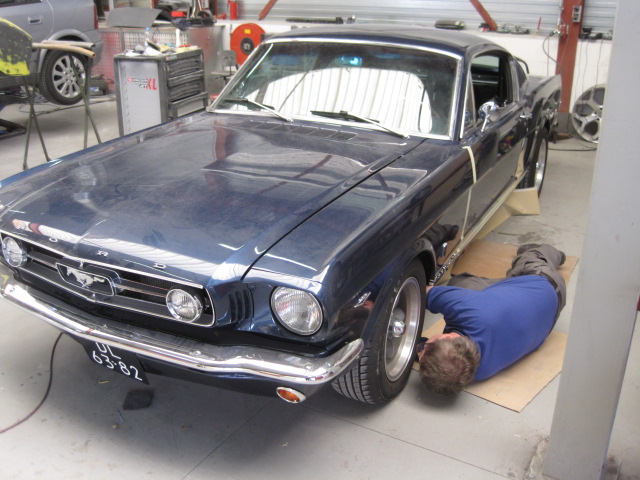
I have removed the Flaming River Rack and Pinion and Tilt Column The steering reaction it created was not what I want for my car So I went back to an original setup using a new Flaming River steering box Steering is so much better now. Much more responsive.... |
Problems with keeping the batery charged. For some reason the battery does not get charged Replaced the alternator with a 120A unit. Still need to take the car out for a test drive.... |